slaterturf
-
Posts
73 -
Joined
-
Last visited
Content Type
Profiles
Forums
Events
Everything posted by slaterturf
-
As a matter of fact I sold most of my farm equipment last January at an auction and the only item I bought was an very old outboard motor for the purpose of taking it apart and putting it back together, just as you have suggested. I think that is an excellent idea and it looks as if that will be my approach. I will look online for a manual. Thanks.
-
I would like to learn, in a classroom or lab setting, how to repair and maintain small outboard engines. Can anyone direct me to some continuing education at either a community college or another setting, in the area of Oriental, New Bern, or Beaufort, NC? Thanks.
-
Thanks, the Skimmer looks suitable to my purposes.
-
I just returned the kayak I have been using in my pond to paddle around. I used it to go to the drain and clean out the debris which had built up on the drain screen. As the debris builds up, the level of the water in the pond rises. I have to clean it out every couple of months. The kayak worked OK. Now however I have to come up with something else. I have used a canoe, but that canoe is no longer available. I have thought a barge would work best. I could pole the barge around. The pond is only about an acre and a half and about 12 feet deep at the dam. I googled for barge plans without much immediate success. Then I figured the readers here would be my best resource. I expect you would ask for my design parameters ... I want it to carry about 250 pounds. I weigh @ 185 and I want some extra capacity. It will be about 6' x 10' and shallow drafted. I would say shallow drafted would be 4 to 6 inches. I would be able to walk to the edge without it tipping over. I would propel it with a long pole. Any experience out there? Anyone know of any Internet resources at which to look? Thanks.
-
John, thanks for the post. Unfortunately I will not be able to be at the Mess-a-bout next weekend. Maybe next year. I may soon be able to spend more time in Oriental so hopefully we will be able to meet then. Until then I will keep cleaning to make room for more boat building.
-
I donated my Moccasin canoe to our local Farm to Fork dinner this past Saturday. It sold. It was a fund raiser for our local Agricultural preservation program. My wife was sorry to see it go, but I told her the fun part was building it and now I will have to build another. I built it last winter. With this winter coming on, I will have to clear out the garage to make room to build my next boat.
-
Yes, I will respond to your email. Thanks.
-
I will be using the canoe down a river that runs along my farm. I will be kneeling and jumping in and out over sandbars etc. I like the canoe paddle as I think it will work best. I spent several teen-aged summers at canoe camps and this canoe brings back good memories. Yes, I think the stern thwart is to far to the stern to be a leaner. Thank you John for your support and ideas throughout this project.
-
Yes, thwart is the right word. Actually, at the moment that I was writing my post I could not remember how to spell thwart and was in to much of a hurry to look it up. Thus, the much less elegant description. The thwart will double as a leaner for paddling and a yoke for portaging.
-
-
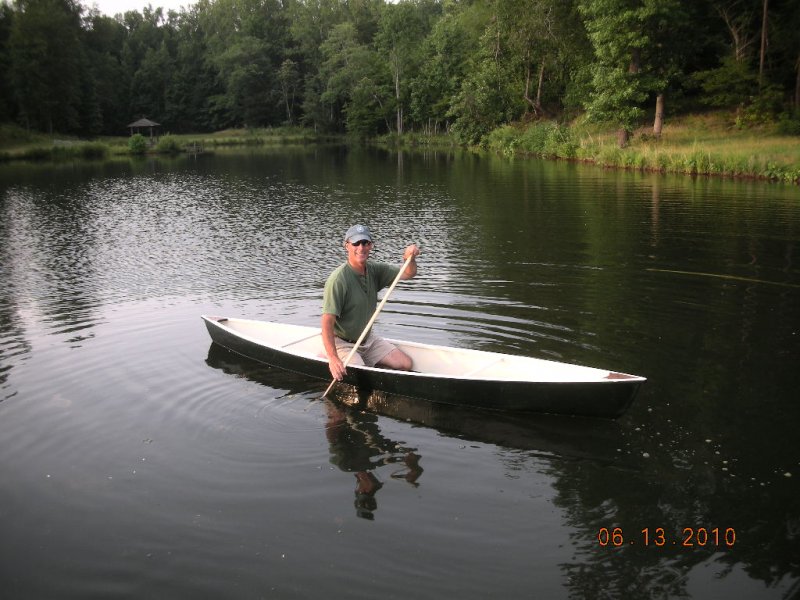
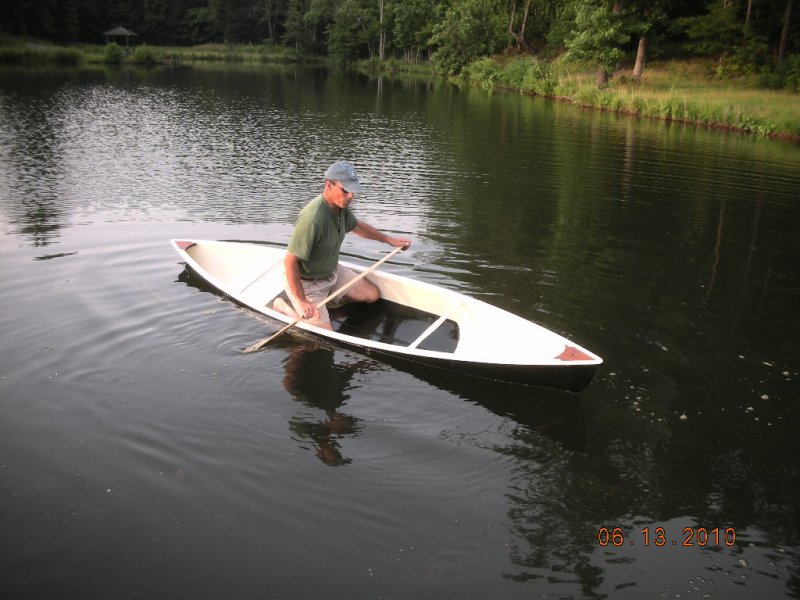
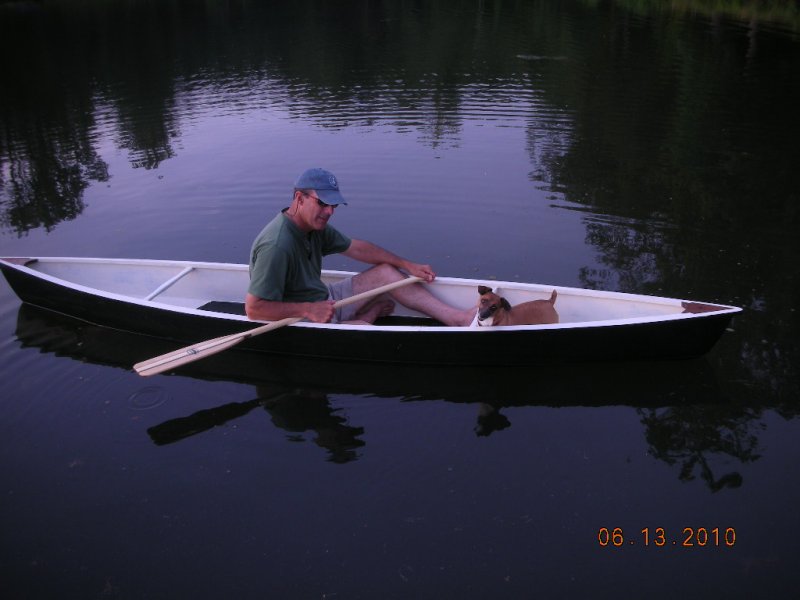
Yes, trying it out without a seat in place is coming to me as the best way to proceed. That is exciting as I will get to put my boat in the water all the sooner. I agree with you and understand the importance of keeping my weight low. With a seat I will be able to move my weight vertically (somewhat) as I choose. Forward and aft is a more difficult and hence the discussion. I like the thought of a movable (fore and aft) bench seat. I have to think that through more. I am just going to finish the painting and launch her. Thanks.
-
Ken, Thank you for your thoughts. They were helpful. For me this is an example of the continuing fun and learning about boat building. I had not thought about a seat when I started building the boat. The plans have a page for a seat, but I have not deciphered them yet. I think the plan is for a seat back more than a seat. I may have to give Graham a call. As I have thought about the seat overnight, it seems I would need some side support along the inside of the cockpit to hold up the seat with a person sitting on it. I am comparing the pros and cons of a traditional cane seat and what I call a "bench" seat, which would be a solid piece of walnut. Thanks.
-
Thanks Gordy, but I want to sit on a seat. I have canoed a lot and have no concern that I can operate the Moccasin canoe from a seat. I am just thinking through how to make a seat work. I have walnut breasthooks because I have some walnut lumber laid up and it is dry. I wonder if I cannot produce a walnut bench type seat. I have seen the seats in a canoe and in photos of a canoe where they appear to hang off the inwales. However, I have not looked closely and now I am thinking through how to install such a seat. I am wondering if the seat should be centered or set towards the stern a little. It seems to me that where the seat is positioned will affect how the boat sits in the water once a paddler settles down onto the seat. If I were to install a bench seat, it would have to be very stiff in order to support a person or else it might need a support under the seat. I would rather not have a support under the seat if I can figure out how to design it.
-
-
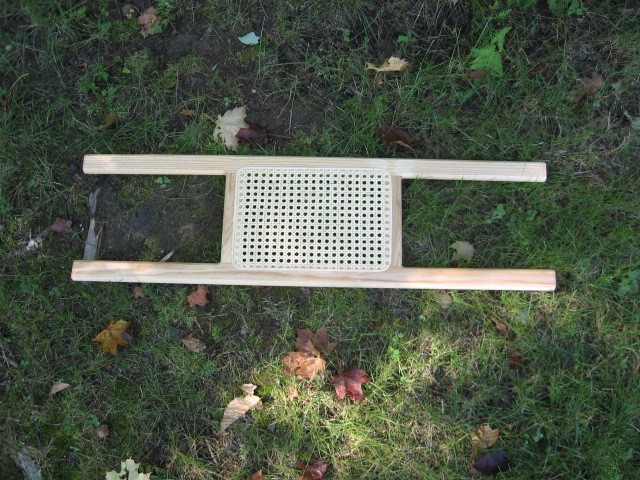
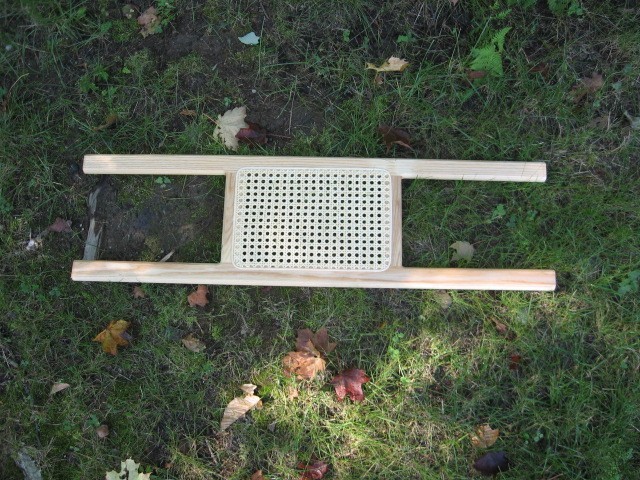
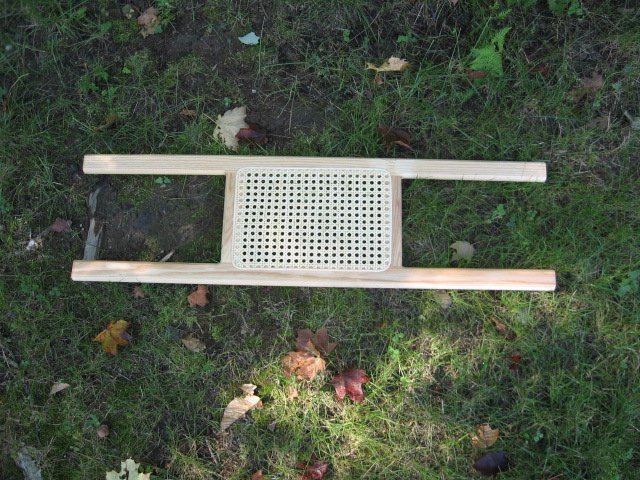
I am still at the task of completing my canoe. I have primed the canoe one time and it is now awaiting sanding. I am deliberating one more primer coat. Then I am on to painting. I have come to the conclusion that I want to install a canoe seat. I had planned to kneel on the floor and paddle from that position. I intend to paddle with a canoe paddle rather than a kayak paddle. After considering the comfort of sitting on a canoe seat vs. kneeling on my banged up legs with one sprained ankle and another banged up knee, I decided it will be much nicer sit on a seat. I would like to install a seat like this. .... My photo here is to large... It is simply a photo of a cane seat in a moccasin canoe... It will be in the center of the boat. There will only be one seat. I think I read somewhere that these seats can be purchased for installation. Actually, I just found a place when I googled caned canoe seats. Can anyone point to guidance or plans regarding installation? I have looked at the photos that came with the Moccasin. That is where the photo above came from. There is a plan page in the Moccasin plans for a seat, however, I have not quite figured how to read it. If these seats are sold, I thought I might just buy one and install it. What I am trying to understand is the installation. It appears in the photo that the seats hang from the inwale. Is that right? Would that not just tear out when I sit 191 pounds down on the seat? Thanks for any help and guidance. This photo did not work either.[attachment=1]
-
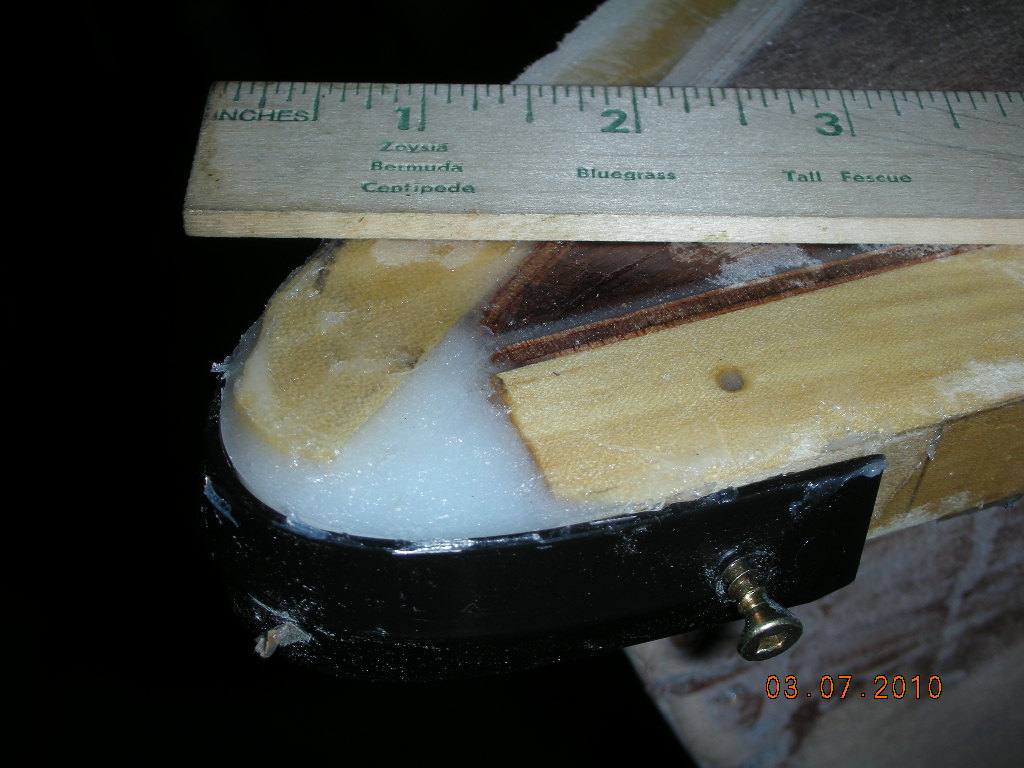
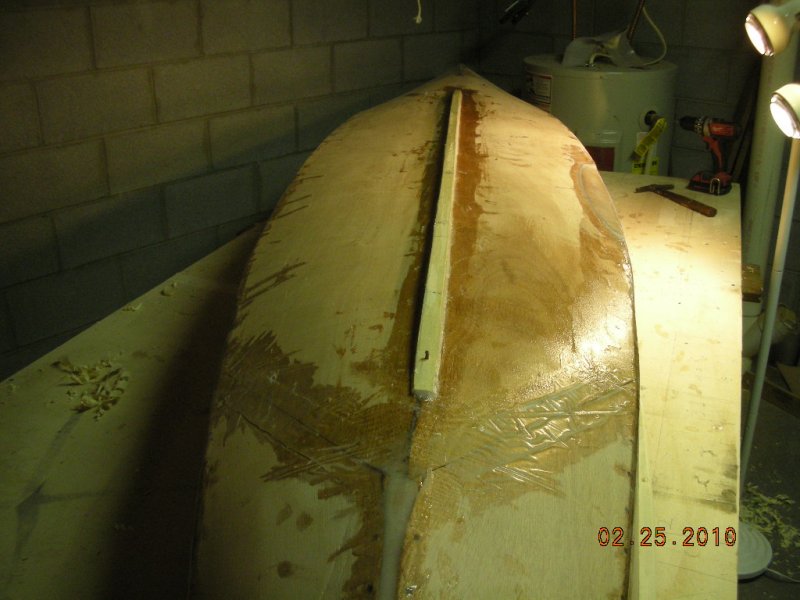
Well, it has been a while since I have visited. I am still gaining ground on my canoe. Here is a photo of how I created a decent looking bow at the end of the gunwales. My two gunwales did not come together very successfully. I was able to take one of those plastic stir sticks I got from JD Distributors, wrap it around, secured it with screws, and back filled it with thickened epoxy. The epoxy hardened, I removed the plastic backing, and I have a decent bow. I did the same with the stern.

-
-
There may be others around the bottom of the boat. However I don't have any evidence as I did with this location.
-
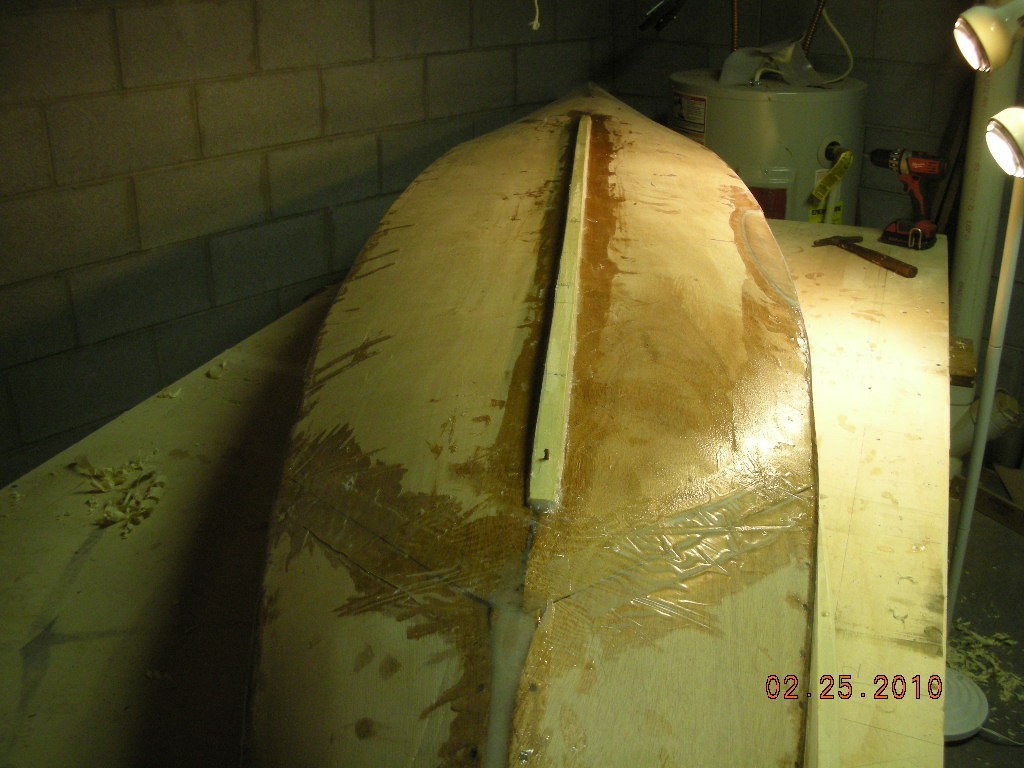
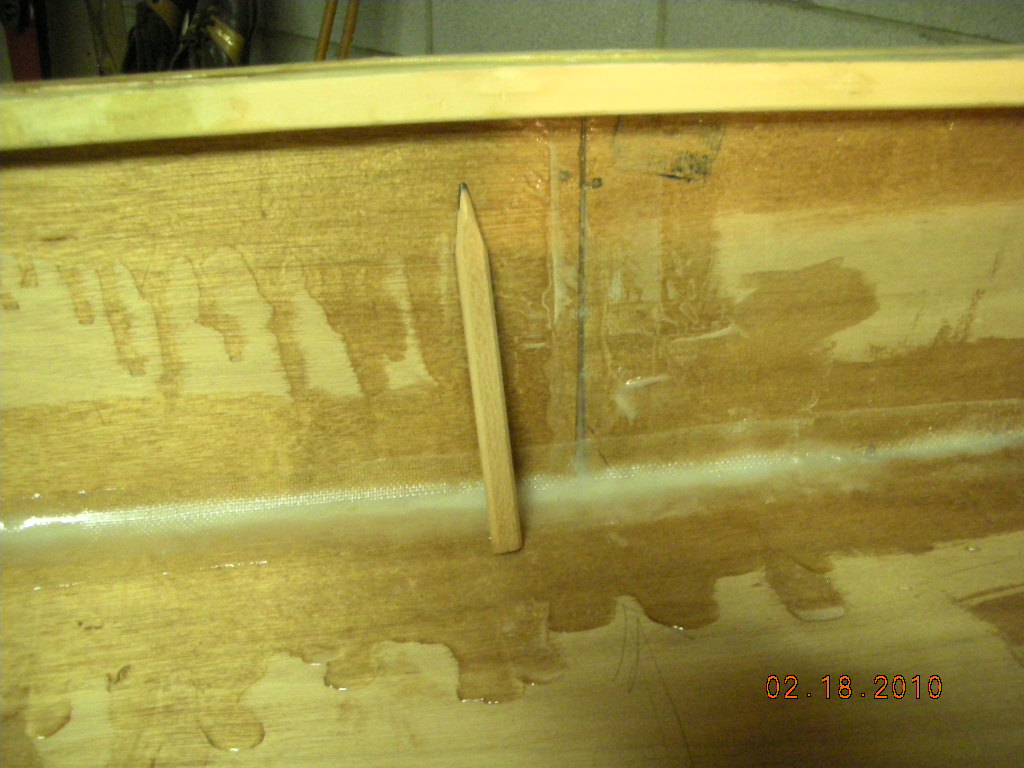
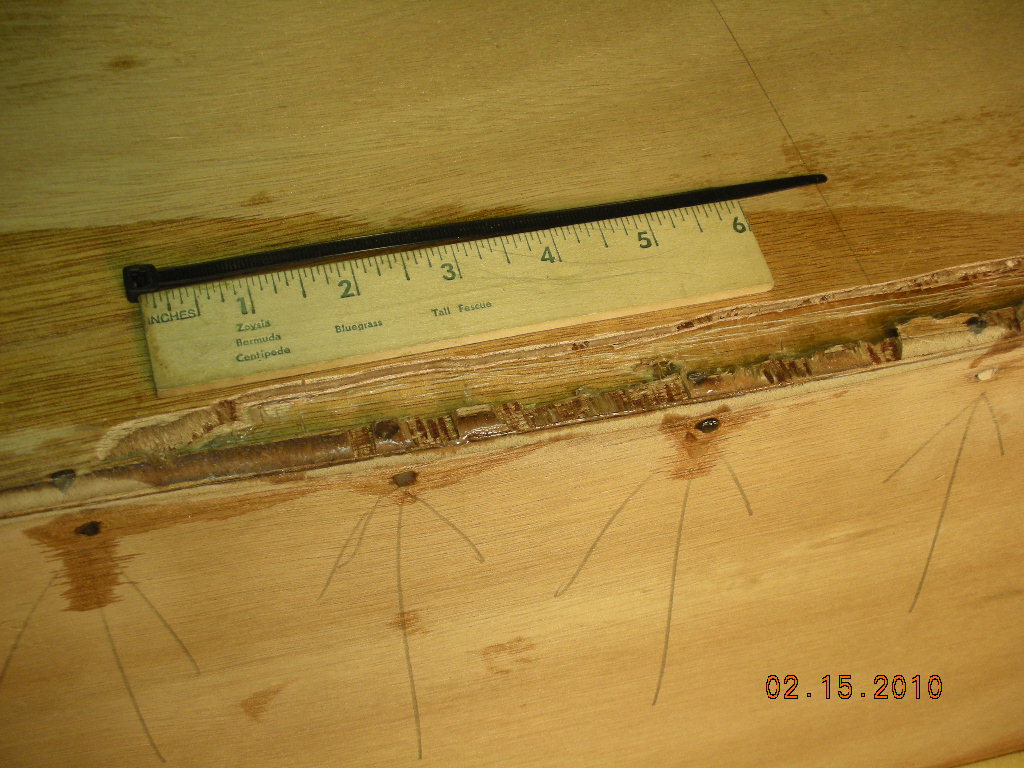
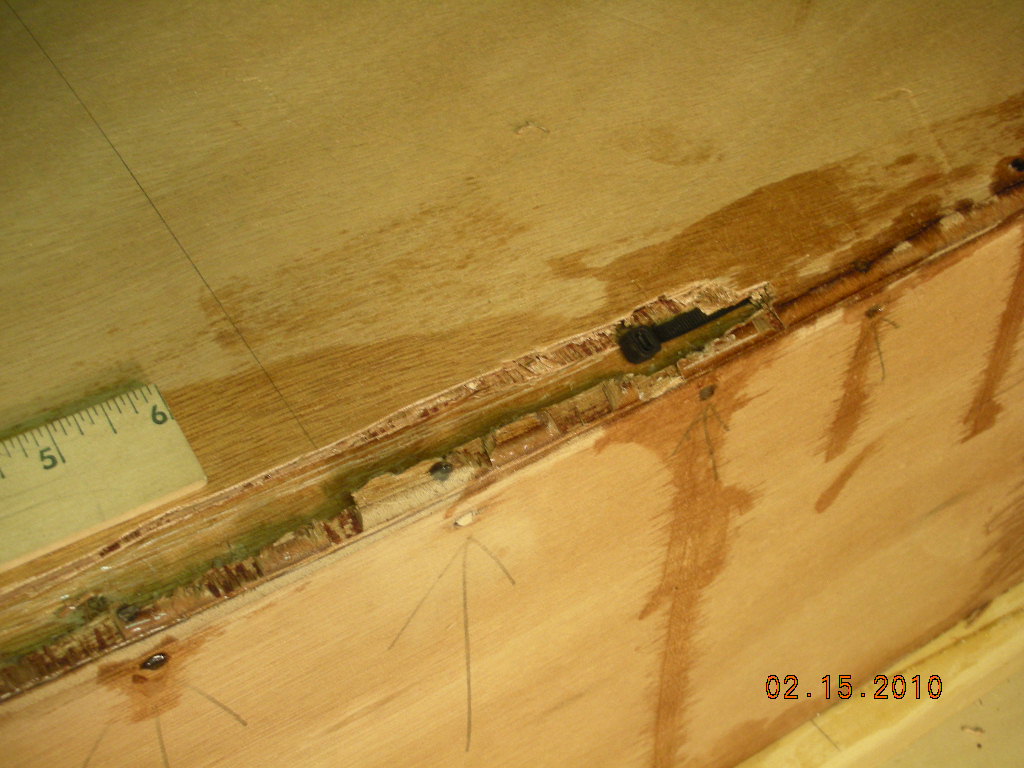
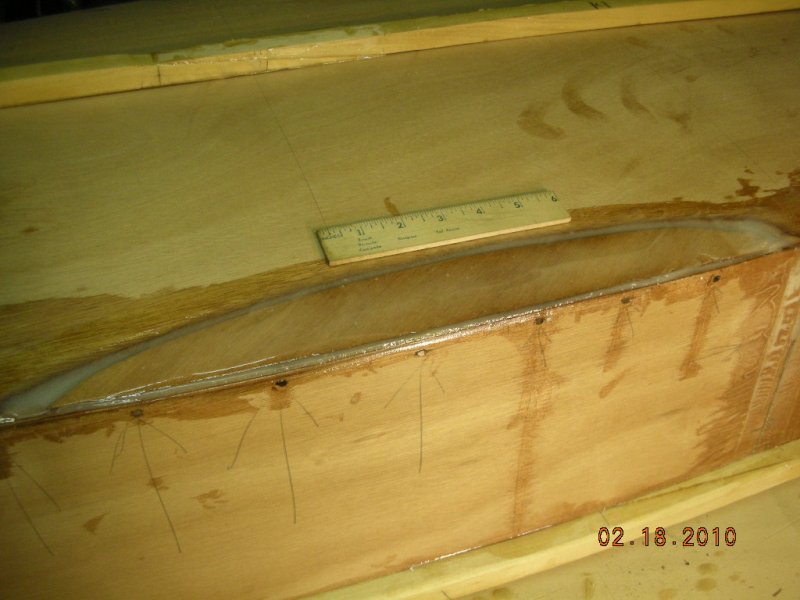
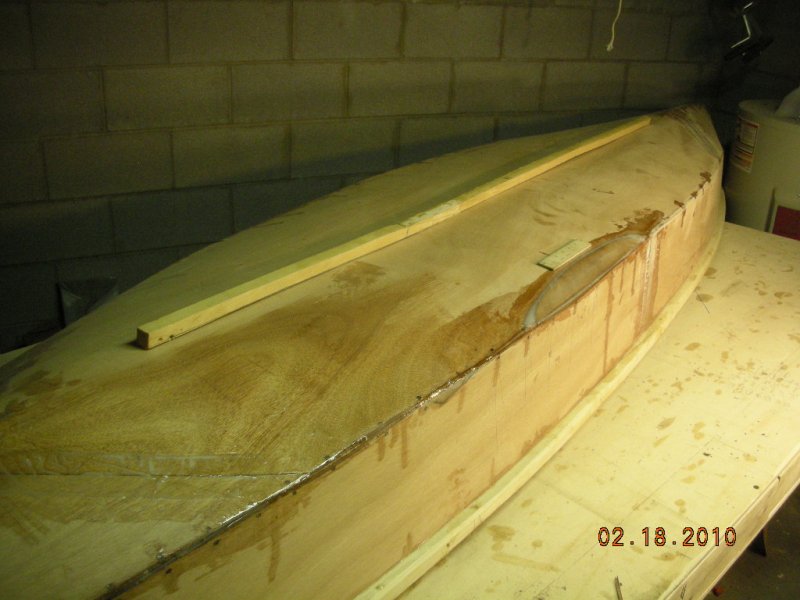
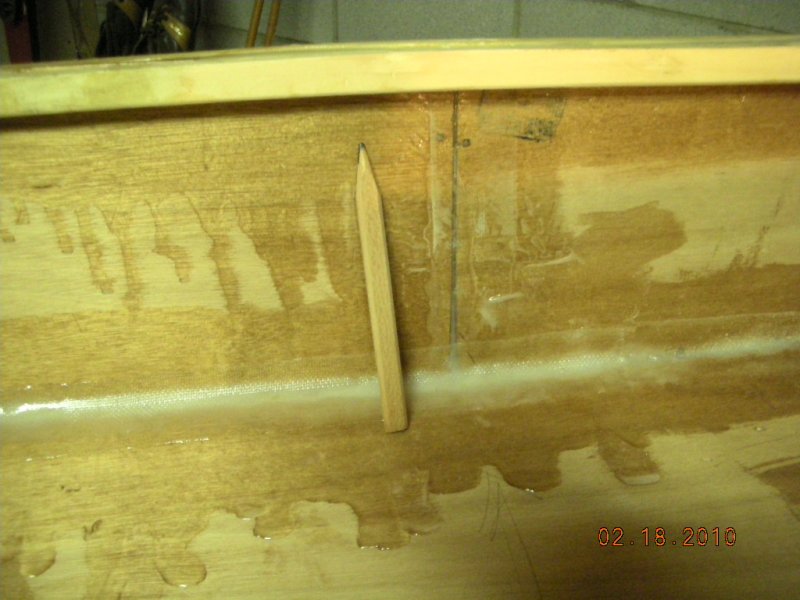
Wow, here are some interesting pictures of a cavity I discovered between the bottom and the doubler. I found it because I could not get one of the plastic tie holes to fill in with epoxy. As I probe around the hole a little it seemed to continue beyond the hole itself between the bottom and doubler. I used a chisel to open up the bottom and it just continued and continued. By the time I got to some hardened epoxy between the doubler and the bottom, I had excavated a cavity 18 inches long and 1.5 inches at its widest point! I am glad I found it. I don't think I had enough epoxy, nor thick enough epoxy between the doubler and the bottom when I glued that down. I think the thin epoxy may have flowed back towards the low points and thus left the cavity on the higher side. The inside is filleted and taped. I will mix up some thick epoxy and use that to fill it in here and then tape over that. I wonder if I should not cut a piece of the 4 mm plywood to the shape of the excavated cavity and piece it in. That actually seems to be better than simply filling the whole cavity with epoxy. Here are some of the photos. This one shows the initial excavation to the left of the cavity.

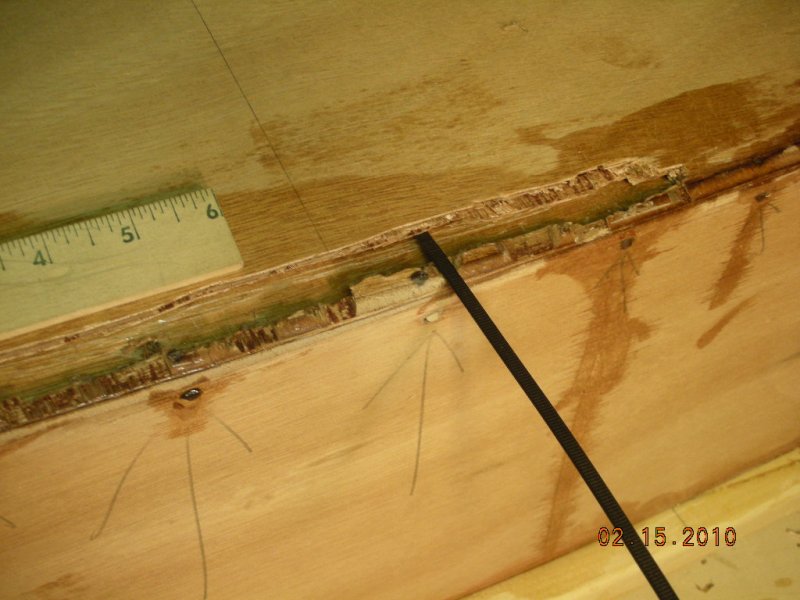

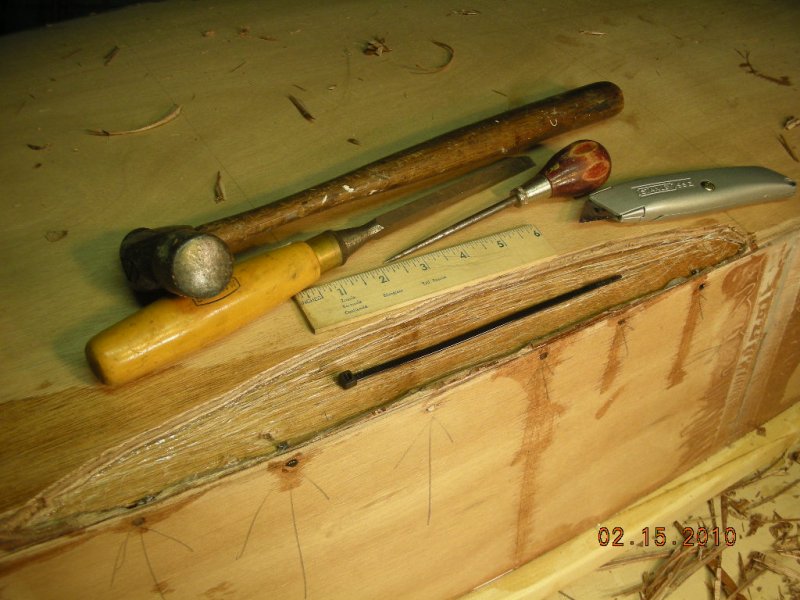
-
I am not clear about the butt blocks on the inside of the midship joints. I don't see them referenced in the plans, nor did I notice them in the photos sent on the disk. Would I use a piece of the 4 mm plywood across the midjoint seam? The height would be the same as the height of the side. How wide? The width of the fiberglass tape? I can see that would add some strength to the seams. Otherwise the only thing carrying the load as it comes to that point would be the fiberglass tape and epoxy. Thanks.
-
Ok, I figured it out .... I think. Thanks to the opportunity to talk it out through via this forum. The plans for the spreader are measured in inches as shown on the plan. The plans show a half spreader measuring 11 inches. The full spreader to the inside of the marine plywood, under the inwale, measures 22 inches, per the plans. I have 21 inches at the 42.5 inch mark off the bow and stern! Excellent. When I come inboard from the bow and stern by 4.5 inches, I have a 22 inch breadth. I will be able to make the spreaders according to the plan and position them under the inwales just a little further inboard than the "not to critical" 46.5 inches noted by the plan. I am not sure I really missed anything at this point other than my attention to detail. Thanks John, for being a sounding board.
-
My interpretation of the plans were that at the center line I should have 26.5 inches. I used a spacer to hold that width while I taped and glued the interior. I have released the spacer and I now have 26.75 inches at the center, to the outside of the gunwale. At 42.5 inches from the bow and stern I have a width to the outside of the gunwale of 22.75 inches. I have smooth lines down the sides and a nice shape to the boat. I had imagined the spacer I used would be replaced with a singular spreader in the middle. Two problems came to light: 1) the spreader would be located right where I would sit, and 2) the plans call for two spreaders. Then I realized the more sensible guidance of the plans ... two spreaders. The plans say to locate the spreaders 42.5 inches from the bow, but that measurement is "not too critical". So, I will ease back into the canoe, off the bow and stern, and position the spreaders where they will be able encompass a single passenger within the middle of the boat. It makes sense to me as I think about the stresses on the sides of the boat once there is weight sitting in the center of the boat. The spreaders would help the shape of the boat remain, otherwise it would seem the boat would tend to fold up around the passenger once it is in the water. This photo shows the canoe from above with the spacer installed to maintain the 26.5 inches at the center beam.
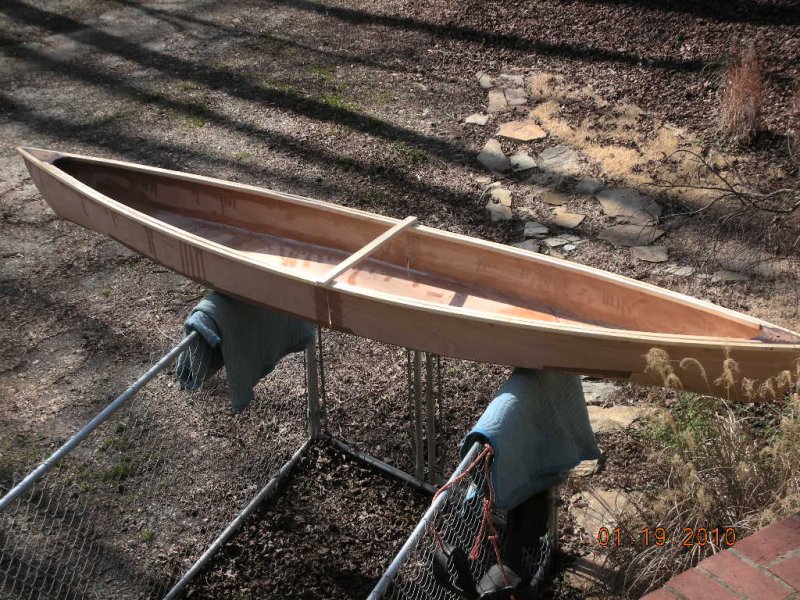
-
I am working on my canoe again. I have to locate the spreaders and install them. The spreaders should be 42.5 inches from the bow and from the stern. The width to the outside of the gunwales should be 26.5 inches. The problem I find is that I had used a spacer on the transverse center line to maintain the shape in the center to 26.5 inches wide. I have glued and taped the interior. The inwales and gunwales are in place and glued. When I used a spreader to push the sides out at the 42.5 inch mark, the wood began responding with loud cracks and other noises, so I stopped that.

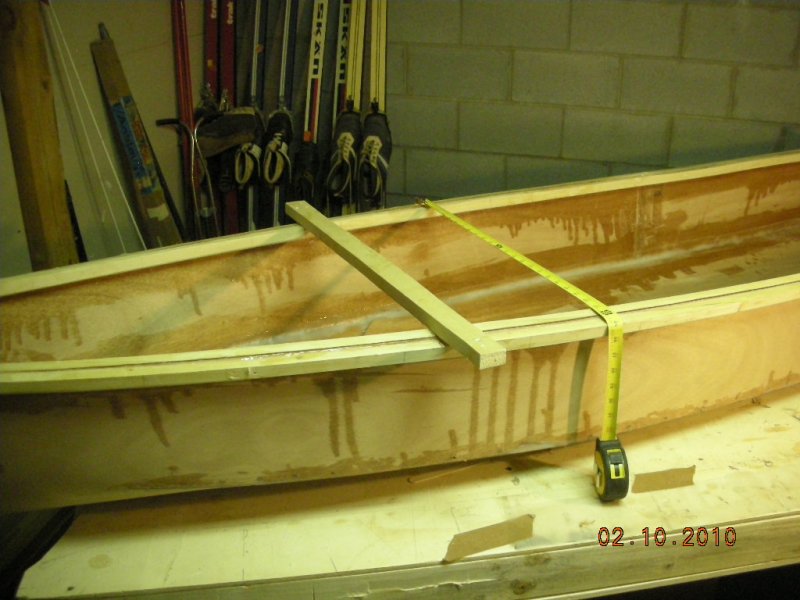
-
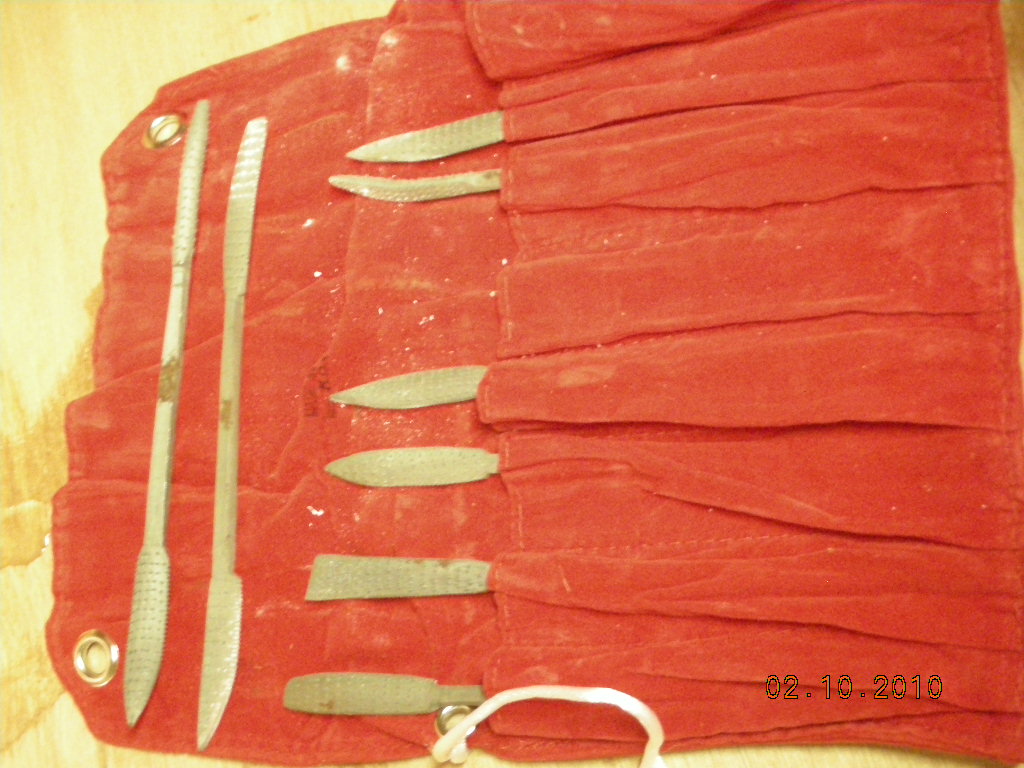
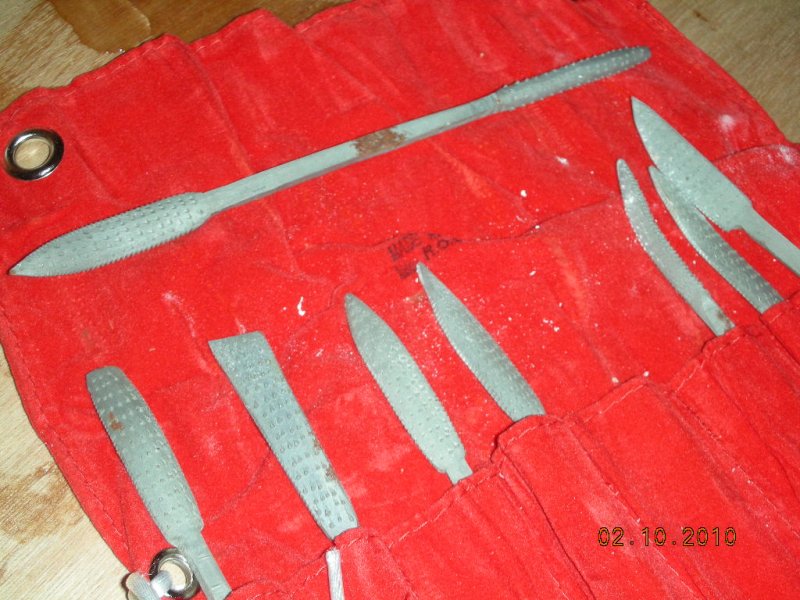
Here are photos of the rifflers I ordered. They are like small rasps of different shapes, angles, and sizes. They work great for cleaning tight or small areas. I found a few cavities and bubbles under the epoxy. I used the riffler to excavate the cavity, smooth it down, and refill the cavity with more epoxy.

-
A Riffler Rasp Set looks like what I am looking for. I have been wondering what I could use to get into tight places, such as the bow and stern. The multitools really look to big and bulky for fine work and to expensive for the minimal needs I have right now. These riffler rasps appear to be small, curved, and have a long reach. They may be just right for cleaning up dried epoxy in tight areas.