mitchmellow
-
Posts
102 -
Joined
-
Last visited
-
Days Won
2
Content Type
Profiles
Forums
Events
Everything posted by mitchmellow
-
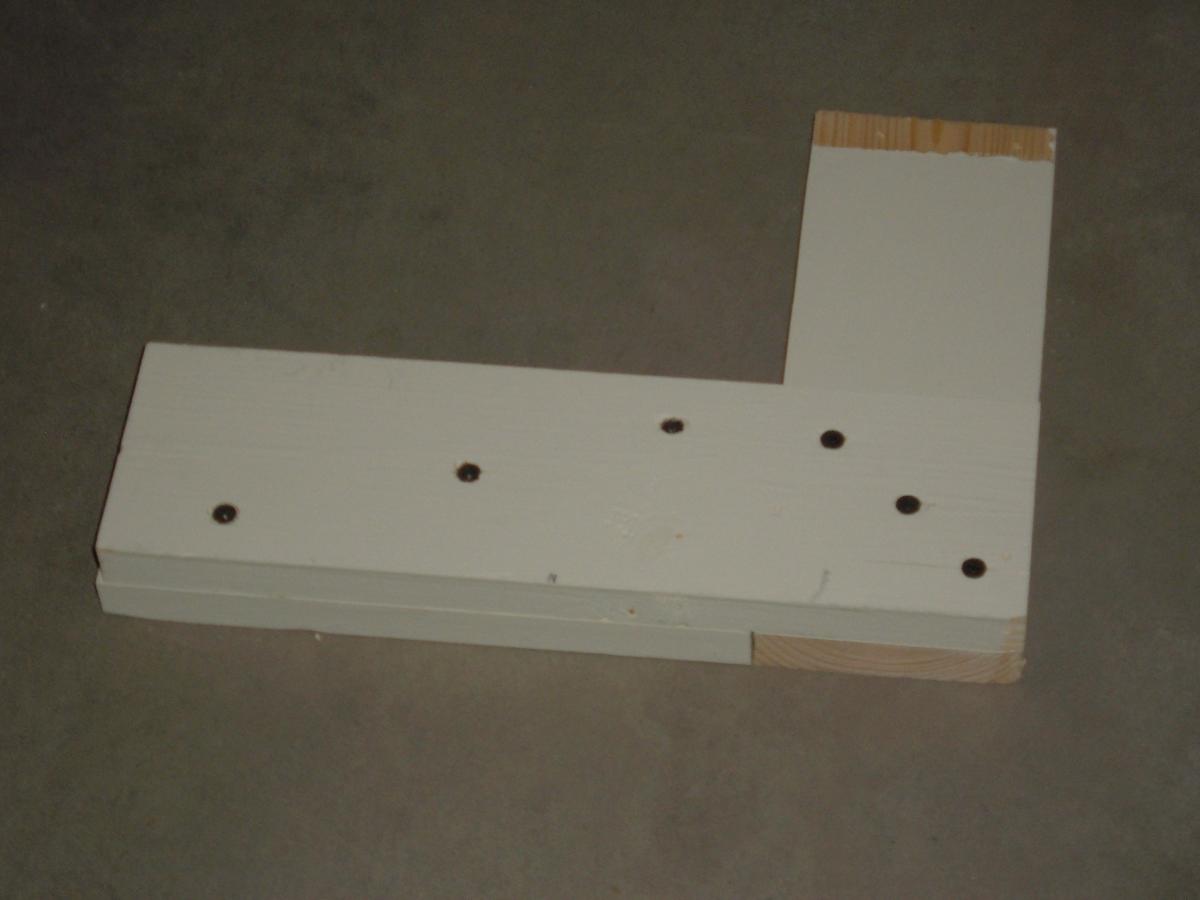
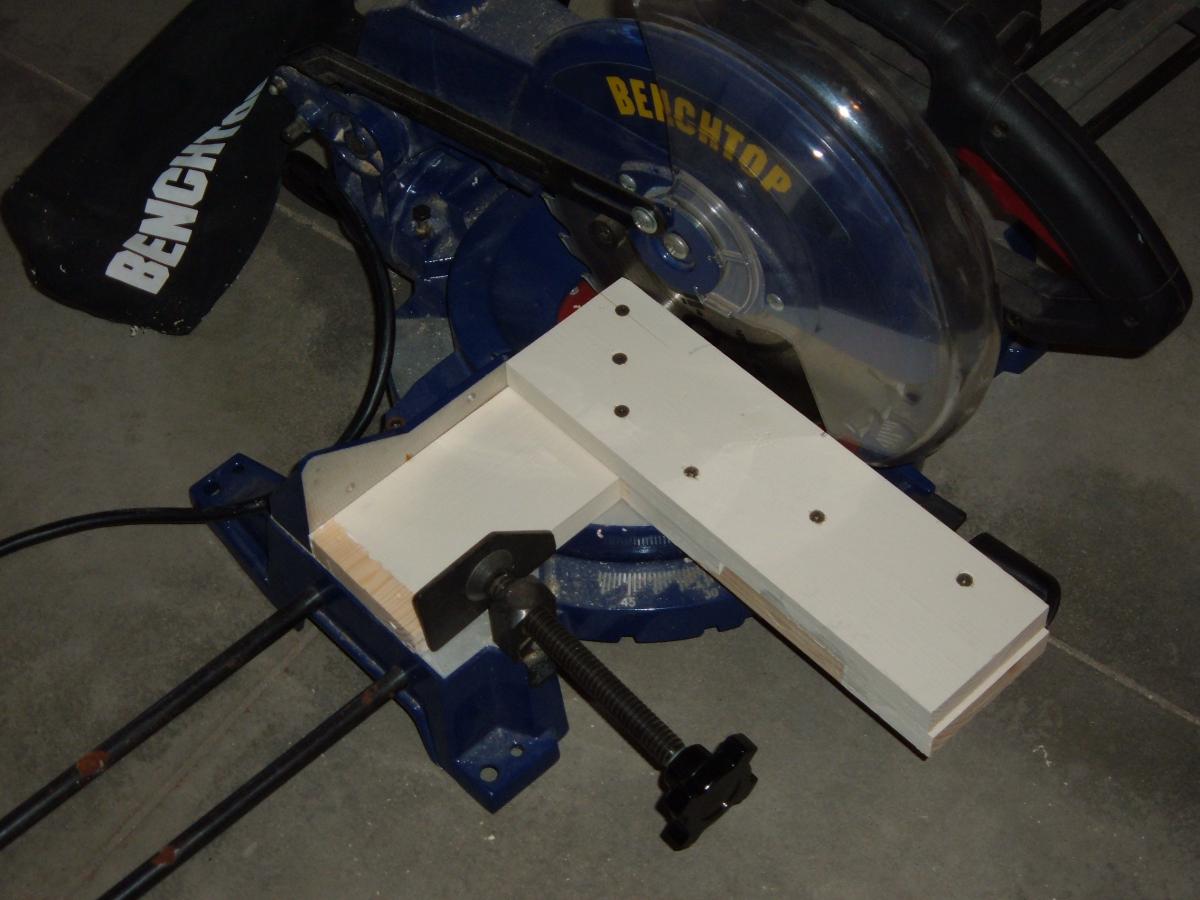
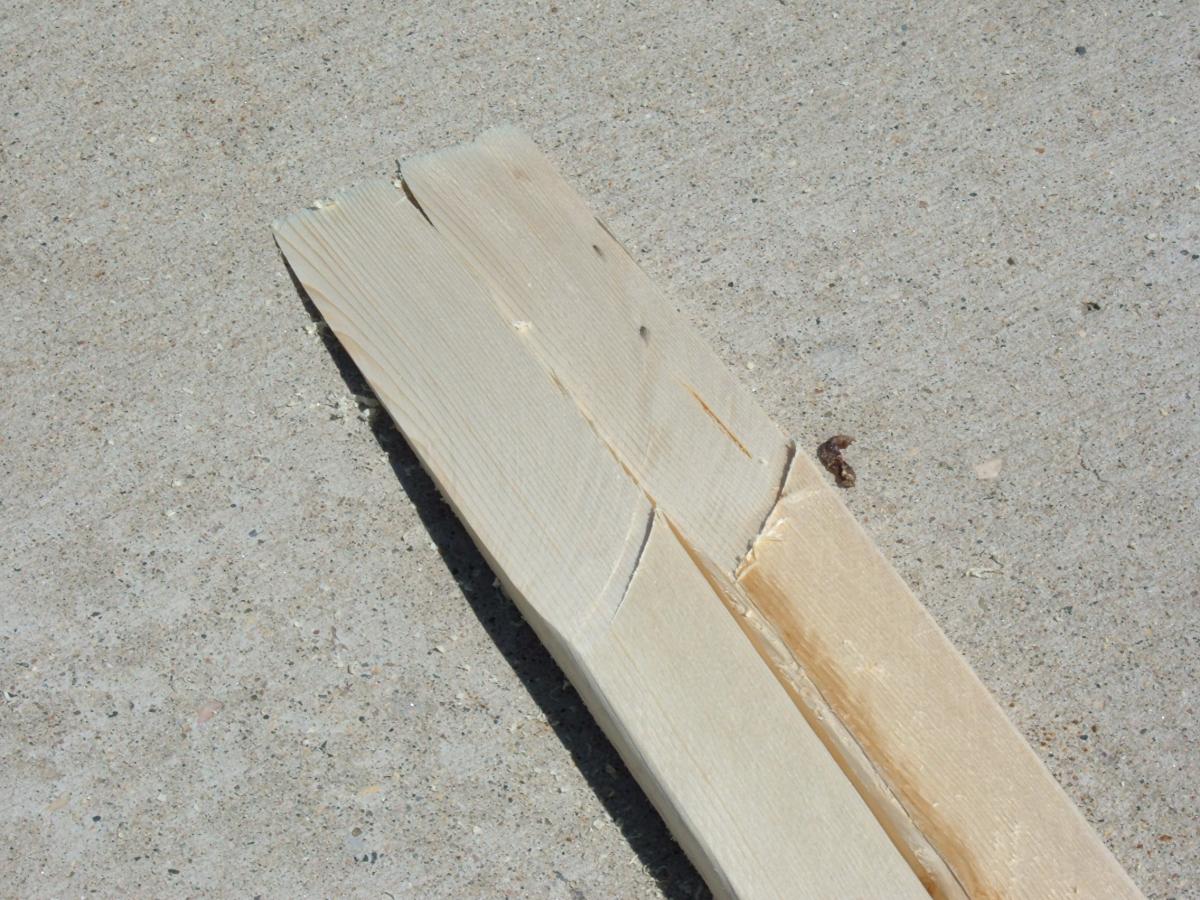
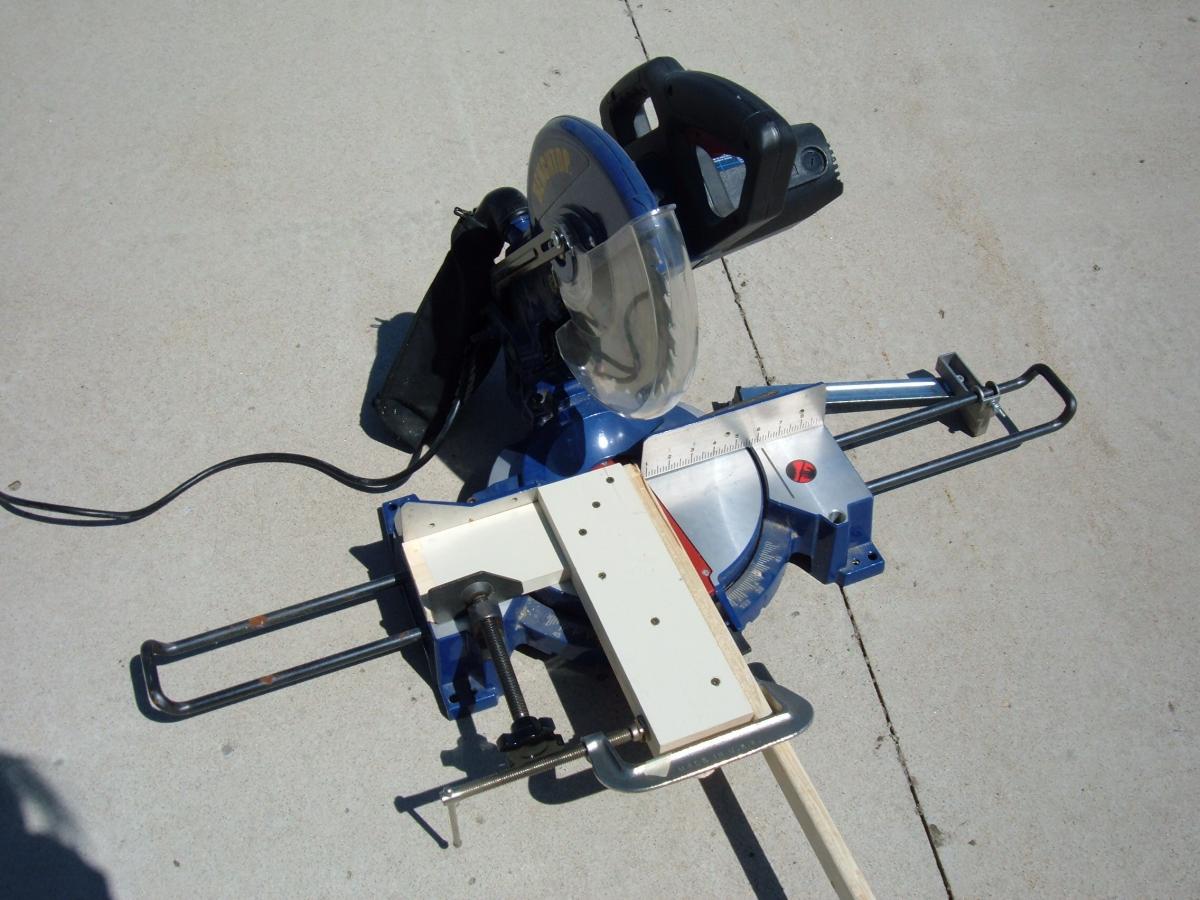
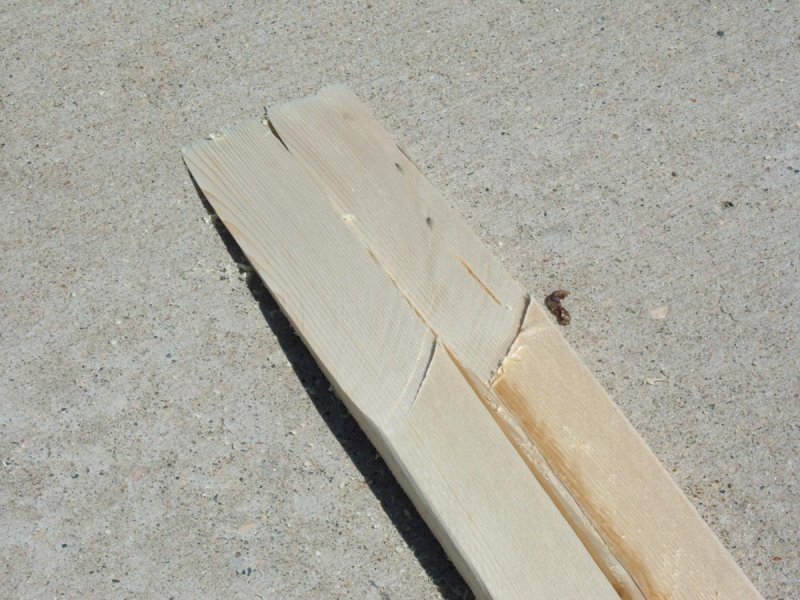
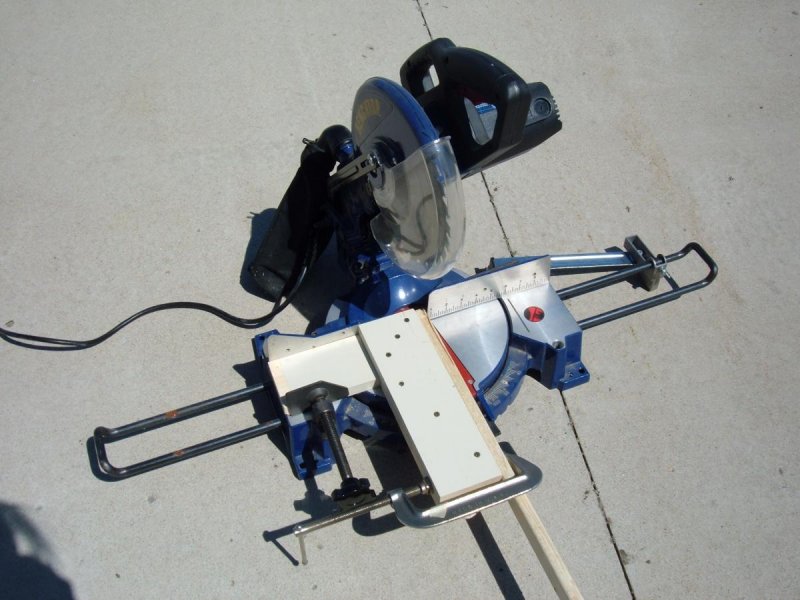
There have been a few posts about how people cut the stringers for scarf joints and I thought I'd add my 2 cents. This comes from someone who is not a woodworker and is tool poor. I do have a cheap old 10 inch miter saw and thought I would see what could be done. I'm quite satisfied with the results and feel it to be much safer than a table saw. I checked at a local rental store and their 12 inch miter saw would cost $32.95 for a day. My ten inch will just manage an 8:1 ratio with 3/4 inch thick material. Some cleanup of the cut is needed. First I built a 90 degree "jig" with 1x4 pine, glue and sheet rock screws. The jig clamps into the saw and allows the stringer material to be clamped in place. A 10 inch saw will almost do a clean cut. A corner has to be cleaned up. A 12 inch would do it easily. A sliding miter would be even better. The finished joint was very strong and would take as much bend as the material (using Titebond 3).



-
Thanks for all the support. Use any pictures that you want, Jeff, Its the least I can do. I read somewhere that the Greenland natives would tie leather or sinew a number of inches out from the root of the blade. I tried some left over cord and it seemed to make a big difference. Still wet but not the previous deluge. My technique may be improving a little also. Learning to hold the paddle lower.
-
I live in central Minnesota. Willmar. Was on a small lake within the town. The seat worked fine. I'm not sure how it would be for someone with a touchy back. It was cheap so it wouldn't cost much to find out. I've read that technique will help solve the avalanche of water from the paddle blades. Since I have no technique at this time I can expect a lot of improvement!
-
Took the maiden voyage this evening. Amazing. Paddles very nice. I'm sure someone has a remedy for the water running down the paddle and into the boat??


-
Still need to add a little color to the cloth on the inside of the coaming but otherwise done. Should have the home brew car top carrier done this evening (Yes, I built a kayak with no way to transport it!!!!! ) The blue deck lines are darker than the painters and coaming lip which are darker than the seat foam but when you're male it just doesn't matter. Hopefully no leaks. Will send pictures.


-
Artificial seal skin! Yay, that's the ticket !
-
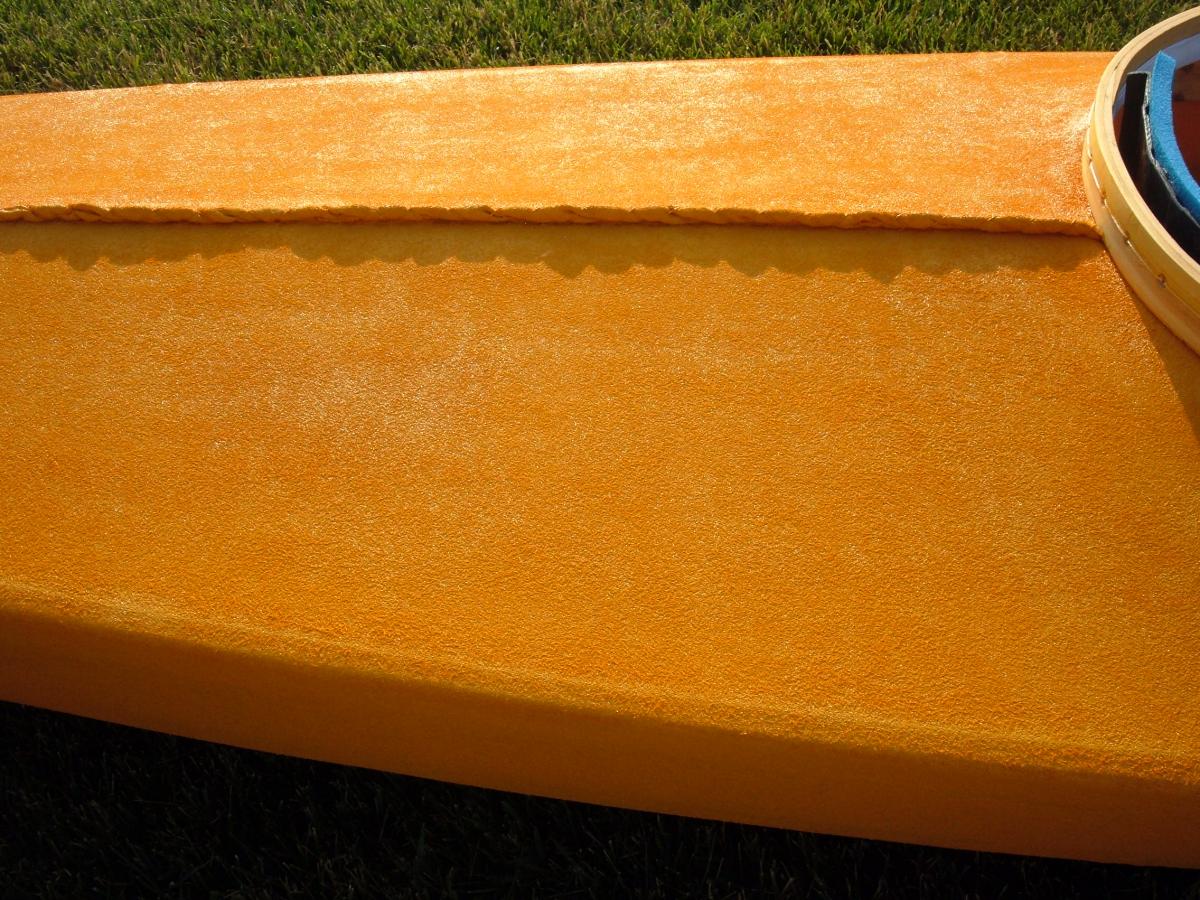
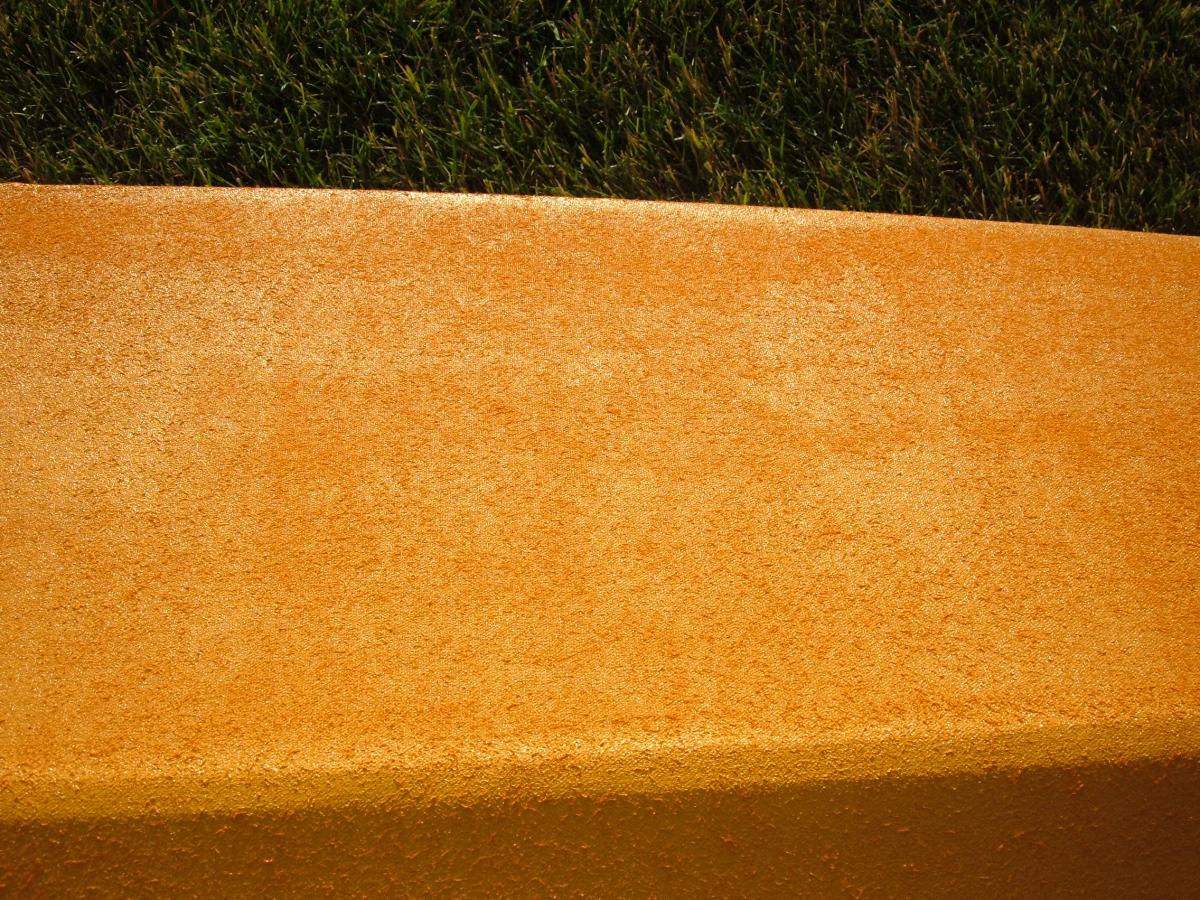
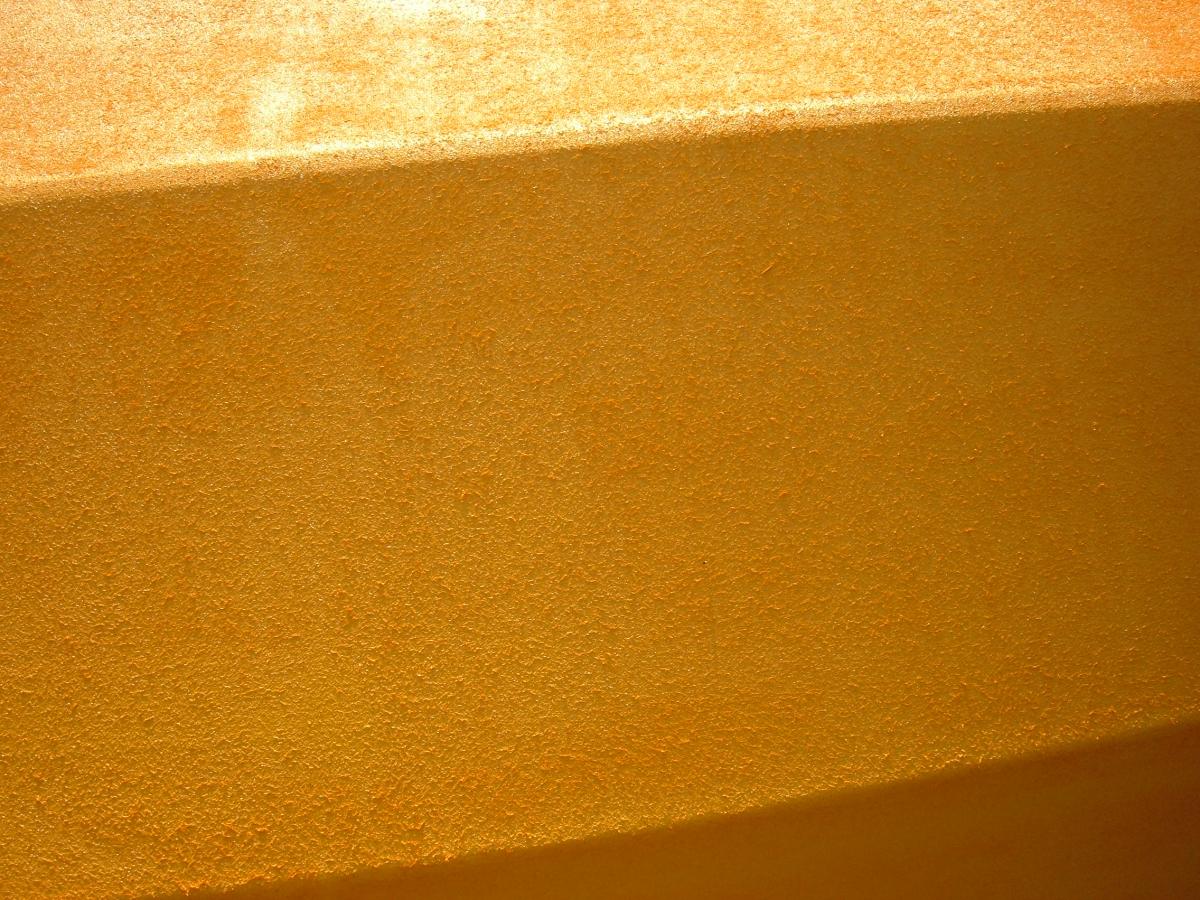
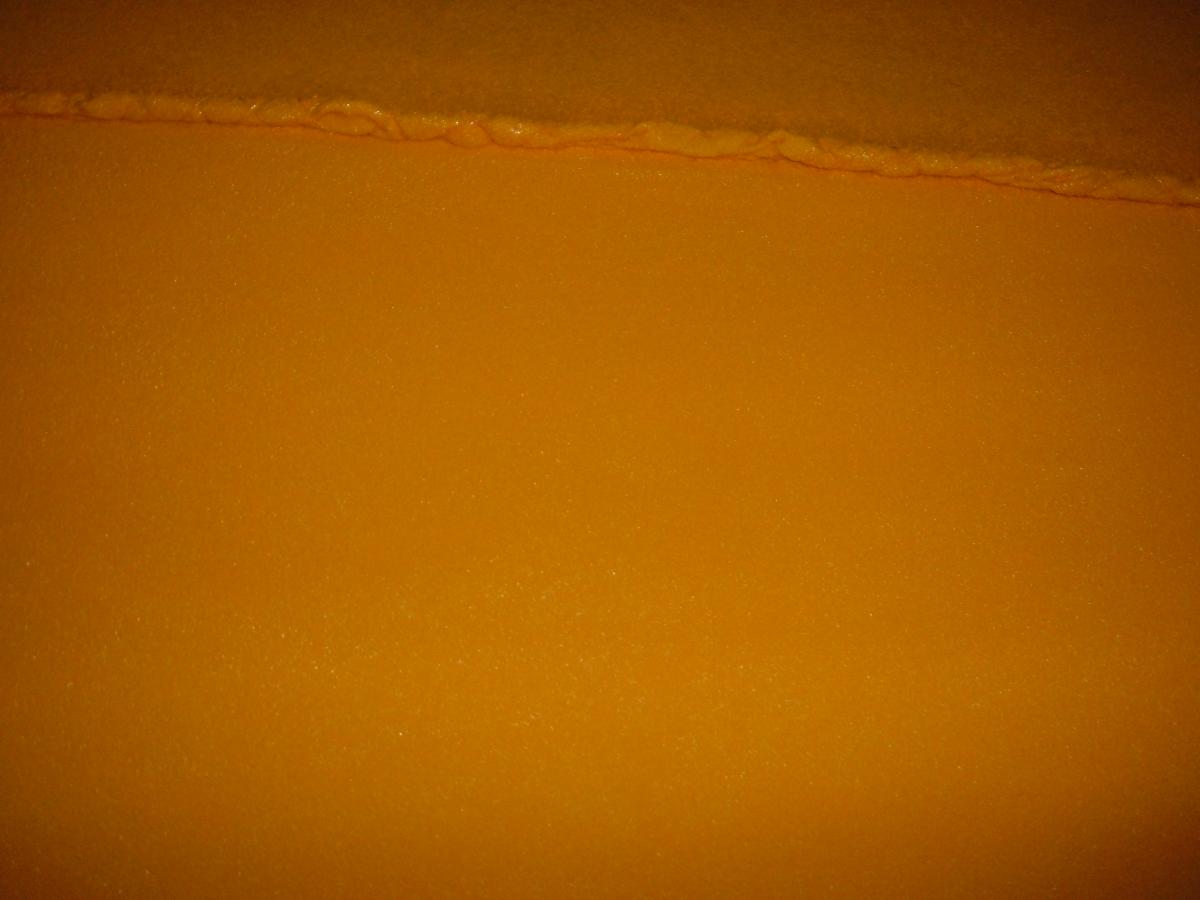
Two shots of the fabric that was sanded before and then after painting: Two shots of the fabric that was never sanded:


-
I'll try to post some better pictures tonight or tomorrow.
-
Rustoleum. By the way, I used almost 3 quarts for the 3 coats. I think I followed Jeff's advice in his video pretty closely. Could it be that this fabric soaks up more?
-
Please don't get me wrong. I'm not disappointed in the texture of the fabric at all. I imagine seal skins had a texture also. In a way, it reminds me of leather. The color was a little more shocking than the pain chip but that is growing on me also. This has been a very enjoyable process. Thanks to Jeff for all his knowledge and his willingness to share.
-
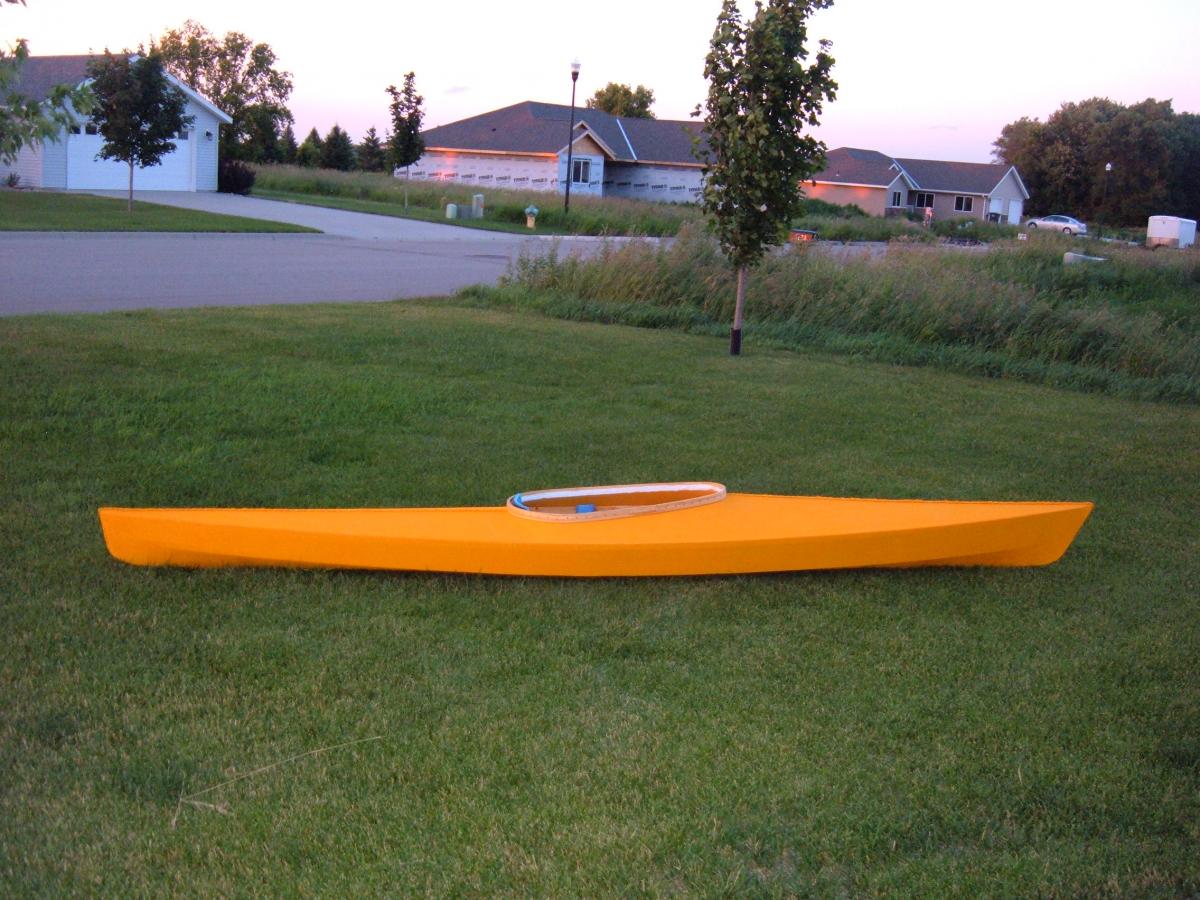
The FreeB 14 is painted and waiting to cure a little. Color turned out slightly different than expected but still happy with it overall. Have some 5/8 blue poly rope for a coaming lip. I am hoping to find a similar blue shock cording and rope for rigging and painters. Do you offer colors, Jeff? Also need to add wear strip and will probably paint the cloth on the inside of the coaming. The recycled polyester has been interesting. I read about the sanding after each coat of paint and reasoned that a little hand sanding with 220 grit before painting might help. Wrong! It was reminiscent of suede after painting. Sanding after the final coat softened it to a velour/velvet. These pictures don't really do it justice but if you enlarge them you get some idea. Both the regular roller and a foam roller tend to lift the "nap" as you paint. I don't know if a foam brush would give a different result. I might attempt that on a scrap. At one point I had thoughts of finding a local artist to do a likeness of Elvis in shades of blue on the deck and I would name it "blue velvet"! (lol)


-
Menards, a big box store in the upper Midwest, has "Russian birch". You have to special order it at the store. The web site says it is 9 layers and uses a "phenolic" exterior glue. A 4x8 sheet is $54.99. I'd be interested to see what the plywood aficionados think about it. Here is the link: http://www.menards.com/main/building-materials/panel-products/plywood/1-2-x-4-x-8-baltic-birch-plywood/p-1479673-c-5698.htm
-
I assume you are speaking of a military deployment. Thank you for your service. Gods speed and watch your backside! I agree whole heartedly with P. Douglass. What great bonding.
-
Yostwerks link came through funny. Here it is again: http://yostwerks.com/HoopCoaming4.html
-
On this forum I know that GPStick has used a rope lip on the coaming of his Curlew. You can see it in some of his pictures. On the web, Yostwerks (http://yostwerks.com/HoopCoaming4.html)describes a method using epoxy. Jeff described a sewn on method in his development of Vardo in this post: http://messing-about.com/forums/topic/6579-development-of-vardo-sof-kayak/page-2. Maybe he or GP will weigh in on it. I think I would go with a synthetic and sew it on.
-
You are not blind. In fact, you are rather observant. I'm going to post something on the coaming later. I was thinking of doing the rope style lip/edge but may never do anything. This is meant to truly be a recreational kayak and I don't plan to be in the rough water that would require a spray skirt. I live in an area of small lakes and mostly quiet waters.
-
Amazing!!!! I calibrated the iron to 230 degrees using Brooks method and proceeded to iron. The wrinkles are gone! There is still a little bit under the coaming but I'm not going to worry about it. I included before and after pictures. Before: After:


-
Thanks for the encouragement! Yes, it is Jeff's recycled 8 oz. polyester.
-
I have the FreeB 14 skinned. I was feeling quite good about it. The center seams are nice and straight with nary a wrinkle. I was even wondering if heat shrinking was necessary.........then I sewed in the coaming last night. Wrinkle city! So today's question is: how much can I expect from the heat shrinking? Will it correct these wrinkles or am I expecting too much? I've included a picture but I think the wrinkles look worse in real life. If you enlarge it you get a better perspective.

-
I attached the foam with household GOOP. I've had great luck with it in other applications but never used it in a situation like this. It is supposed to be waterproof. Thanks for the advice on the slats and foot rests. Since this is my first boat and my first venture into kayaking it's good to hear other opinions.
-
Here are two pictures of the seat alone. The foam is from a 1/2 inch sleeping bag/camp mat ($7.47 at Walmart) and the thigh bracing (admittedly a little short) is from a $.75 noodle. In wheelchairs the downward slope of the seat to the back of the chair is called "dump". If I do another seat like this I will try to maintain the original dump of the chair. I think you could put the chair on a level surface and use a level to determine where to cut the front legs. I just cut all the legs off at the bottom of the seat.


-
Was thinking of rustoleum goldenrod for the color. The way I cut the legs from the lawn chair changed the angle of the seat and I felt it would be a little uncomfortable without some padding. Unfortunately, I have a sensitive tailbone and I think you can spy the cutout in the foam. That really helped. I think I looked rather funny sitting in the living room watching tv and testing the seat comfort. The seat rests on the existing slats nicely and was thinking of not adding any more but would appreciate opinions since I am a total newbie.
-
Sorry. Should have identified it as a FreeB 14.
-
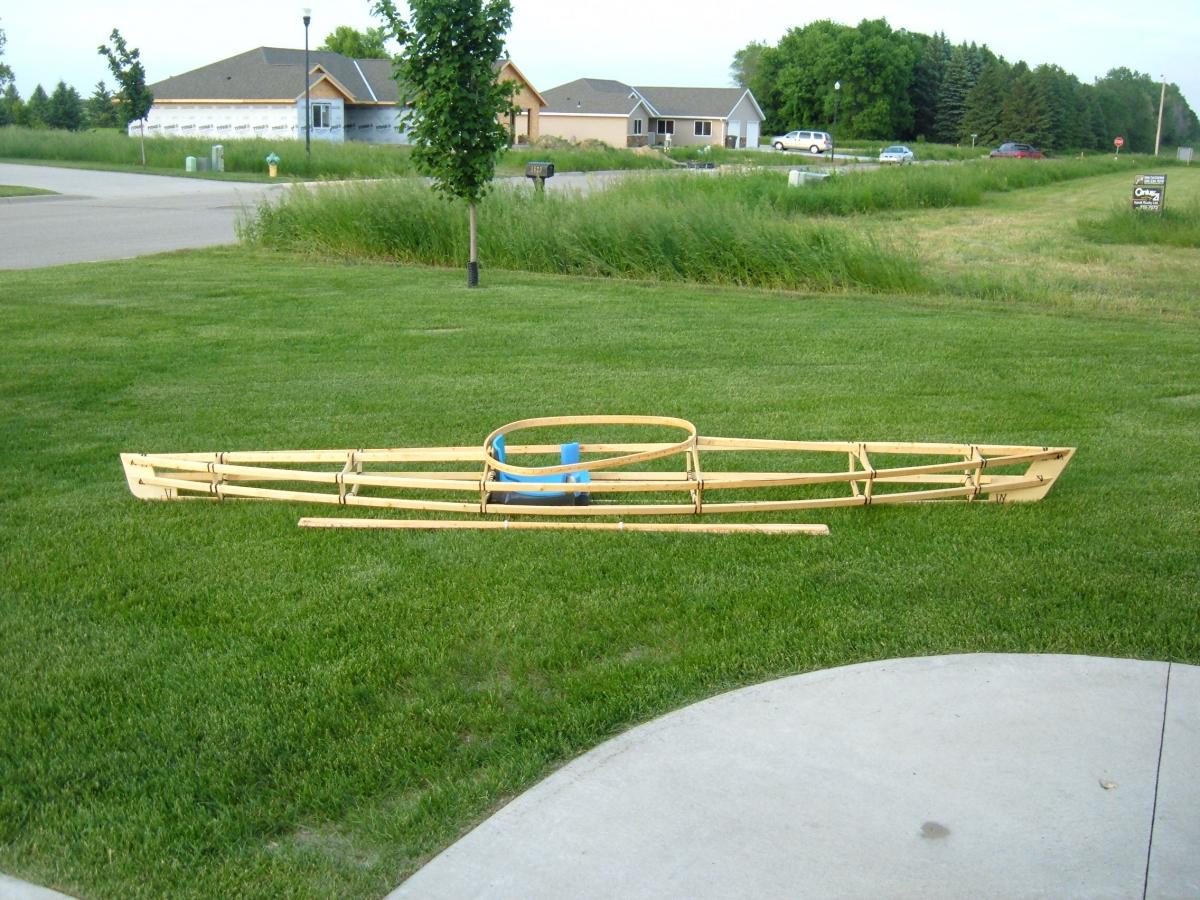
Will start sewing soon and so here are the obligatory photos of oiled frame, coaming, lawn chair seat and "faux" Greenland paddle. It's been a very interesting and enjoyable journey.


-
Jeff, I received your "recycled" fabric last week. Thanks for the quick service and generous measurements. To my surprise, the cloth width measures almost 67 inches. I have it push-pinned to the hull and it reaches around the widest point with enough extra for "rolling". If you remember, I'm working on a FreeB 14 which is probably your widest design. There was a second blemish near the edge of the cloth but with your generosity I was able to situate it such that the blemish will be cut off or at the least be inside the coaming when sewn. Thanks a bunch!