Daniel Gross
-
Posts
46 -
Joined
-
Last visited
Content Type
Profiles
Forums
Events
Everything posted by Daniel Gross
-
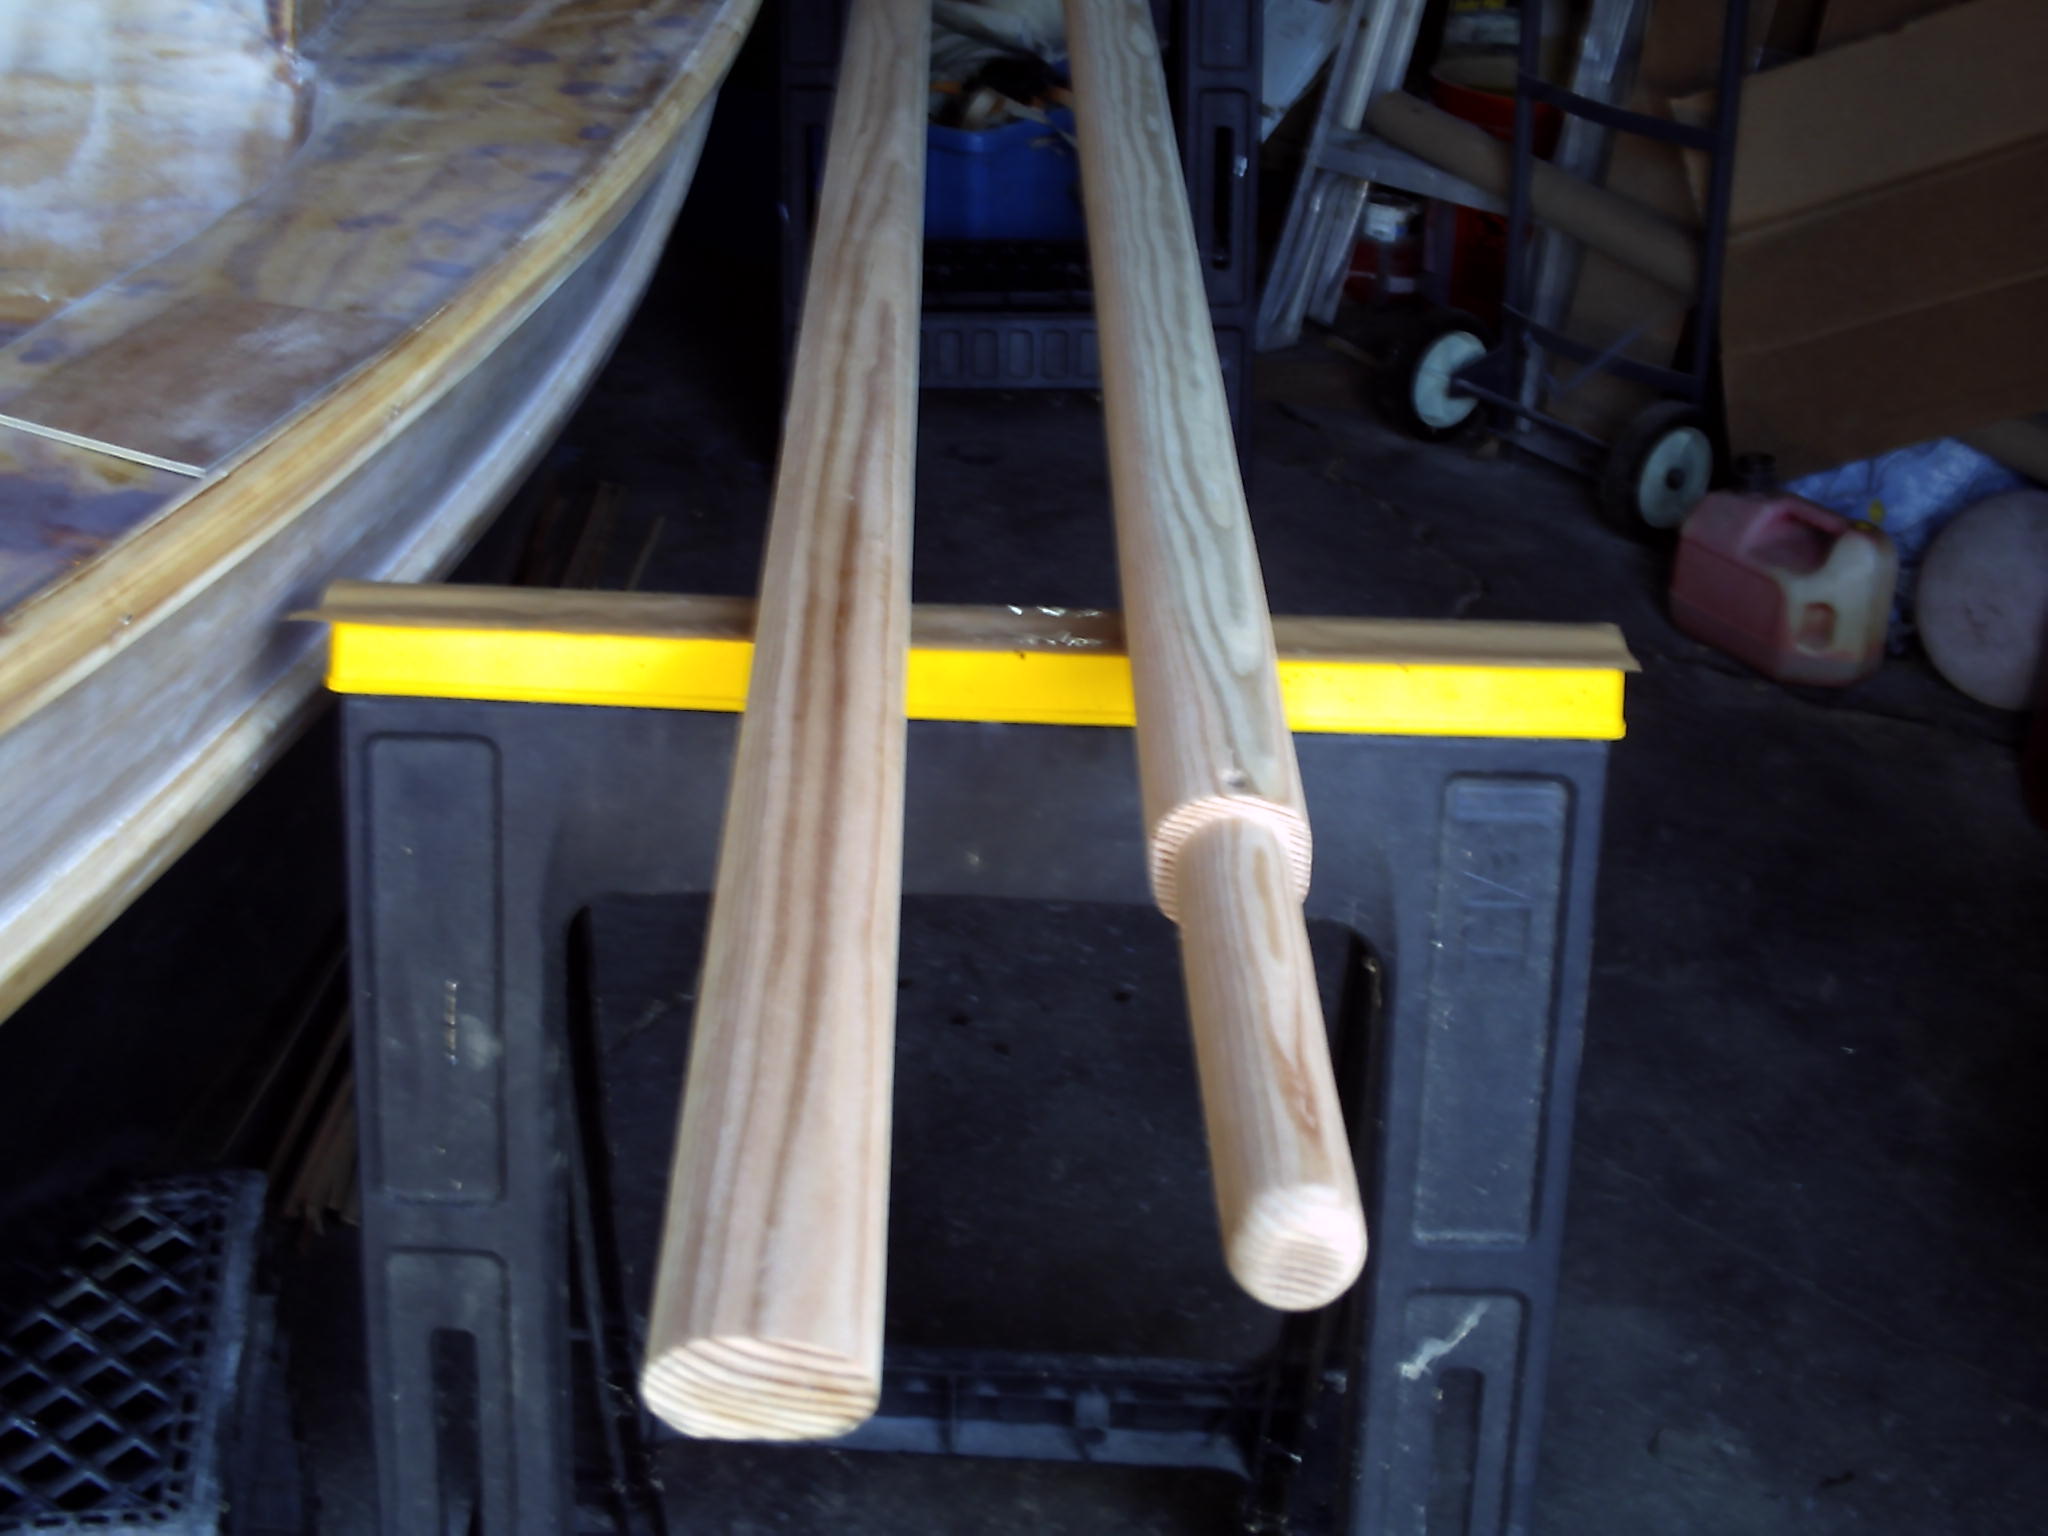
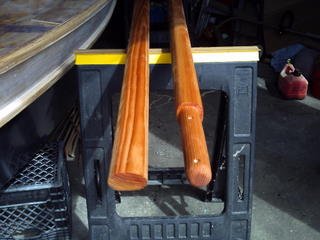
Mast & boom update, First coat of epoxy on and I'm I like how it darkened up. I'm getting ready to apply a second coat, hope they get even darker. Dan
-
Thanks Al, We want pictures!! :grin: Dan
-
Thanks Par, I'll start a few test pieces tomorrow and see what they look like. Dan
-
Hi guys, I need some advice on spar finishing, the mast and boom and soon the gaff will be ready for finishing and my question is what to use. Everything is douglas fir and I want the grain to show but I'd like the spars to be much darker than natural fir. I'm going to epoxy and either varnish or clear coat them. Hope that's clear enough. Thanks in advance. Dan
-
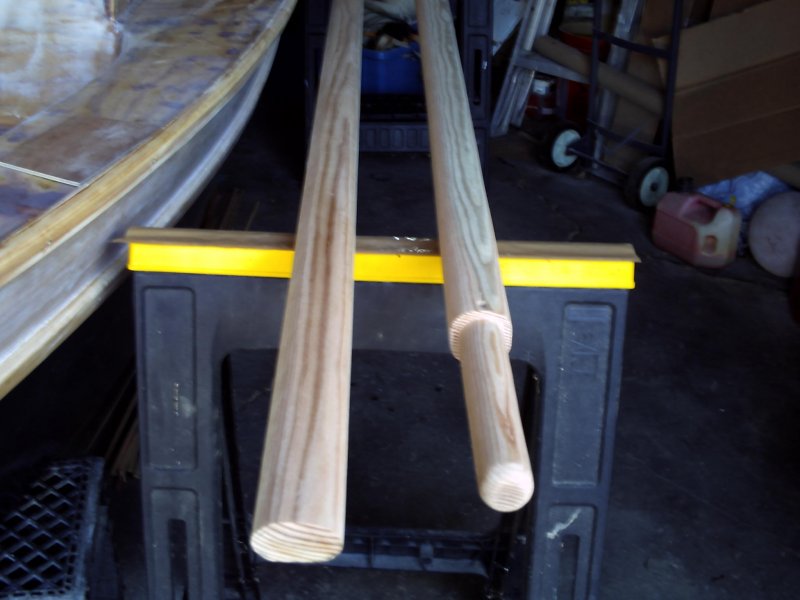
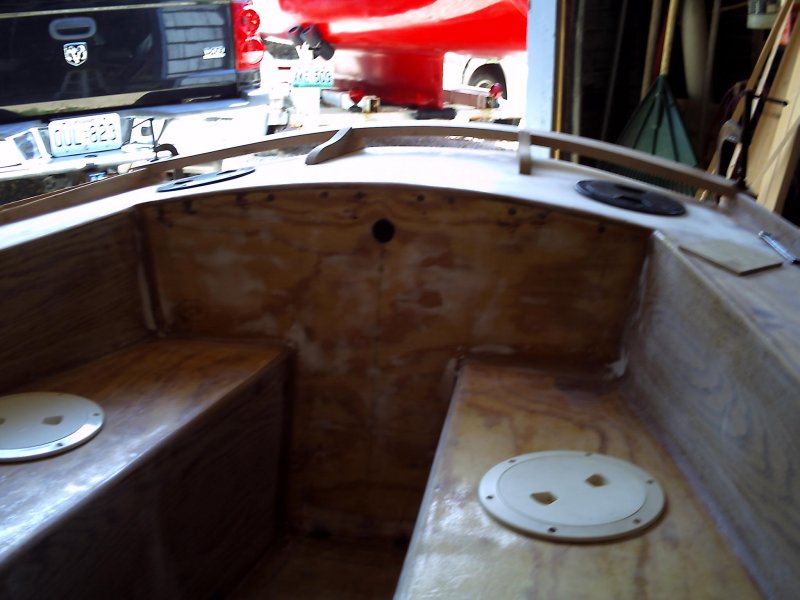
Been busy this weekend, got the mast and boom cut out and tapered it was a chore but not as bad as the bowspirit in my opinion. I don't have a table saw or a band saw so everything has been done with hand tools, electric and me powered, I like the me power better :grin: The taffrail wasn't that bad, still have a little to do on it though I'm going to let it set in place to really remember it's shape before I pull it off to shape it some more, the heat gun trick worked pretty well to get it to bend. I'm going to 45 the corners of the mast tomorrow if it doesn't rain, backing up a bit I cut the mast out of a 4' and a 12' df 4x4 it probably would have been easier to do a single 16' but transporting it would have given me a stroke, it was bad enough with inattentive drivers behind me with only 4' sticking out of the truck bed :x Getting the two pieces to match up just so was interesting but doable. Here's some pics Taffrail Bowspirit Mast and boom Thanks for the help Dan
-
No worries, Howard. Learnin's good Dan
-
Thanks for the info Par, I think I figured out the taffrail, I cut a piece of half inch ply the with between the hull sides on the laz top, bent it to the horizontal curve then marked the aft edge to the stern curve then used that line to make the other side of the curve extending both lines out another two inches or so, cut it out and it worked! Clamped it in place and marked the ends for cutting and voila, a perfect template ( I hope ) I'll transfer the pattern to the actual taffrail and hope for the best, looks good so far. thanks Dan
-
Hi Howard, The paint came out fine, rock hard and on tight. I think it was curtaining If that's a word because it went on too heavy. It's not an auto finish but it looks good from three feet so I'm happy. Thanks Dan
-
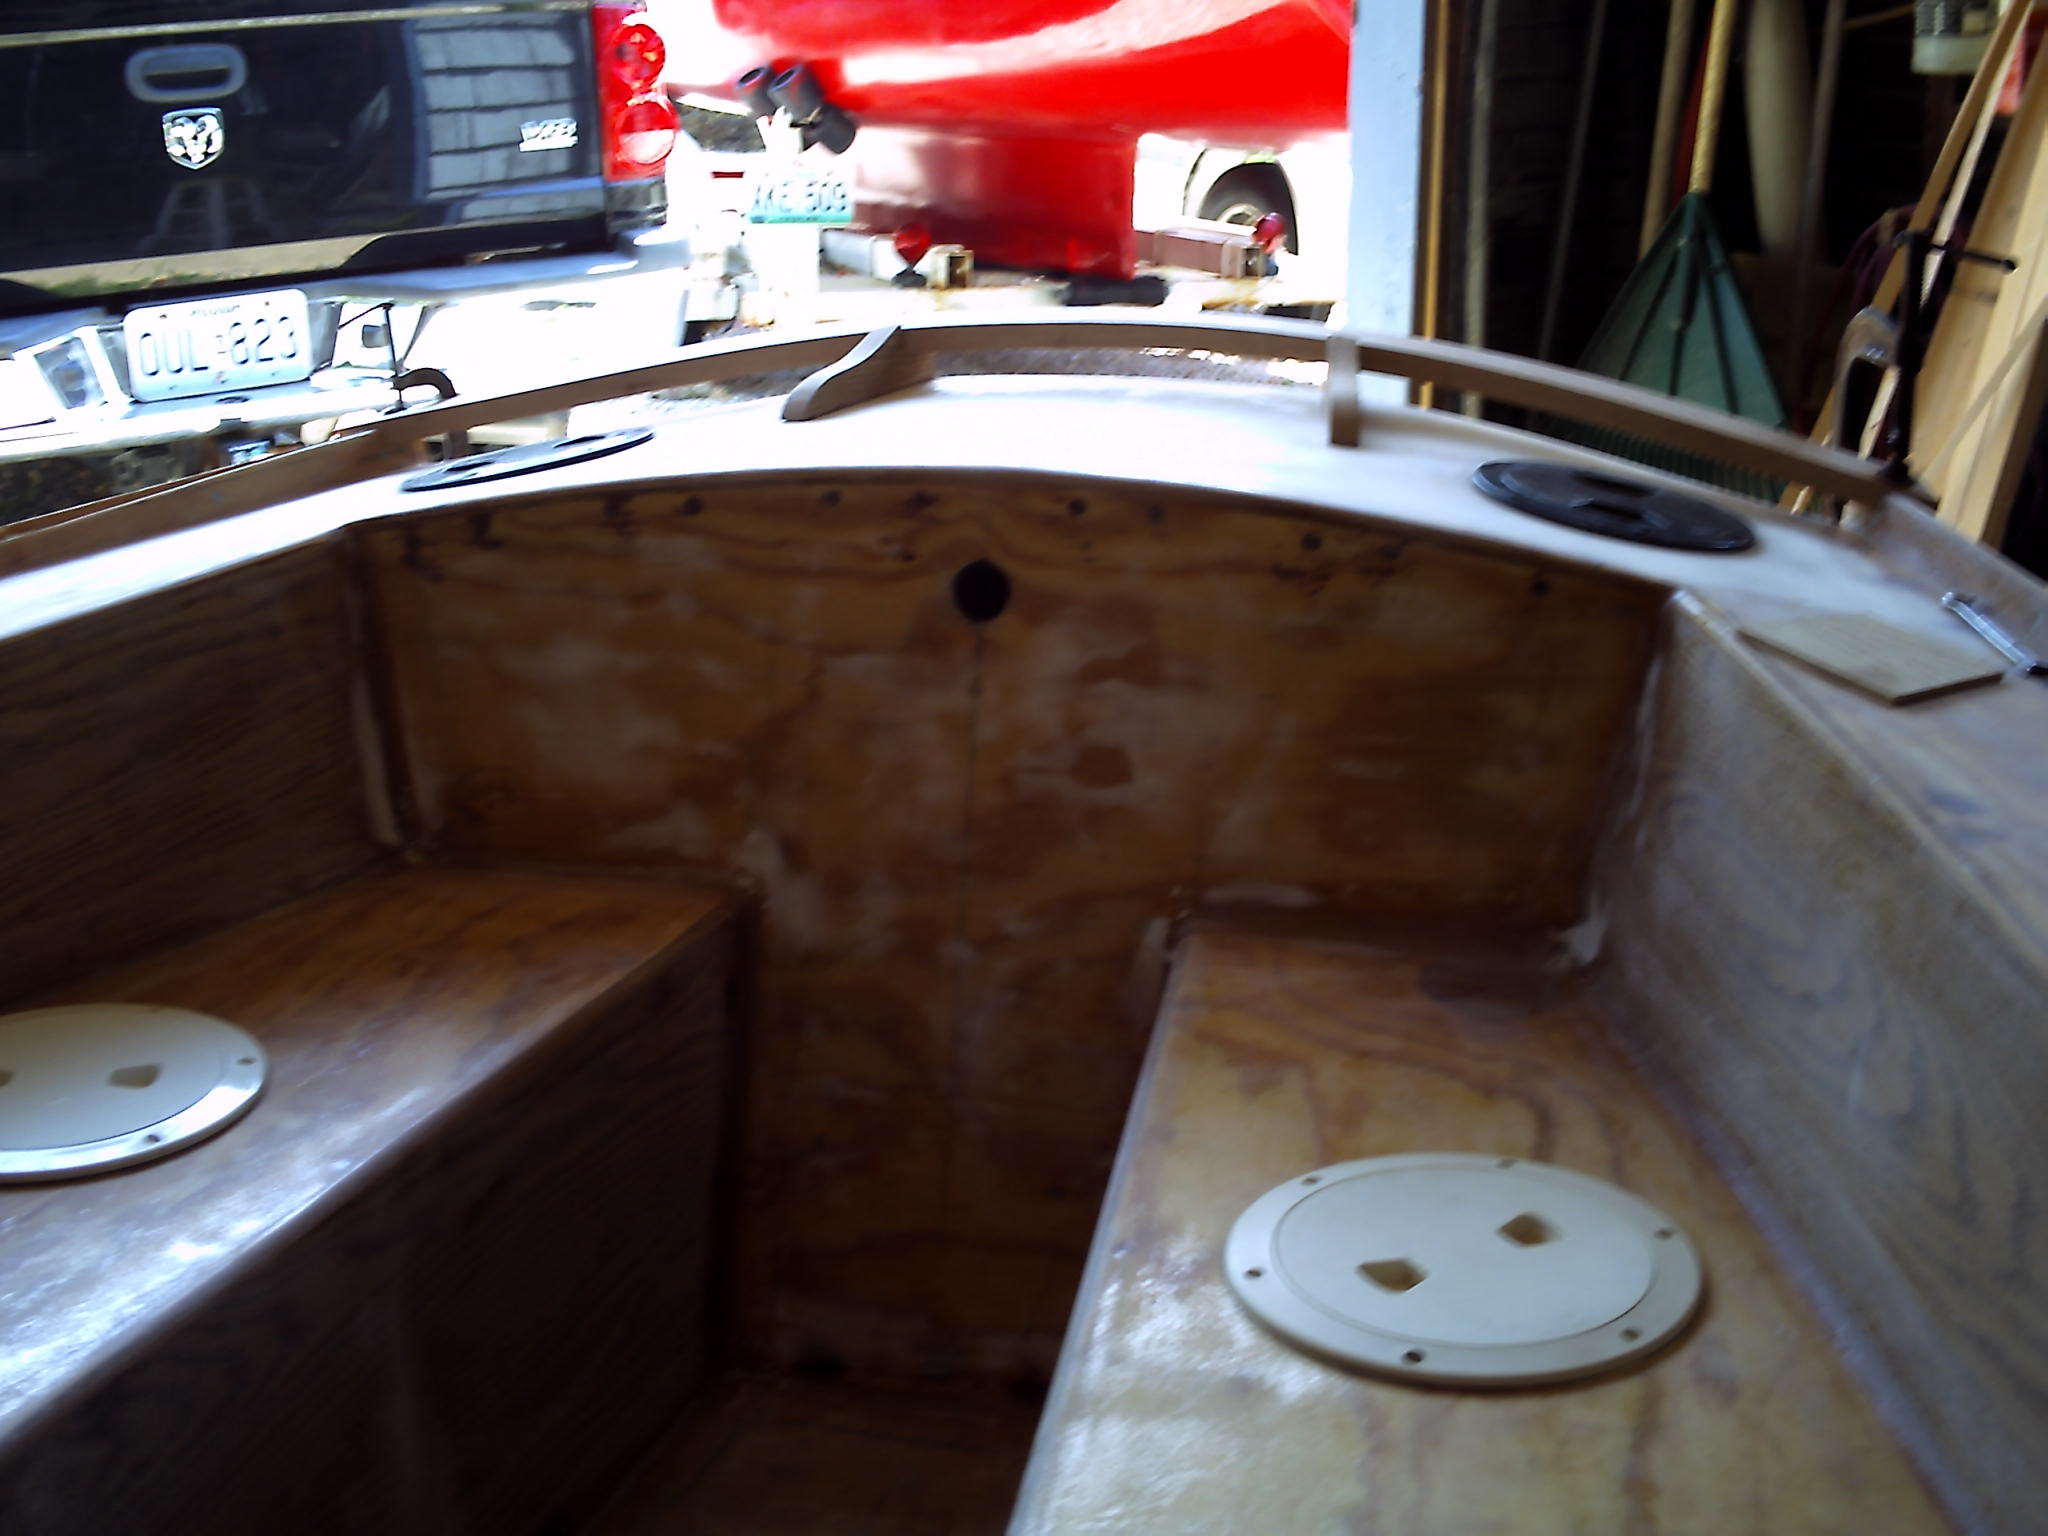
Just a quick update the paint came out fine, the longer it set the smoother it got, tried primer first on the area between the rub rails and had to scrape it all off both sides for some reason it would not set up and dry, lesson learned. Dark wind was flipped and the fore peak, cabin and cockpit epoxied, chain plates and partners made, hatch grab rails made and fitted. I had a spare trailer so it got sanded and painted, ready for bunk boards and new tires. I had the water patrol out to give me the paperwork to get it titled, it's officially a boat :D Here are some poor pics. Trailer Chain plates Grab rails One question, is there an easy way to cut the taffrail out? I'm thinking about making a pattern out of 1/4 in ply and transferring it to the wood to be used, tried doing it directly with disappointing results. Any help appreciated Dan
-

Excellent mast and spar making tutorial
Daniel Gross replied to Ray Frechette Jr's topic in Main Forum
Thanks Ray, Bookmarked it for further reading. Dan -
Site is back up, and that's one fine looking Weekender!
-
Site seems to be down at the moment, Mike
-
Looking great John :grin: Your shop looks like mine, covered in a fine layer of epoxy dust :-o Fair winds Dan
-
I hear ya Konrad, My ro sander is a godsend. That was only the first coat, one more plus a fill coat since then. fair winds Dan
-
Good eyes PAR. Already done though, epoxying vertically is a pain gravity is not my friend. I go out occasionally throughout the cure and knock down any major runs, it makes it much easier to smooth out later. Fair winds Dan
-
Thanks PAR, I agree, think it went on a little thick. I'm going to try to spray between the rub rails and if that works I'll just sand down the hull sides and spray them too. Did get some glass between the rails today :grin: Fair winds Dan
-
No, I'm very familiar with blush, I used Aero Marine non blush epoxy and left nothing to chance treating it like it would blush, rinsed well and dried before sanding and painting. I have done a lot of epoxy work owning a 30 year old fiberglass Reinell 22 and a 12' catamaran both needed rehab. The paint did the same thing the epoxy did on the sides of the hull gravity pulling on on it slightly enough to uneven the finish. Pretty sure the roller ( 1/8" nap foam) was just putting on too much paint causing it to run. Thanks Dan
-
Thanks guys, the issue isn't that the gloss black showed any defects in the fairing, there isn't any. Its just that the paint did not smooth out as well as wanted it to. The bottom of the hull turned out great but the sides look as if the paint is sliding just a little making it look kinda wavy. Anyway, not enough wind to go sailing today so I'm going to glass between the rails so we can get it flipped back over. :lol: fair winds Dan
-
I'm not totally pleased with the outcome of the roll and tip ploly enamel porch and deck paint, it's a little rougher than I'd like but after four coats I'm done :? Next on the list is glassing between the rails, thinking of trying to spray that area. Does anyone know if porch and deck paint will work with the Preval sprayers? I've sprayed gel coat with them before, with some success. Thanks in advance Dan
-
Looks great John :grin: Keep up the good work.
-
Found som epics from the Texas 200
Daniel Gross replied to Martin Williams's topic in B & B Yachts Forum
Nice pics. It was an adventure for sure.