PlaneCrazy
-
Posts
22 -
Joined
-
Last visited
Content Type
Profiles
Forums
Events
Everything posted by PlaneCrazy
-
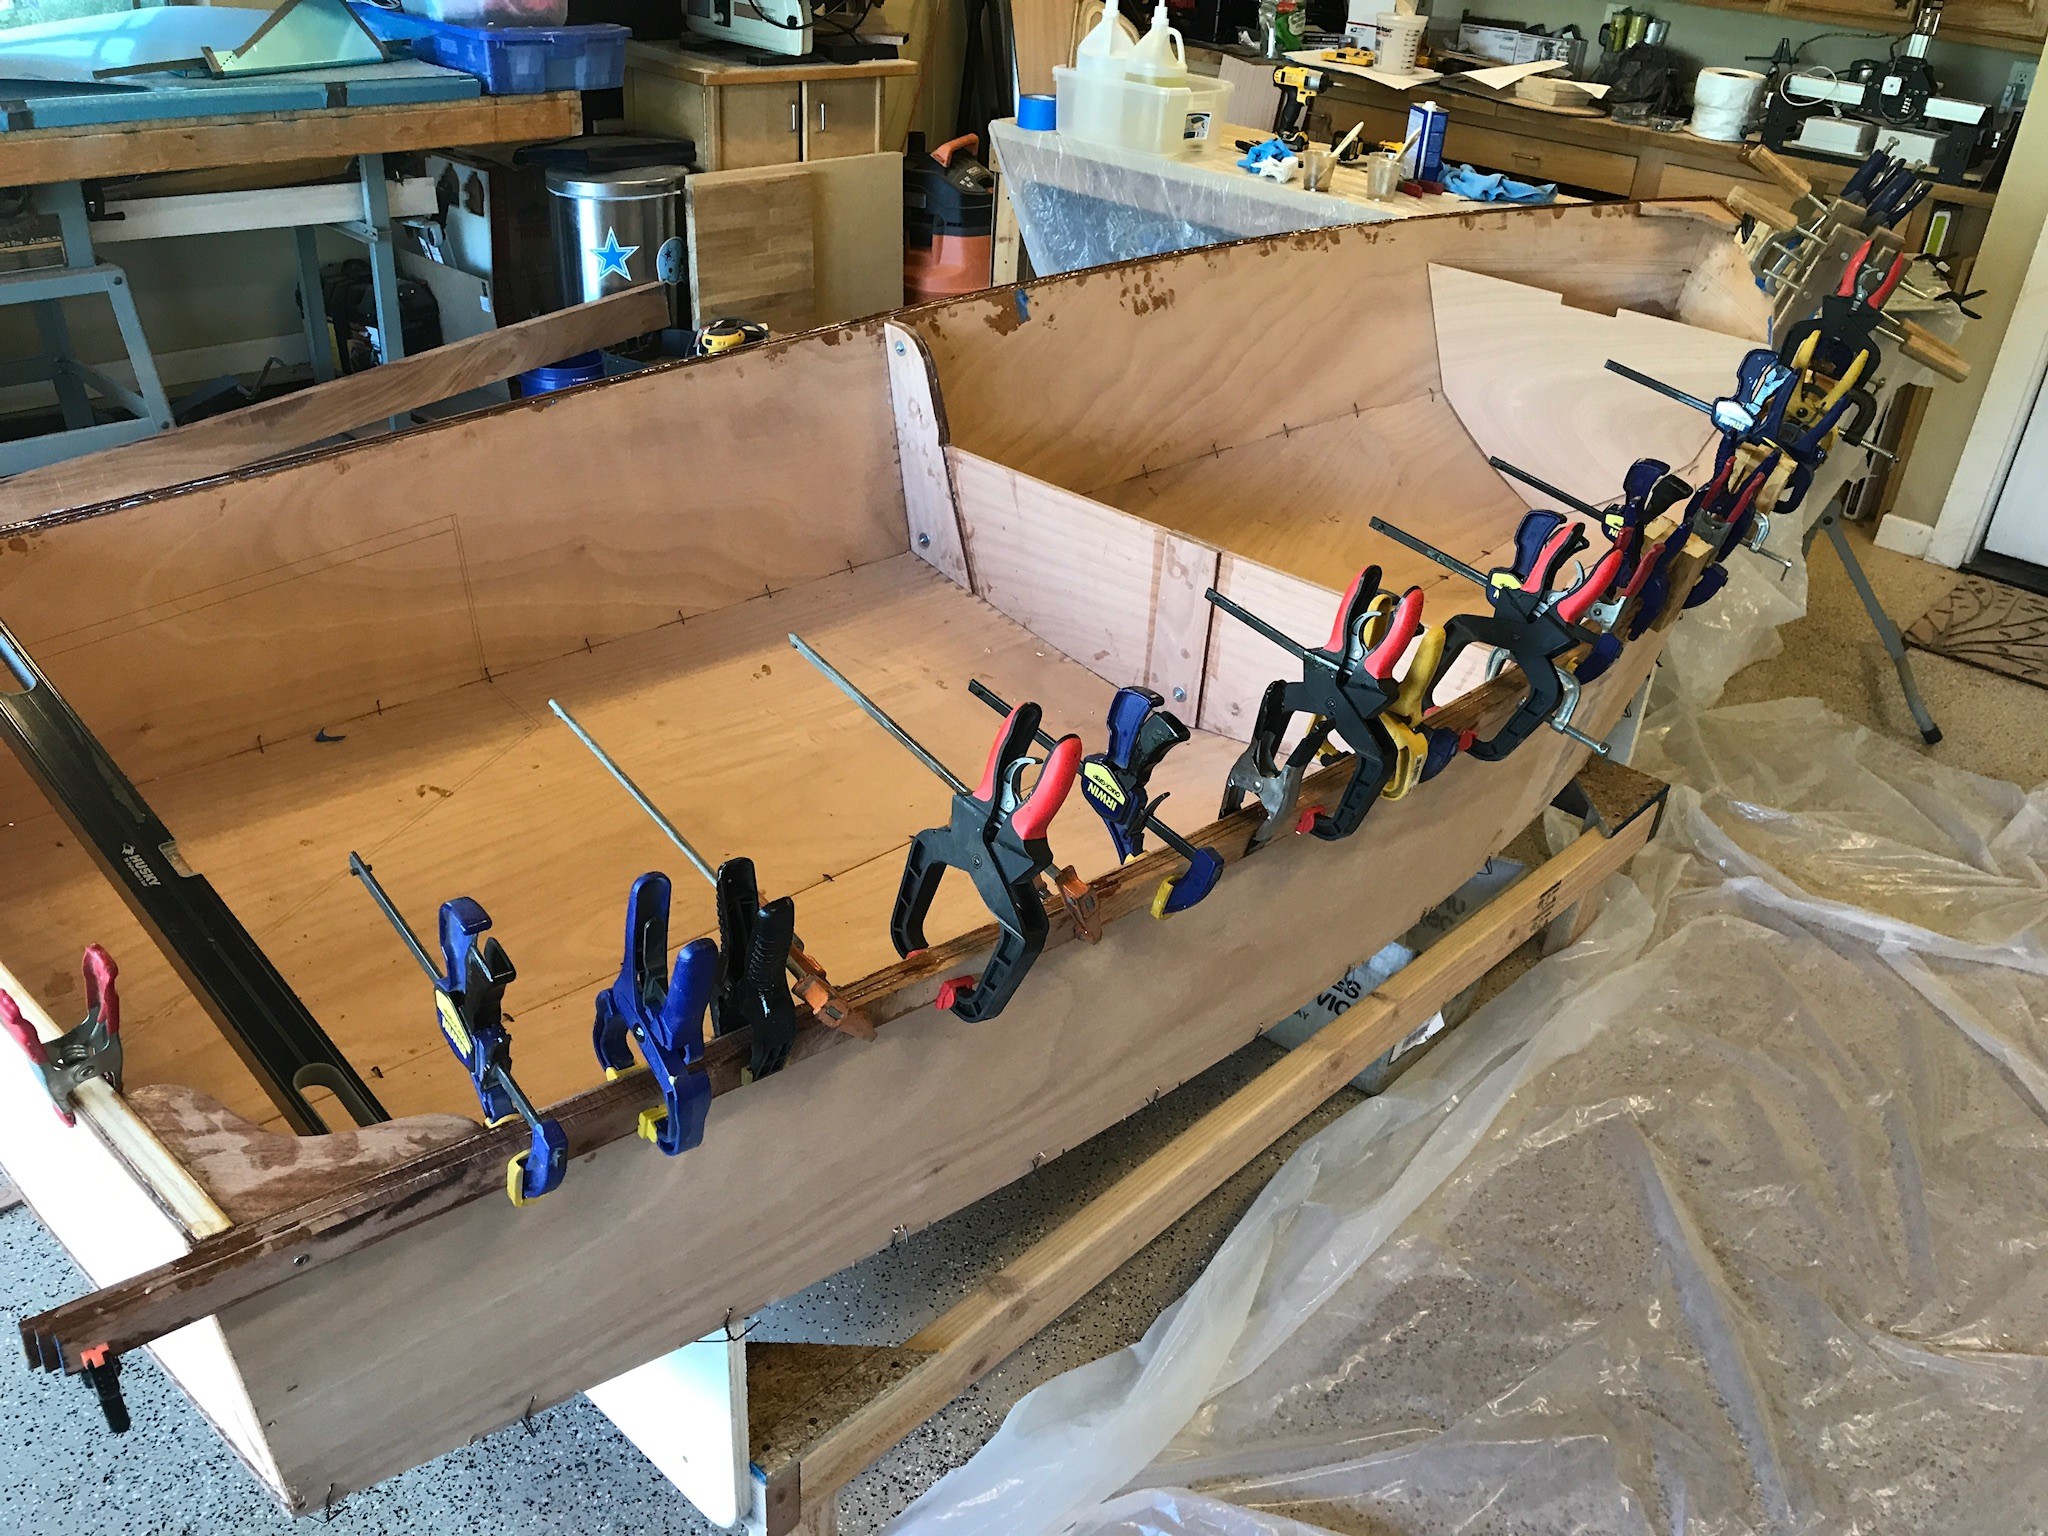
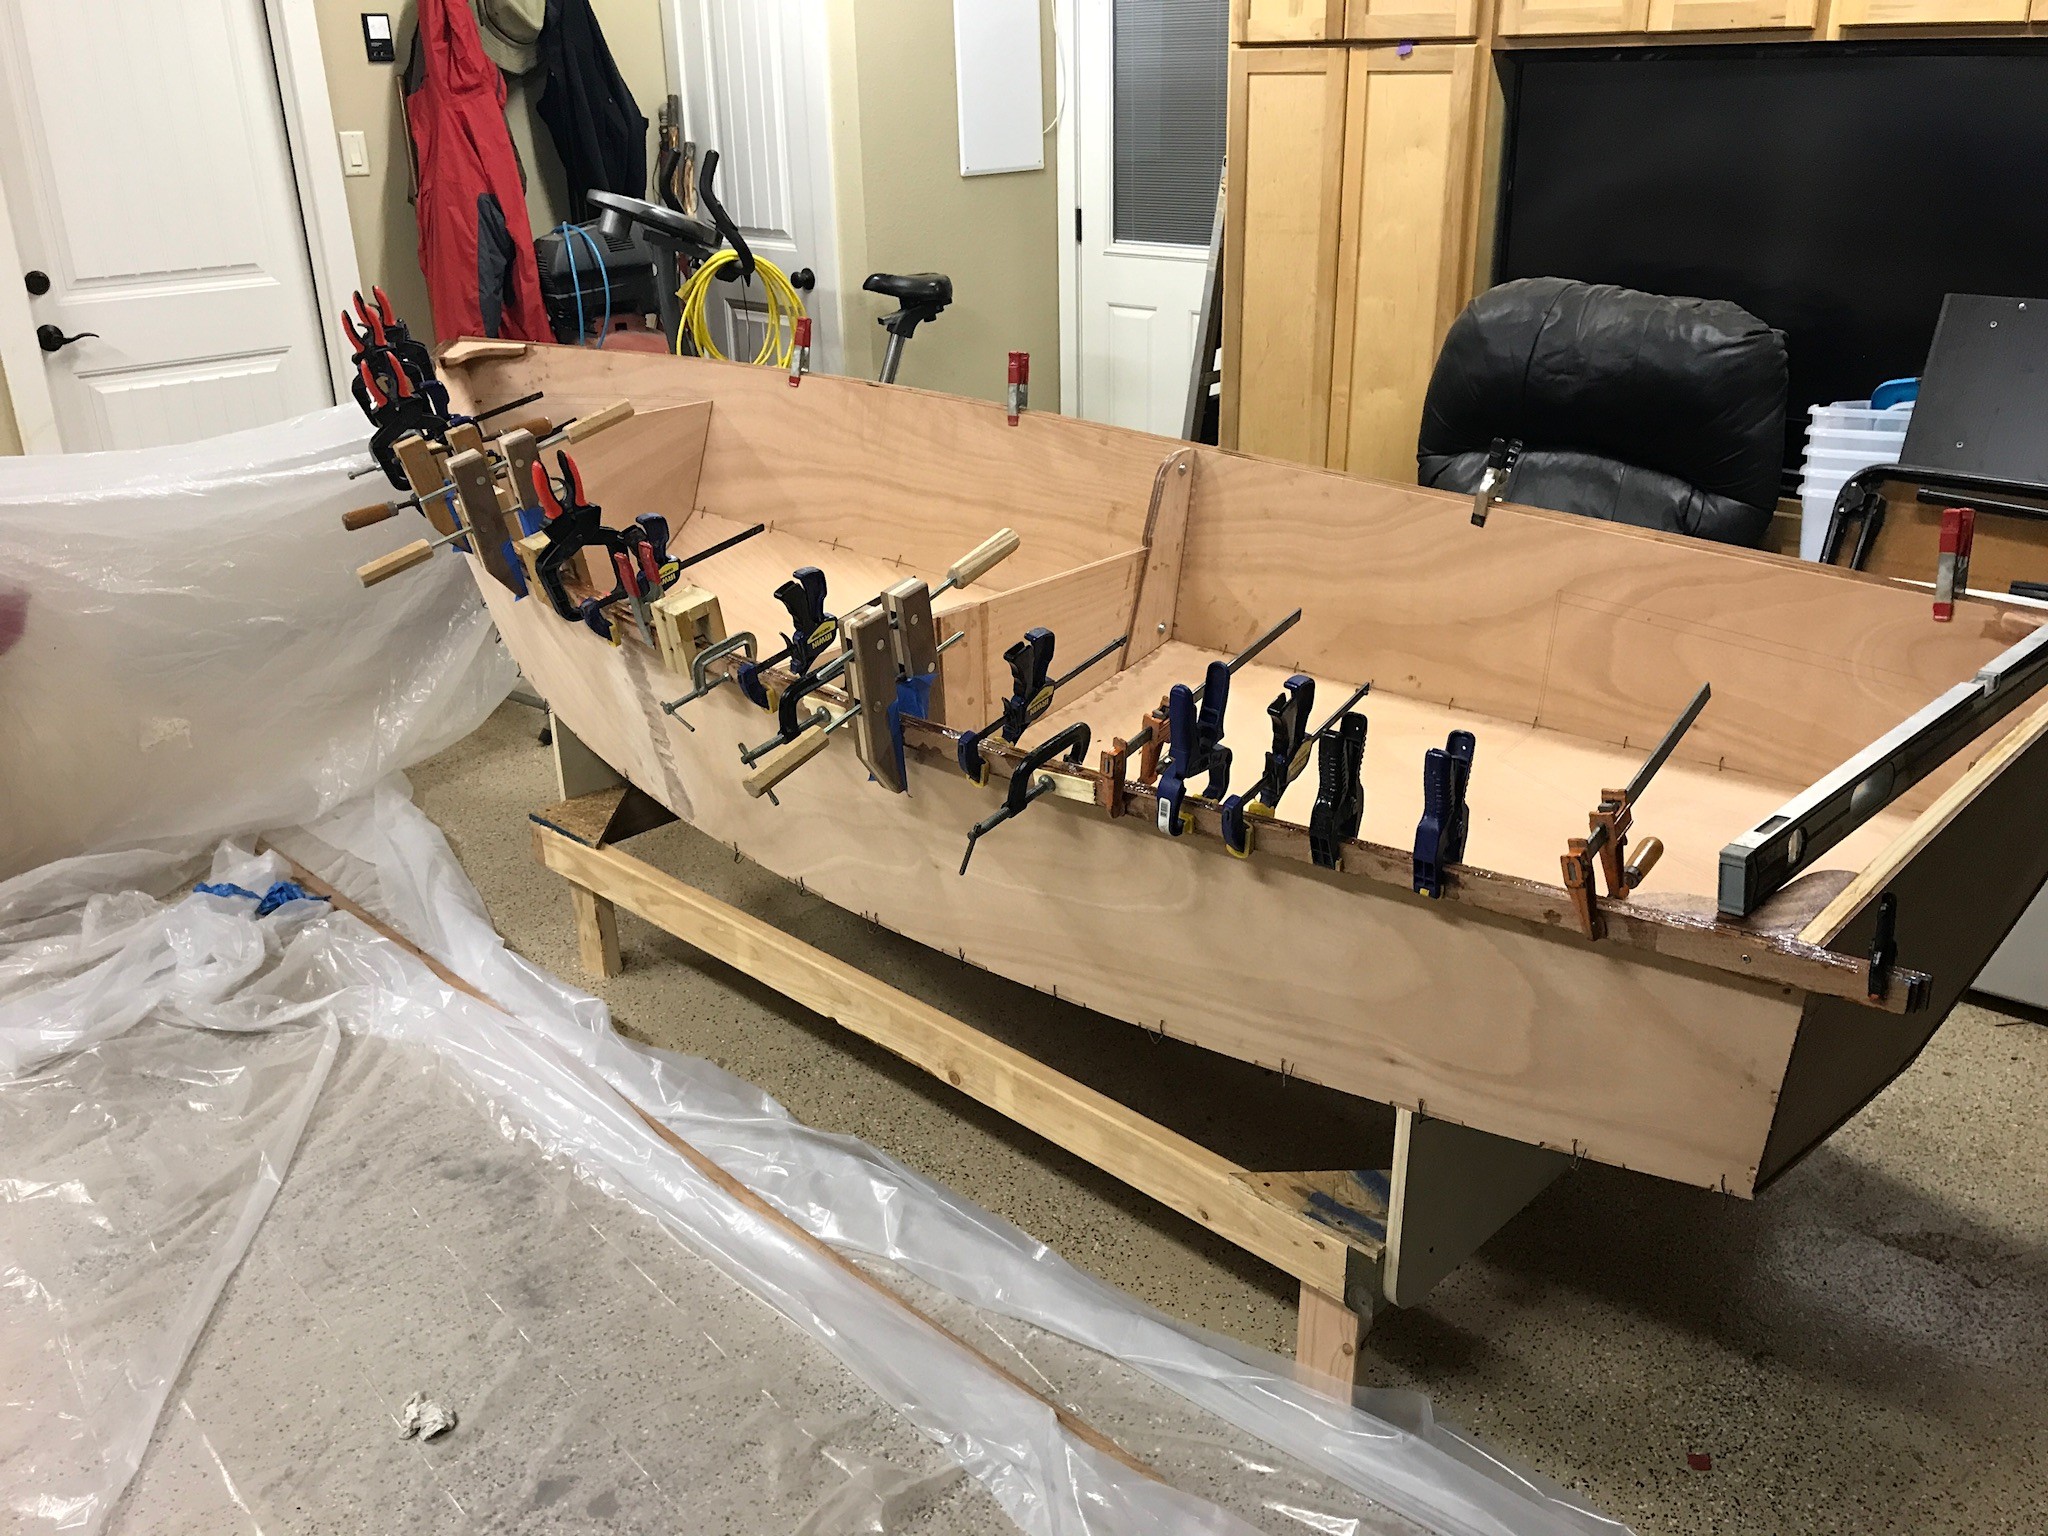
I dug up every clamp I own and made a half-dozen more with wood and drywall screws. I installed the starboard side dry and then started on the port side. The two predrilled screws into the breasthook helped a lot, but it was still a challenge to get all three strips lined up. I left this to cure overnight. I tried to clean up the drips as much as possible but I think the underside of the gunwale has lots of extra epoxy. Maybe it will fill in any gaps that I have missed. The next morning I did the starboard side. This time it went more smoothly. I got all this done with no help. So now all my clamps are coated in epoxy. Mike


-
After cutting strips of mahogany for the gunwales, I had enough material left to duplicate the breasthook and transom knees. Hopefully this will allow me to leave these pieces bright when the rest of the boat is painted. This gave me a chance to finally use the compound feature of my compound miter saw. Between screws and a few clamps I think I got things situated well enough for the epoxy. Not quite sure if the angle is correct, but it seems okay. Breasthook in place with clamps removed. I think I will remove the temporary screws before installing the gunwales. Mike


-
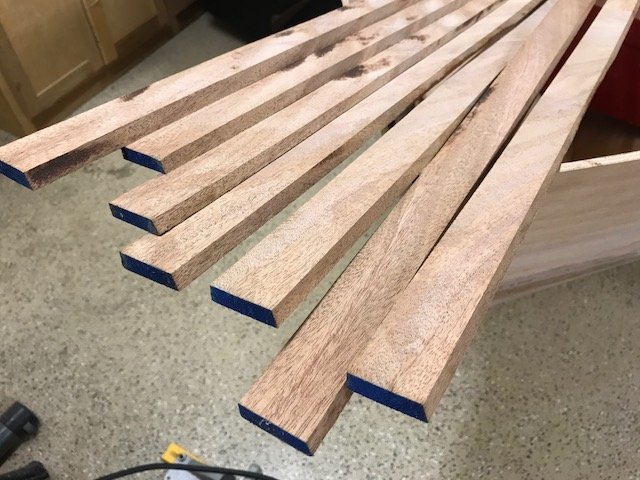
Ripped 12' strips of mahogany with 17 degree bevel.
-
Based on your explanation, here is the order I am planning to follow: 1. Wire or screw the forward and nesting bulkheads in place 2. Epoxy the breasthook. 3. Pre-fit the gunwales to make sure the transom bevels are correct, and adjust accordingly. 4. Epoxy the transom and quarter knees. 5. When cured, epoxy the gunwales 6. Make any adjustments to remove twist. 7. Epoxy the forward bulkhead 8. Epoxy the nesting bulkhead 9. Tack weld the seams Does that look right? Mike
-
Thanks for the great reply Alan. That helps a lot. Mike
-
I have a question about what order I should epoxy things in place. When reading the assembly instructions it says to "not be in a rush" to fiberglass the seams after the boat is opened up. So I am trying not to jump the gun. It looks to me like I need to epoxy the transom in place when I install the Quarter Knees, followed by epoxying the gunwales in place and screwing the aft ends of the gunwales to the transom stiffener. But the instructions have a paragraph after the Forward Bulkhead section that mentions releasing the "aft clamp" and setting the transom in place making sure the alignment is correct before gluing. So is the transom is just loosely fit while the gunwales are installed? Anyone else have this confusion? Mike
-
Looks like you've made some good progress lately. It is cool to see that it actually nests. Mike
-
Got a few things done this past week. I went ahead and removed the nesting bulkhead and drilled the bolt holes. Then I added the bolts (loosely) and reassembled. Next, I dry-fit the transom. I had to move the wire ties that were in the aft-most holes because otherwise I couldn't get the bottom of the transom to sit flush with the bottom. I just drilled holes a few inches forward of the original holes and reinstalled the wires. Finally I was able to use my hand plane to bevel the sides and bottom of the transom to match the angle of the hull. I still haven't ripped the mahogany for the gunwales, but that will be next. I am also planning to make a mahogany breasthook and two transom knees to replace the pine ones from the kit. Mike


-
Thanks for posting the additional pictures of your boat. I love to see the in-use pictures. Definitely gives me motivation.
-
Starboard: I love the way yours turned out. The contrast between the dark and light wood species looks really nice. i hope to leave a lot of the upper surfaces bright, but on the last cruise ship I was on I do recall seeing a crew of workers sanding and refinishing all the bright railings. How well has your finish held up? Mike
-
I found a fairly nice 12 foot long piece of 6/4 mahogany. So so next up is to rip the gunwale strips. Mike

-
Steve, thanks for the idea about making straight holes with the portable drill. Roam, I used cardboard that is a bit thicker than the saw blade, and I can see how the bolts would easily squash them if overtightened. Right now I'm thinking about drilling the holes right before I permanently glue the bulkheads in place, and leaving the bolts only hand tight. Onward, Mike
-
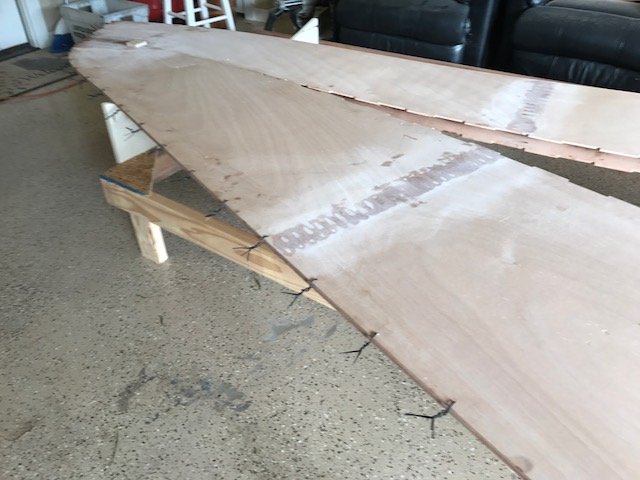
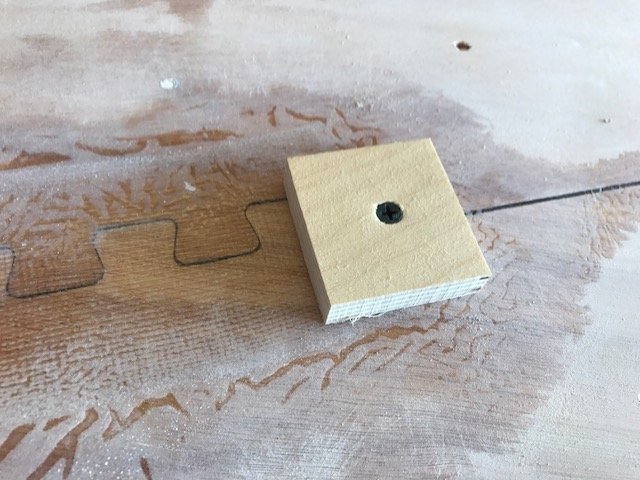
After a trip to Lowe's to pick up some 1/4" bolts, I figured it was a good time to work on things for a while. So I set up the trim router to put a 1/8" round over on the inner edges of the hull. Then I found some cardboard and glued the nesting bulkheads together. Found some scrap and made four reinforcement squares. I found rebar wire the other day at Home Depot, so that's what I used to stitch the hull together. Everything seemed to be ready, so with the help of my lovely wife, I did the butterfly thing that I've seen demonstrated, and next thing you know it looks like a boat. Only after all this was done and I stood back to take some pictures did I realize the mistake I made. In all the excitement I forgot to install the bolts. The bolts that I had just picked up at Lowe's. So now I need to decide what to do. Do I remove the bulkhead and go drill the holes on the drill press, or do leave it in place and eyeball it with a portable drill? Mike


-
You may be right about being a challenge to tighten the wires. I didn't think about how the cross braces might get In the way. Here is what I ended up with. I have not yet leveled it up. Mike

-
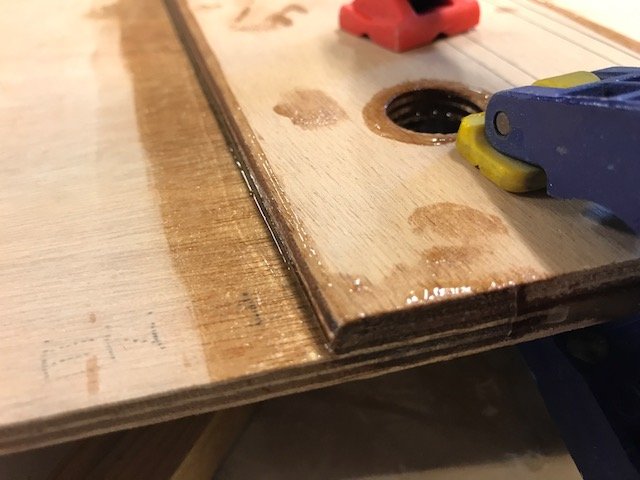
I did more prep work over the weekend, including building a cradle stand. It seemed to be easier to build the stand as one piece instead of building individual sawhorses. Also it seems like it will be easier to keep things aligned. Forgot to snap a picture. I assembled the nesting bulkheads and realized that I don't have enough clamps. I rounded the inner edges that will be difficult to access later. I also filled in the bolt holes with epoxy. Finally I joined the side and bottom panels at the dovetails. Removed the support boards and revealed the joints. They look pretty good to me. I used too much epoxy. Now I need to do some sanding to remove the excess epoxy. Once that is done I think I may be just about ready to stitch the panels together. Mike



-
Assembled the transom last night. I think I got enough squeeze out, but there are a couple of visible gaps between layers. Before gluing, I decided it might be easier to go ahead and round over some of the edges before the parts were glued, so I did a bit of routing. Will these joints eventually have a fillet? Mike


-
First glue-ups are completed. I ended up just laying plastic on the garage floor and then folding the plastic over the glued joint. After applying the glue, I placed a 1" thick board over top of the joint and then built a tower of heavy things to try to hold it tight to the floor. The first two panels I left to cure overnight. I ended up worrying about it quite a bit. I think I had nightmares of horribly deformed wooden parts. Fortunately, these CNC cut parts are fantastic. I really didn't need to worry about it at all. I now have side and bottom panels that are identical mirror images of each-other. The worst part is that I used too much glue. This is from the underside of the joint, which I was unable to clean up before it set. So I had to spend quite a while sanding off some of the excess glue. The above picture was taken after the bottom panels had cured and I laid them on top of each-other. They match up perfectly. I am really impressed by the accuracy of these parts. Onward, Mike


-
Thanks for the quick answers. That makes sense as far as getting a good fit to the keel. I will let it overhang the bottom. I also noticed the horizontal stiffener overhangs on either side by a bit, and now I realize that it is for the same reason as you describe. Onward, Mike
-
Here is my first (of many) questions. Last night I was dry-fitting the parts of the transom, trying to get everything to line up with the pen marks on the plywood. What I noticed is that when I get the bottom edges lined up, the top crosspiece is about 3/16" higher than the upper pen mark. The result is that the top of the crosspiece is proud of the top of the plywood as well. This is the bottom, all lined up. And this is the top as it relates to the upper pen mark. So my question is: should I just glue it up as I have it in the pictures, and then trim/plane/sand the upper part as needed after the boat is assembled, or do I need to make adjustments at this point to make everything line up? Mike


-
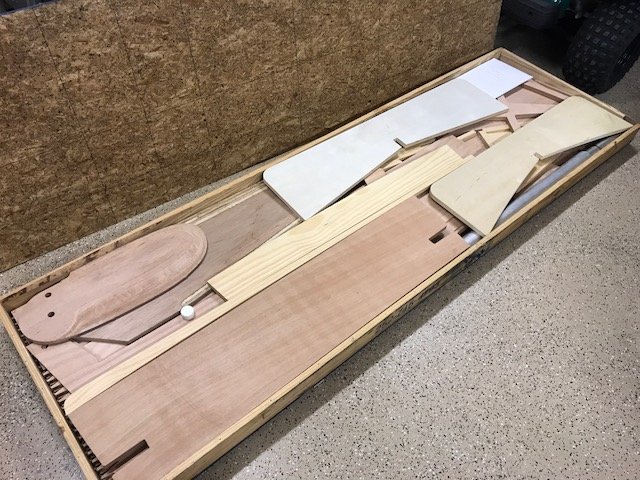
My plan is to try to use the parts supplied in the kit, and to stick to the plans, so I can actually finish this thing in a reasonable amount of time. I don't know if anyone is interested in seeing the kind of parts that are in the current kit, but here are a couple of samples. These are some of the small plywood parts. And here are some of the solid wood parts. These are softwood of some sort (Doug Fir maybe). So back to the first line in this post about not making modifications...I may want to replace a few of the softwood parts for hardwood depending on what material I can find to use for the gunwales. I have no idea how well softwood holds up after being coated in epoxy. Another thing that is interesting are the CNC daggerboard and rudder. I went with these thinking it would save me some time. I could always glue up my own at a later date I guess. Roughed out by the router. Onward, Mike


-
Thanks for all the replies and well wishing. cdunc: That's funny. Last summer I was overcome with a plan to build a couple of Adirondack chairs. I ended up making eight of them. Most went to family. Alan: I will try to take pictures as I go. Thrillsbe: I guess a trip to the grocery store is in order. We may be low on white vinegar. roam: I have been following your build and learning from it. So thanks. Steve W: I really appreciate your videos of this boat in action.

-
As my first post on this forum I may as well start a build thread. I should start out by saying I have little to no experience with boats, but I love building things and my wife says we don’t need any more bookshelves or lawn furniture. I have read many of the build threads on this site and have appreciated being able to get a more in-depth understanding of the process. I also watched Alan's set of videos. So one day I called and talked to Alan, and ordered the kit. The next thing you know I have a large stack of wood parts, several bottles of epoxy, and rolls of fiberglass tape. Onward, Mike