toddn.robinson
-
Posts
47 -
Joined
-
Last visited
Content Type
Profiles
Forums
Events
Everything posted by toddn.robinson
-
I'm going to strip out the hardware, and try to sell it. I wanted a skin on frame boat SO much. Not sure if I should build with 3/4 ply or just bite the bullet and buy a plastic boat.
-
Im fat. I acknowledge this. But at 6'3", 280 lbs, with a 40 inch waist, I fit into a Vardo. The boat floated and paddled like a dream. I loved it. But I have had her out 4 times and have now cracked three different frames of a build following Jeff's plans. I do NOT fault the plans at all. I used what was sold to me as "Marine Plywood" from a boat building specialty supplier. Obviously there is something wrong with the plywood. My warning is this: if your ply is not exactly as described by Jeff, USE A HEAVIER GAUGE or WAIT UNTIL YOU CAN GET WHAT HE SPECIFIES. I have wasted months of effort and hundreds of dollars in materials building a boat I cannot paddle. I'm heartbroken.
-
I'm sorry Jeff! I didn't see it posted! I would happily have purchased from you. OTOH, the source I found sells hollow back, and in one foot longer length for only $2 more per stick. I'll be interested to see how it takes the bends in my Vardo's keel.
-
You are more than welcome to come to Buffalo and take a paddle in my Vardo. I'm 6'3", 275 lbs. and It's a snug, but wildly enjoyable boat for me. Send me a pm to get in contact. I think if your daughter is handy, you are probably right in thinking that there are many steps she can do while you are at work, esp. once the stringers are all assembled/scarfed. Good Luck!
-
Was looking to source hollow back brass stem bands. Found a vendor called Stewart River Boatworks. Four foot lengths for $20.00 per. If/when they arrive I'll post photos to give folks an idea of quality.
-
Sent email to your website store. Thanks Jeff!
-
I bought the plywood from a boat building specialty supplier in Buffalo. It was sold to me as "Marine Plywood." Was I taken advantage of?
-
Let me try again to post pictures of the cracked frame. Re-read your answer more carefully. As you think I could leave the cracked frame in place, would you be good enough to send me a template for the new frame to sister in?


-
I will try to post pictures from my computer. When I try from my phone I get an error message. The break is right in the middle of the starboard floor board on both dies of the frame, and clear through the middle. I thought the frame was resting on a launch cradle, supported from underneath. I was leaning on the coaming, but put some weight on it as I tried to get in the boat ( I weigh 275) Apparently the frame was not resting on the cradle. It flexed down and cracked.
-
That's the exact frame that cracked! I had stepped on the frame, but thought it was supported by the launch cradle in which the boat was resting. In retrospect, I guess not ...
-
It was 1/2 inch Marine Ply. Sistering in new frames is an interesting idea, one I had not thought of. I could even sandwich the existing frame between two sisters, glue them together then drill pilot holes and screw them together in both directions. BTW, I tried to upload pictures, but I keep getting an error message.
-
I am almost exactly your size. My Vardo fits me fine. But be warned, I just cracked a frame getting into my boat. I am unsure if the limber dimensions are sufficient for clydesdales like you and I.
-
While launching my Vardo this evening I heard a loud "CRACK". I looked down, and saw a crack in the frame that holds the floorboards. The crack is visible on both sides of the sheathing, but is not displaced. Can the boat be salvaged without re-skinning her? I got to paddle her all of twice! I'm heartbroken. I'd take pictures, but the angle is bad, and there is not much to see, as the pieces are still in place. What's the community's opinion? Wrap the frame with heat activated fiberglass tape? Or bite the bullet; cut off the skin and put in a new frame?
-
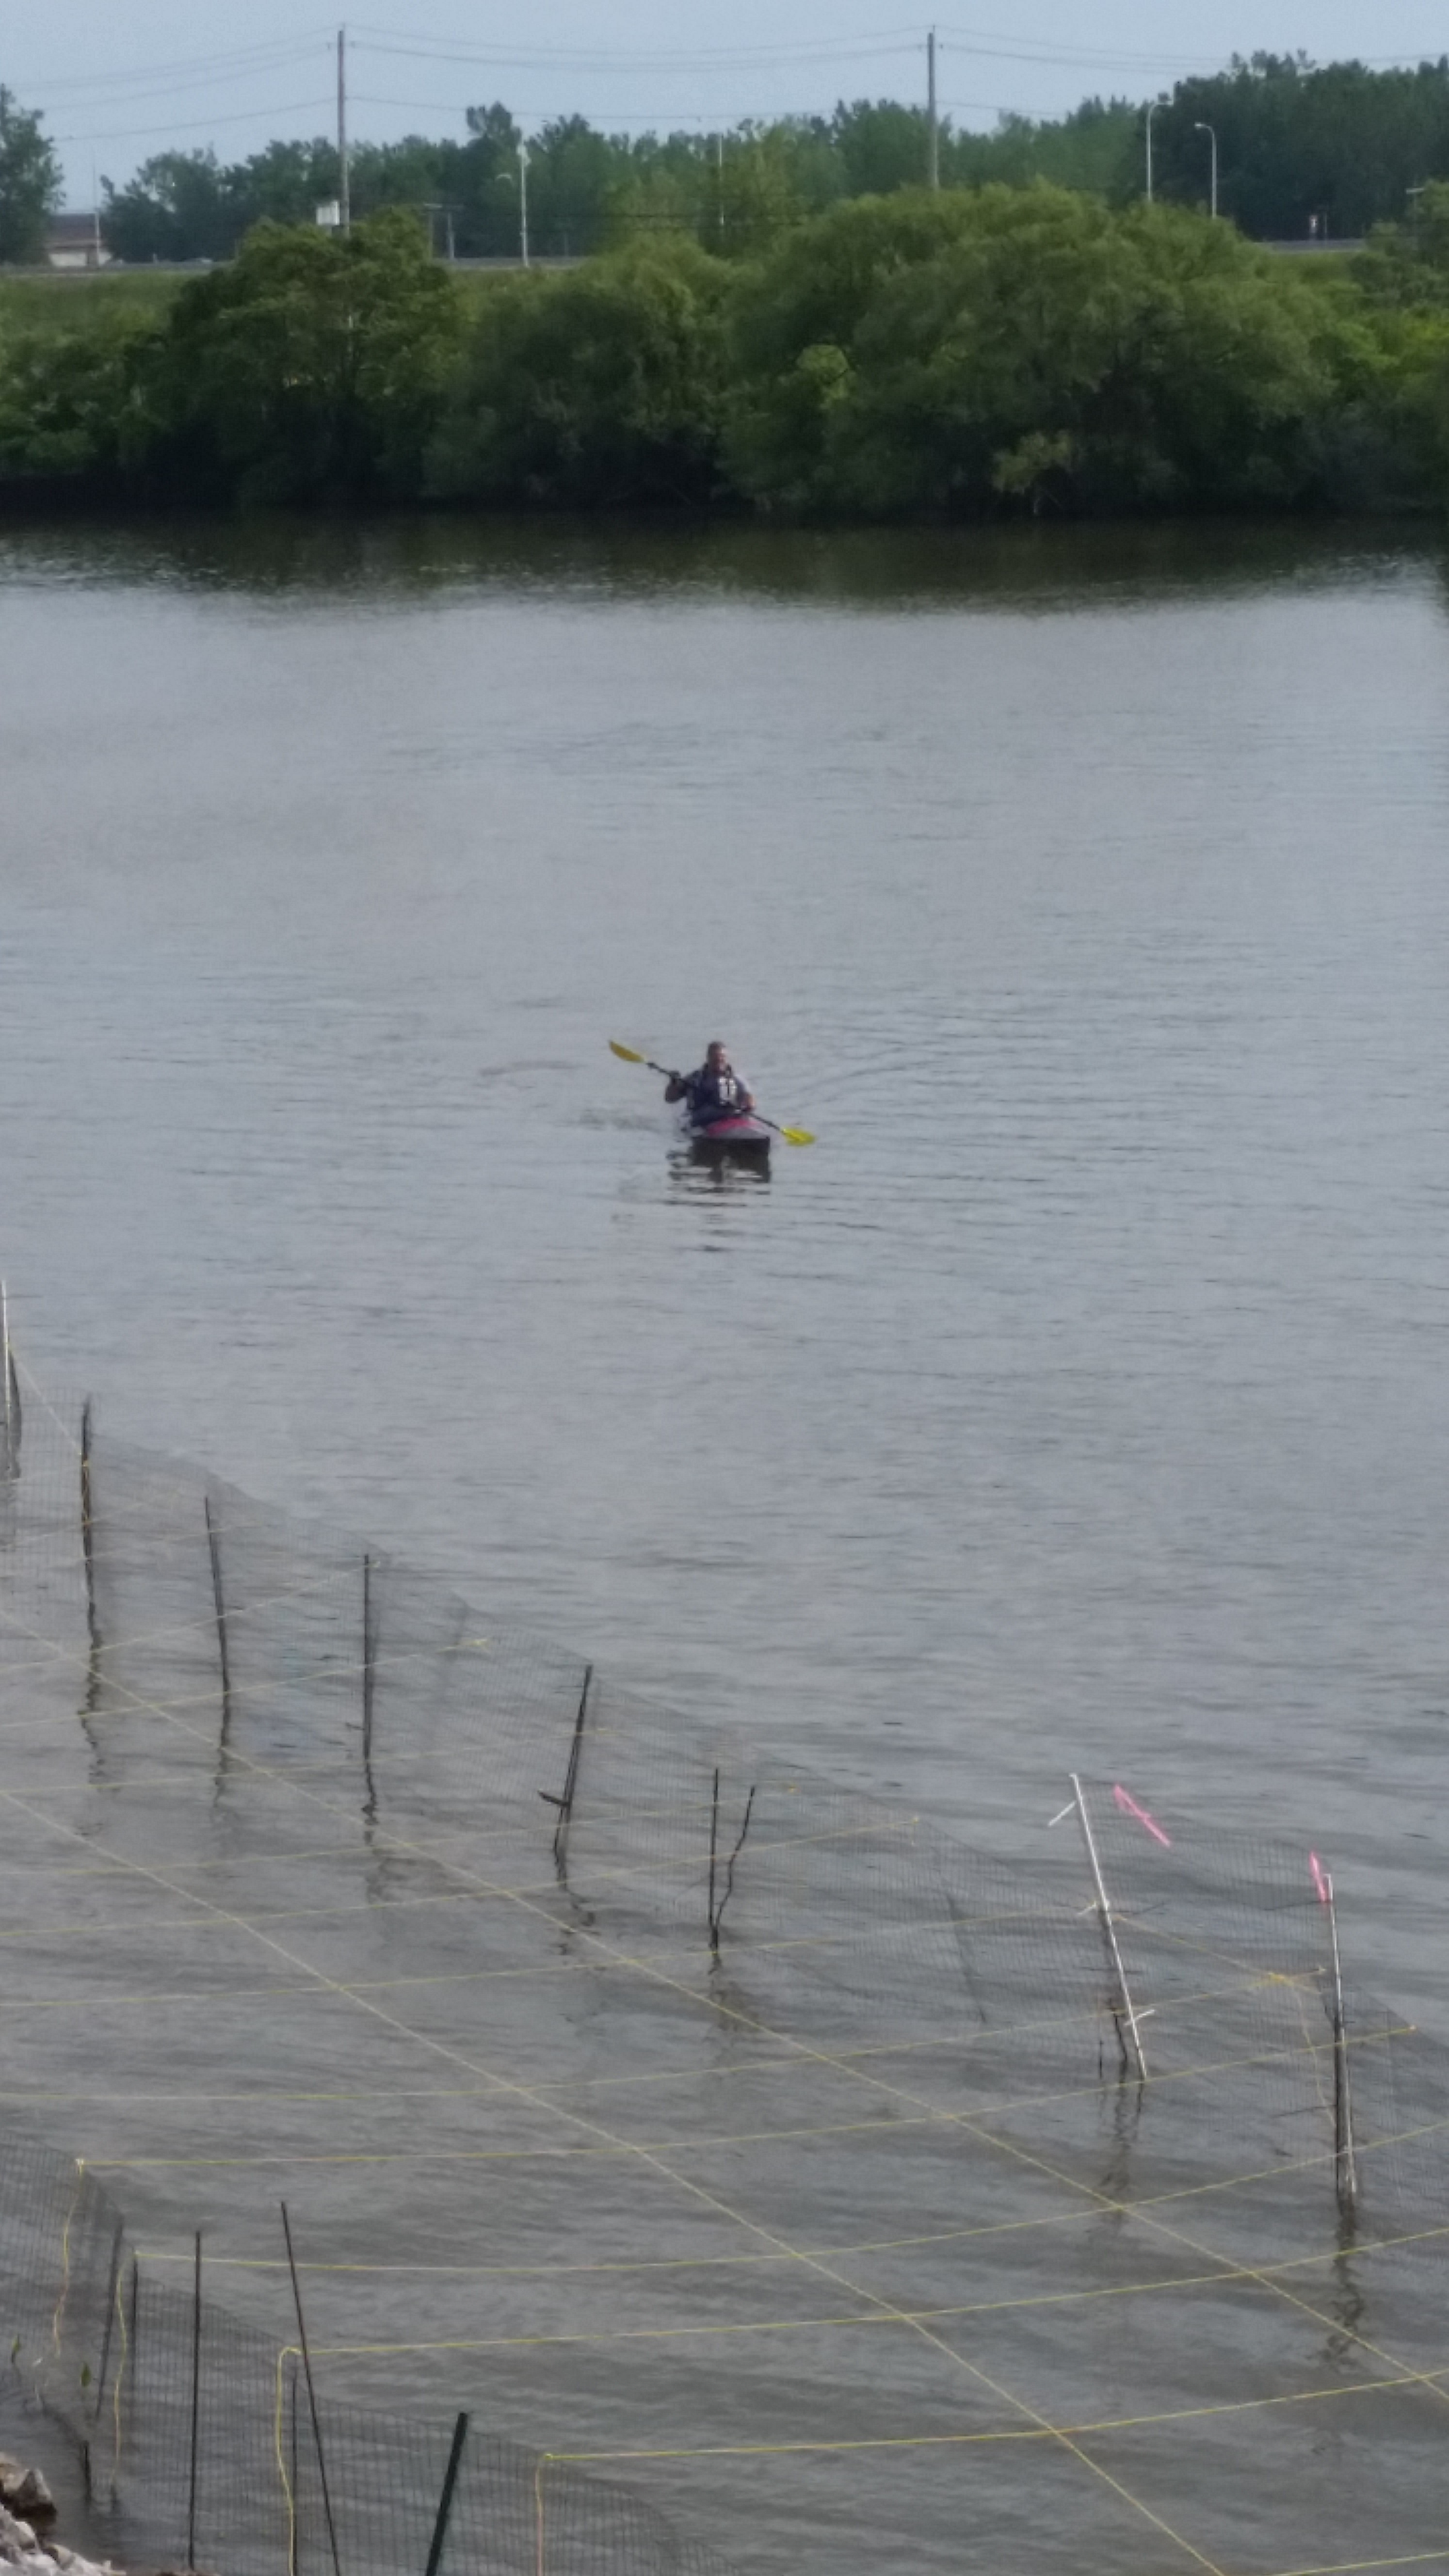
Hi Ben! Yep, I'm paddling on the Buffalo River, right near the Ohio Street bridge. Pretty serious wind and current, but the Vardo swims like a champ!
-
So incredible. She is so light, she paddles with almost no effort. She tracks straight, and I'm getting only the tiniest bit of seepage. Maybe 1 cup after a 30 minute paddle. The techniques all worked. I'll do some decorative painting, but she's done and launched. Thanks for all the help and encouragement. I can't wait to start my next boat!


-
Deck Loop Installation, and Skid Plates
toddn.robinson replied to toddn.robinson's topic in Kudzu Craft Forum
Thanks guys! I know that this method was suggested for painters but forgot that it was suggested for deck eyes. -
Pretty frame!
-
Finally painted my Vardo, except for some purely decorative stuff to come later, and I'm all but ready for a test paddle. However, I'd first like to install some deck lines. Unfortunately, I'm not sure of the appropriate size hardware. I'm planning to use 3/8 inch deck eyes, and to run 1/4 inch bungee through them. Drill pilot holes into the top edge of the gunnels, drizzle some silicon in then attach the deck eyes with 1/2 inch x #6 wood screws? #4s? I don't want to risk hurting my gunnels. How have others proceeded? Also thinking about installing a section of pvc pipe (two lengthwise parallel cuts to get a section of pipe) along my keel to protect my skin from abuse while launching. Have others taken this step, or it's not really necessary? Thanks everyone. I'm hoping for launch pictures next week.
-
Beautiful Boat! Congrats, and paddle her in health and with enjoyment.
-
Also, last question, I promise! Would you still iron this boat, even though the fabric is pre-shrunk?
-
I'm glad to help. Got the coaming on today. It went on smooth as could be. All that's left is to trim and the roll the center seam. Your help has been invaluable. Would you be good enough to forward to me the pages missing from my manual? Still not sure how I'm going to make the turn off the deck and down the prow. Probably have to wait until I get there. Have to put this project aside for a week or so. I'm moving. Just had to get the boat to a point that it was transportable. So excited to finish and launch that I can hardly stand it.

-
Jeff; Thanks for your help. I have watched and re-watched the videos. I am confident that I can get the coaming installed. Here is my question: For the whip stitch, how would you recommend going from the deck over the prow, and down towards the keel? Cut the whip stitched fabric long enough to go over the prow, and be folded into roll of trimmed fabric laying down towards the keel?
-
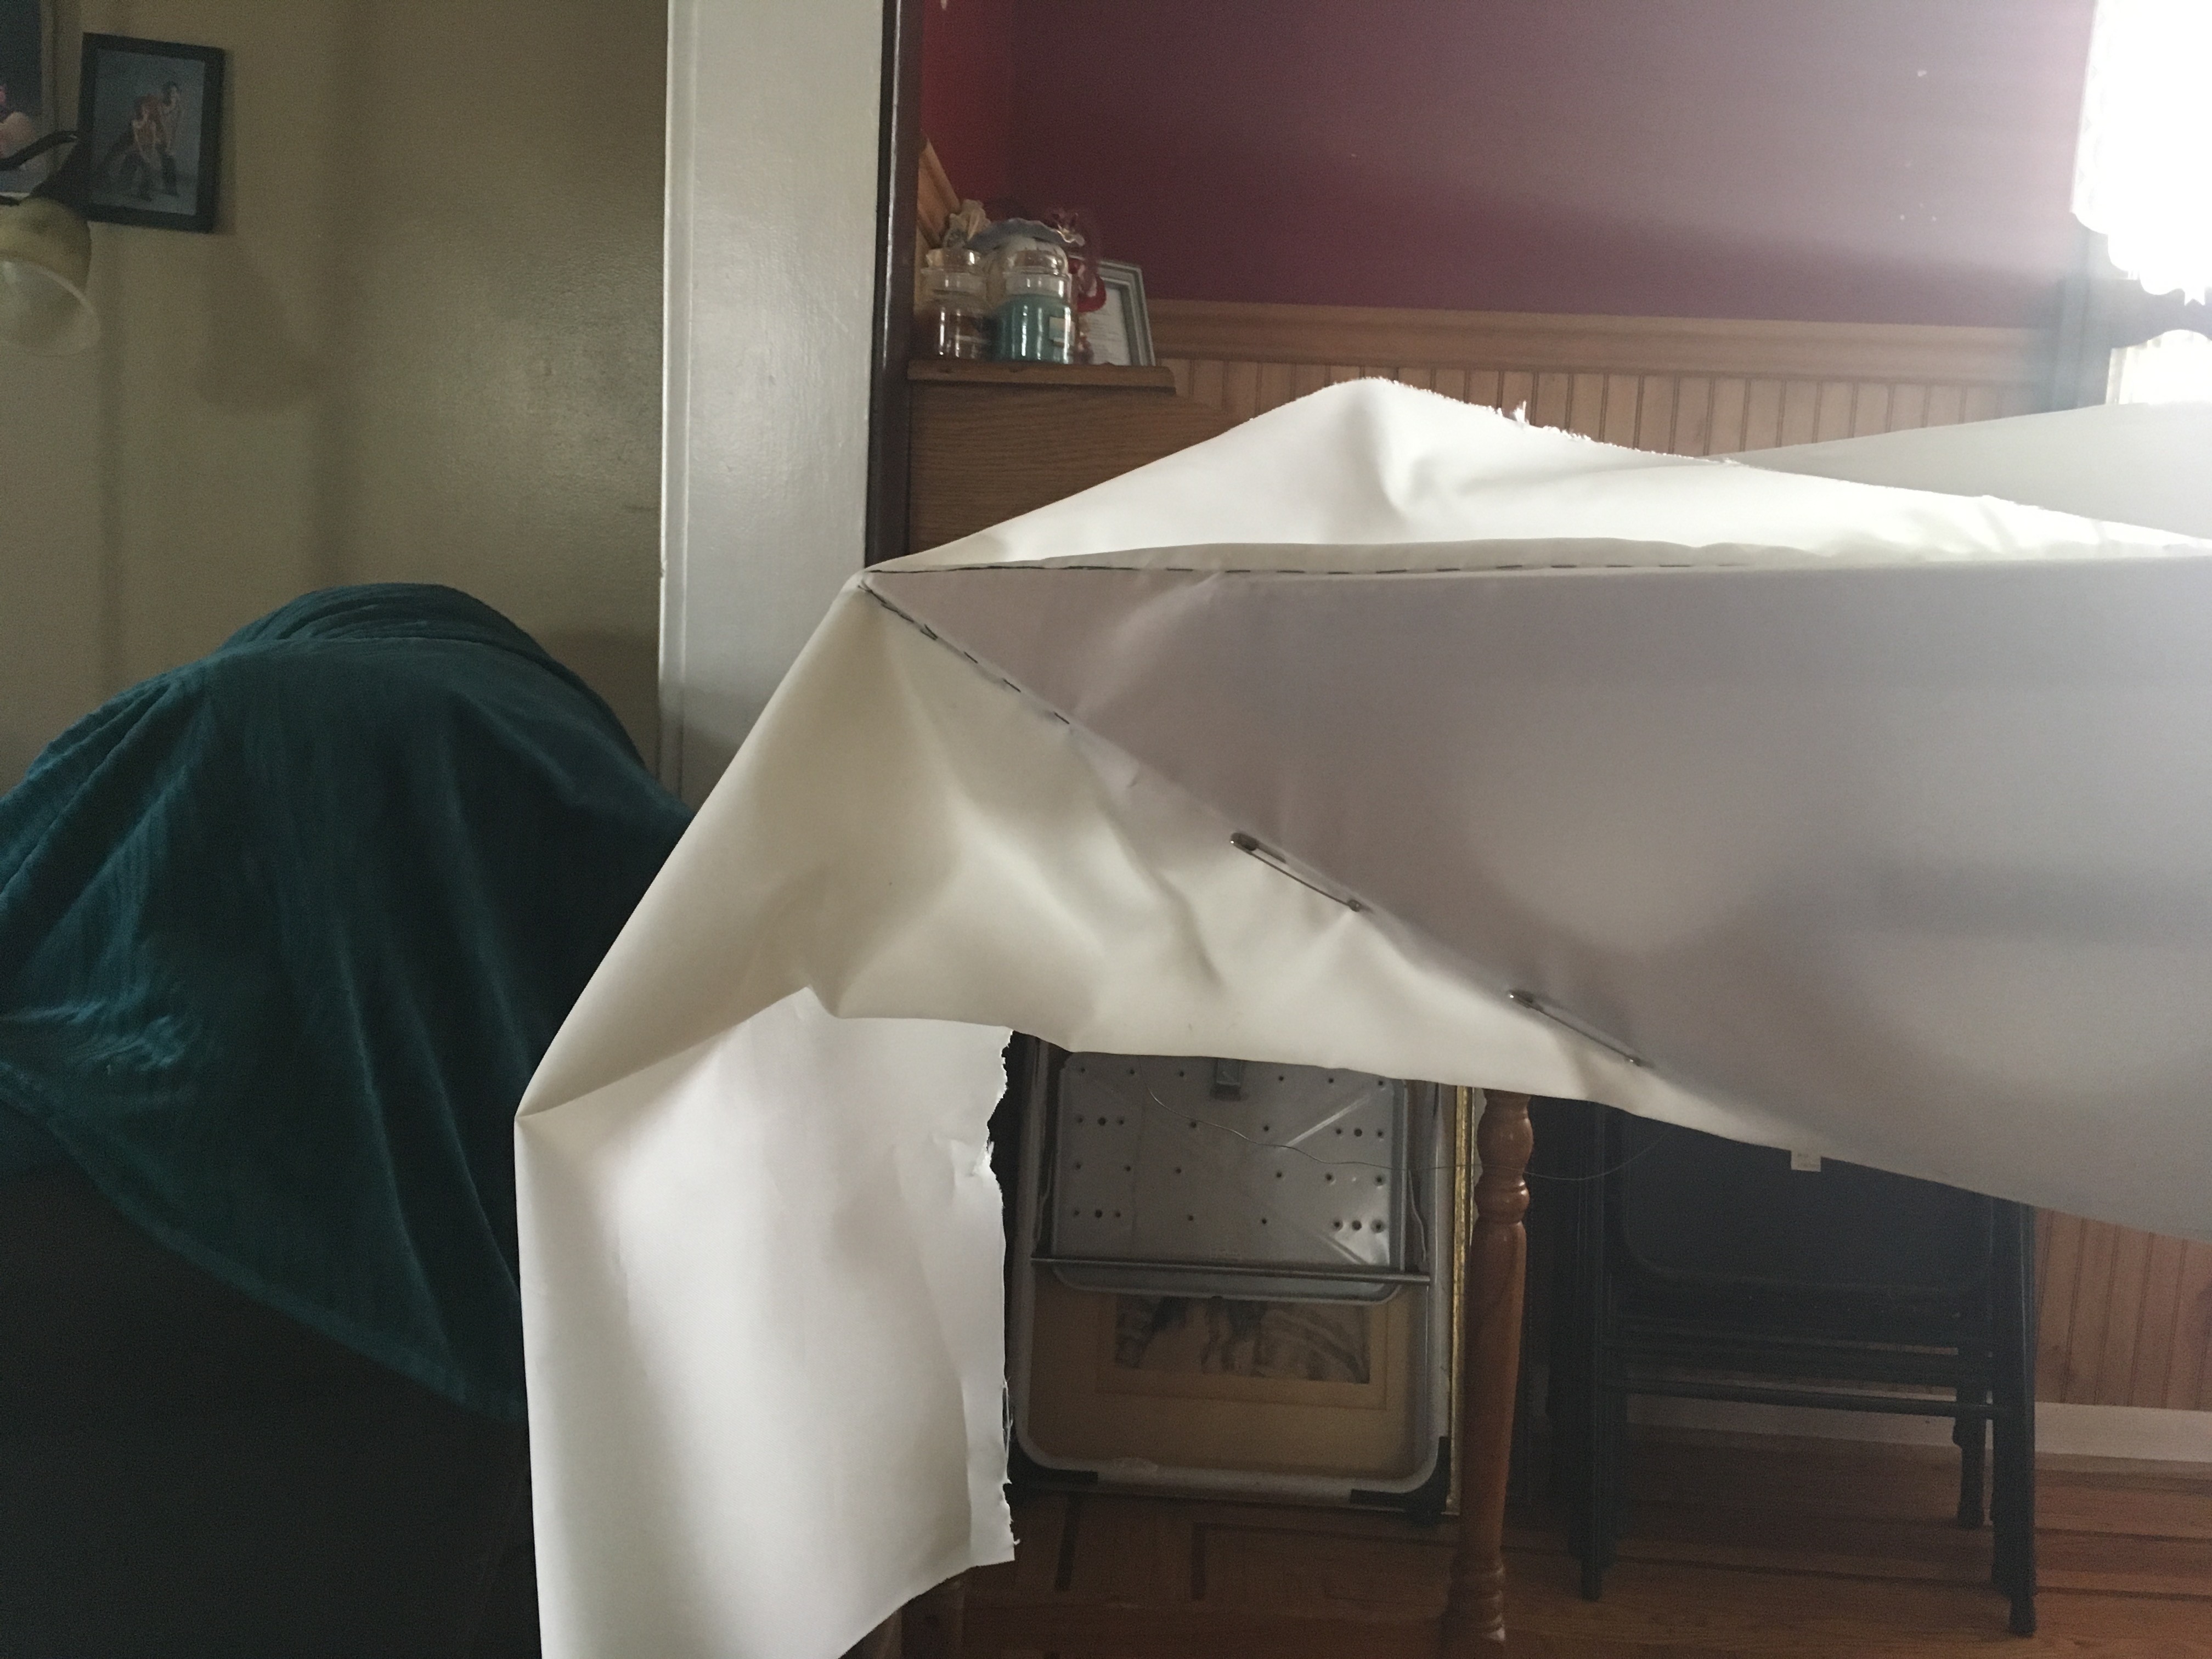
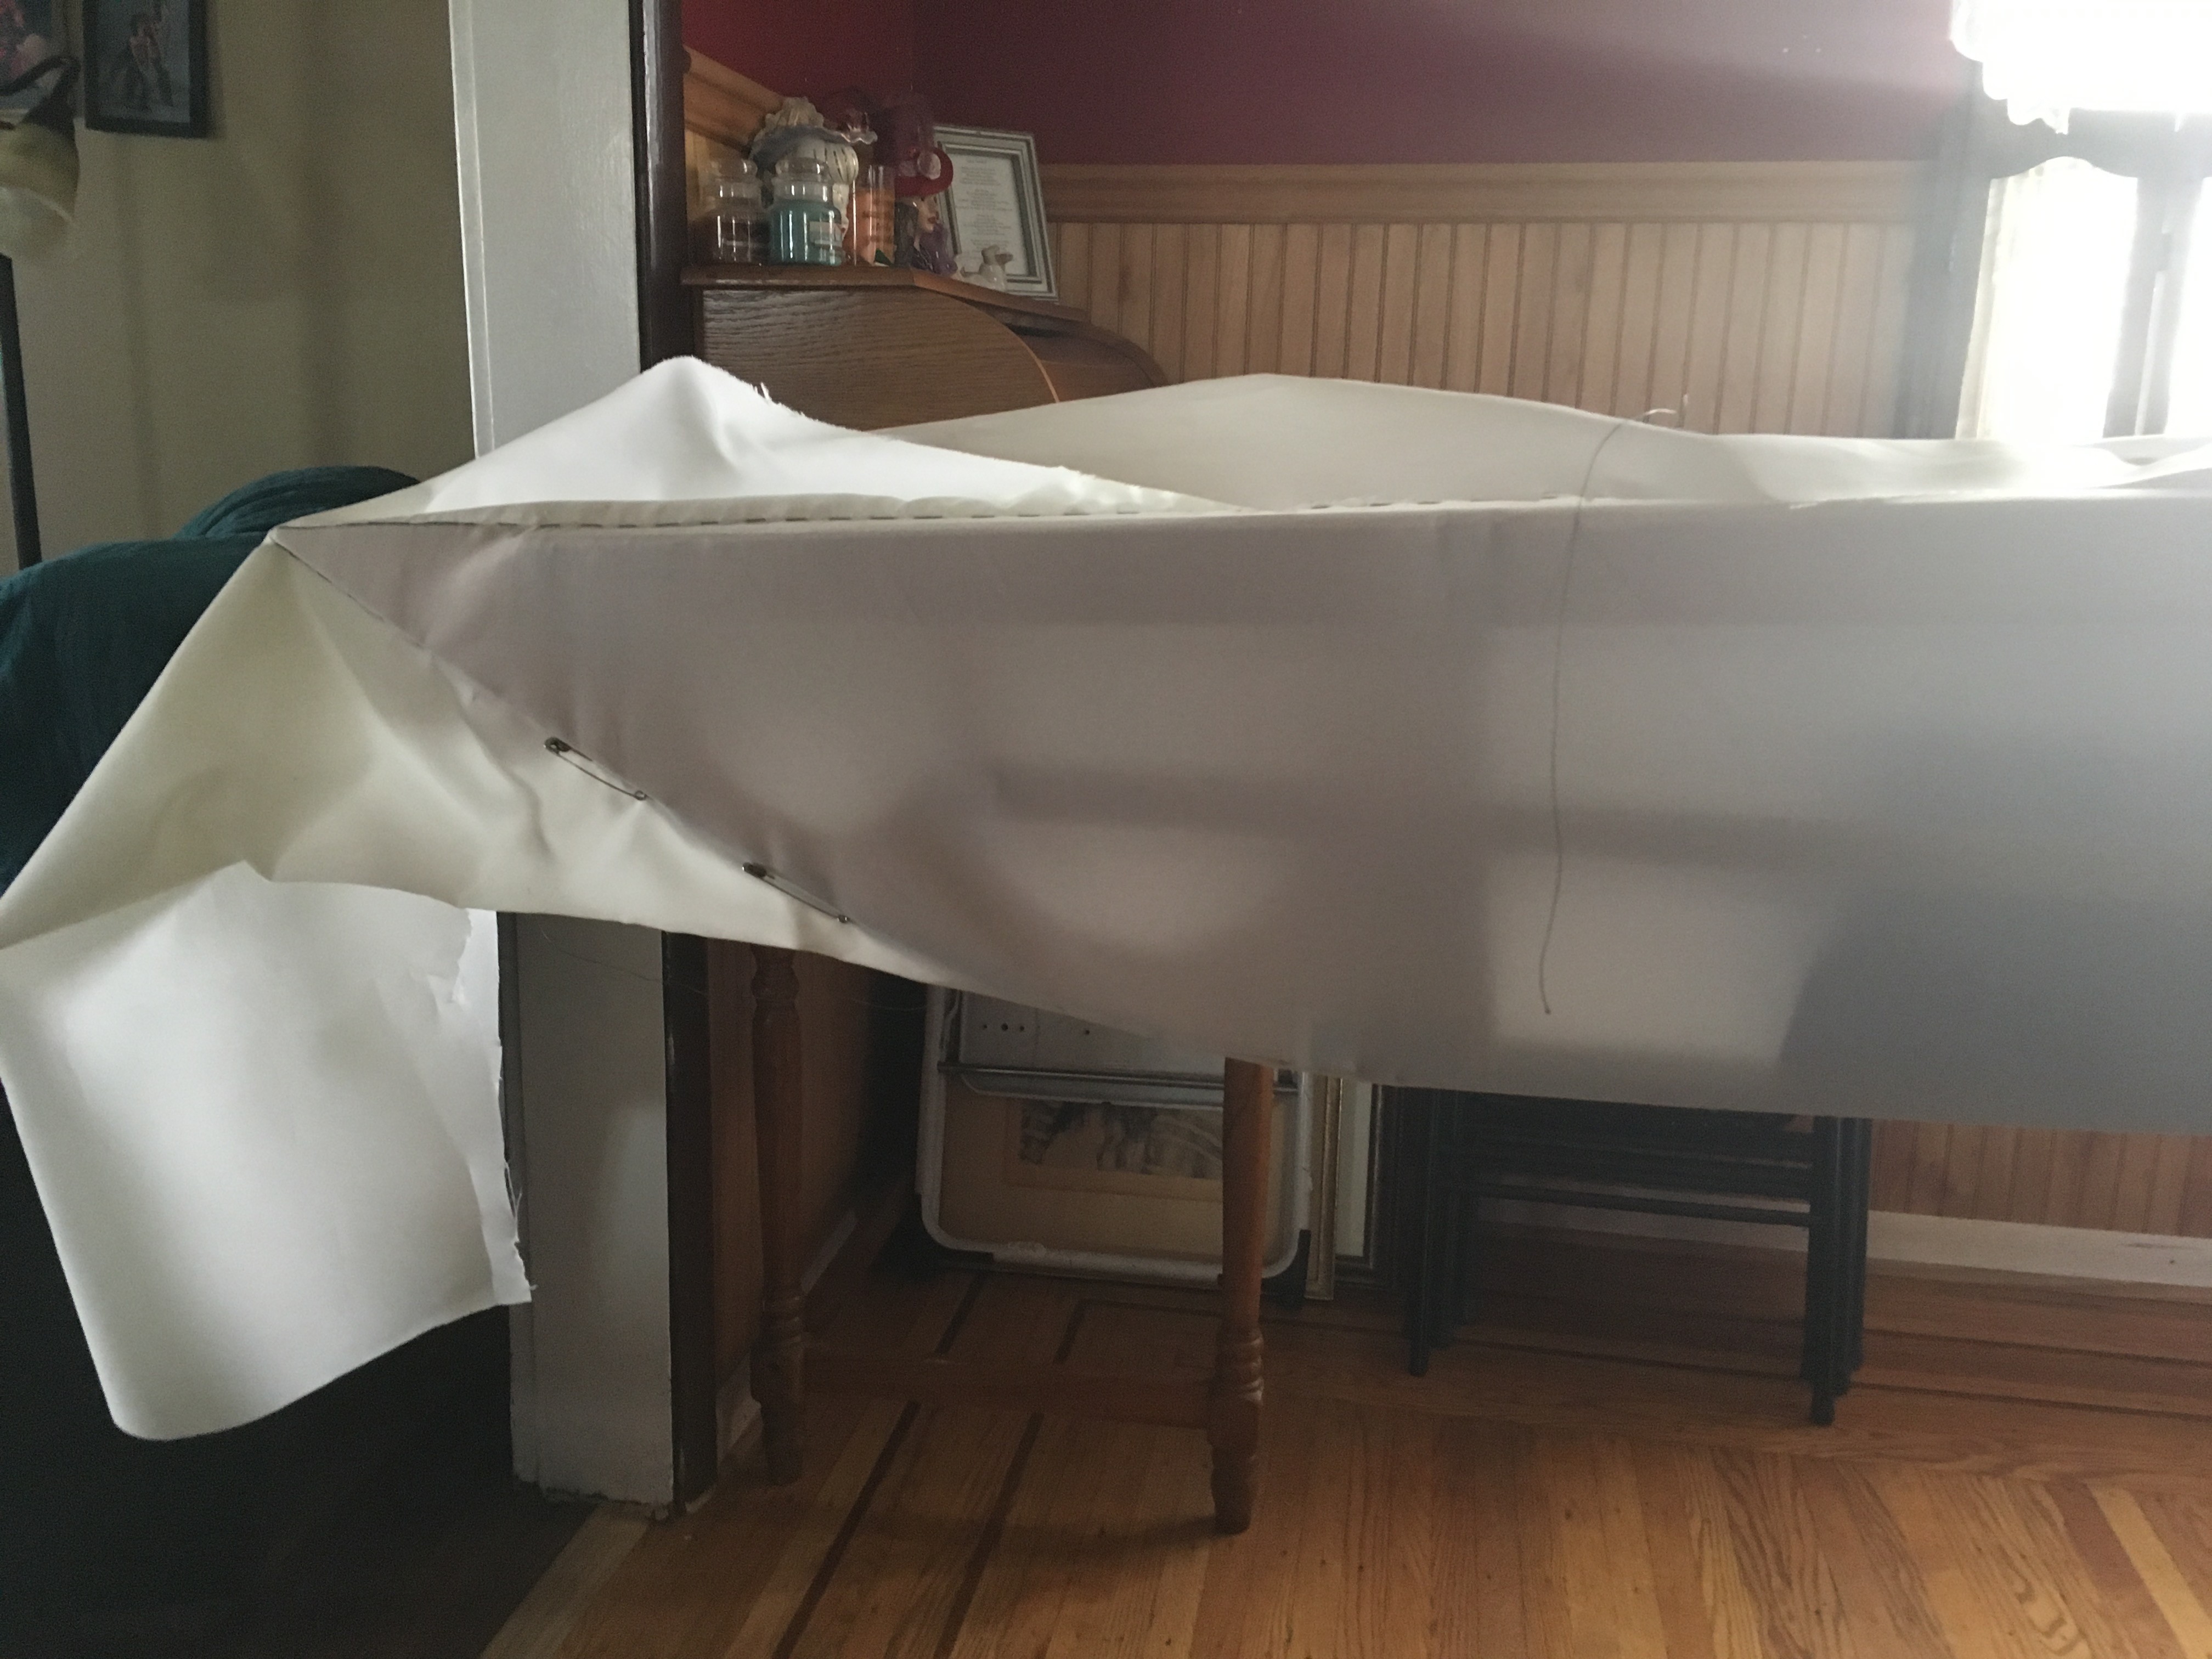
Okay all. Jeff's replies, though a bit cryptic gave me enough of a clue so that I could get to the point shown in the attached photos. The seam will run about 3/4 of the way from deck to keel, both front and back. My plan is to seal the seam with a thin coat of silicone, the roll the thick seam and sew it as in Jeff's instructions. But I am not sure how to roll around the prow and up to the deck. This step is entirely absent from the assembly manual. Just trim excess, and roll it up and over the prow? Ideas or links to a video showing how others have addressed this would be helpful. Thank you all so very much for your help.


-
Thank you so much for the reply! I was and have been trying to follow the instructions on the video to see straight down the deck beam to the end. Thank you for confirming that the technique in the video doesn't work. I'm not clear on what to do instead. Sew the running stitch along the keel up past the prow, then have the seam down the deck beam cross it? Or just sew a good straight seam to the end and then down the front as far as necessary to get the fabric to lay flat? Then sew the beef roll down from the prow to the end of the seam, before rolling the top seam? None of the videos or instructions seem to address skinning a boat with this fabric. I don't know any of the steps. I truly appreciate the help and advice. Thanks.
-
Hi Jeff. I have re-read the book and watched your videos several times, and I don't think my question is answered. It is my understanding that the premium 6.0 oz Dacron you sell is "preshrunk" and so must be sewed on tight. Fair enough. I am still getting puckers and wrinkles, cause I'm not great at sewing. But my big problem is at the end of the deck. No matter how I stretch or pull I cannot get the fabric to lay flat from keel to deck, let alone along the deck seam.i have checked the centering twice. The fabric is straight. Pulling up along the keel to the gunnels I still get puckers. Am I supposed to iron this fabric after it's sewn? Will it shrink at all, or should I rip out my stitches and try again? After four hours of trying to figure this out I am so Frustrated I'm about to chuck the whole damned project. Someone please HELP.