
ejds
-
Posts
136 -
Joined
-
Last visited
-
Days Won
8
Content Type
Profiles
Forums
Events
Gallery
Everything posted by ejds
-
Congratulations, a good looking boat you have there. I'm getting ready to "declare" my boat done. The last details seem to never end. Egbert
-
If your panel is constructed similar to my Blue Sea panel than the buss bar connecting the circuit breakers together needs to be removed to change a breaker. Egbert

-
I like that web site The Engineering Toolbox Just about any information you need is there. Egbert
-
Looking at the various marine wire tables a 16 gauge wire can be rated at 25 Amps. This does seem high. However there are numerous factors that reduce the capacity of the wire. Does it run through engine space, Is it 105 degree C. rated. Are more than 1 conductors bundled. The length of the wire and the allowed voltage drop reduces the capacity a lot. I'm using for the most part 14 gauge wire, it was easier to just buy a couple of big spools of one size. I'll determine the fuse size by the load of the equipment that is fed by the wire or whatever the original equipment fuse size is. I don't use the inline fuses that come with the VHF, GPS and stereo etc. Instead the fuse blocks I use are the automotive ATC fuses. They range from 1 A to 30 A. This is my main distribution panel with nothing hooked up yet. I fuse panel for un-switched loads such as bilge pumps and two for switched loads for a total of 42 positions. The breaker feeds the anchor winch.
-
Ideally in the case of the chart plotter if that is the only thing on that breaker a 3 Amp breaker would be best. In that case you don't need the extra fuse. If you keep the breaker at 15 Amps the inline 3 Amp fuse should still be there to protect the equipment. Egbert
-
If the 8 gauge wire goes from the back to the helm it does require a fuse or breaker. For 8 gauge that would be a maximum of 80 Amp. This doesn't mean that you can run 80 Amps through the wire. The length would cause too much voltage drop. ABYC recommends a max drop of 3 percent for sensitive equipment. With an 18 foot length that would be only about 16 Amps. Tom is absolutely right about making a diagram in advance. Numbering the wires and having a diagram helps in troubleshooting if there is a problem later. Also a diagram forces you to think ahead and lessen the chance of last minute additions. Do you have separate batteries for starting and house loads? I like to have the starting battery only for the engine. Less chance being dead in the water and having to call for help. Egbert
-
I don't know what your power requirements are at the helm. The total amount of power (Amps) needed determine the wire size and that in turn determines the fuse size. Also the length of the wire dictates wire sizes. Here is a table with wire sizes and their maximum current allowed: https://www.bluesea.com/resources/1437 For real high current like feeding a distribution panel I am using the Blue Sea marine rated battery fuses. They mount directly on the battery terminals. Here is a link: https://www.bluesea.com/products/category/16/72/Fuse_Blocks/Terminal_Fuse_Blocks I'm also in the process of wiring everything, At least I like it better than doing plumbing. I will try to get some pictures up on my Flickr page. Egbert
-
Thanks, that gives me an idea where to start looking. Egbert
-
Does anybody know what to use on the trailing edges of the sliding side windows. At the overlap in the middle they develop a vertical scratch from the windows fluttering in the wind while trailering. Tom Broadfoot's 25.5 has something on the windows with little brushes to seal and protect them. Egbert
-
Congratulations with this major milestone. I know the feeling. I just put mine back inside, getting too cold to work outside. Egbert
-
I don't know where I went wrong. Rolling and tipping the Rustoleum or Sherwin Williams alkyd paint did not work for me . Even after adding thinner and Penetrol, the tipping made it worse. I used a Wooster Flawless tipping brush. Also tried foam brushes. The cabin I ended up rolling a section until the roller went dry and tipped it with the same roller. That didn't work for the blue hull. Somebody sprayed it for me. The sprayed hull is kind of dull with a real fine orange peel effect. I could wet sand and buff the hull or wet sand and clear coat it. Never either one before. Any tips are welcome.
-
Even upside down it looks good. How did you get the paint on the boat, spraying or rolling? I had a hard time getting my boat painted, tried rolling and tipping, rolling and rolling and finally it got sprayed with mixed result. Egbert
-
Thanks Dave, I had the advantage of seeing various Bluejacket boats at different Georgetown shows. Also the Internet blogs/pictures and talking to the different owner and builders proved a great help . Not all the features are unique for my boat. I did copy a few things here and there. One thing I regret that I couldn't get to work was moving the head to the port side behind the dinette. I would have made a space under the dinette seat to slide the toilet under when not in use. One person visiting my boat had the exact same idea. It would have given a bigger space for using it as a shower. Looks like it was a great turnout at the show. I didn't keep a counter how many people I talked to or visited my boat. And Yes, Tom is to thank for a great design. I tried different things with the interior but still came back to Tom's layout. When waiting at the boat ramp I took a little run up and down the river to test the different propeller I got since the first test run. Now the motor went up to 5200 rpm with a speed of approx 23-24 mph. Egbert
-
Thanks Jim, Looks like you are few steps further down the road and are actually using and enjoying your boat. I had a total of half an hour on the water with the boat. A test run and to and from the boat ramp at Georgetown that's it. It covered more distance on the highway than the water. Egbert
-
Here are some interior pictures as requested by Oyster.
-
Here is the boat in Georgetown.
-
Did you wash the boat with water and a scotts brite pad after the epoxy was applied. It could be a amine blush problem. Or the epoxy wasn't fully cured yet. I had problems with Epiphanes varnish over West System epoxy. The varnish never cured. After two weeks it was still sticky. Egbert
-
Tom, It is the plan to be in Georgetown with the boat. It will not be finished all the way, but I hope it to be presentable. The outside is pretty much done. Inside I still have a lot to do. I figure I can get most of the woodwork done before Georgetown but not all the electrickery and plumbing. Egbert
-
Here are a couple of the latest pictures of my boat. It was moved on the trailer this week and the motor bolted on yesterday. The outside is mostly finished except for some details and most of the stuff that goes on the roof. Inside there is still a lot to be done. It has been leak tested yesterday, when I drove home from the dealer I went to a thunderstorm. The opening windshield leaked a bit and the drain channels under the aft cockpit locker lids overflowed from the boat tilting back. Tomorrow (Sept. 12) there is a boat show at the Reedville Fisherman's Museum as a work in progress. Hopefully the weather holds out, more storms predicted for the afternoon. Egbert
-
Thanks Chuck and Tom, I don't think I'll be completely finished before Georgetown. I hope to get it in a presentable state before that. Painting took way to long and I'm still not overly happy with the results, but I had to move on. Egbert
-
Here is a picture of the splash well seen from the cockpit. My tank also extends under the splash well by about the same amount. I can take it out by sliding it forward and up towards the bow . The back end of the cockpit floor cover has a vertical piece glued to it about 4" high. This fits under the white piece of wood that forms the forward end of the splash well floor. That gives me enough clearance to pull out the fuel tank.
-
I made a sloped floor in the splash well. The height at the transom is dictated by the steering mechanism. It has to be over 5 inches below the transom cutout for the Baystar steering. Towards the front it slopes up to about 4-5 inches above the cockpit sole. It has a big access hole with a cover to get to the bilge area below. Two drain holes in the transom just above the splash well floor should take care of water that made it's way in. Egbert
-
Apparently I don't have the right kind of friends. Egbert
-
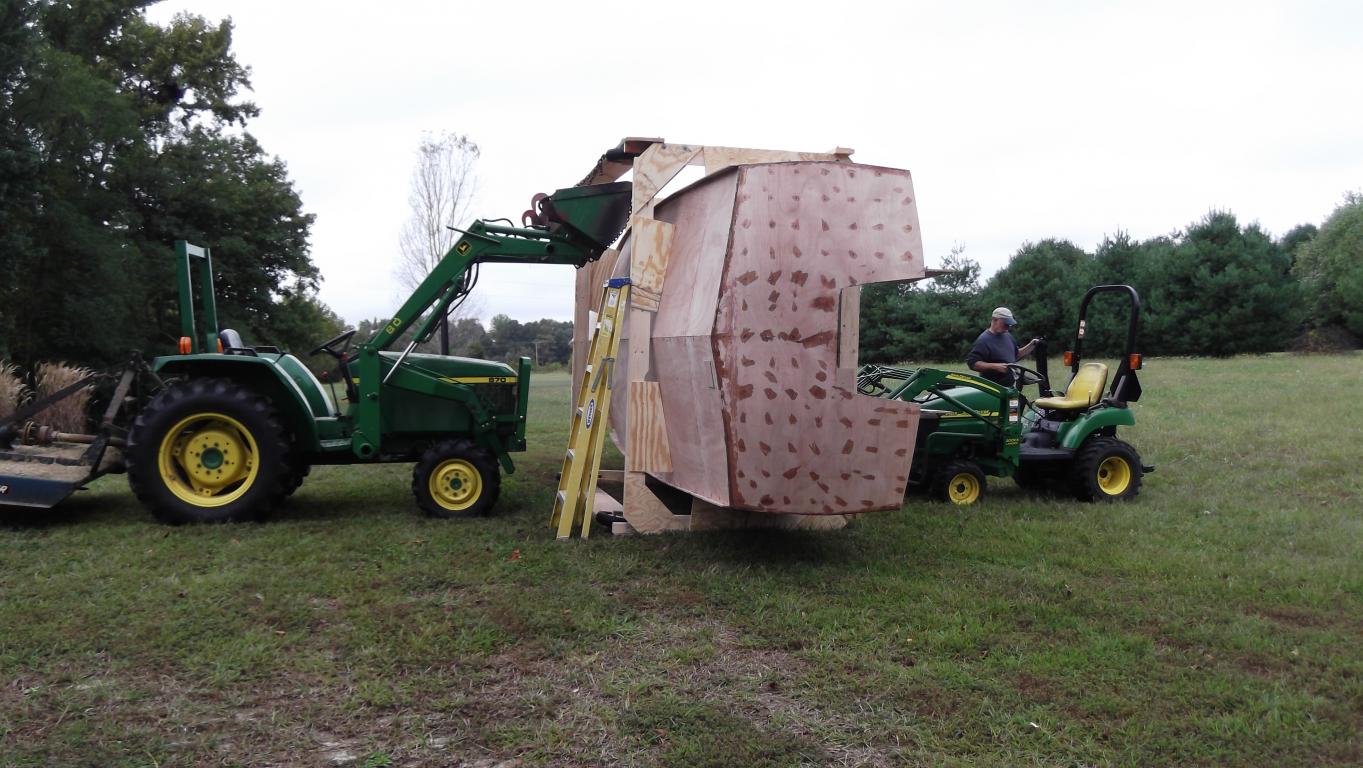
Did you get your boat on the trailer, if yes how. I need to do the same thing at some point. Egbert
-
Jim, congratulations on your splash and great accomplishment. Just wish I was as far as you are. Egbert


