Adios
-
Posts
78 -
Joined
-
Last visited
-
Days Won
8
Content Type
Profiles
Forums
Events
Everything posted by Adios
-
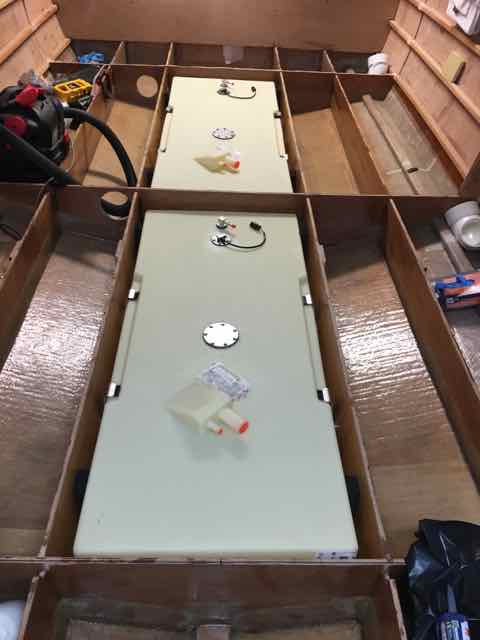
Still chugging along. The transom issue is still unresolved but the plan is to move it aft with a centerline fishbox and access to the bilge. More on that later. Since my last post, the fuel tanks have been installed, conduits for fuel, water, electric and hydraulic lines installed and the bilge compartments foamed. The decking (ply + glass) is next with the final decking planned as teak. For the fuel tank installation, support frames were constructed as shown and neoprene rubber + 5200 used to prevent chafing. These tanks must expand so they cannot be "foamed in". Instead there are clamps which secure the tanks and 1" blocks of neoprene are installed around the edges of the tank to prevent any movement.


-
Kennneee, Great project and really nice work! Congrats. cant wait to see the finished cabin layout.
-
Jay, I'm in Brickyard Plantation building in my garage. Tight fit. Glassing the sole in more sensible and it may come to that.Teak is so beautiful though. Stupid expensive! Kennneee, Beautiful Work! I have to take a break from the glass busy work and do something that looks a bit more like progress. Is that the outer banks and do you have a thread going? where's the link?
-
Yes, I will glass the inside of the transom and bulkheads and tape the joints. The next step for me is figuring out the redesign of the transom layout. I still have to go back and clean up limber holes, sand and put on another coat of epoxy on the entire bilge. Yuk!
-
I was thinking of something like your second photo. I do want room for mechanical and bilge access and some storage. I was thinking of moving the bulkhead back to perhaps 12-14" from the transom so that I could have storage space on either side of the livewell/fishbox. Also, I might raise this off of the deck 4-6" to allow for the toe space that you mentioned. The plan is for a 200 yamaha on an armstrong bracket/swim platform. The door is appealing but I would be afraid of unacceptably weakening the transom. I love the teak. I will do teak deck and combing boards if costs allow. I really want it to look like a scaled down version of the classic big sportfisher
-
I need some advice, though. I did not anticipate that the distance between the aft bulkhead and the transom would be so large, 31' in the centerline. my plan is to cut out the above deck portion of the bulkhead and move it aft so that it would be easy to reach or climb over the transom while fishing/swimming, etc. I would probably widen it in the centerline to accommodate a fishbox or livewell, too. any thoughts or suggestion are appreciated. thanks
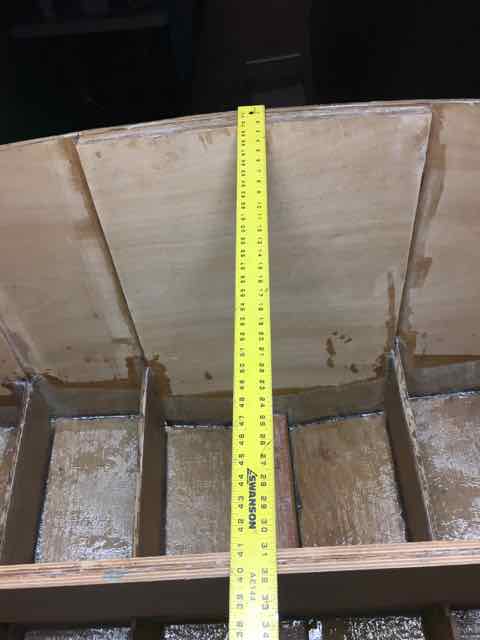
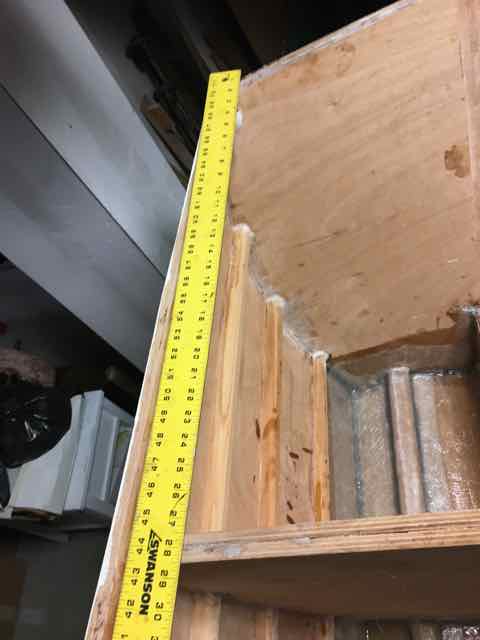
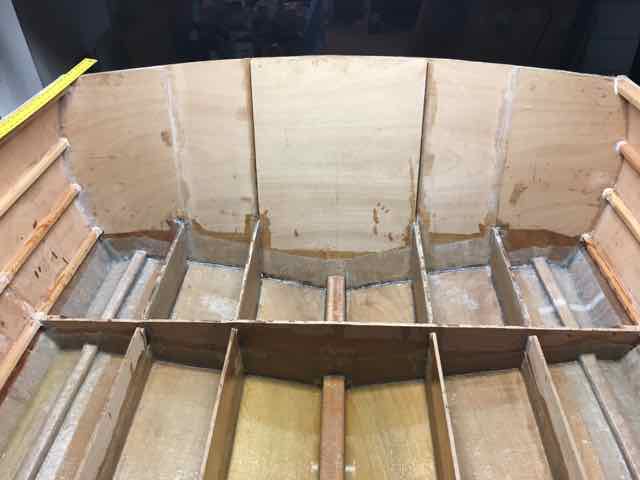
-
Sorry, somehow i"m lacking on the side shot view. Since my last post, I've done all fillet joints and glassing below the waterline. Slow going and not very fun but a good hurdle to clear.


-
Barely fits in the garage. Wish I had a bigger shop!

-
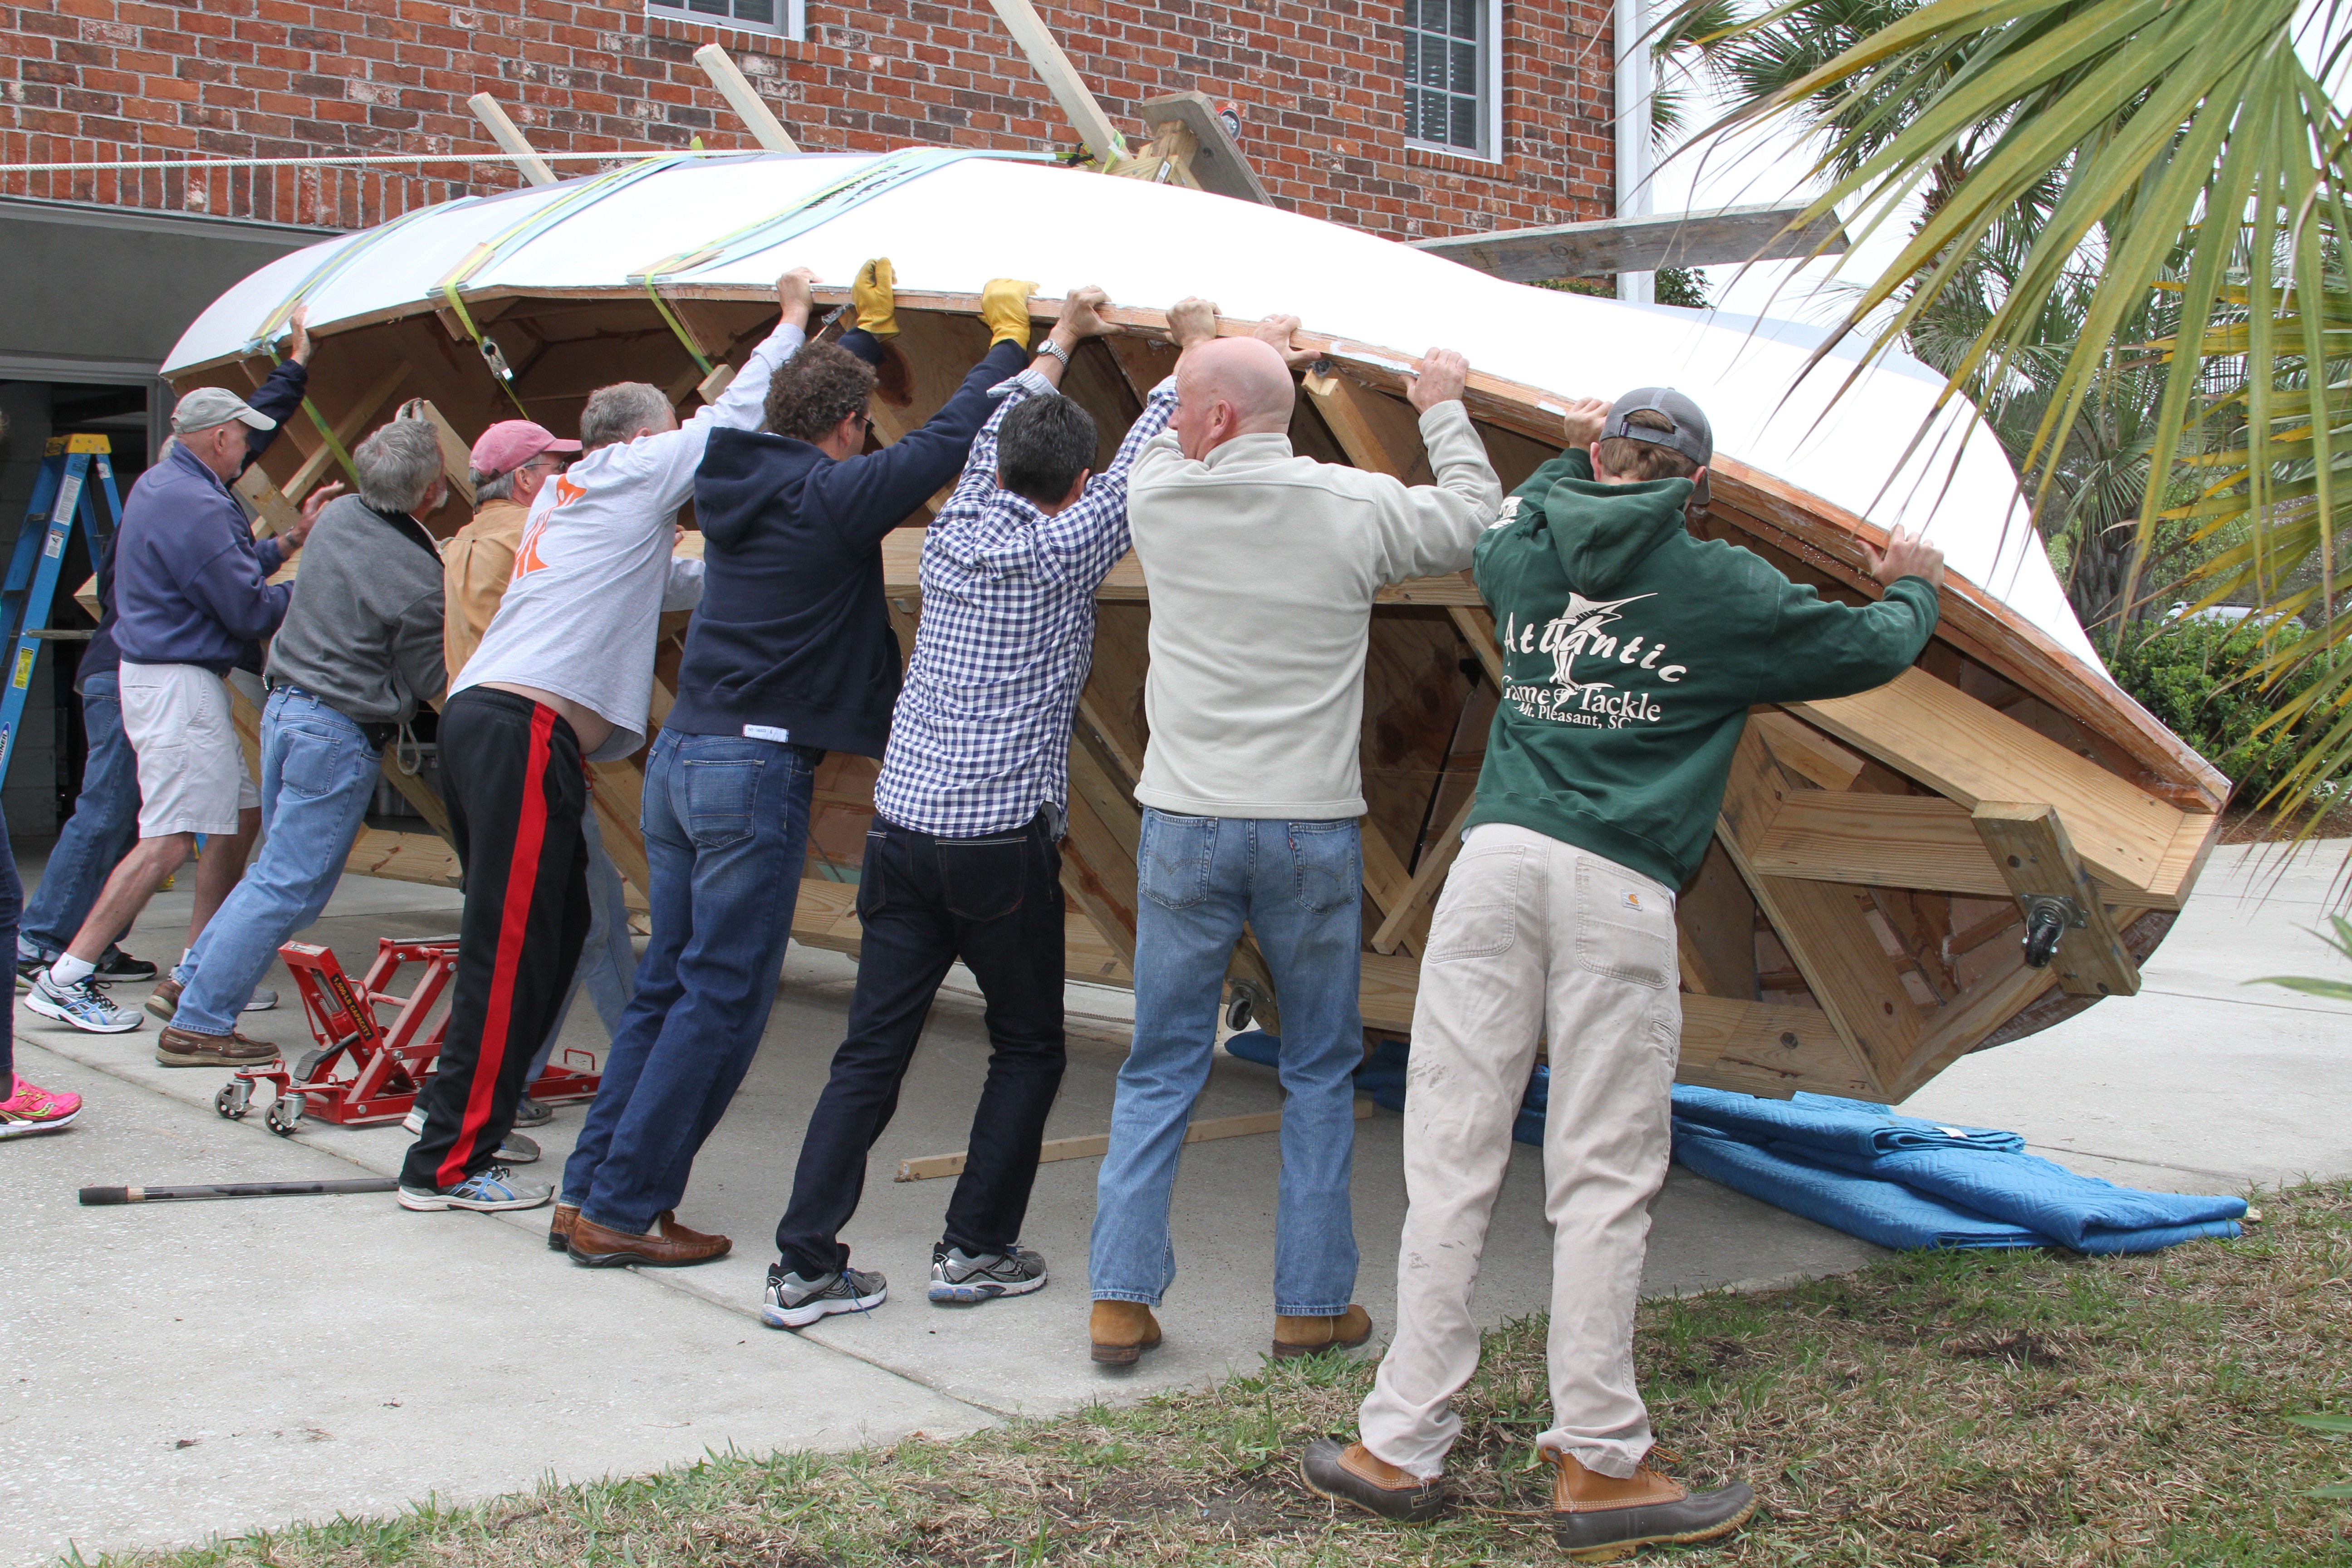
We flipped her over some time ago. It was a fun party! IMG_2211.m4v


-
Thanks for the advice. I'd like to stop by the shop sometime. I'll send you a PM for phone number (if I can figure out how to!) Thanks, Johnb
-
Chris, I am building an Ocracoke 24 ( see "Ocracoke 24, Lucky #13" thread) and am planning the interior finish. What type of foam board (thickness, density, etc) did you use for planking the interior? I was planning ply over the ribs but structural foam seems like a much better idea. I assumed that you glassed over afterwards? Beautiful boat, can't wait to see her on Charleston harbor. Any advice appreciated Thx, John McFadden Mt Pleasant, SC
-
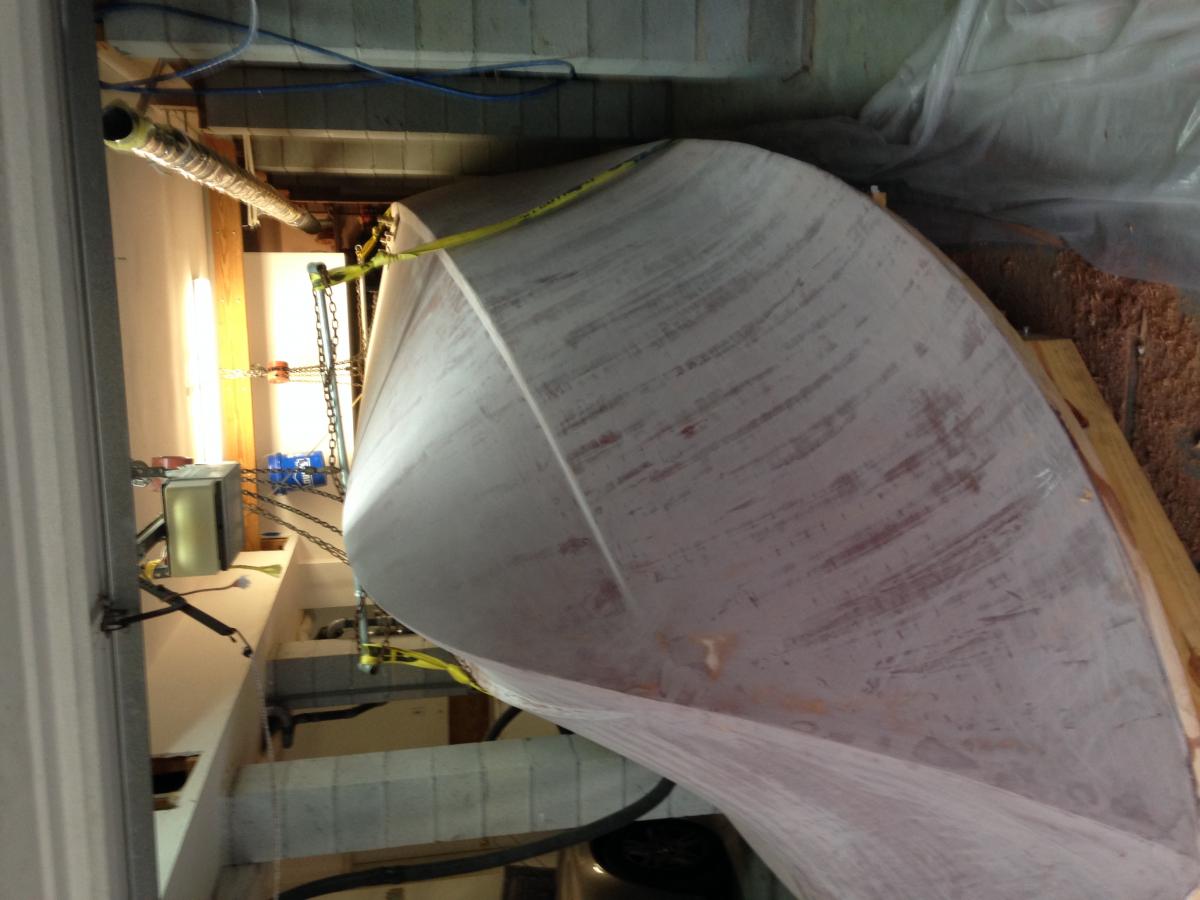
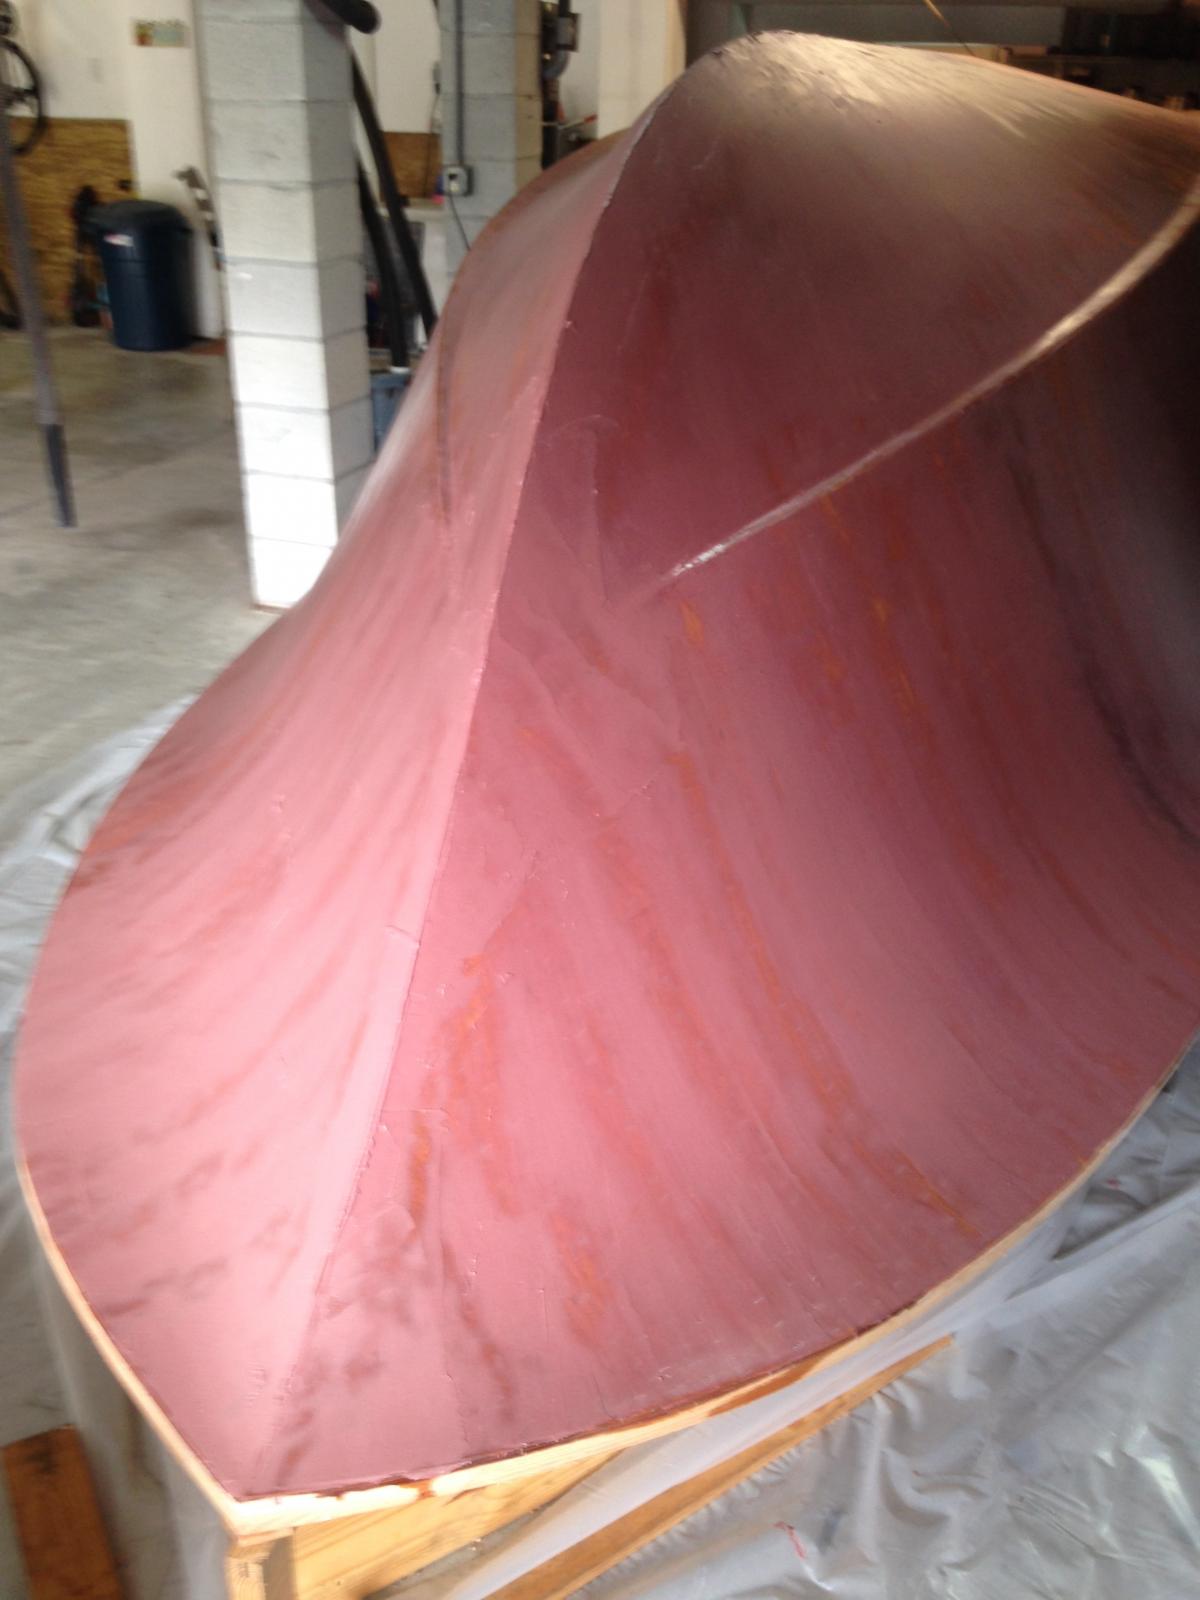
Peel ply coming off. I spite of best efforts, there were some tiny voids that were painstakingly open and filled with epoxy. An additional coat of unthickened epoxy was applied. Finally, a final fairing was done (mostly at the glass overlap along the chines) before painting. Priming was with interluxe barrier coat below the waterline and sanding epoxy primer above.


-
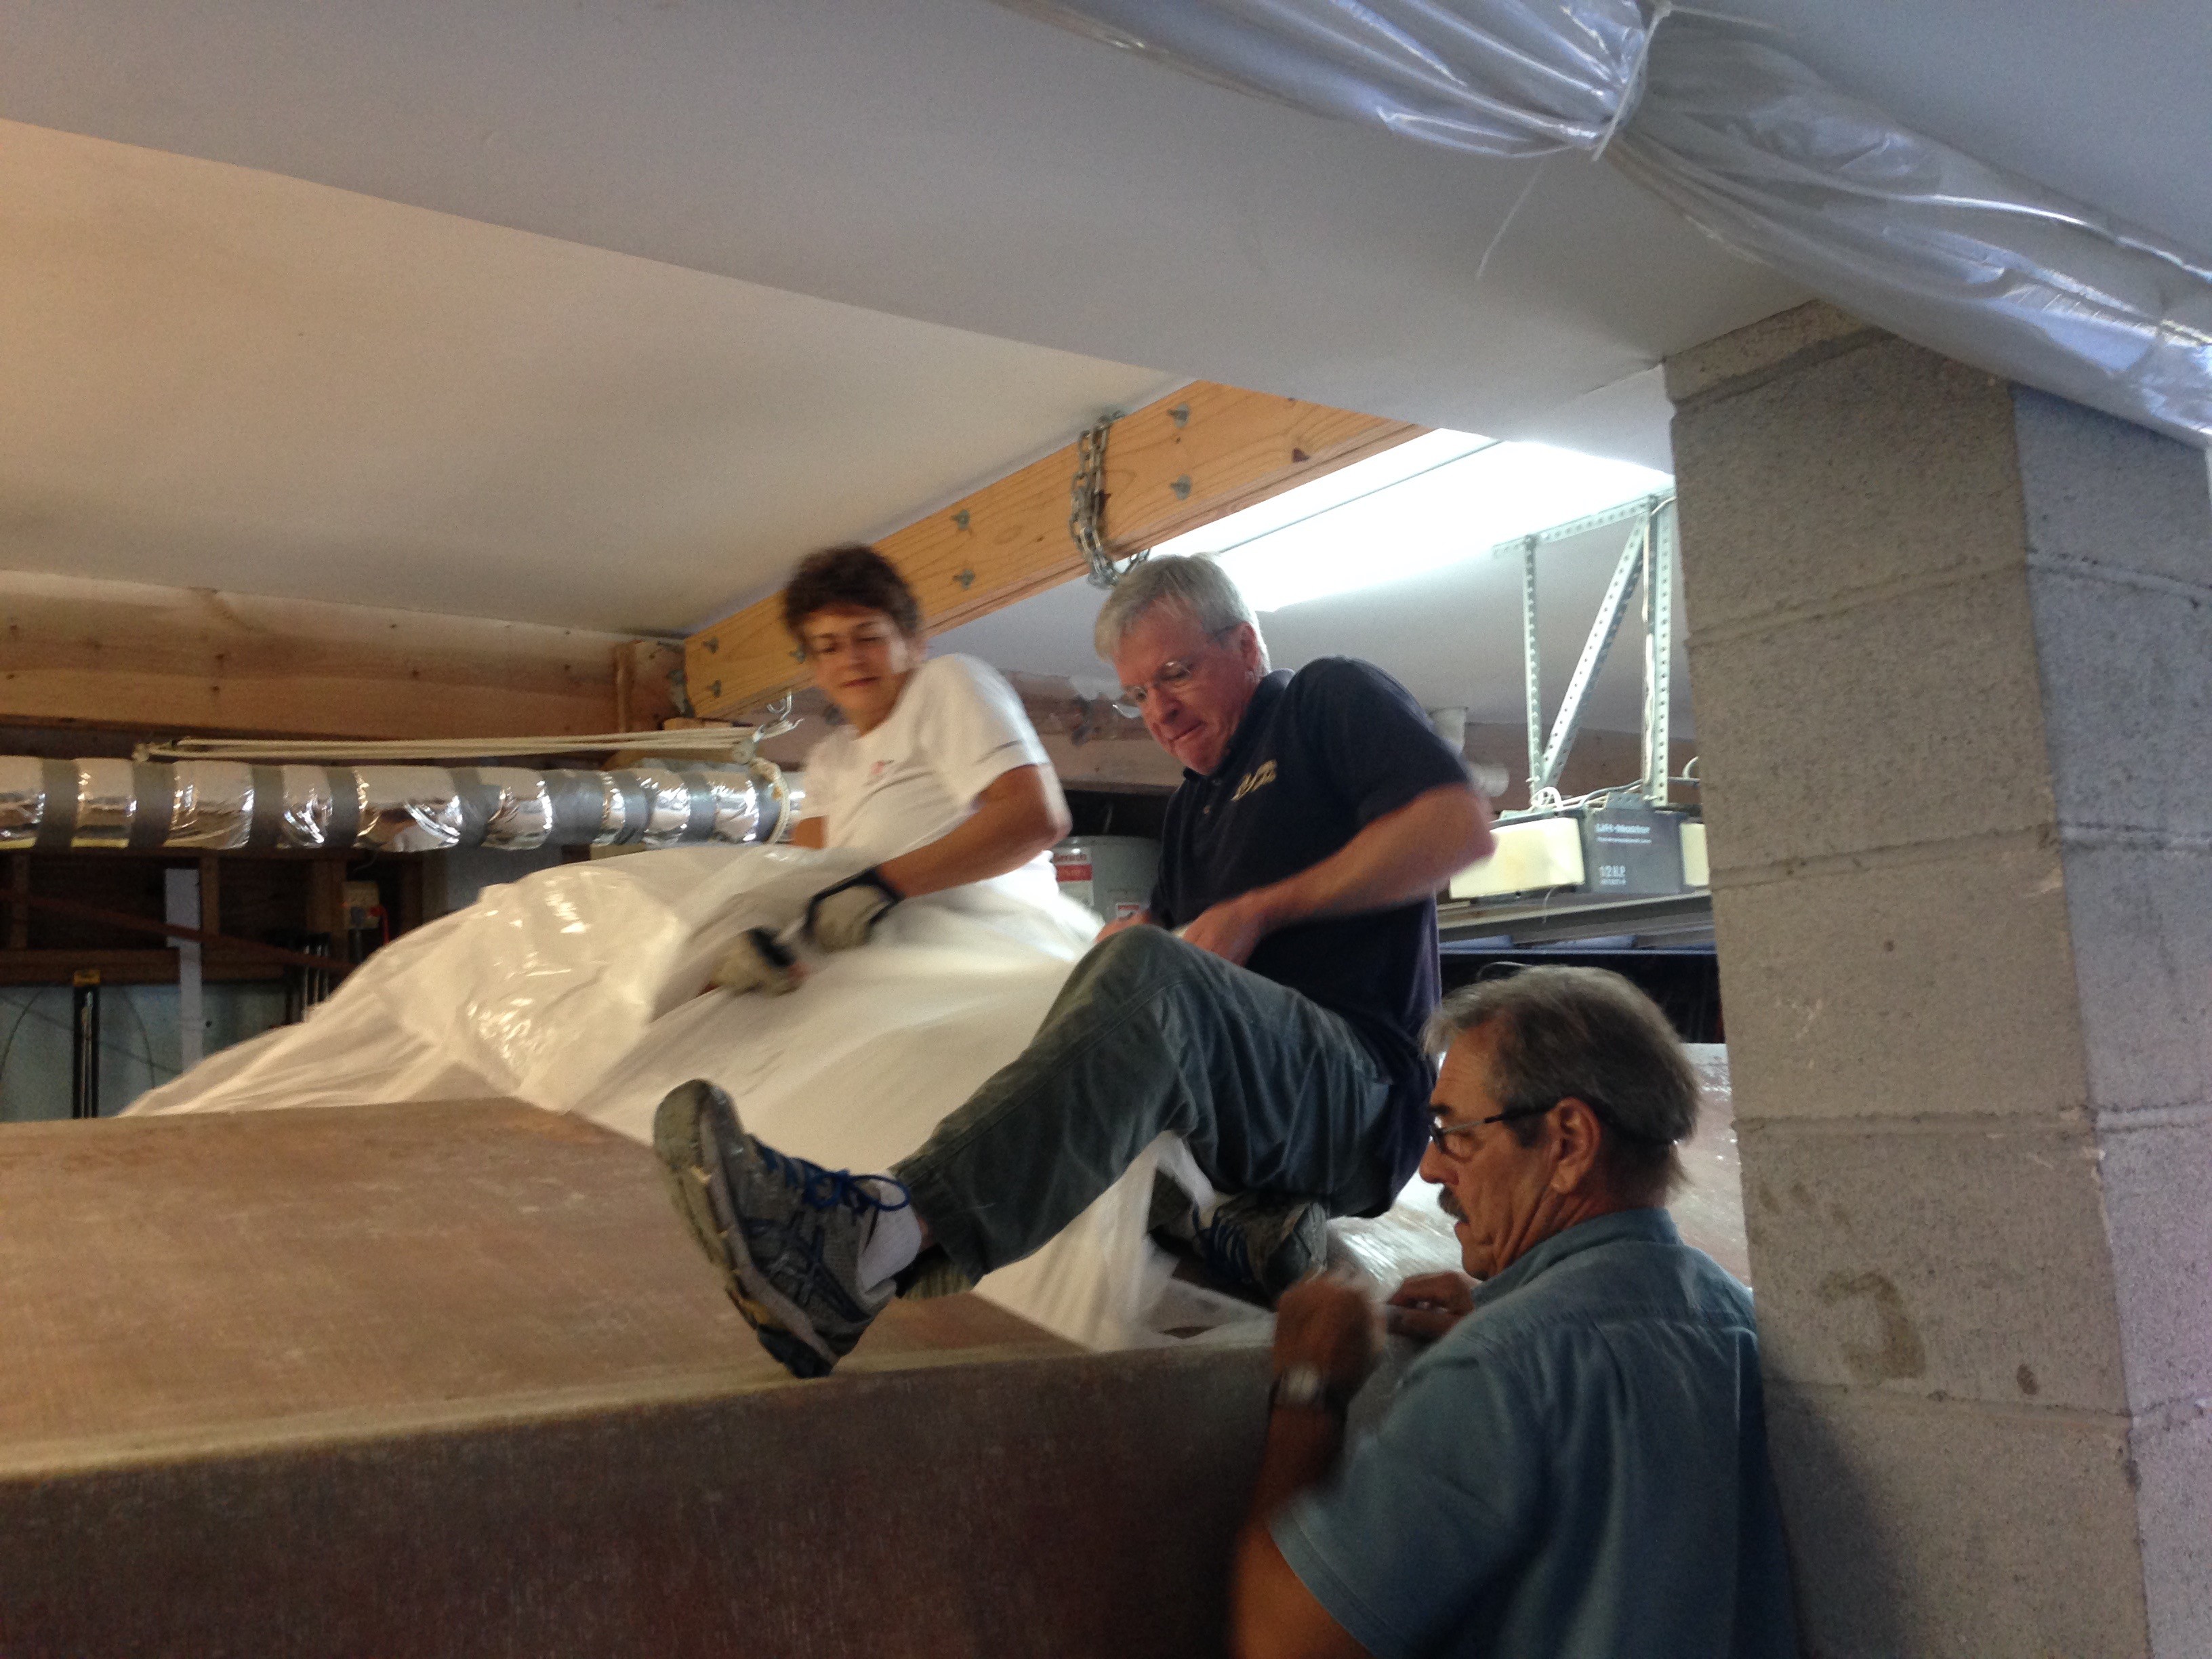
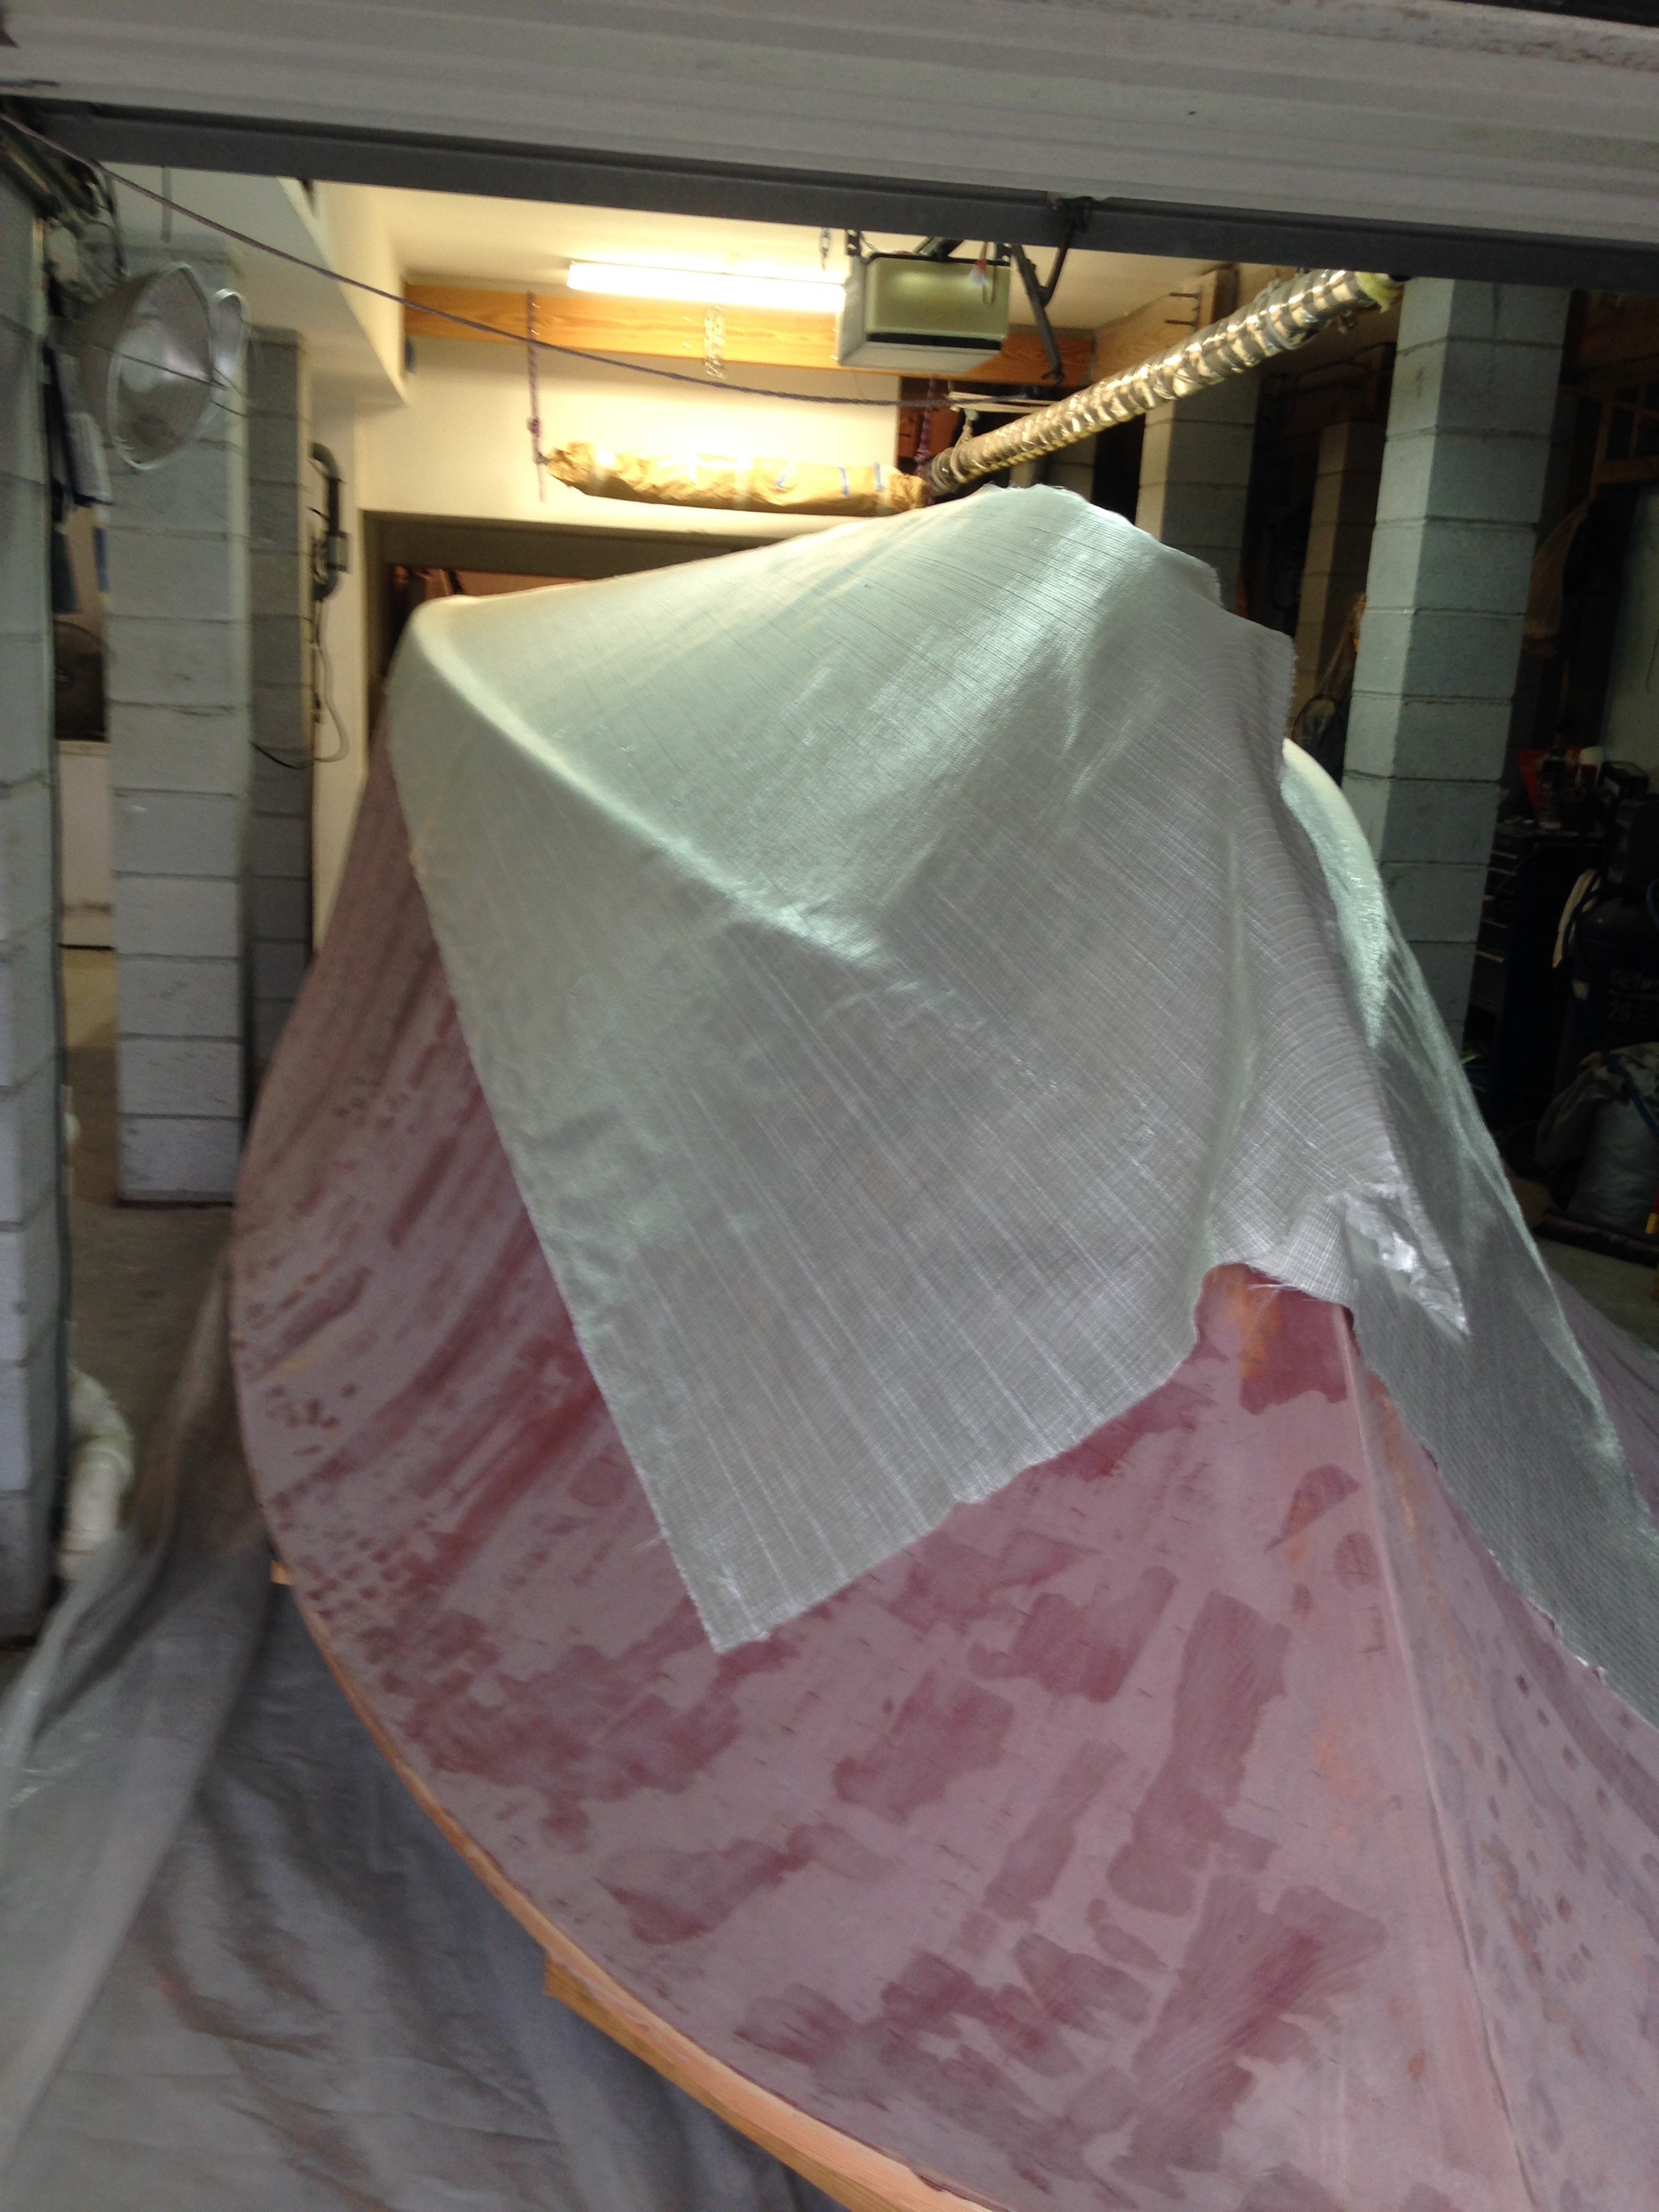
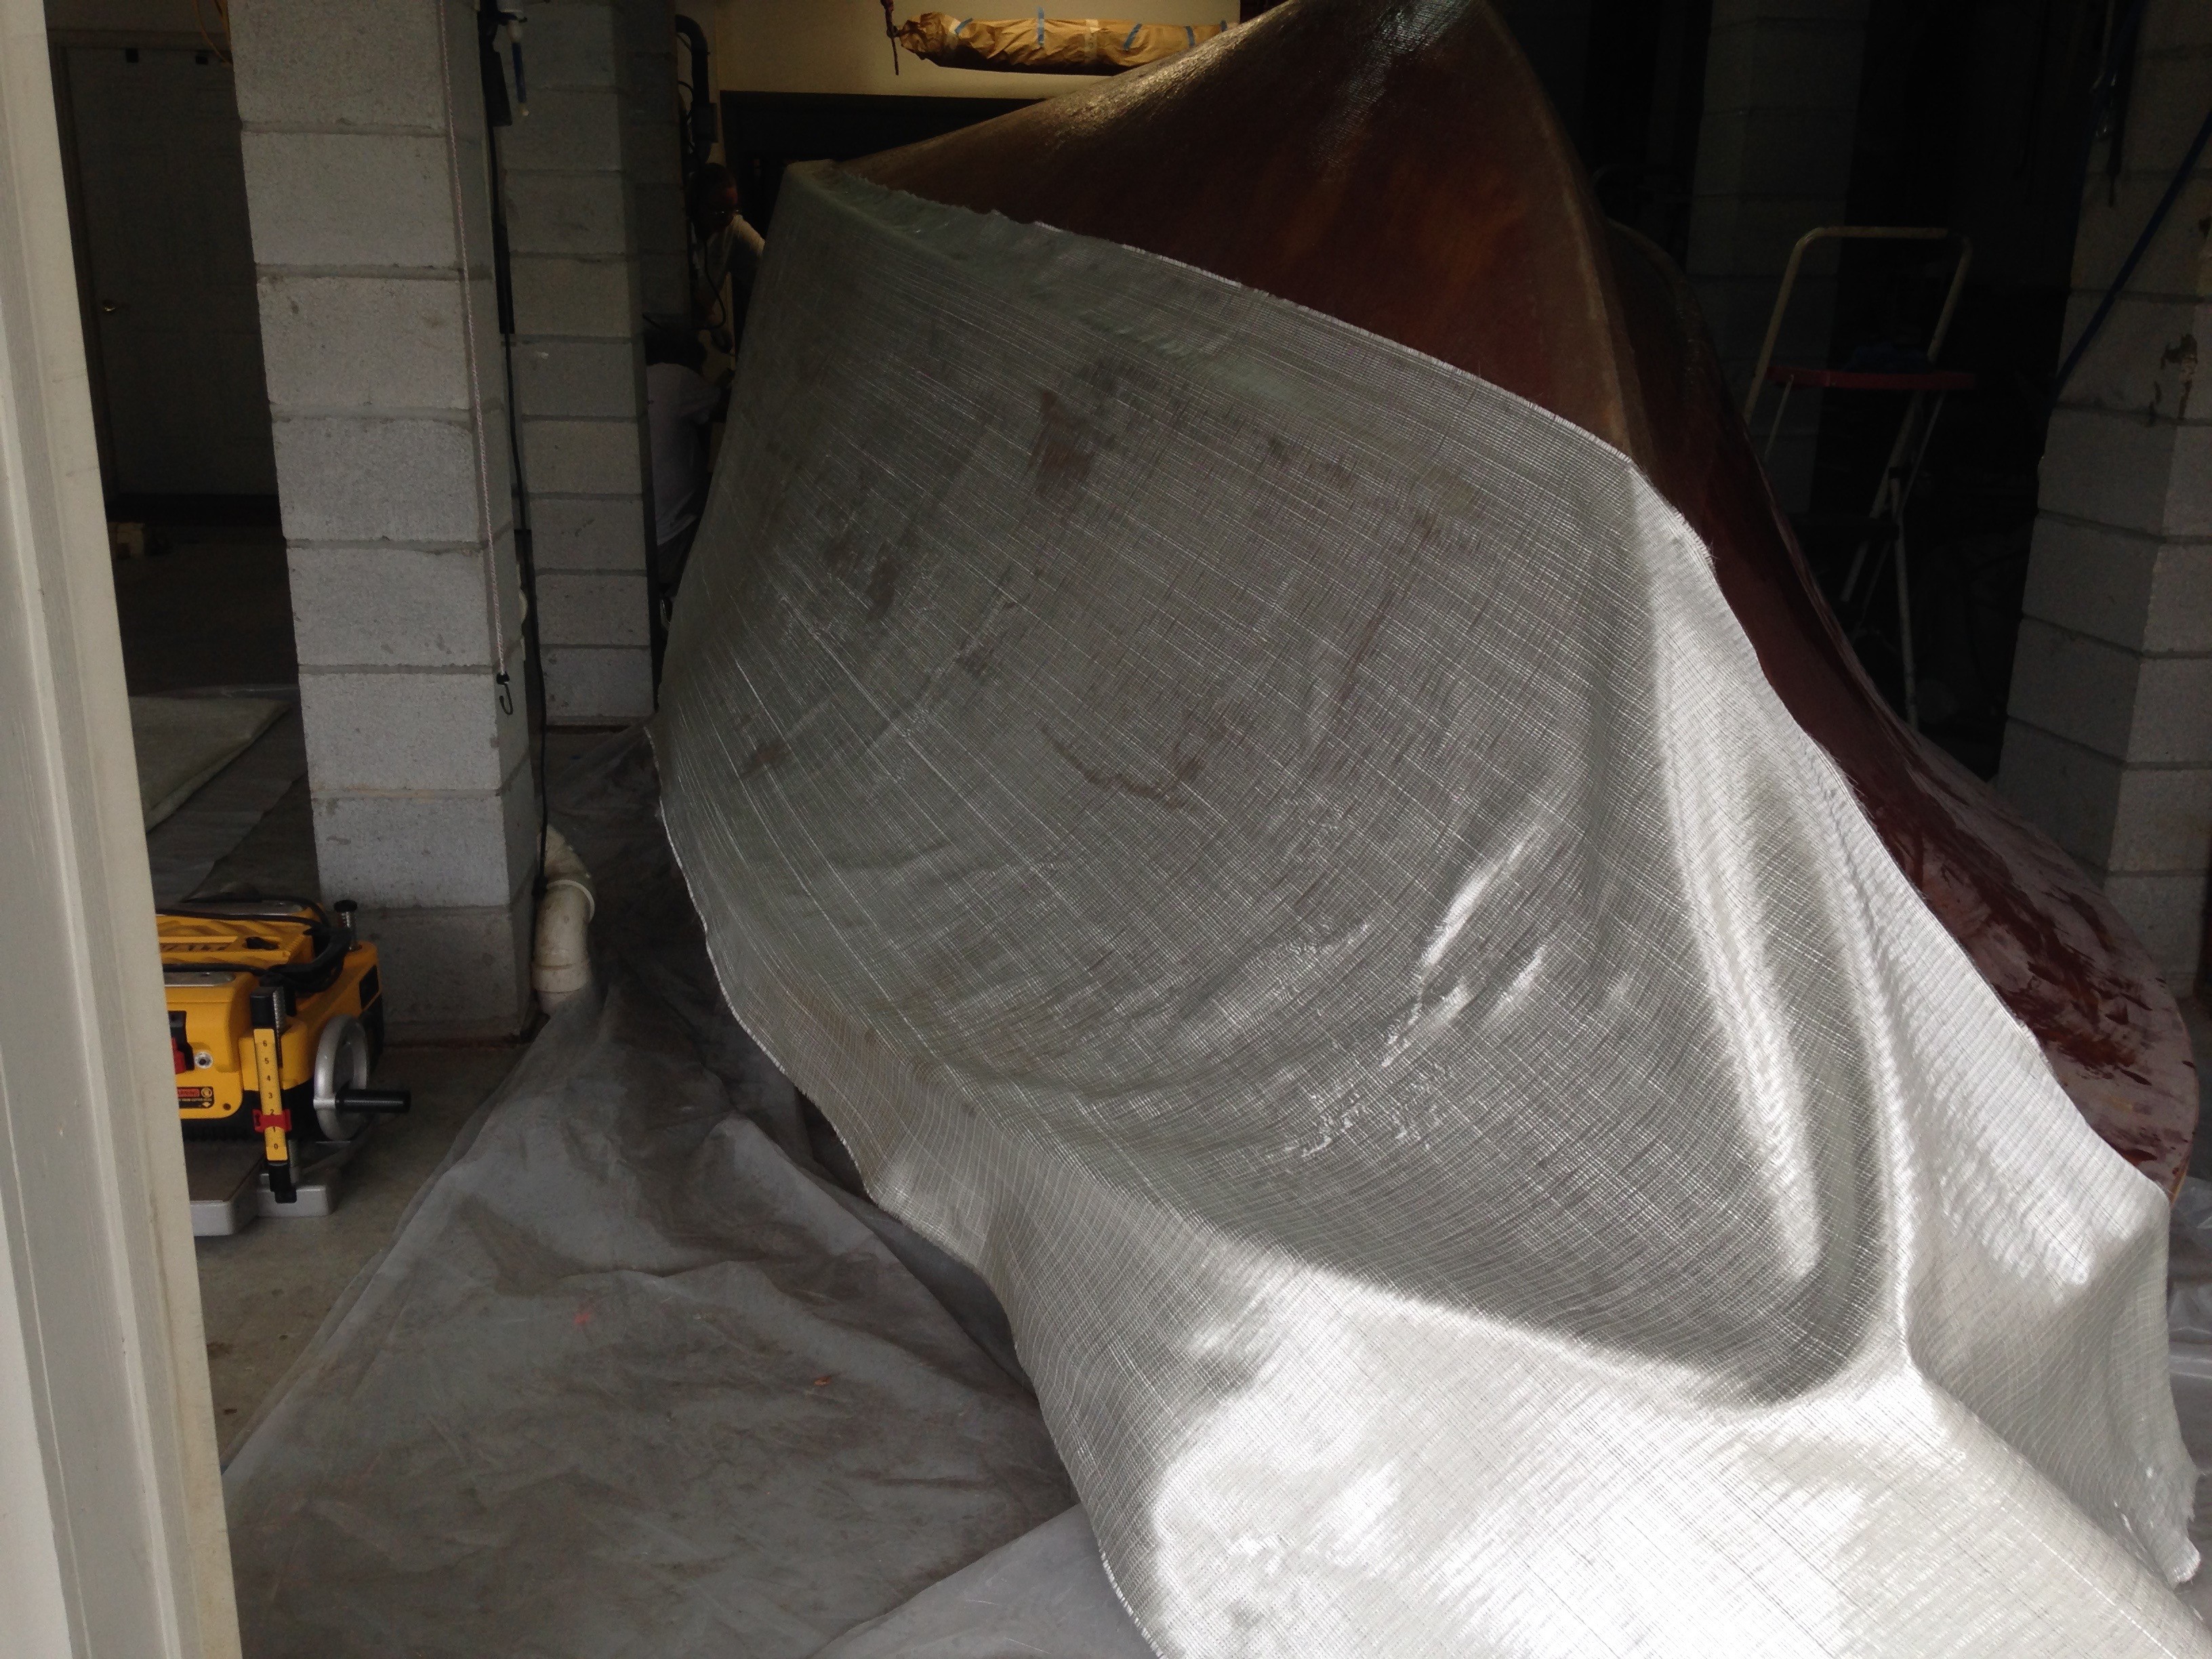
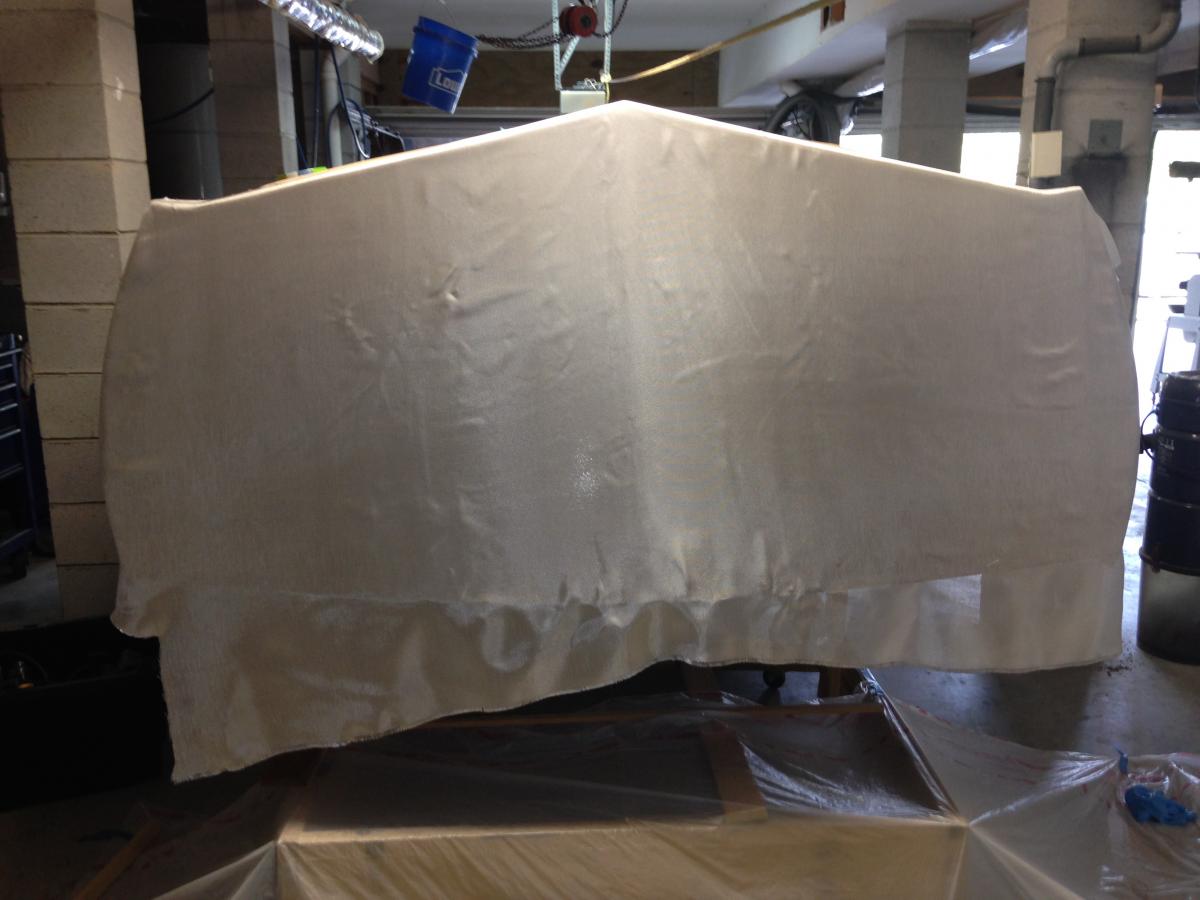
For any of you who may have had an interest in this project, my apology. It has been a long time since I have posted but the project is still ongoing, SLOWLY. It's a hobby after all. Some updated photos follow. I am now at the point of glassing in the bilge compartments and thinking ahead to the interior finish. After fairing, the hull was covered with 18 oz glass, doubled at the keel and chines. After wetting out, peel ply was applied and all of the bubbles worked out.This was done in one stage (for strength) and took a surprising amount of epoxy. This part is not a one man job and the help of some interested and knowledgeable friends was very much appreciated.


-
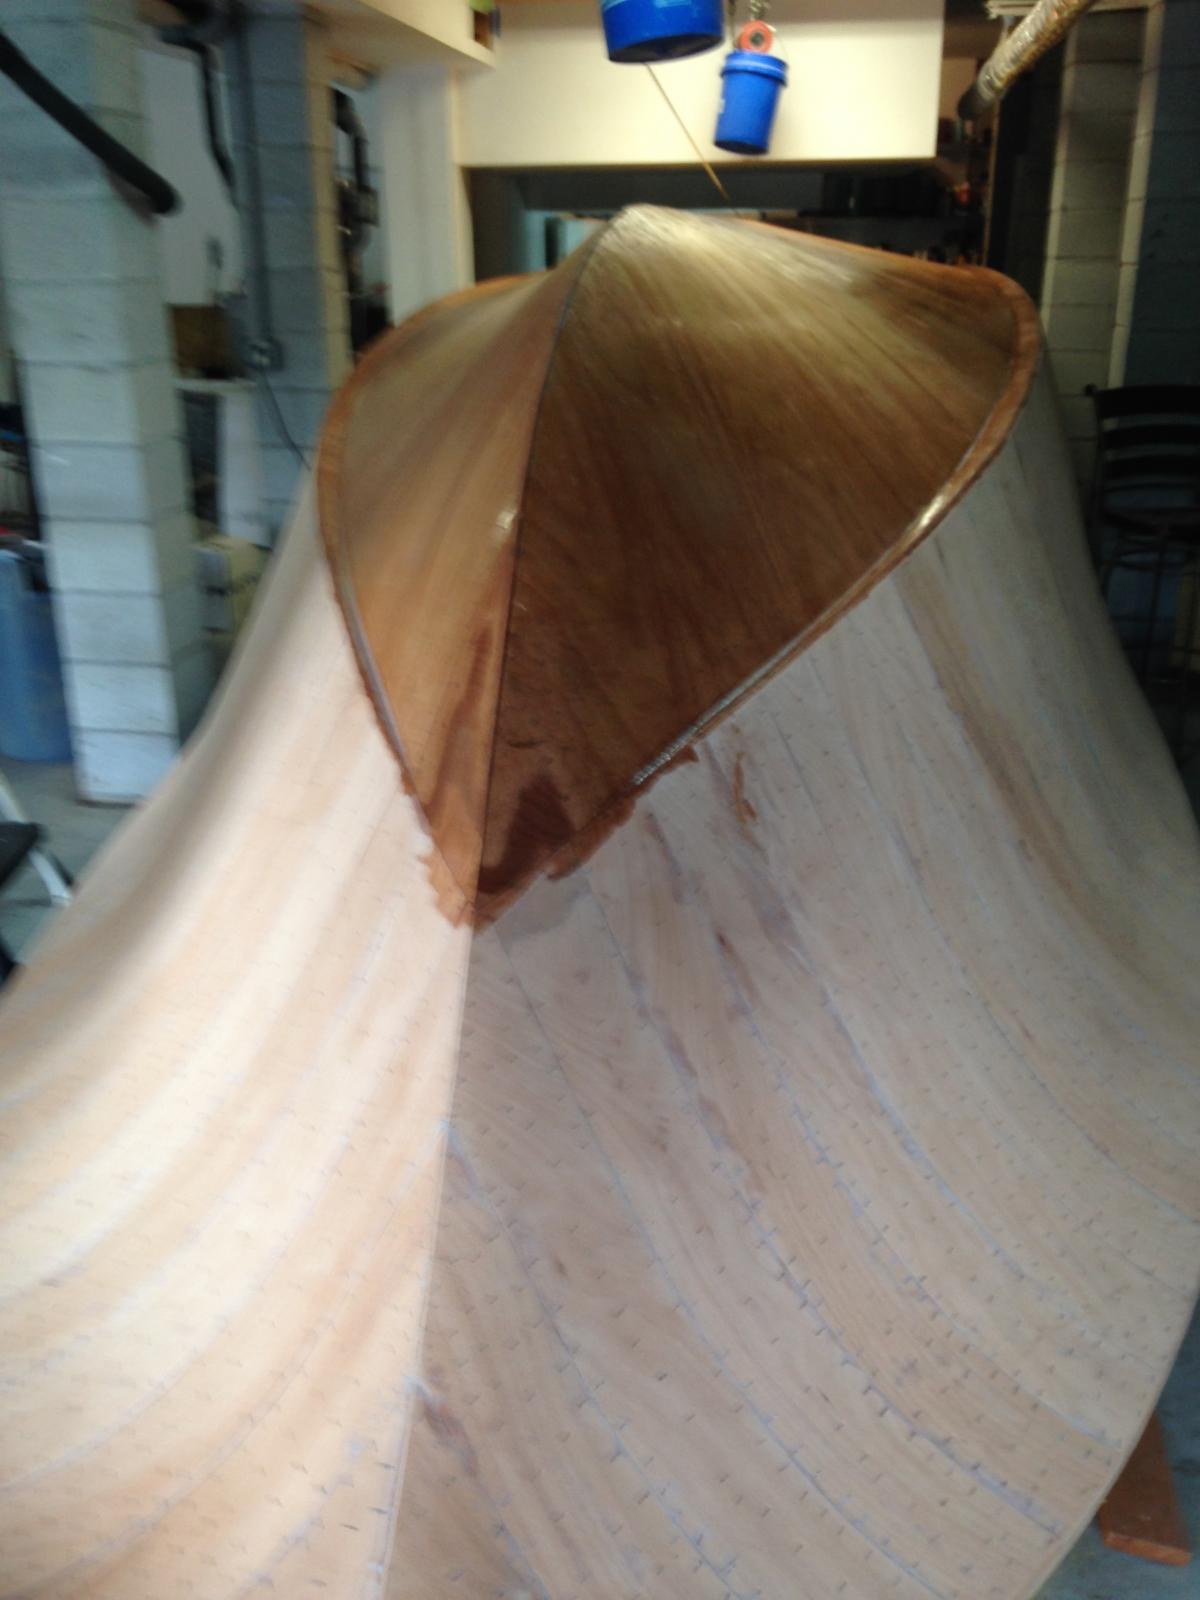
I picked her up and put wheels under the strong back, cleaned up the dust to get things ready to glass the transom. The plan is to leave the transom bright and have an outboard on an Armstrong bracket I had previously painted the transom with epoxy (WEST 105/207) to protect the veneer from damage. It was sanded to remove gloss and cleaned of dust with acetone. Draped with 7.5 oz E-glass and taped in place and wetted out with 105/207. It took 2 additional coats (with foam rollers while green) to fill the weave. It came out very clear. I'll sand it with 220 or finer and add another coat before varnish. Don't know why that top picture keeps coming out sideways...sorry!


-
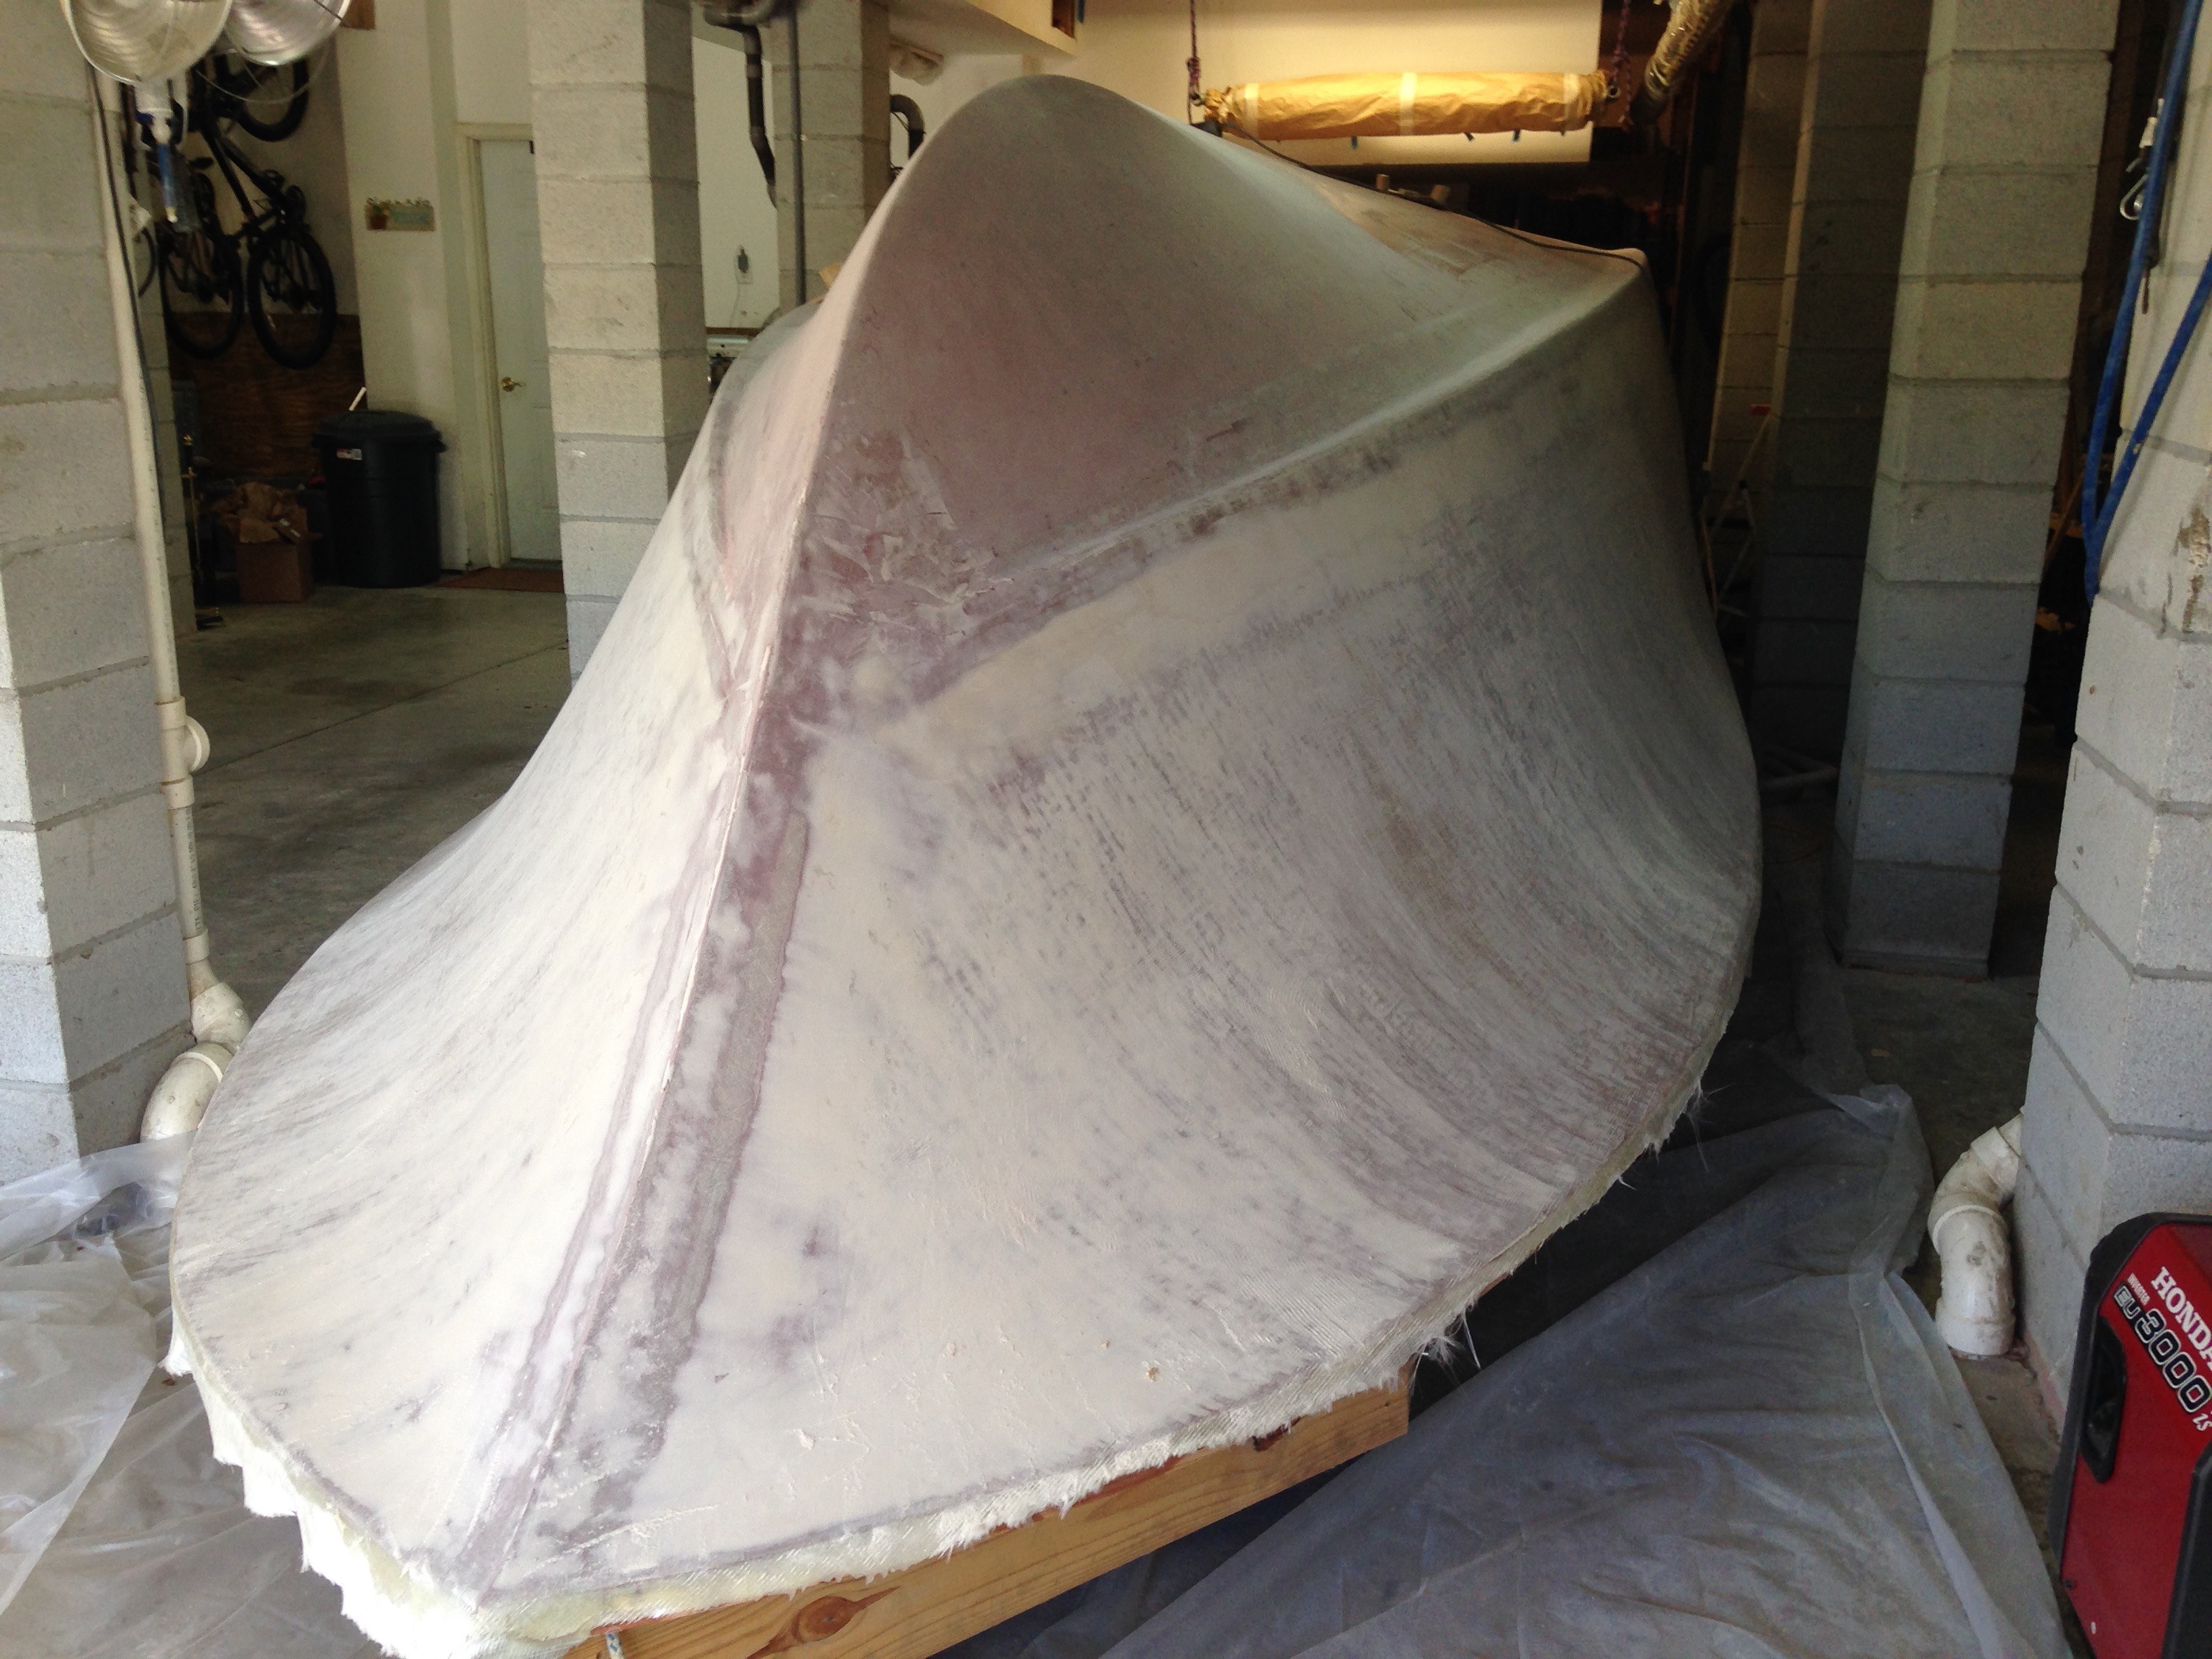
For those of you asking, please accept my apology for so much time between posts. Very little work has been done this summer. The pace at work has been busy and time has been better spent with family. We also have had a very hot summer with many 95+ days which makes working with epoxy impossible. I'm back at it, though, and hope to have the boat turned before too much longer. I've sealed the wood with unthickened epoxy, faired with WEST fairing compound and glassed the transom just today. We plan the glass the hull next weekend. Pictures follow. Unthickened epoxy rolled on with foam rollers to fill and seal woodgrain before application of fairing compound. Entire boat slathered with fairing compound. Fairing board made with 6mm ply and #36 grit sanding belts. After LOTS of sanding and dust! Pretty fair at this point but still needs touchup of some shallow spots.


-
After half a day of #40 grit sandpaper on an orbital sander


-
I think that I have the technical error at the bow under reasonable control and have finished planking. I had a lot of trouble understanding how the planking transitioned from the flare at stations one and two to the stem where it would only meet at the edge of the sheerclamp. I might also have had a bias, in my mind's eye, as to how I thought it should look as opposed to how Graham actually drafted it. That's why I'm the neophyte and he's the professional! I used battens to shape and simply take off some of the excess overhang at the stem. I was careful to shape this so it wouldn't appear as an afterthought. I will build up the sheerclamp on the inside if need be. Although it still is not exactly as designed, I'm pleased with the shape and think it will be OK. Now I'm sanding off globs and proud staples. I still have to round off the chines and transom edge so the glass will drape and then start the dreaded fairing routine. Hopefully have it glassed by the end of June. I'm still debating the best way to glass the transom and keep it bright.


-
Good idea Alan, I had not thought of that. Thanks
-
Okay, So I'm finishing the planking and figuring out how to deal with the error mentioned above but I have a question for the readership. I want to leave the transom bright finished. The plans call for 1808 biaxial glass (2 layers of glass and 3/4 oz mat stitched together). I obviously can't cover the transom with this and expect to clear coat. What is the strongest (heaviest?) glass to put on the transom and still expect to get a nice finish? E-glass? S-glass? Dynel? I have to place an order soon. Thoughts anyone? Thanks
-
Thanks for the advice. I'll keep posting pictures I and appreciate your guidance.
-
Graham, Thanks for the reply. I struggled with that issue and should have checked with you. I guess that I'm committed to it as is at this point. Any suggestions as I go forward?
-
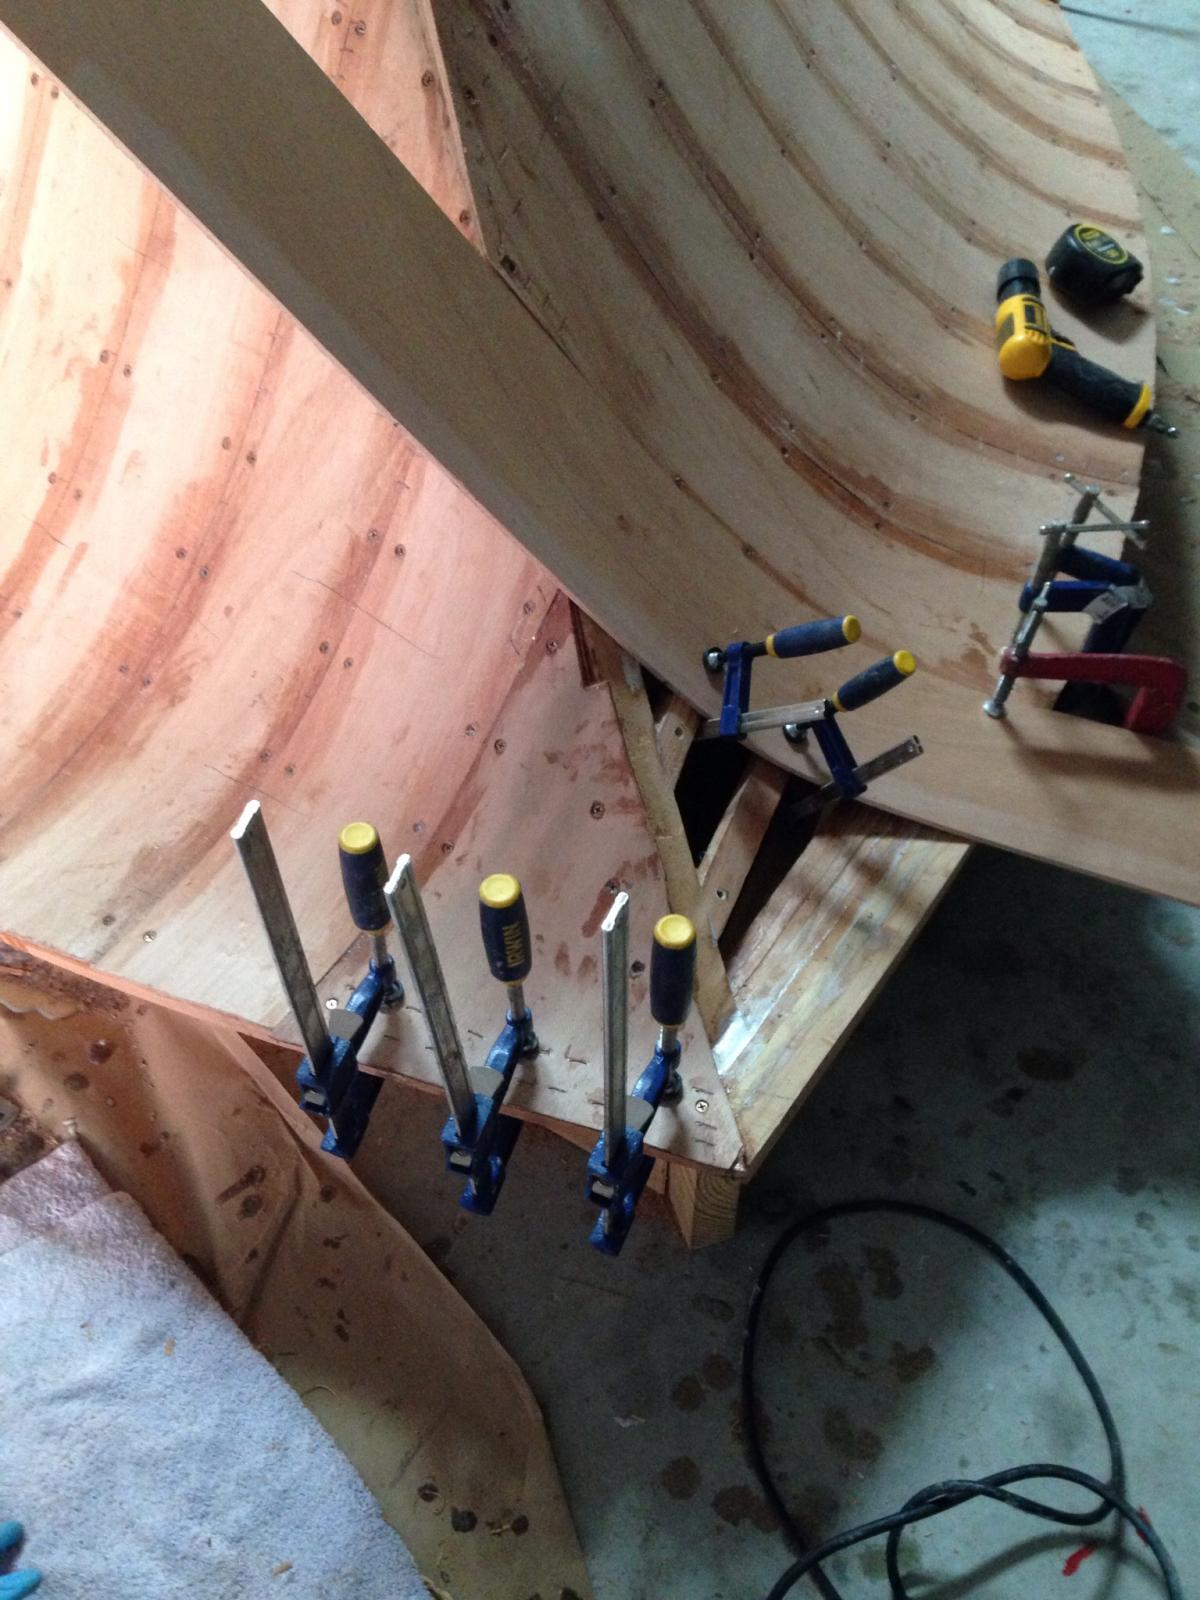
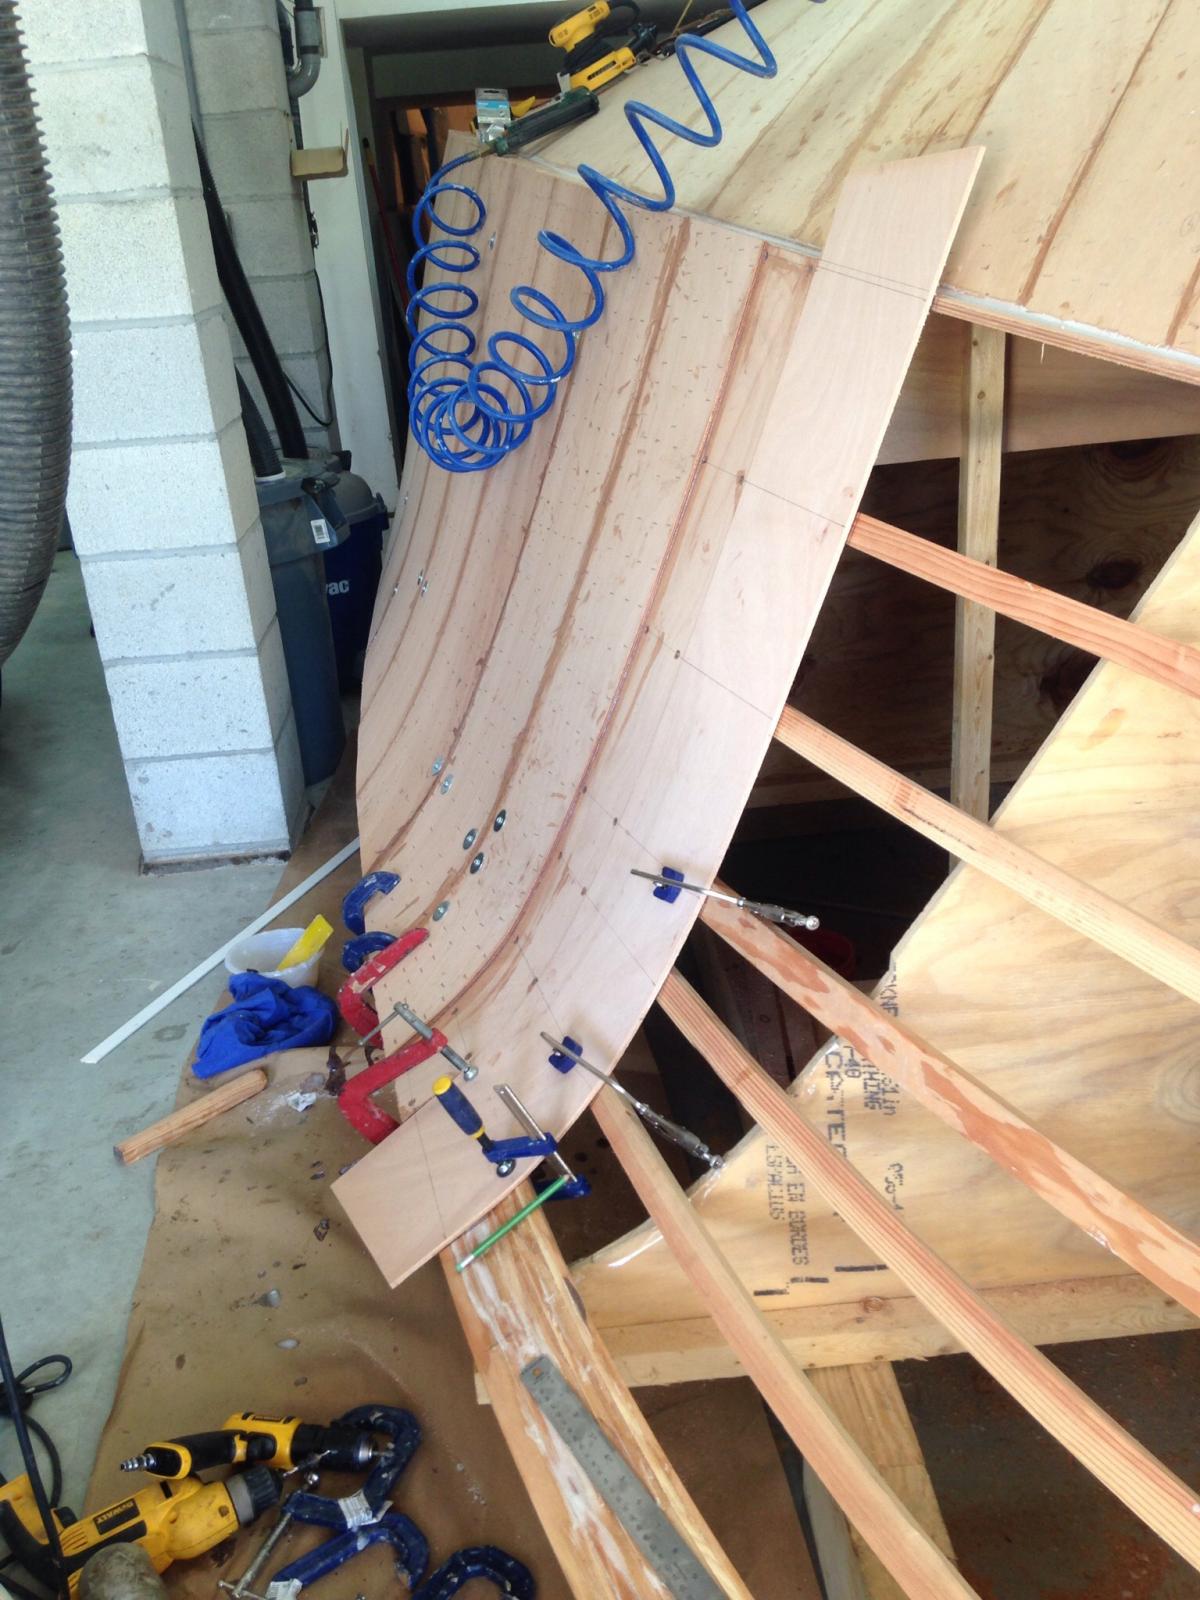
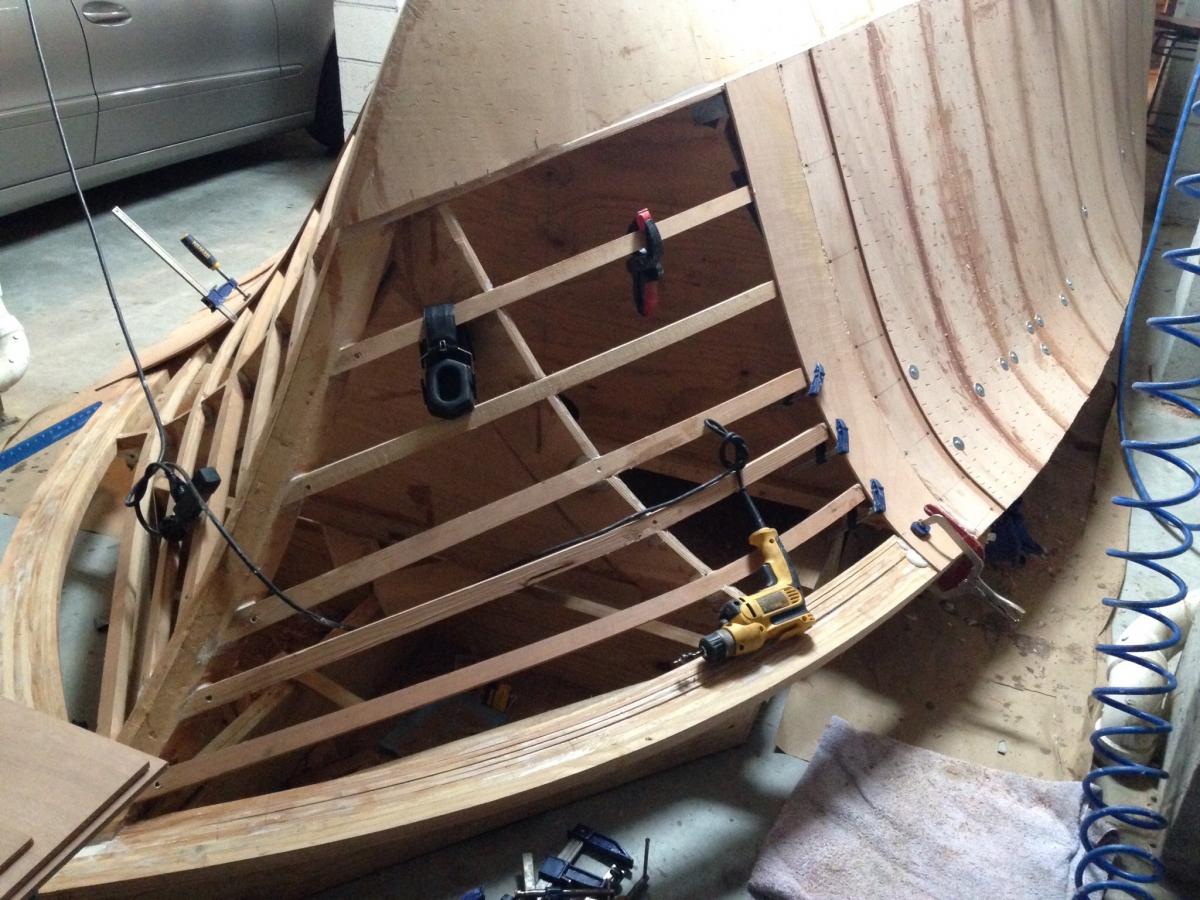
The last plank or two at the bow are very difficult. The 6mm ply can't tolerate the bend and I've broken multiple planks. If I've built correctly, the sheer clamp where it meets the stem is parallel to the waterline. The planking must make a severe bend to give it the characteristic Carolina bow flare. It may be that the diagonal angle that I am using to apply the planks is not acute enough so that there is too much bend and not enough twist to each plank. The plans call for two layers of overlapping 6mm planking on the sides. I finally decided to use 4 layers of 3mm ply in the last one foot or so to accommodate the bend and it seems to be working well. Has anyone else had this problem and am I doing something wrong? The most foreword plank on the port side shown is two layers of 3mm fastened with screws and raptor staples.


-
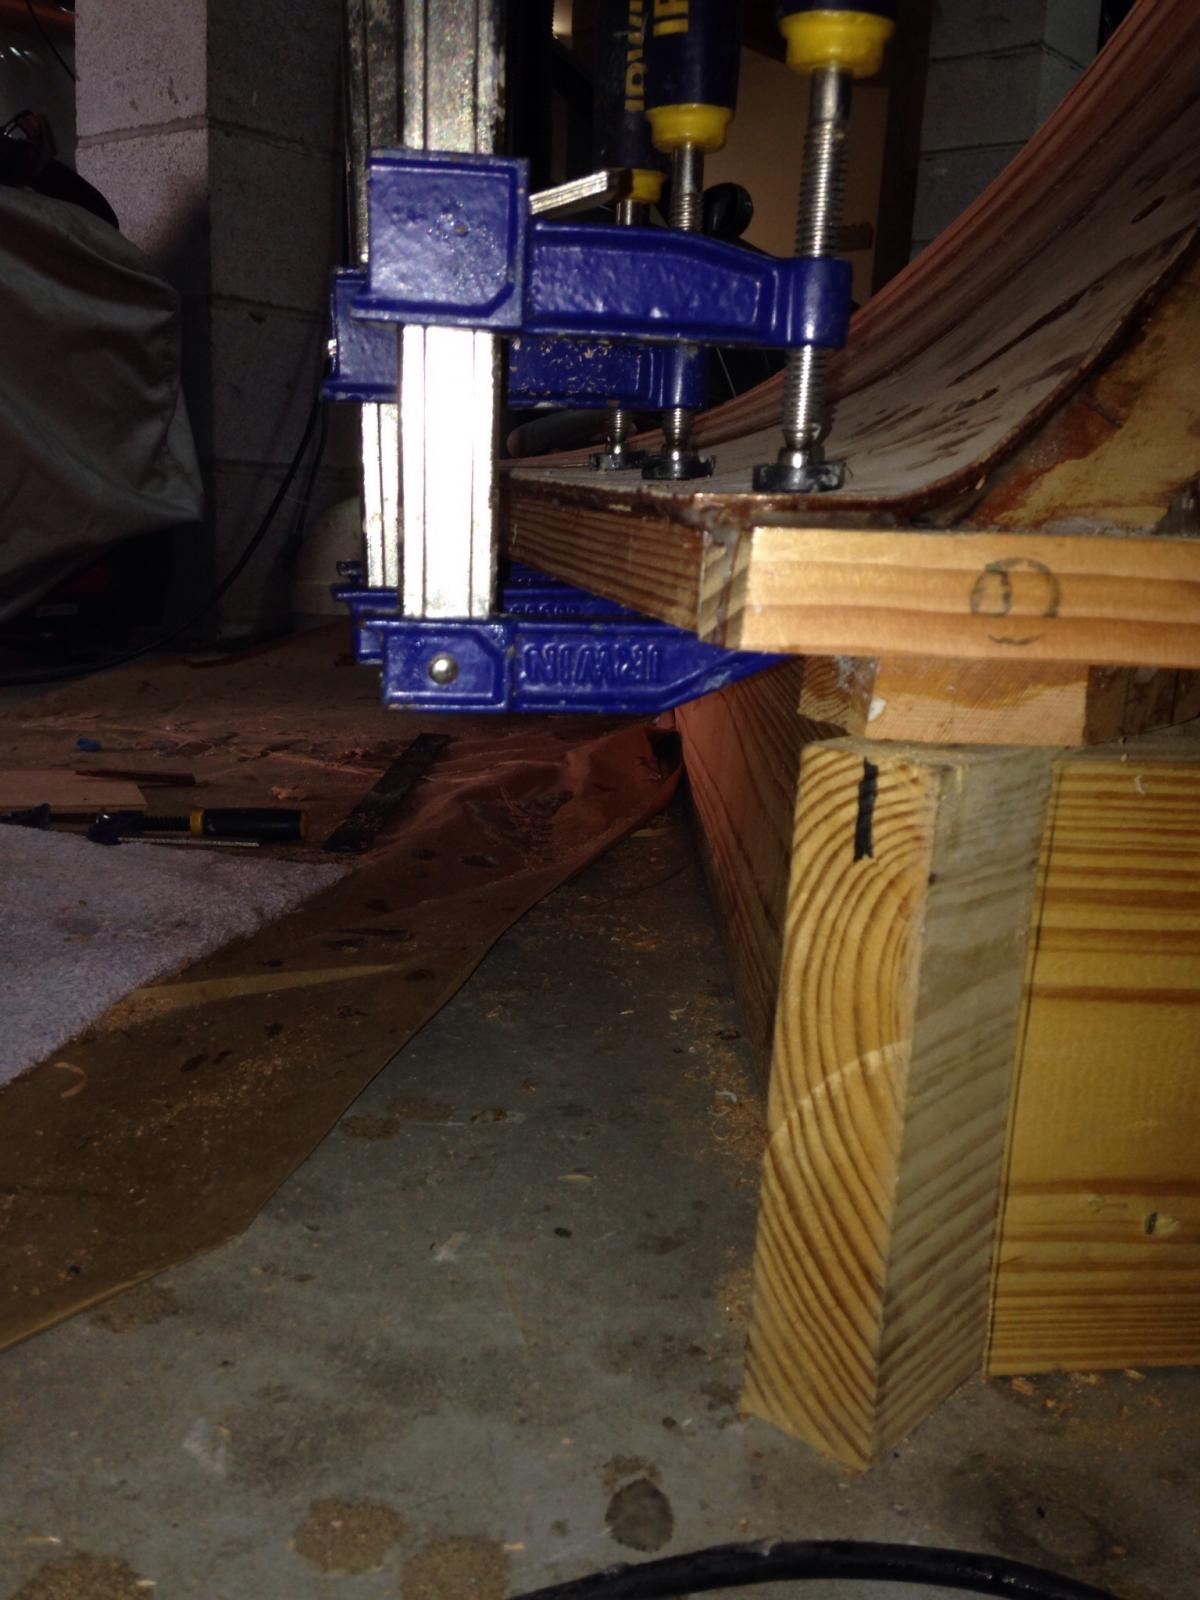
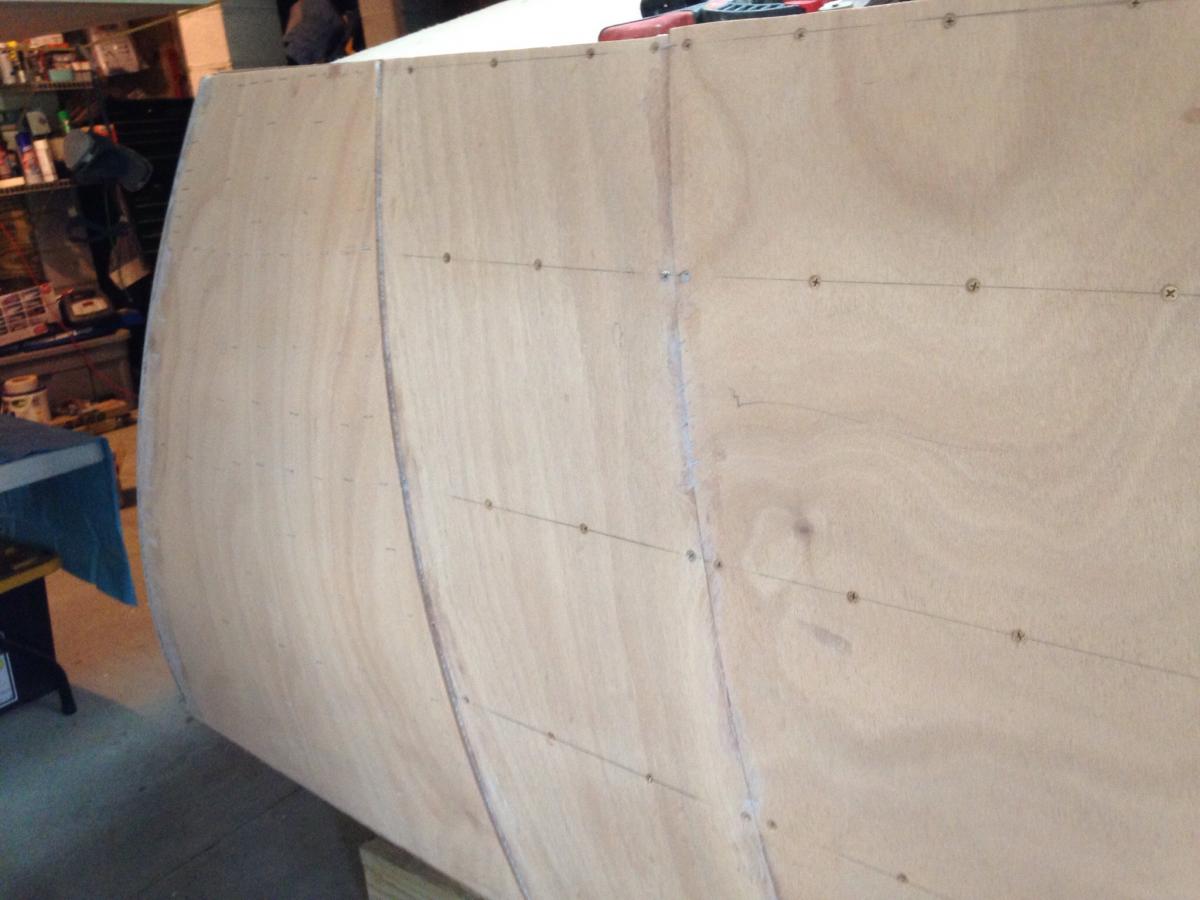
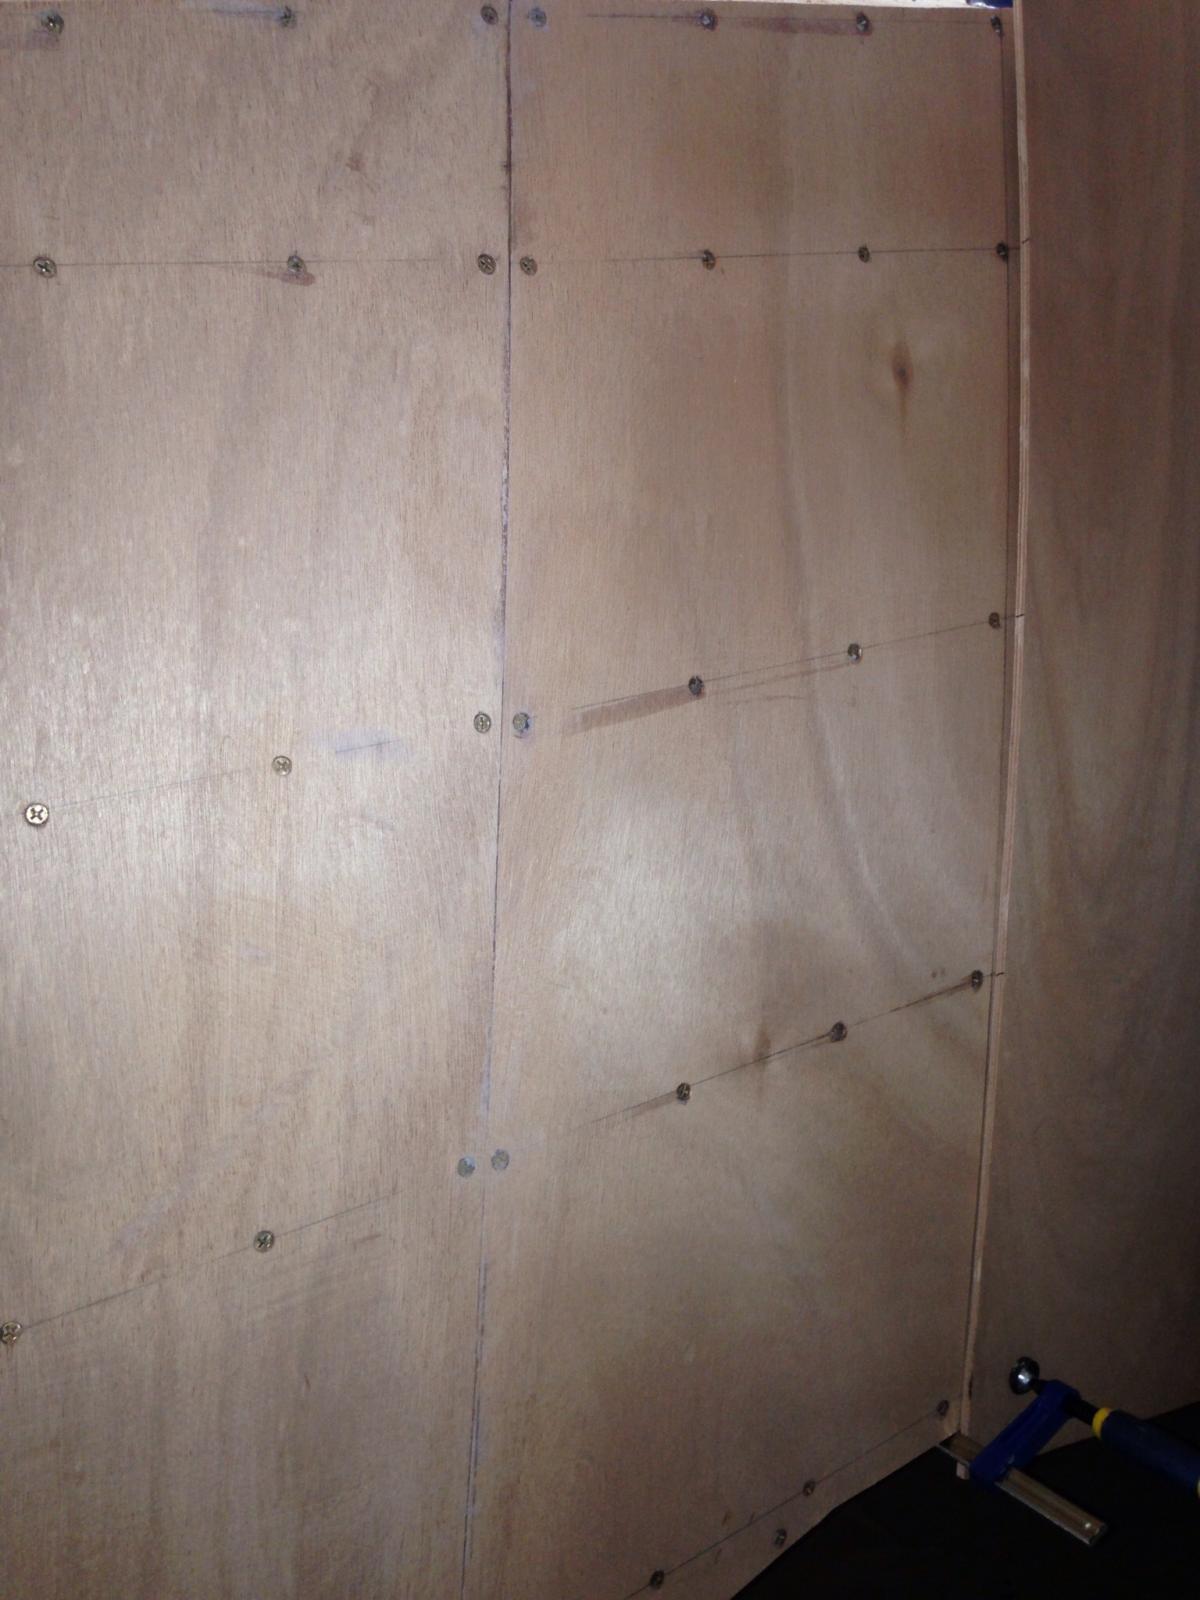
Now for an update. I'm continuing to work on planking the hull. I'm working on both layers and both sides at the same time so it's slow going but at least when I get to the bow, I'm done. The staples for the second layer are working pretty well but don't give any clamping pressure. They can only hold what you can get through clamping first. I found that strategically placed screws/fender washers help a lot. I'll have to go back and backfill the screw holes. Hopefully I'll be done planking and can get on to fairing and glassing in the next few weeks. I'm starting to think about the interior finish. I would like a more finished look on the inside by planking so the stringers cannot be seen. Any suggestions so as to not add too much weight?


-
Miyot, Thanks for the advice. Finally, a boat is taking shape but I'll be glad when she's turned and I can start on the inside. I'm making sure to get good squeeze out of excess epoxy, as you suggest. The image on the far left is a pre-fitted plank, no glue yet. I'm not going to this effort to skimp on the glue...not worth it! I'll keep the updates coming now that warm weather is back Thanks John
-
Wow. It's been quite a while since I've posted any notes of my progress. It was cold here in Charleston, like the rest of the country, and working with epoxy in January, February and March was quite difficult. I was out of town for a while and then came home to back surgery and back to work. Anyway, I'm way behind where I had hoped to be at this point. The framing is finished and faired and I started planking the sides recently. The sides are two layers of 6mm okoume ply. I'm putting on the first layer with 3/4" #8 bronze screws and the second layer with raptor staples. So far , so good... Progress is fairly quick.