chris.lewis.425
-
Posts
21 -
Joined
-
Last visited
chris.lewis.425's Achievements


-
Finger joints or elongated box joints http://woodgears.ca/box_joint/fingerjoint.html might work in this application. Chris in Seattle
-
Interesting that our largest commercial lumberyard in the Seattle area has rejected most recent lots of "Baltic Birch" as being below their standards and therefore something they won't sell. I guess globalization has some downsides. Anyone tried 12mm Okume? Chris in Seattle
-
I used MDO for my frames and the pieces I've purchased locally (2 sided) have shown no large knots or voids when cut. I guess it depends on the mill your supplier buys from. Chris in Seattle
-
Questions for Jeff from a Wannabe SOF builder.....
chris.lewis.425 replied to skrufy's topic in Kudzu Craft Forum
Tim - You can do what I did: I ordered the book and supplies from Jeff, but got so impatient that I bought the Kindle version of the book as well. Had the whole thing read and notes made before my paper copy ever showed up! The good part is that it's always on my computer or in my cell phone if I need to refer to something. Enjoy! Chris in Seattle -
P Doug - I've been waiting for some Spectra thread to show up to sew the skin on. It should be here today. I added an oak rub strip (glued on) to the top stringer (.5" x 1.25") for a smooth, lash-free surface to sew on and a matching strip to the bottom stringer for the same lash-free surface, general durability and to give a wider surface than the 1/2" plywood to mount my UHWM plastic rub strips to. It's just a .75" x.25" u shaped molding I made on the table saw and router table that fits the 1/2 plywood bow and stern pieces and the keel stringer (.5" x 1.25"). It's got a .125" roundover on the exposed surface to make a smooth surface transition. It makes a nice, continuous surface that should be more durable under the skin than the cedar when it comes to supporting the fabric's inevitable encounters with rocks and barnacles. Weighs almost nothing and leaves no exposed plywood end grain. BTW - I bent it around the stern using a steam in place method where I soaked the wood with a rag and then hit it with a heat gun to get it to relax around the corner. I then clamped it in place and let it dry. It had some springback, but nothing a clamp while gluing couldn't deal with. Disclaimer - This is my own design to suit my own purposes. I'm trying things out that occur to me to be good ideas, but are not proven, so duplicate at your own risk (or benefit). Chris in Seattle
-
Jeff - I use this same device to store my boat. I even hoisted the entire strongback with it when building. I bought mine at Harbor Freight and replaced the rope with a stronger line as my strongback is heavy. My wife's car just fits underneat when the strongback is attached. To lift the boat itself, I have fashioned a sling from some soft braided rope with loops at each end that slips over the handle bar and seat hooks on the hoist. I did bend the hooks closed a bit so the rope won't fall off. Should be getting my thread today and will be getting started on covering this week. Can't wait! Chris in Seattle
-
Point taken - "Short Cut" A good pun! Scarf length - Small workspace and small table saw. I tried hand cutting them longer without success. My curves are quite fair and I did a test on a scrap before I started to make sure it was strong (wood failed well before the glue joint) and flexible (no flat spots in the curve). Landing them on the frame also adds considerable strength. Considering our forebearers in this art used driftwoood and animal parts, I'm thinking there's a fair latitude when it comes to putting together a working boat. There are plenty of skin boat enthusiasts who that feel plywood is heresy, yet we're all building good looking, usable boats. They even argue over oak or bamboo ribs. Nylon or Polyester, Varnish or Paint... I hope there's room for everyone here. I'll let everyone know how it goes. I'm certainly not trying to talk anyone into it and I understand your wish to promote the standards. I'm happy to venture out (own boat design and TJI strongback even!) and see how it actually plays out. Just a stubborn independent streak I guess. Chris in Seattle
-
I think there's another solution to this issue that I'm trying out. I used a 4:1 scarf and then placed the scarf joint on a frame so that it's not only glued, but also lashed on both sides. The wood will break long before the glue joint when supported this way. My two cents. Chris in Seattle
-
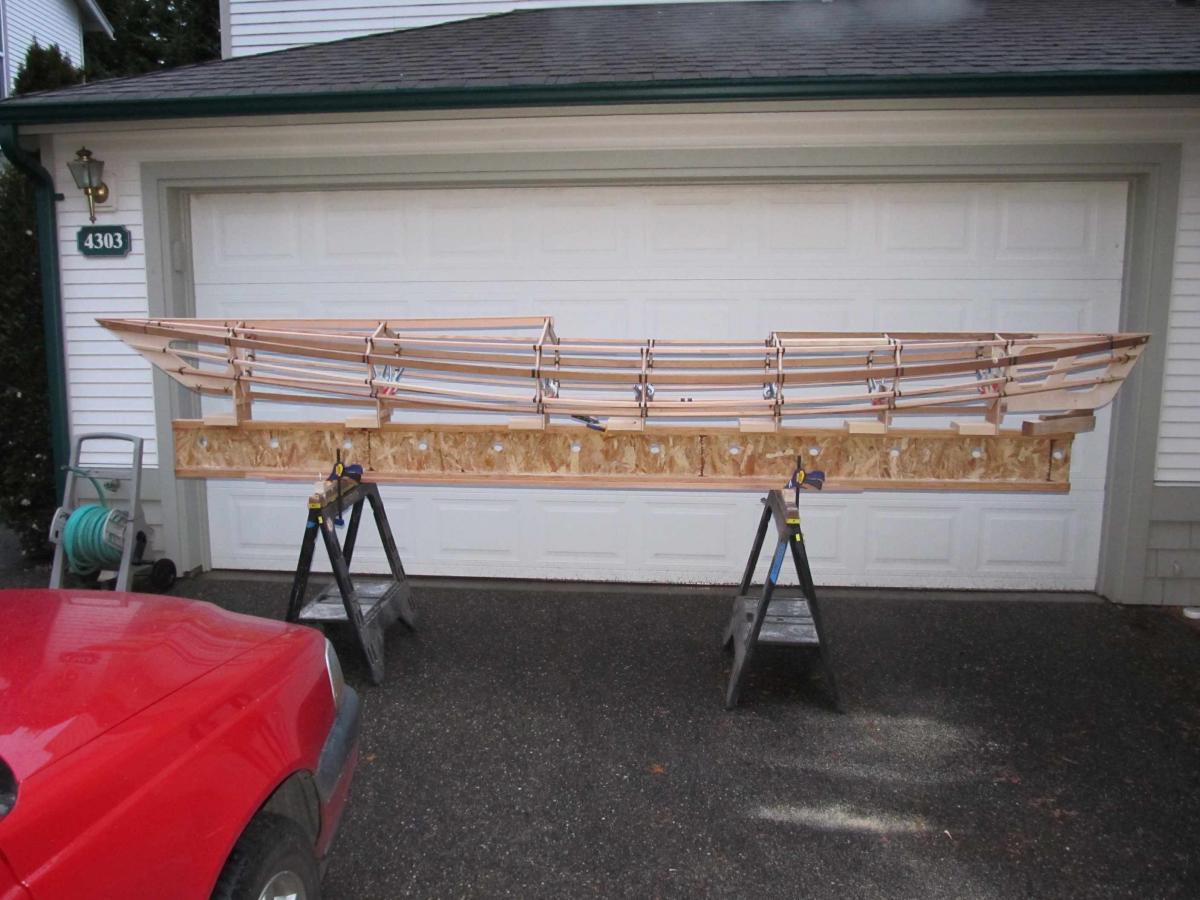
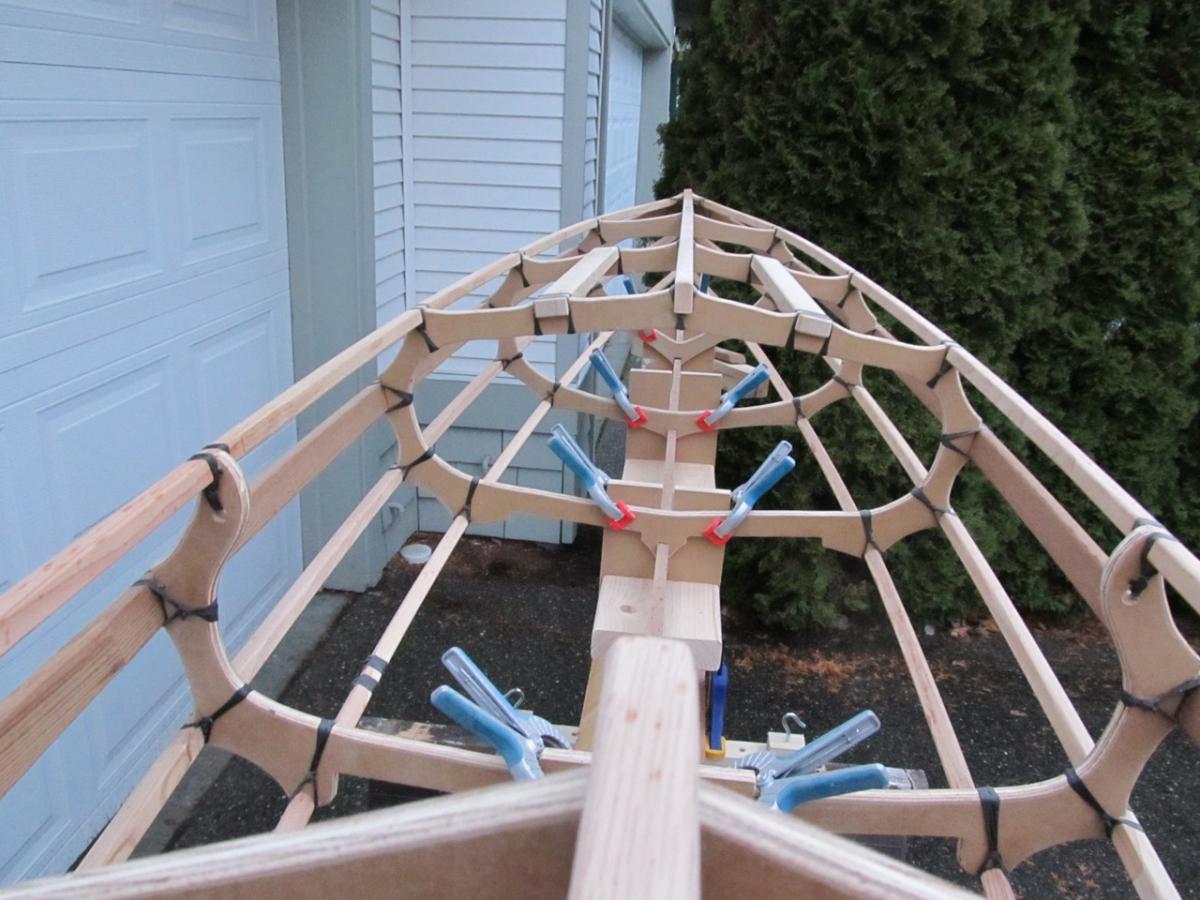
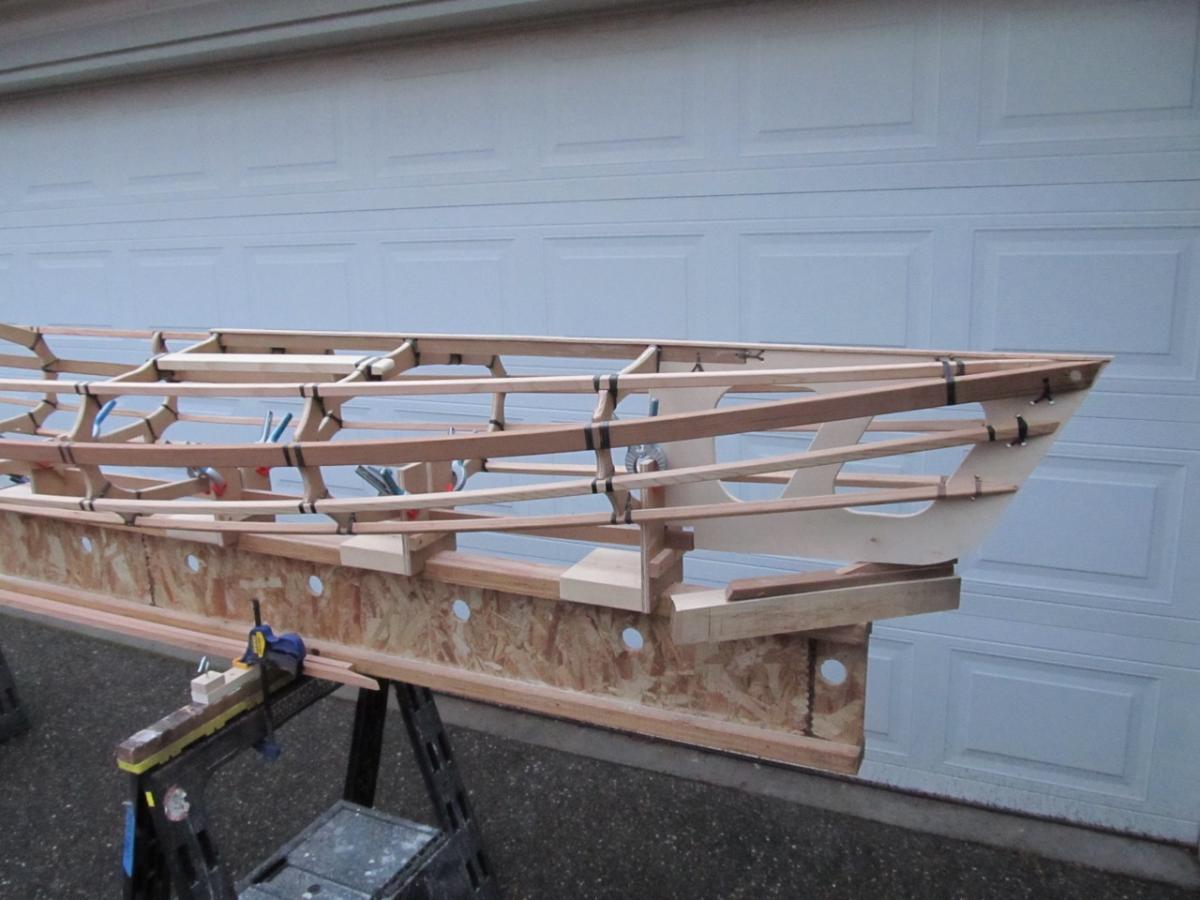
FROG Photo: I've had some issues uploading, but here it is (I hope!). Chris in Seattle

-
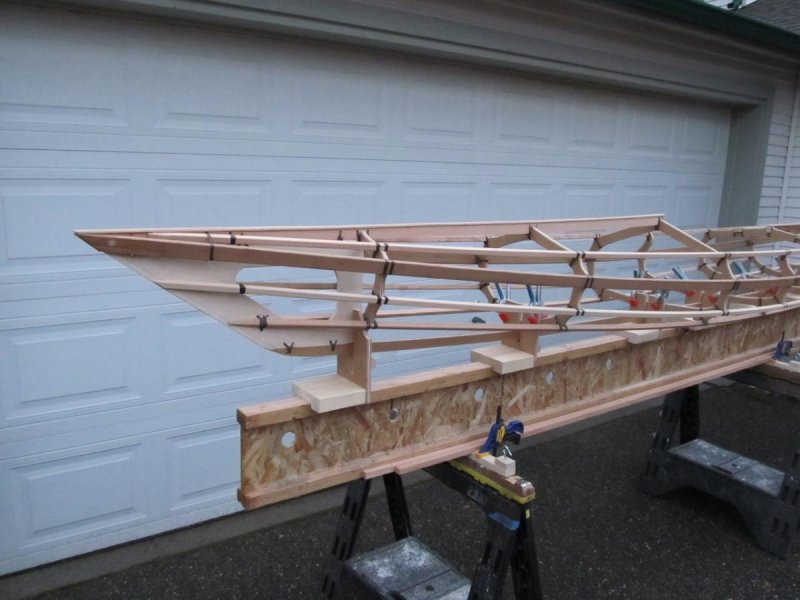
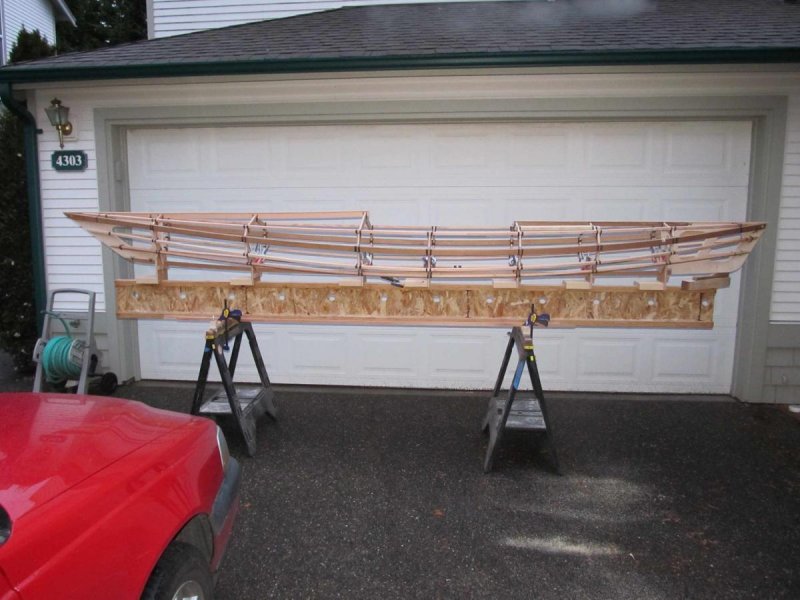
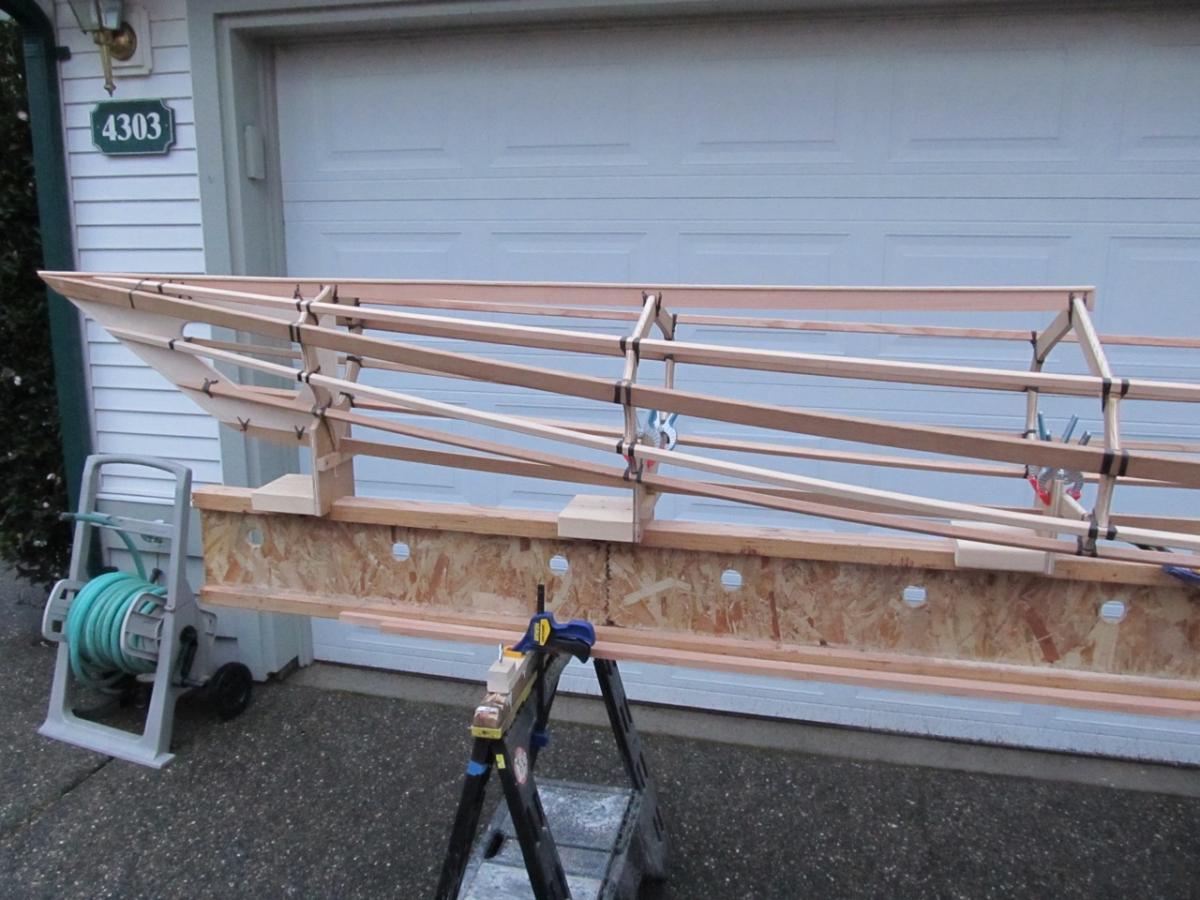
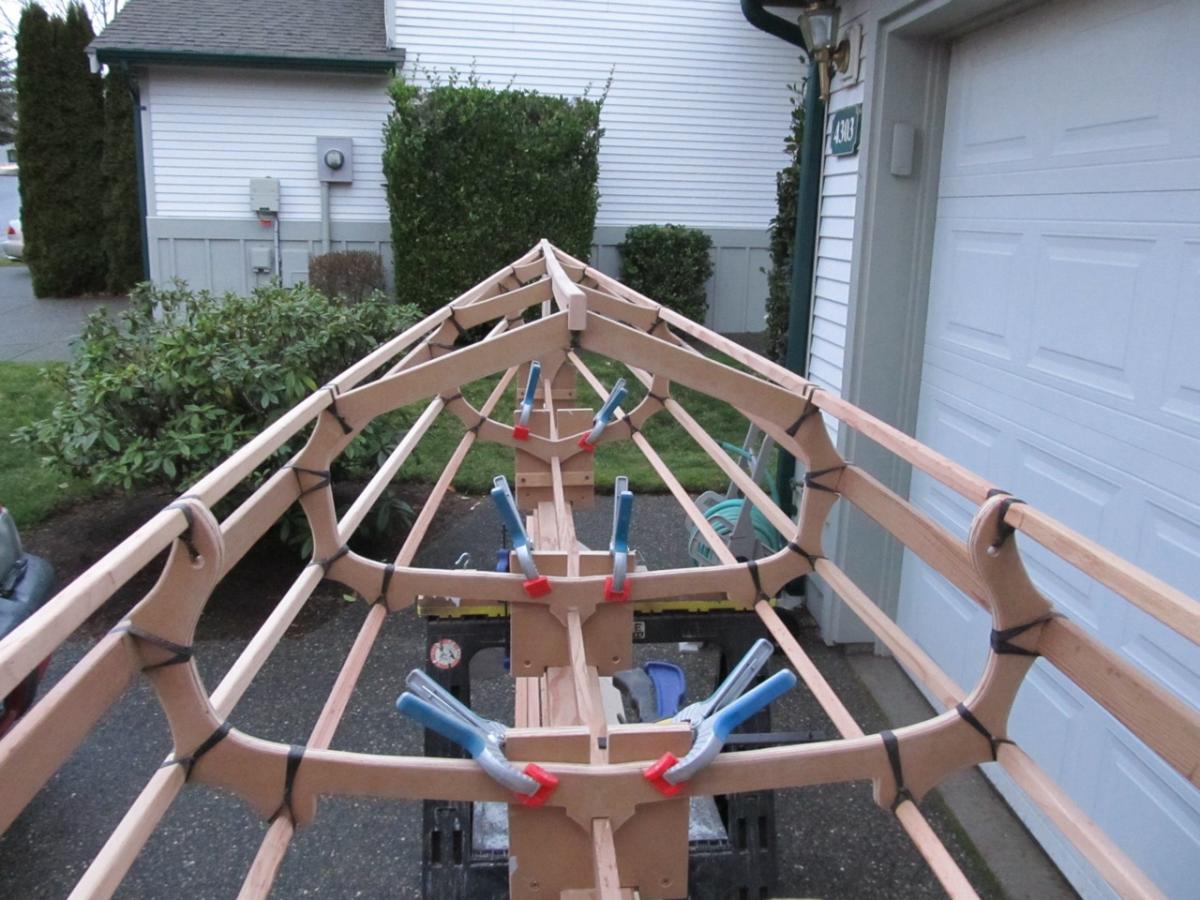
P Doug - This boat is an "Inspired-by" version of the Pinguino. I drew the plans myself using Visio and just looked to Pinguino photographs for inspiration. It's not an exact copy on purpose (trademark, intellectual capital, etc.). I thought it was serendipitous that it was called Pinguino, as my wife's favorite animal is a penguin. I'll let you know how it handles when I get it in the water. No telling if I got everything right yet. It sure looks pretty though. Nice smooth lines, the extra beam I wanted to make my wife happy and it really pops now that the wood is oiled. I told my wife that it was almost too pretty to cover. To make my drawing I created top/bottom and side views and then lofted the frames from that using Visio's measuring function. I was able to switch back and forth to make sure that my curves remained fair and when I was happy I printed full sized patterns for the frames and stuck the templates to the MDO with Easy-Tack spray adhesive. Some quality time with a jig saw, drum sander and a router and the frames were done. I did not do an offset table. The build method is primarily Jeff's direction from his book and other things I gathered off of the net. Chris in Seattle
-
This project is coming along. The frame is finished and oiled. I used a cool product called Verde made from rosewood oil. No smell and a really good penetration. We'll see how it holds up over time. I'll post the obligatory FROG photo this evening. There are a lot of lashes on a multi-chined boat! I've ordered some spectra thread for sewing the skin on and it should be here in a week or so. Hopefully my fingers will have recovered enough to begin sewing. I also broke down and bought a hot knife for cutting the fabric. Looks like I'll be making a few of these so it seemed like a good excuse to by a new tool. I've already started cutting frames for a second one, this time with a 24" beam. Sure wish I had more room to store boats. I've got all kinds of ideas running through my head. Jeff, you may have unleashed a monster! Seriously, thanks again for the inspiration and the efforts you put into your website, your videos and your book. Great to have a source for materials at your store as well. I had to laugh, though when I opened up the foot braces and found they are from a company in Everett WA, 15 minutes from my house. That's e-commerce for you! Chris in Seattle
-
That is beautiful. Care to share your blade shape and profile with fellow builders? Chris in Seattle
-
What style boats would you like to see?
chris.lewis.425 replied to Kudzu's topic in Kudzu Craft Forum
My wife has asked for a shorter tandem with an open cockpit so we can go out together (and while I paddle is what she really means). I have some plans for a CLC Mill Creek 16.5 that I've been condsidering converting to SOF. The good news is that it will still fit in my garage. Something like that would be nice. Chris in Seattle -
Nicely finished. I'm planning on painting mine orange as well. Thanks for sharing your build. Chris in Seattle
-
Here are some photos: Side View Quarter Bow View Straight On Bow View Looking Forward Looking Aft Straight On Stern View Quarter Stern View Next weekend I'll add the floor boards and finish the keel. Thanks for looking! Chris in Seattle