Brucel
-
Posts
81 -
Joined
-
Last visited
-
Days Won
1
Brucel's Achievements


-
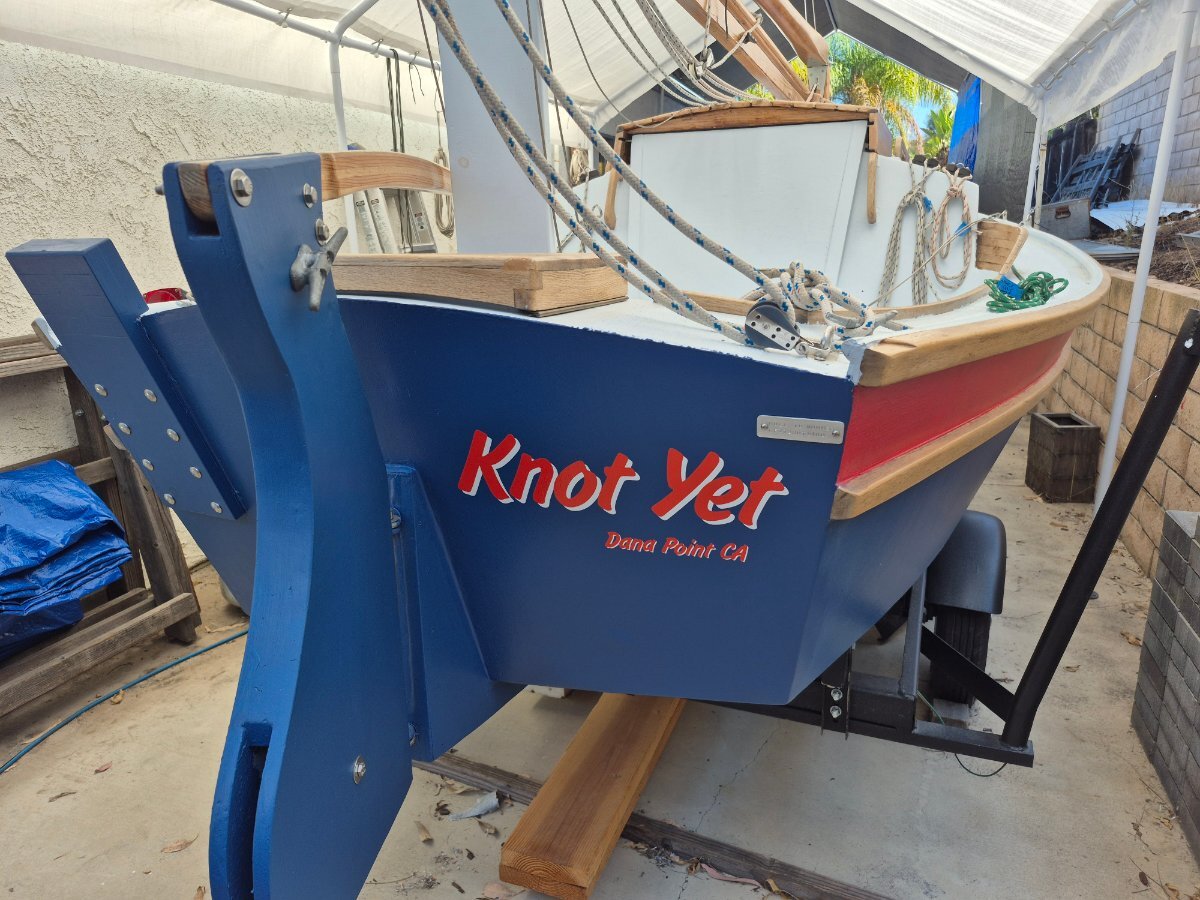
They inspect the boat and make sure it looks like it will float, check for life preservers, and do a general safety inspection. Then we have to prove we have insurance to cover any liability for the lake association. After that I get a Mission Viejo Lake sticker on the transom. They use tie wire and a lead disk to tie the boat and trailer together. After 30 days we are allowed to launch. After we sail we retrieve the boat and get them to redo the tie wire, that way we don't have to go through the 30 days every time we go on the lake. It's a PITA but the lake is only a mile away and it takes about ten minutes from our house to the lake. As for the boat's name, I said that name as a joke but Cindy took me seriously and said she loved it. We have to get ready for our annual deer camp trip so it looks like we won't splash Knot Yet til after Halloween. Fall is a good time to sail in Southern California.
-
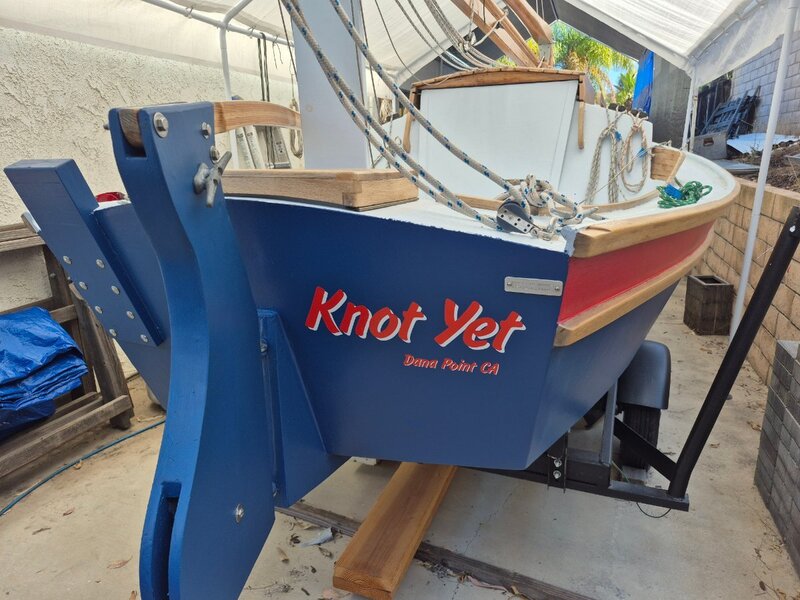
Ok. It's been awhile. Had a very busy summer, starting with a two day mega wedding then losing a friend and neighbor at our desert cabin. After losing our friend and seeing the problems his pack rat lifestyle created for his sister I decided to clean out my own pack rat garage. 45 years in the making it took 4 weeks to make some sense in the garage. Plus a couple of weeks of hot weather which I can't handle as well as I did when I was young. Now it's time to get ready for my annual deer camp trip. That's my excuses for the delay but some things did move forward. I have in hand new updated pink slips for the boat and new trailer. They also are currently registered with California. The paper chase took a month which is reasonable for this state. There has been a name change for the boat. Sorry Frank, I put so much time and energy in re-finishing Aslan and having saved her twice from the chainsaw I felt a new name was in order. "Knot Yet" is the new name. As in not yet ready to give up on the boat, not yet ready to send her to the scrap yard. Since I can legally take her on the road now I hope to get up to the city lake start the quarantine process before I leave for deer camp. After deer season and lacing the sails back on I will be ready for some fall sailing. Finally.
-
I was hoping one of you epoxy guys would chime in. Using most forms of epoxy (two part chemicals) usually make me sick, head ache and nausea. I have trouble using Bondo, too long or to much exposure and I start to feel it. I would take Don's advice Red, all I do is scrape, sand, and paint.
-
I don't know how much time you have to invest to keep this site running but do know that I appreciate all that you do. Thank you!
-
Frank, is there any way I can delete or otherwise block the viewing the spam that just happened. Spam irritates me and I would really like like to zap it personally. I am looking for satisfaction like you get when you eliminate a rat. Die evil spam, die.
-
Frank is fine, always has been. I just got back from my desert property and we have limited access to the internet out there, so I'm late replying to your post. In catching up on the website I noticed Frank is going to change the forum software so he is still in the game. As a "much older brother" I sometimes don't notice what he is up to
-
I would start by sanding the rough spots and corner smooth then use a high quality varnish. If it blends in nice and looks good then you're done. I have no experience using epoxies so I can't address that. I did refinish a fiberglass on wood boat (see Restoring Aslan) and I found I could make it look good with quality varnish and paint. Someone with epoxy experience might be able to chime in with their knowledge.
-
I have no objections or suggestions, do what you have to do. I'm sure there's enough of us that will help notify of any problems with the new software
-
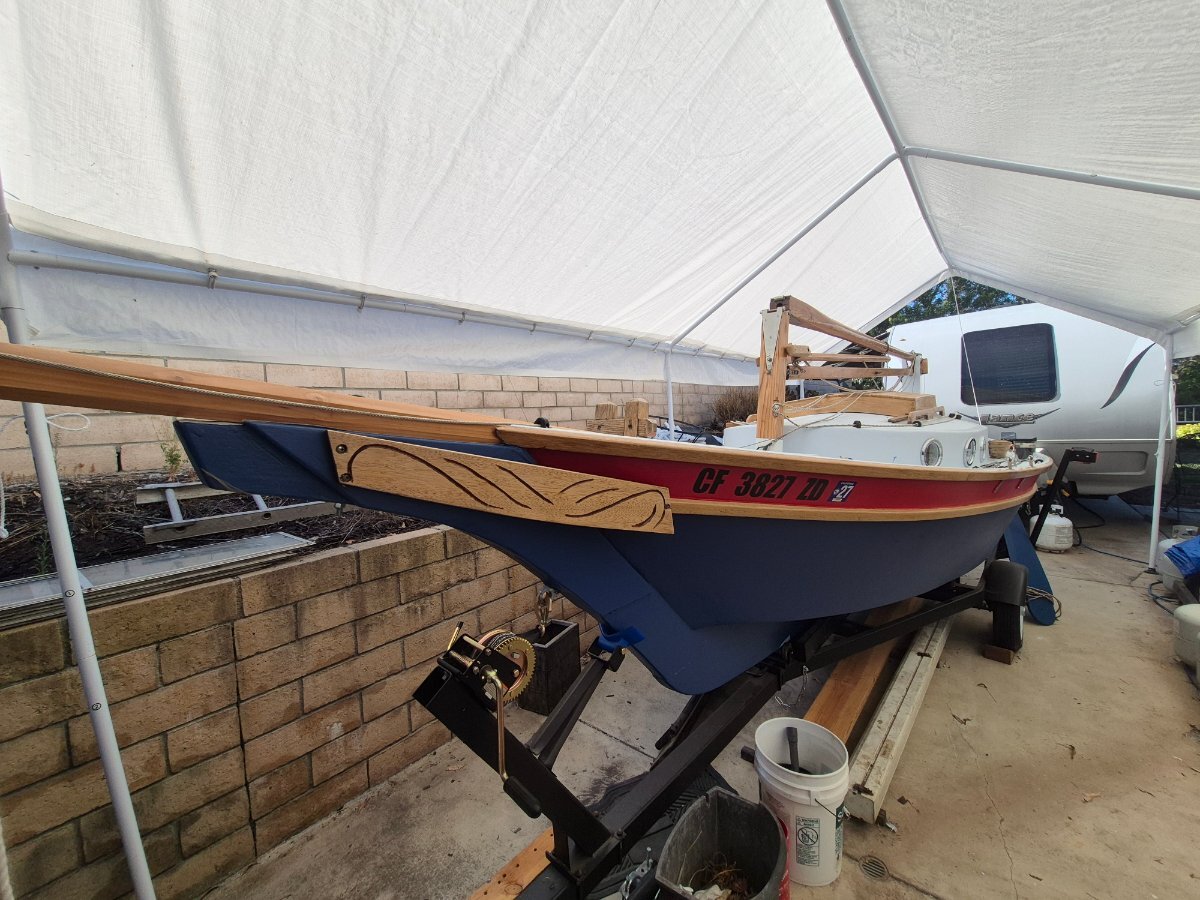
Just for fun I thought I would post the inspiration for my color choices for Aslan. My TV lives in a cabinet and above the TV sits this model of a gaff rigger I got at a thrift store. I look at this model every day and I liked the color combination. While I liked the combination there was something not right. In Dana Point Harbor there is about one million sailboats with a white hull. Boring. What if I flipped the color scheme? White cabin, red stripe, blue hull? I downloaded a drawing of a Weekender (the drawing in the printed Weekender builders manual) and used a photo painting app to paint up the drawing. I liked it, Cindy liked it even more. We bought some sample colors at Home Depot and tried them on the boat. That is what we were looking for. I would recommend any one having trouble deciding what colors to use on their home built boat to go through the same process. Find an image, drawing or photo, use a photo painting app and get an idea on how it will look. It doesn't have to photo perfect, just an image with the main colors. Then get some paint samples (about $6 each at Home Depot) and confirm your choice on the boat. If it turns out ugly you can always paint over it. We are using a name brand, quality house paint on Aslan. That's what Frank Hagan (the builder) used back in 2001 and it held up for 25 years. You won't need marine paint if you store your boat on the hard like we do.


-
Aslan is back on the trailer for now. The bottom of the hull is painted except for the bottom of the keel and some holidays on the sides of the keel. I'll have to crib up the entire boat to get those spots. I built a mast crutch that bolts to the inside of the cockpit. It's held by two bolts and wingnuts and is very rigid and it only takes about 3 minutes to install or remove. I'll keep the crossed sticks in the boat and throw the new mast crutch in the truck when I launch. I've got most of the standing and running rigging installed as best as I can remember it. I'll have to raise the mast to fine tune and correct any mistakes I've made in the rigging. If I dismantle half of the roof on the canopy I could raise the mast today but I'll wait until after our desert trip. I'm going to take the old trailer out to the desert and that will free up my side driveway to pull Aslan out from under the canopy. Yeah, I'm that lazy.


-
I figured out a way to paint Aslan without having to raise the entire boat. I put a bottle jack between the boat and trailer on one side, lifted it a couple of inches, then blocked it up. I dropped the bunker board down and that gave me enough clearance for a small diameter disposable roller. After the paint cures for 24 hours I'll raise the bunker board to the original height then repeat for the other side. Then all I have to do is paint the spots where the block is holding up the boat. This is a very stable setup.The one side is a single point of contact but the other side is covered by the entire bunker board and the keel. Kind of a tripod type setup. The drawback is you can only do one side at a time. That's fine, I can take a couple of days to do this; I'm retired and I live in earthquake country. In Southern California you never crawl under a rickety setup. To do the bottom of the keel, I'll probably crib up both sides and a single point near the bow. I'll only need a couple of inches between the trailer and keel just like the bunker boards and bottom.


-
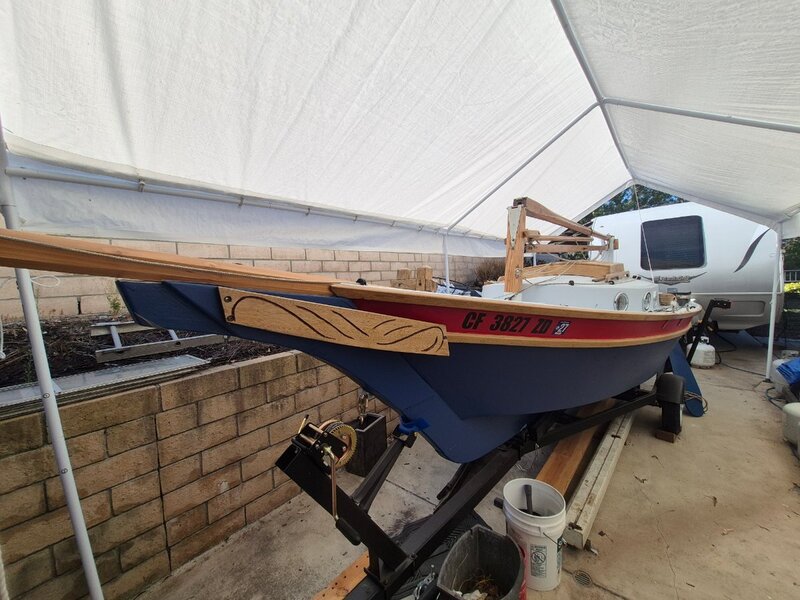
Here she is, almost ready to sail. I still haven't finished the bottom of the hull, I have to figure out how I can raise and crib the boat above the trailer. I'll need to raise the boat about one foot above the trailer to get in there and paint. I positioned the motor mount towards the corner where the transom is a little stiffer. When using the motor I lock it in the motor in the straight ahead position and use the rudder to steer. That is why the less mainsheet in the way is better. I'm going to attach the mainsheet to the boom and run it through the two pulleys as shown in the first picture. If I need more mechanical advantage I'll tie in the pulley with the becket as in the previous post. Still have to do all the legal stuff such as register the boat and trailer, get a license plate for the trailer, and get insurance and go through the quarantine for the lake. Our city lake is a mile away and requires a quarantine to keep some invasive mussel out of the lake. It's worth the hassle because we can be at the lake in 10 minutes. The last picture is Aslan at our city lake in 2009. The lake just big enough to sail in, a mile long and half a mile wide. Dana Point Harbor is about eight miles away if we want to sail on the ocean. We'll be sailing this summer.


-
Help. In an effort to remove that big iron motor mount for something smaller, lighter, and simpler I've come up with maybe a problem. The second picture shows the "main sheet line" in the original configuration. From the eye on the port transom to the sheaves. In that configuration will get the main sheet tangled around the motor no matter whether it's up or down. Now I need help from people that know rigging better than me Does the main sheet need to be split between the corners of the transom? I've seen configurations with a single attachment point in the middle and travelers that shift the attachment point from side to side. Would it be possible to attach the main sheet to the starboard corner? I've rigged two possibilities, attached to the boom for a two point system and a sheave with an anchor point for a three point system. I don't see a problem with either alternate systems but I'm not a boat builder or a real sailor. TIA for any information and knowledge you can provide. I could always remount the big iron motor mount but I'd really rather not. Thanks again.


-
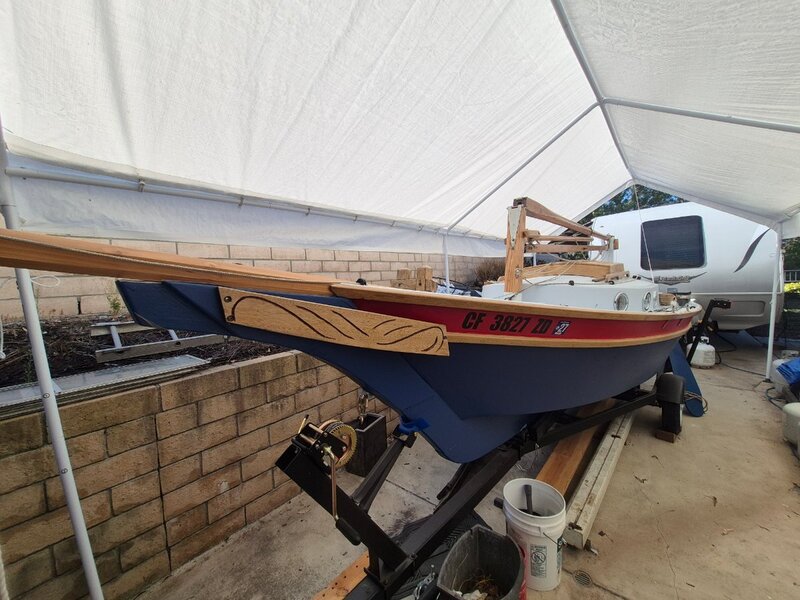
How she'll look. I finished up the red paint on both sides, what a PITA. I think I'm going to swear off of masking tape forever. I believe I can do better with careful cutting using a pinstriping brush. With all the paint bleeding under the tape I have lots of fuzzy edges all over the place. That area between the rub rails just screamed red so I had to do it. Of course with a white (ice blue) cabin and a red stripe she had to have a blue hull. I've always liked red, white, and blue. I still have to paint the bottom, starboard side, transom, and bow but this is what she will look like. I still have rigging, bits and pieces of trim, and some stern repair before I can splash the boat. The interior can be done after I sail her a bit. All in all, I'm happy with the look. She looks more like she does now than she did when I got her.


-
OK, instead of painting the hull I decided to install portholes. Simple job, right? First I didn't get a big enough piece of plastic for all portholes. Fine, I can start with 4 portholes and make two more later. I cut out four 5 5/8" disks and decide to use an automatic center punch to transfer the hole pattern. Using an automatic center punch on plastic sheet cracks the plastic. Crap, back to using a pencil to mark the hole pattern. The holes drilled I go to mark the cabin and drill pilot holes. All my remaining drills are too big except for a 1/16 drill. I drill my 1/16 pilot holes in the cabin and put a bead on silicone on the plastic. I stick the plastic on the cabin, making sure the holes line up with the pilot holes. I align the bezels with the holes in the plastic and try to install the first screw. I can't find my pilot holes with the screws, the pilot holes are too small. Aarg! Peel off the plastic, countersink the 1/16 pilot holes, stick the plastic back on aligning the holes and finally aligning the bezels with the holes and start the screw. First porthole is installed, the next two portholes are finished without all the drama. I'm going to the hardware store today and get another piece of plastic. And some properly sized drills.