PSwan
-
Posts
24 -
Joined
-
Last visited
Never
Content Type
Profiles
Forums
Events
Everything posted by PSwan
-
Thank you PAR. I've about come to the conclusion that I'm going for the standard jib rig with port & starboard sheets. If single handed tacking becomes a problem, I can always go back to the clubfoot. The advise about eliminating the shackle or spring clip is well taken as I've been up there [ulling in the jib and been smacked by the clew clip. Rope is so much softer...
-
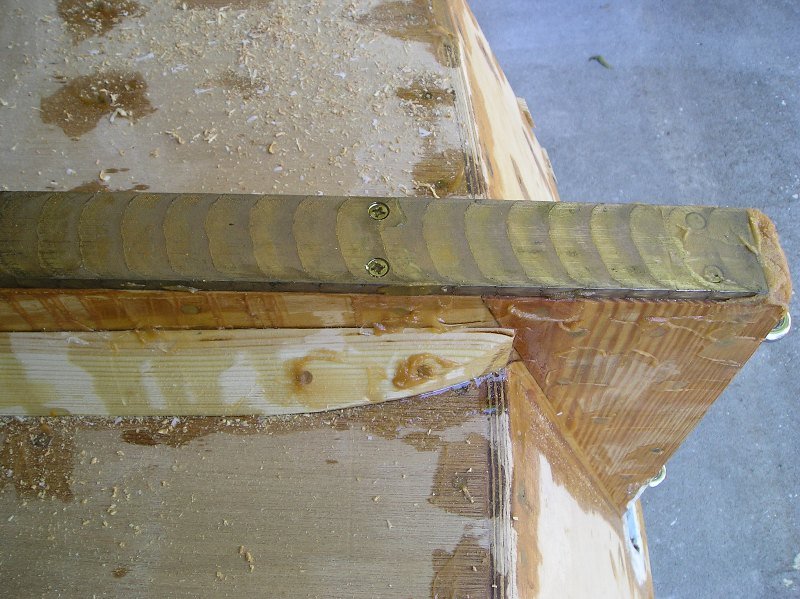
Jan, I was going to go with UHMW on the Tiki, but with all the rocks and oyster shell around the spoil banks I like to pull up on I decided to go with 1/4" X 2" brass. I drilled and counter sunk #12 x 2" brass screws about every 10" on each side into the plate to attach it to the keel. Before screwing it down, I epoxied the keel bottom and filled the screw holes with epoxy too. It makes a great "skid strip" as well as adding about 80 lbs of ballast.
-
Niels, the set up on your Seaward Fox sounds similar to my drawing above, but there is a block on the clew of the jib that the line runs through instead of being bent onto the clew. Is that about it? Do you also have a clubfoot on the jib?
-
Dave & Charlie, thanks for the pictures, link and explanations. Boy, that jack line is a neat way to slack the jib luff, I would never in a million years have thought of that. Looks like an easy thing to rig up quickly and I'm going to give it a try until I can get a roller rig cobbled up. I also like it as it's very old school and I'm trying to keep Tiki vintage looking.
-
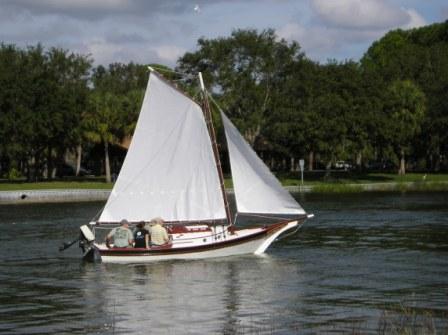
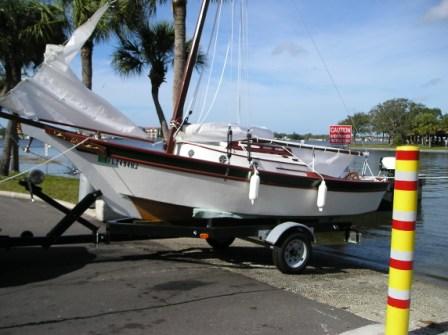
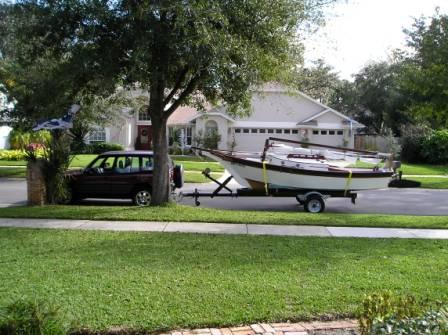
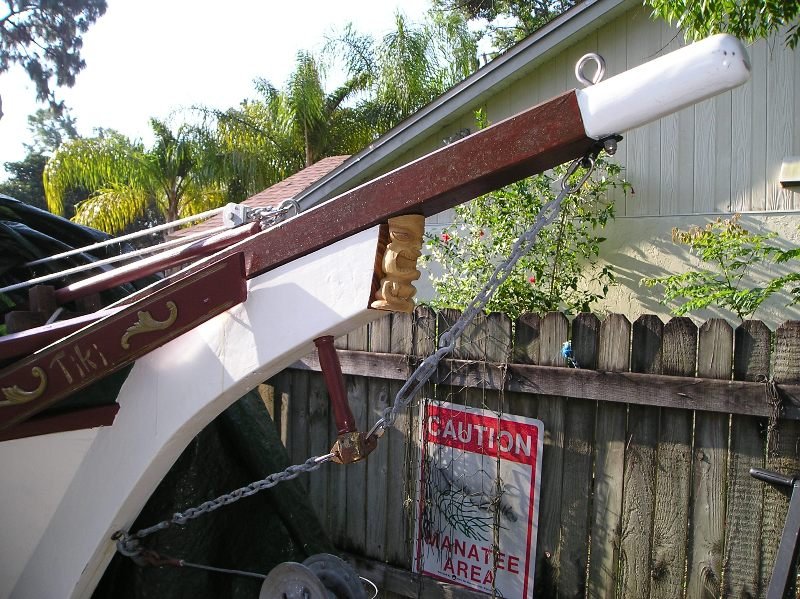
Dave & Capt. Jake, thank you both for the replys and pictures. Both are beautiful boats BTW. Capt Jake, some of your pictures were my early inspiration during the building of Tiki. I really like the roller furling system and will likely go that way. The second headstay seems the way to go here. I'm going to first remove the club and try just traditional jib sheets with a down haul to see how many lines I can keep track of while tacking. Will let you know how I finally work it out. Here's a few pictures of the Tiki.


-
Steve, I see your point with the drawing, the lazy sheet just won't keep enough aft tension on the clew and she'll likely luff badly. Looks like Dave and PAR's roller rig on a seperate headstay or Charlie's outhaul suggestion is the way to go if I still want any kind of self tending jib. Charlie, I'm still trying to figure out your luff jack line suggestion refered to in "The Ocean Sailing Yacht" . I haven't been able to find a copy yet. Are you saying that the lower hanks of the jib are clipped to this jack line and not the headstay? If so, how is the jack line run?
-
Thanks for the pictures Dave . I really like your roller furler rig. Might give that a try. In these parts, winds are often light, variable and always blowing the wrong way, (I do a lot of tacking...) so a self tending or nearly self tending jib is handy. Did you make you roller rig or buy one?
-
Thanks all for the suggestions. The two headstays sounds interesting and I may try it. Before I do, I think I'll try my reversed sheet set-up. It looks good on paper, we'll see. The drawing below shows what I'm thinking. If rigged right, I'm thinking it should turn into a self tending jib without the clubfoot. Roger, regarding your question, yes, I do have a peak and throat haulyard on the main. I also have lazy jacks on the main to help contain things when lowering the gaff. I run all the haulyards on the cabin top with the main peak and throat to the port and the jib to the starboard.
-
Having sailed with the jib club foot on my Weekender for some time now, I like the ease of the self tending feature of a clubfoot, but I don't like the way it can't be furled completely without un-hooking the clubfoot. Question: Has anyone ever heard of rigging a jib with the two traditional sheets, but reversing the port/starboard sheets in order to create sort of a self tending jib with port/starboard sheets? In other words, run the port sheet thru the starboard fairlead and the starboard sheet thru the port fairlead then both back aft as normal. Or, does anyone know of a better way to quickly drop the jib attached to a clubfoot without unhooking the clubfoot?
-
On the subject of jib hanks for the Weekender. I've tried the plan version of PVC rings, but no matter how I make them, a few always seem to pull loose. I ordered the plastic twist-on ones, but I found out the shank doesn't fit factory made sails as the grommets are set too far in for the fastener. I'd love to get the traditional brass plunger ones, but at $3.50 each and up, I'm just too cheep to go there. I've now resorted to using split ring key rings. I sprung one side open a little to make them easier to install and remove and they appear to work great. They're strong, inexpensive and easy to install. Has anyone else found something better out there?

-
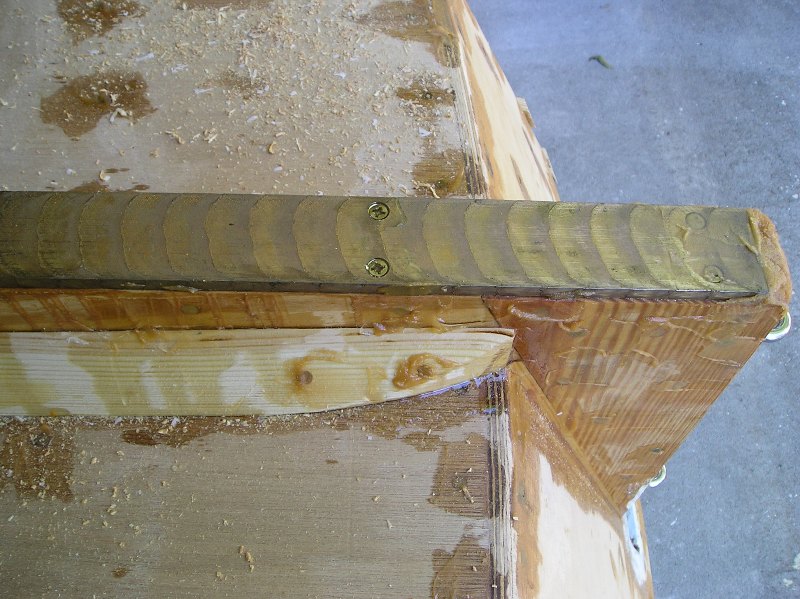
What I've done to avoid this issue is two things: I made a shroud spreader and I use a gaff saddle instead of jaws. Both work great. See pictures below: The gaff saddle is made from strips of 1/2" ply molded over a form with 3 layers of 9 oz glass on each side. The tangs for the gaff are 6 layers of 9 oz cloth each, built up with resin. It took a while to build and no doubt many could have done a much nicer job with steam bent wood, but this one is super strong and maintenance free. The shroud spreader is two pieces of flat stock from the hardware store hammered around a wooden form and bolted together. It is very strong and won't split out the mast if stressed on one side as a bolt on spreader might.


-
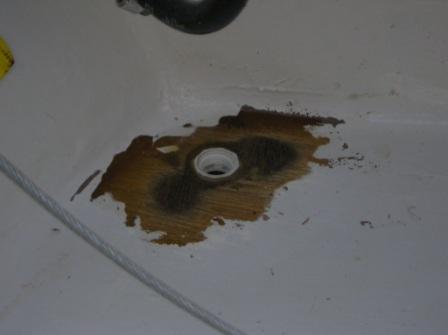
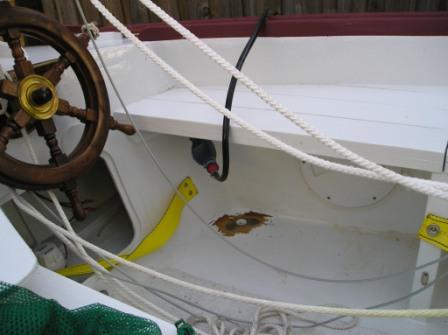
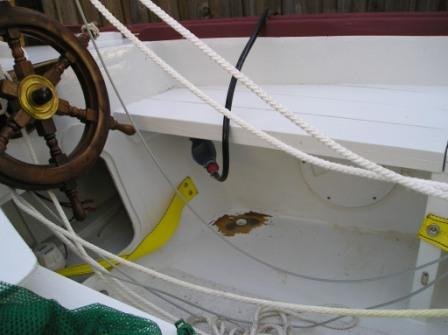
Having 3 good trip on her now, I was getting very tired of bailing out and wet vacuuming the cockpit after I hosed her down. I didn't like the cockpit drain plans on the Weekender web site as they call for drilling a large hole through the keel to install the drain tube. I think this would weaken the keel at this point so I decided to install a floor drain thru the 1/2" plywood. I used a 1/2" female PVC threaded pipe fitting epoxyed into the floor and will use a 1/2" male threaded pipe plug with an 'O'-ring at the top for the plug. No chance of the plug slipping out and its out of the way under the aft seat.

-
Thank you all for the kind words and I'm begining to think Hirilond
-
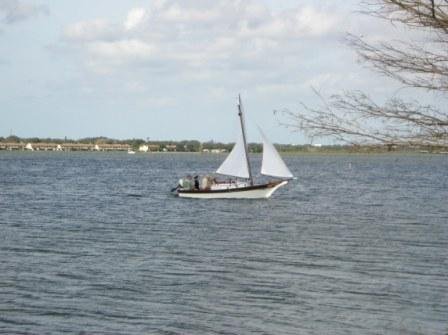
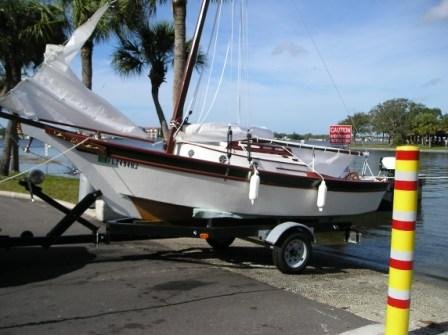
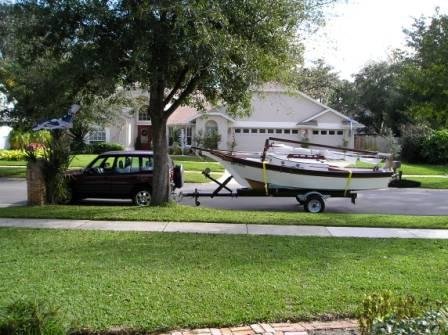
Finaly launched the Tiki on New Years Eve after 18 months of weekend building. Turned out to be a great day in Tampa with a high of 82F and a SE 15 knot breeze. Decided to take her out on a local lake for the first sail to introduce our selves to each other. She behaved like a real lady. could not have been a more perfect day. Still more cabin trim and painting to complete with a few modifications thrown in, but are we ever finished with a boat?

-
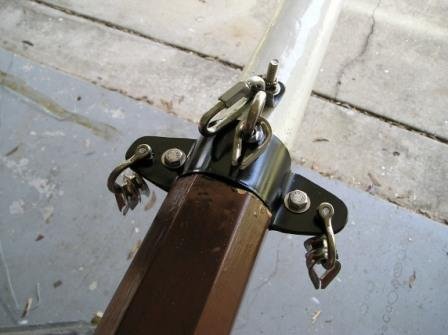
Having searched the web for brass mast bands for the shrouds, I decided to fabricate some inexpensive steel ones. I started with hardware store cold roll stock 2" X 1/8" X 36". Bent two clam shell halves around a hard wood 2-1/2" mandrel form that was just slightly smaller than the mast top to allow for spring back and a tight fit. I then shaped the mast top down for a tight fit and drilled the holes for the fore stay eyebolt, two 5/16" SS bolts and 3/8" holes for the shroud attachment. A little black paint and I'm pretty happy with the results. Total cost: $13.57 with SS bolts. Working time: about 4 hours. It gives me about a 5-1/2" spread for the shroud attachment with no danger of splitting my hollow mast.
-
Wow, thanks to all for the great feedback. Fear level dropping significantly. Regarding the keel, I didn't plan to fiberglass it; however, now I fear I may have done something even worse. I epoxyed and screwed (brass screws) a 2" wide x 1/4" thick strip of brass to the entire bottom of it as a wear strip and to add some ballast effect. Am I in deep trouble here?
-
Thanks for the feedback. How big is a small batch vs. large batch?
-
Am about to fiberglass the hull of my Weekender. Have filled all the screw holes, faired the hull to keel joint and sanded everything fairly smooth. Am using System 3 epoxy and 45/45 bi-axial 9 oz cloth. Are there any major do's/don't's anyone has run into? I'm fairly novice on fiberglass work. Any advise would be very much appreciated.
-
Question about hull color and epoxy: I'd like to do the hull in black or dark royal blue, but I'm concerned that the additional heat from a dark hull here in the Sunshine State will weaken the epoxy & glass on the outside. Has anyone had any issues with dark hull colors and epoxy?
-
Thanks for the ffedback all. I haven't attached the rub rails yet as I wanted to glass the hull first. With the added 1 foot to the length and the 1000+ screws I've already put in I'm thinking it tips the scales at 500+ lbs. about now. The old mattress idea sounds like a good one. I was thinking 6 or so of my buddies could lift it, but getting a hold of it and keeping hold of while turning worries me.

-
I'd really like that. I'm just about ready to roll mine to glass the hull and I'd love any advice you can offer on do's and don't on rolling it over and doing the glass work. BTW, first name is Peyton.
-
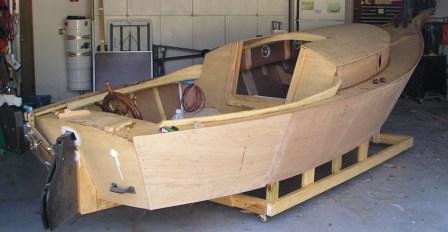
I added 1 foot to the length at the widest beam point. I wanted more cabin space so I could stretch out and not have to put my feet under the seats. I added about 8" to the cabin and 4" to the cockpit.
-
Thanks for the feedback. The dealer I talked to said they could do a very smooth finish if desired. Said he'd show me some samples, so I thought I take a look before I considered the bottom coat.
-
Almost done with the hull of an extended Weekender. Question: Has anyone ever tried using spray-on poly-whateverene pick-up truck bed liner for the finish of either the cockpit/cabin or outside hull? Investigating the stuff, the dealers around here (Tampa, FL) say they do lots of boats, the thickness is upwards of 1/8", it adheres to wood as well as any glue, it's completely water-proof and is used on the deck of all nuclear subs as non-skid and corrosion resistance. Sounds like great stuff to me.