Ronny B
-
Posts
42 -
Joined
-
Last visited
-
Days Won
7
Content Type
Profiles
Forums
Events
Everything posted by Ronny B
-
Allan, I'll see if I have some photos. I did laminate another 4 pieces of 4mil ply on the inside of the transom incorporating the 4 stringers. They are about 24" high from the bottom of the transom and as wide as the angled transom supports. It is not cut out yet because motors vary from 19"-21"transom heights, and I don't know what engine i'll use. I'm leaning towards a new 40 hp Evinrude, but it weighs 240 lbs. The transom is now over 1" thick and still requires additional supports at third points because the boat will be craned in and out of the boat basin at least seasonally. Lifting eye bolts will be installed through solid wood stock where the temporary transom supports were. I think pictures will make more sense. I've made it sound way too complicated. Regards, Ron
-
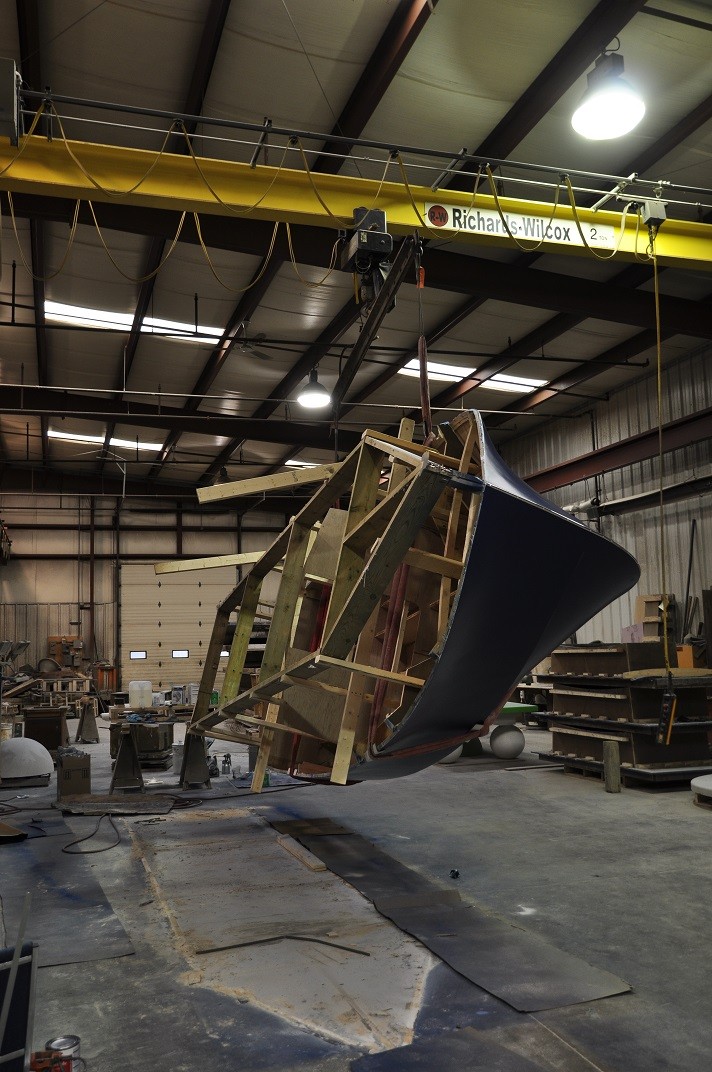
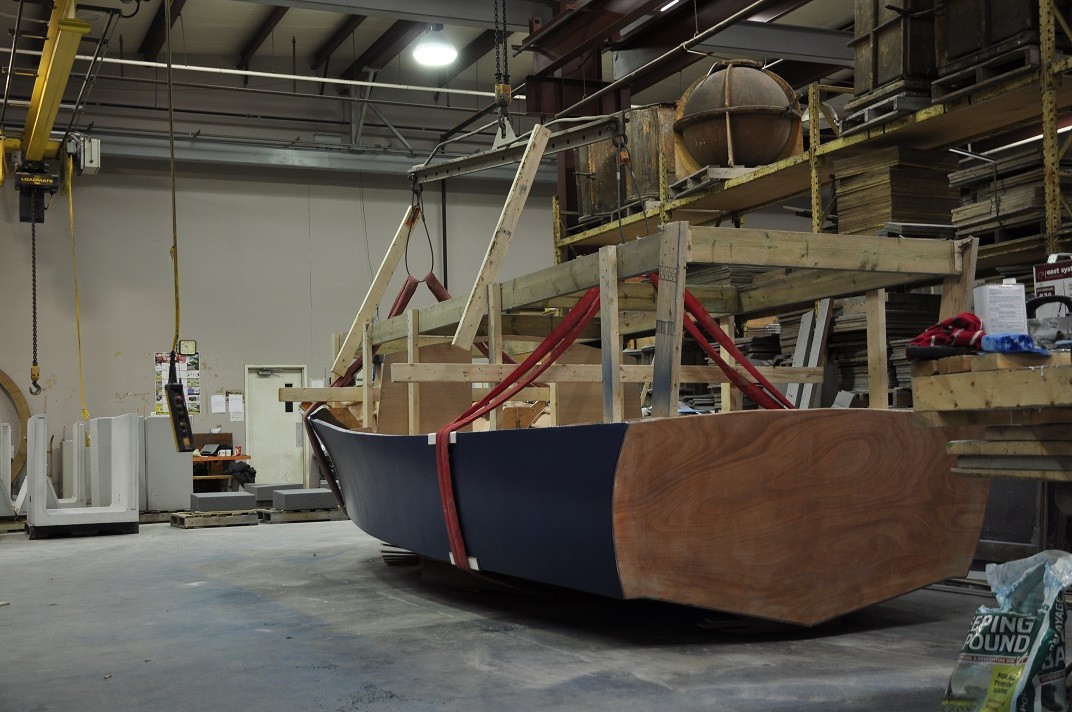
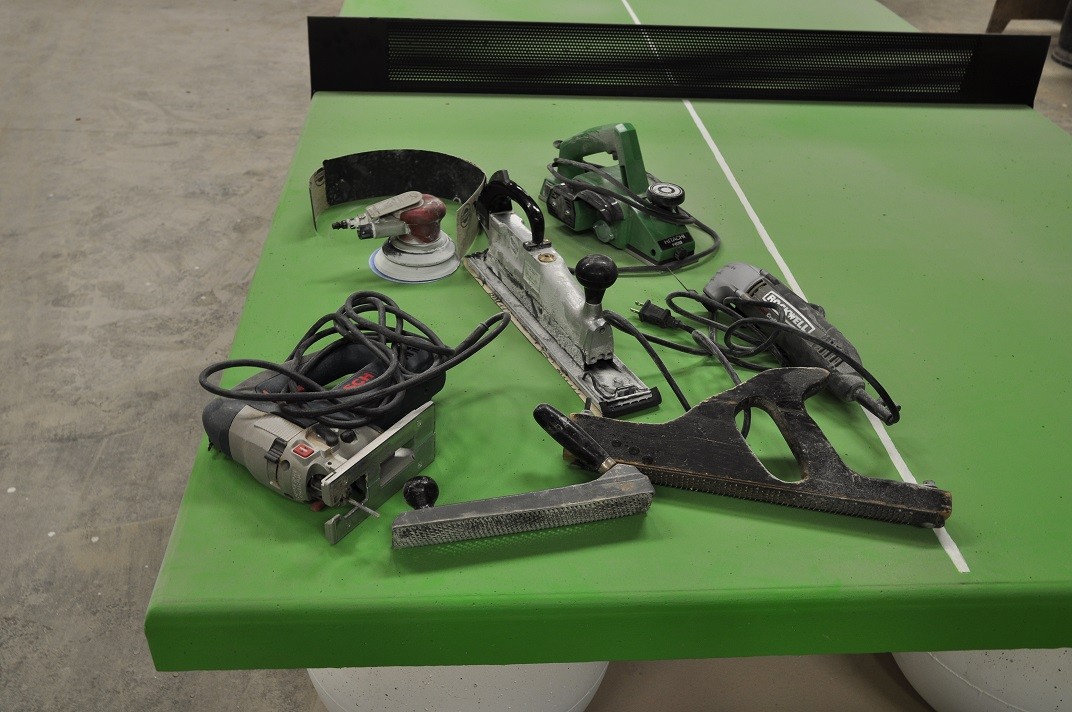
Alan, I used an 8' spreader bar and 4-16' closed slings. I made sure that the slings would tighten past the 90 degree point of the flip and pushed the up button. Once it starts turning, there is no stopping or turning back. If you stop, it hits the floor. To answer your other question, we manufacture commercial site furnishings The precast concrete products that we manufacture are all cast upside down. I have a whole pile of experience in turning stuff with cranes. I also try to limit the photographs to the OB20 because this is the B&B forum. There are also protected processes and products under development in the shop. The outdoor ping pong table is one of them that is under development. To satisfy your curiosity, standard products can be viewed at alphaprecasts.com.
-
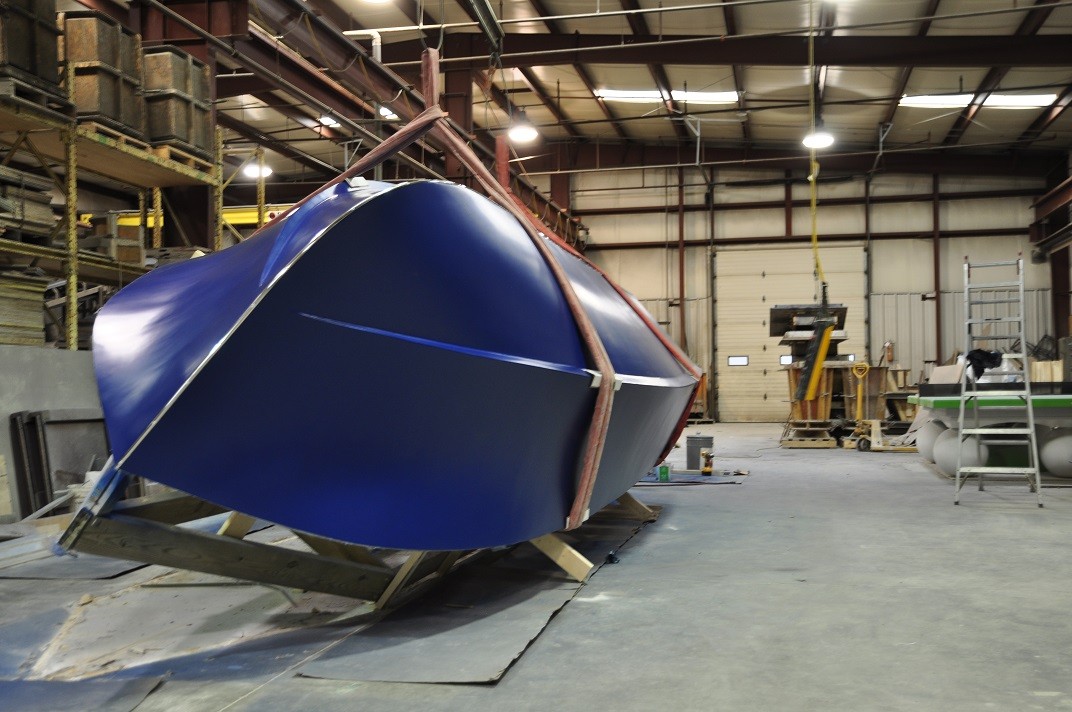
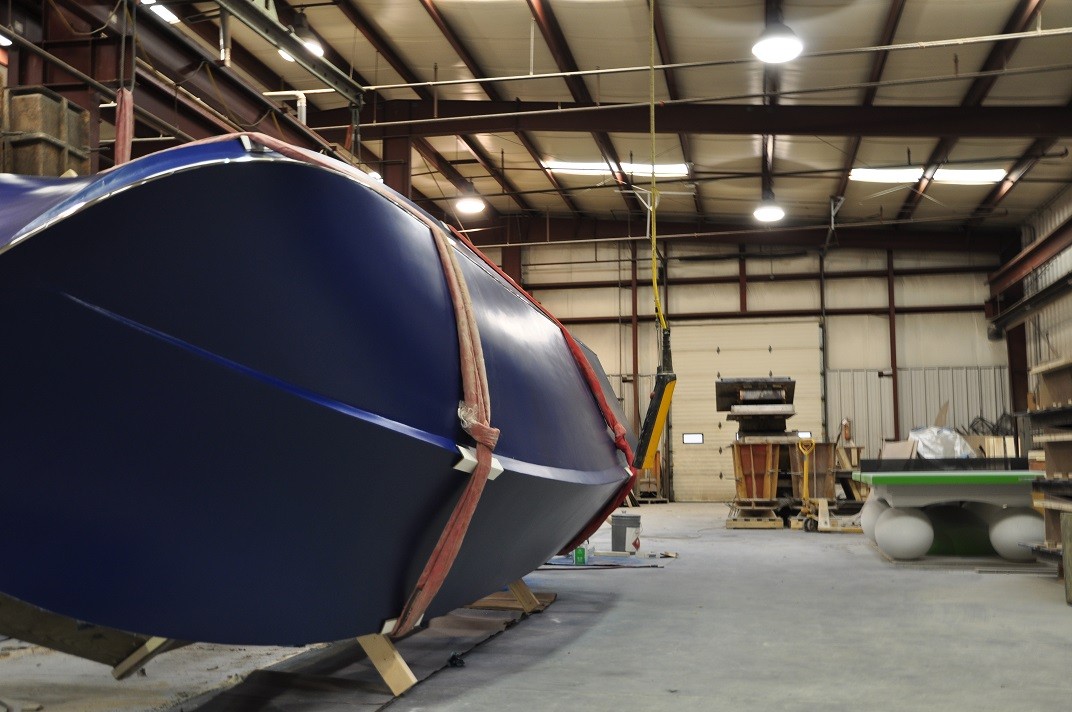
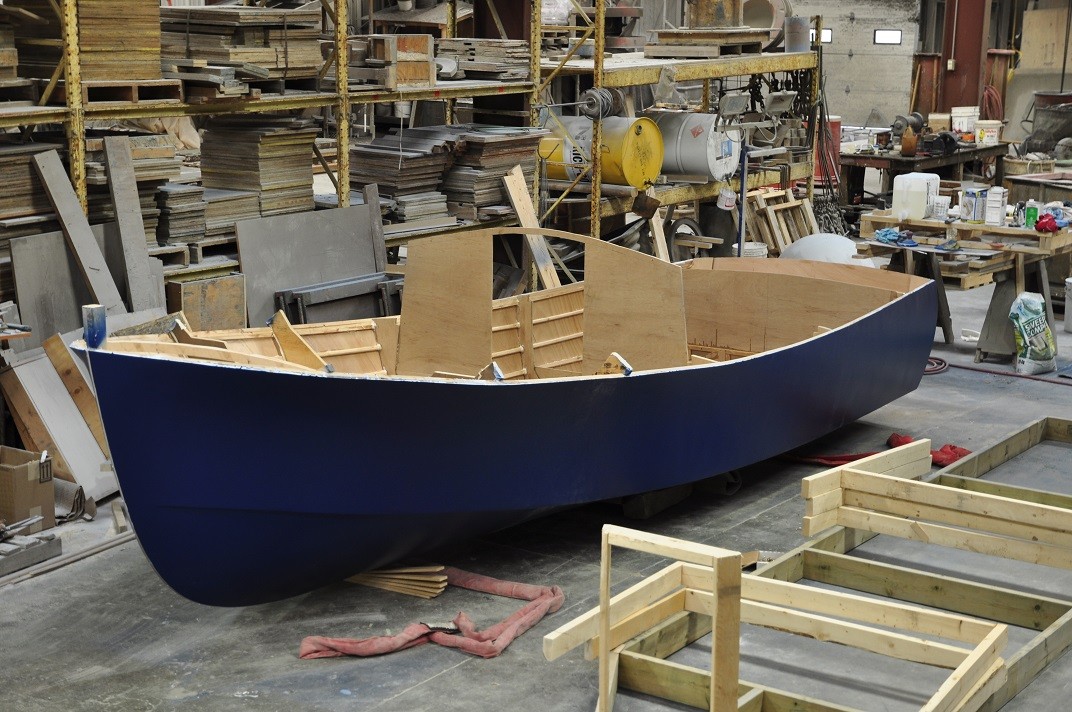
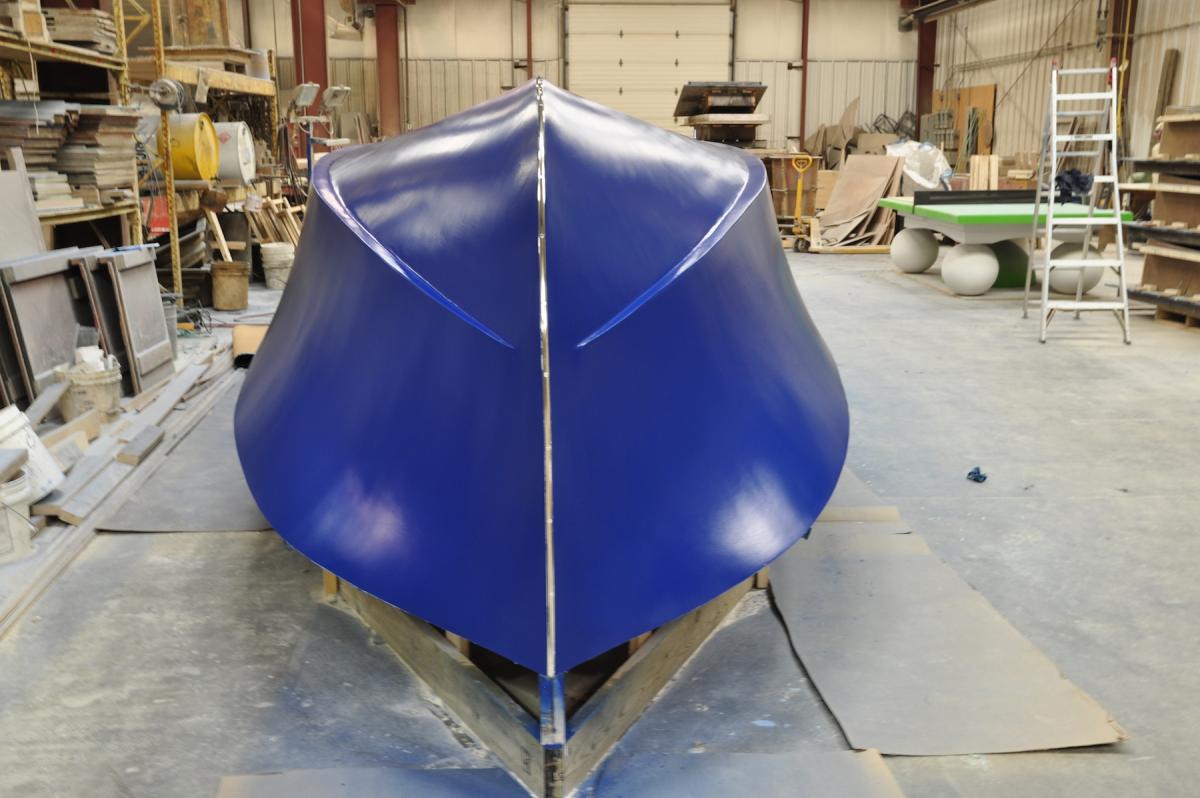
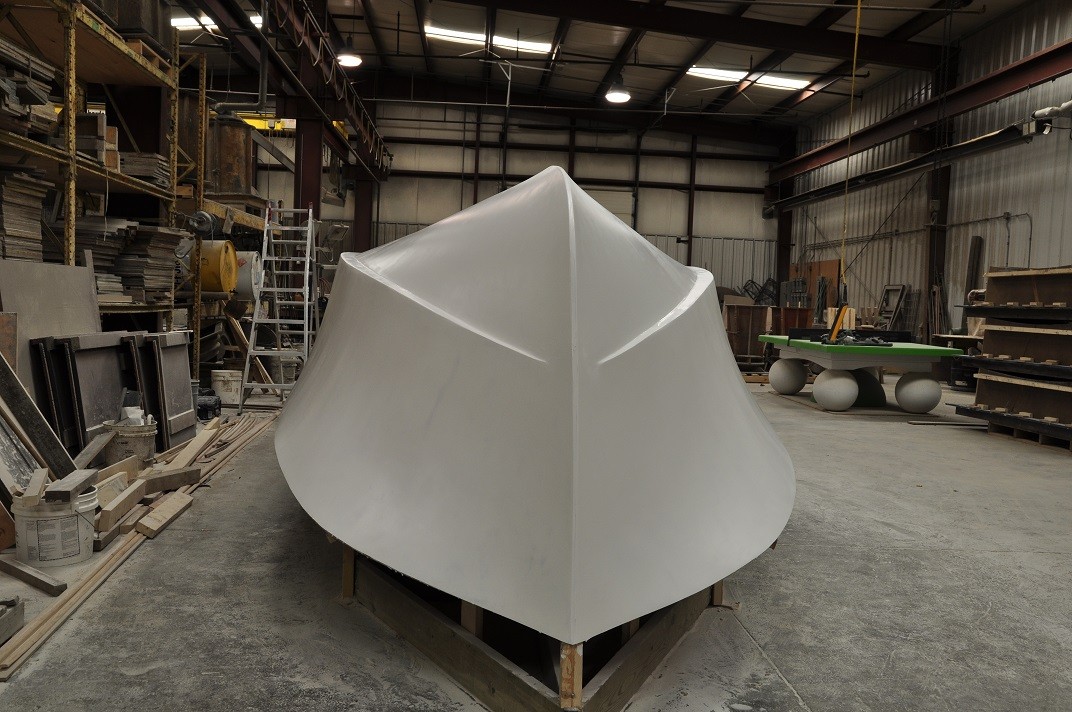
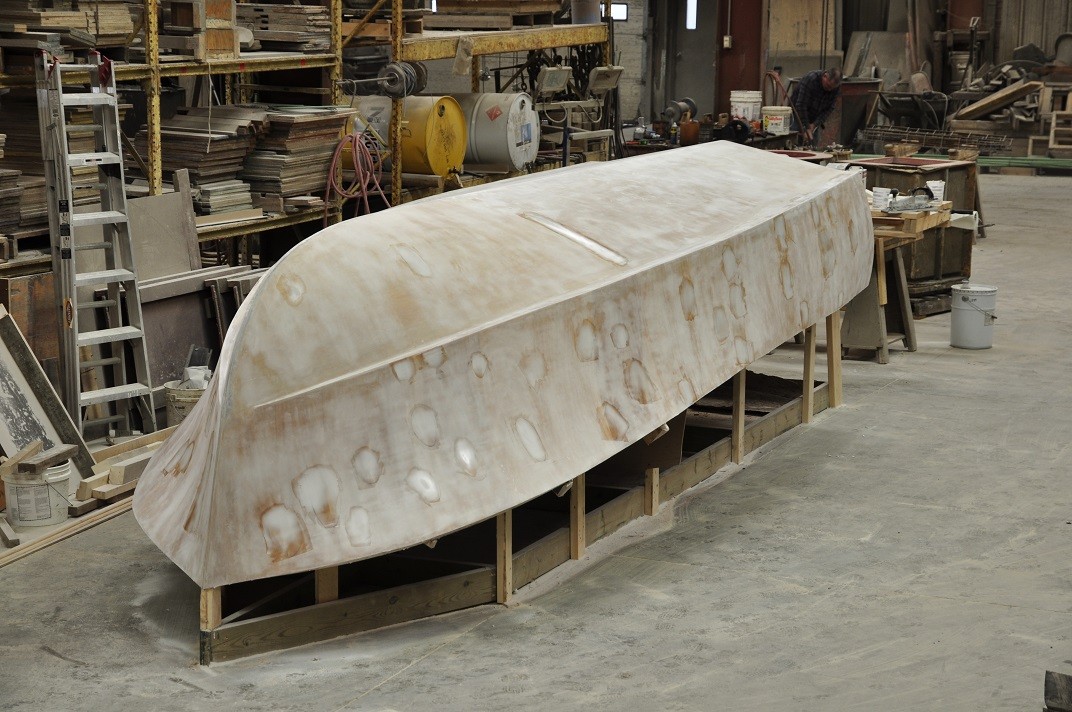
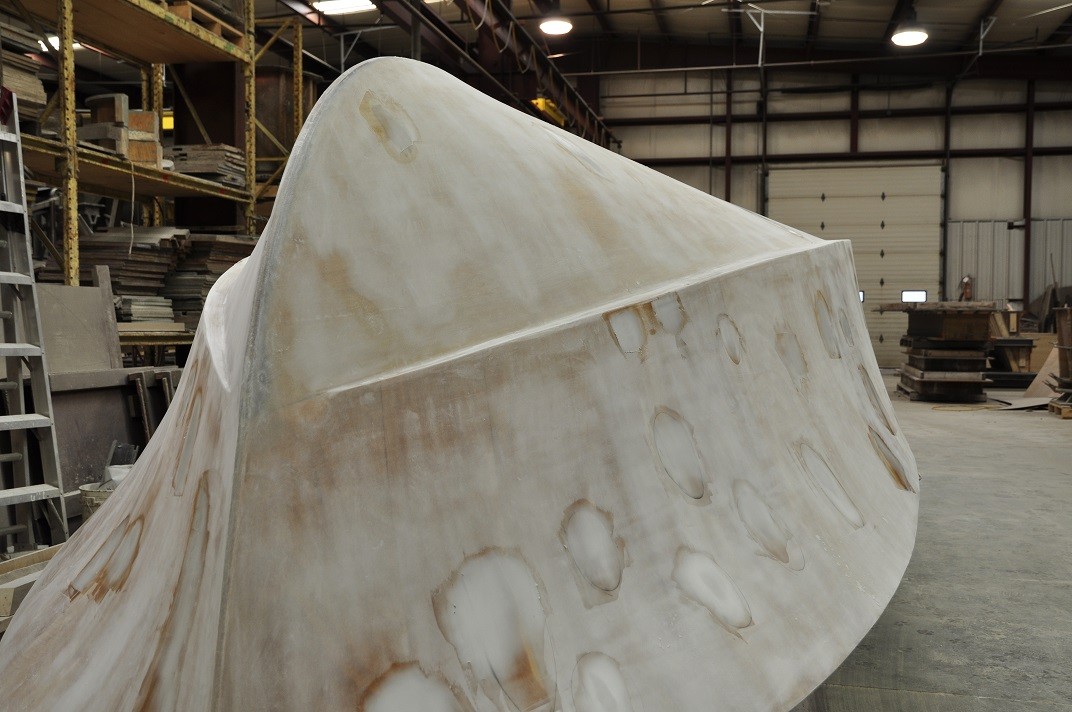
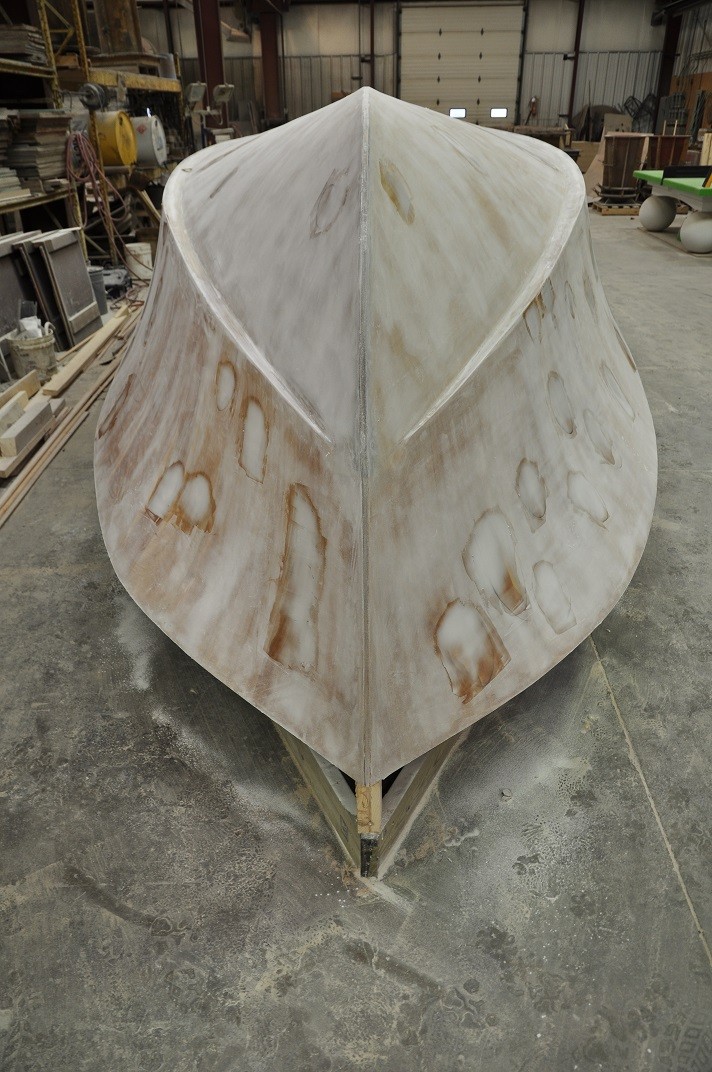
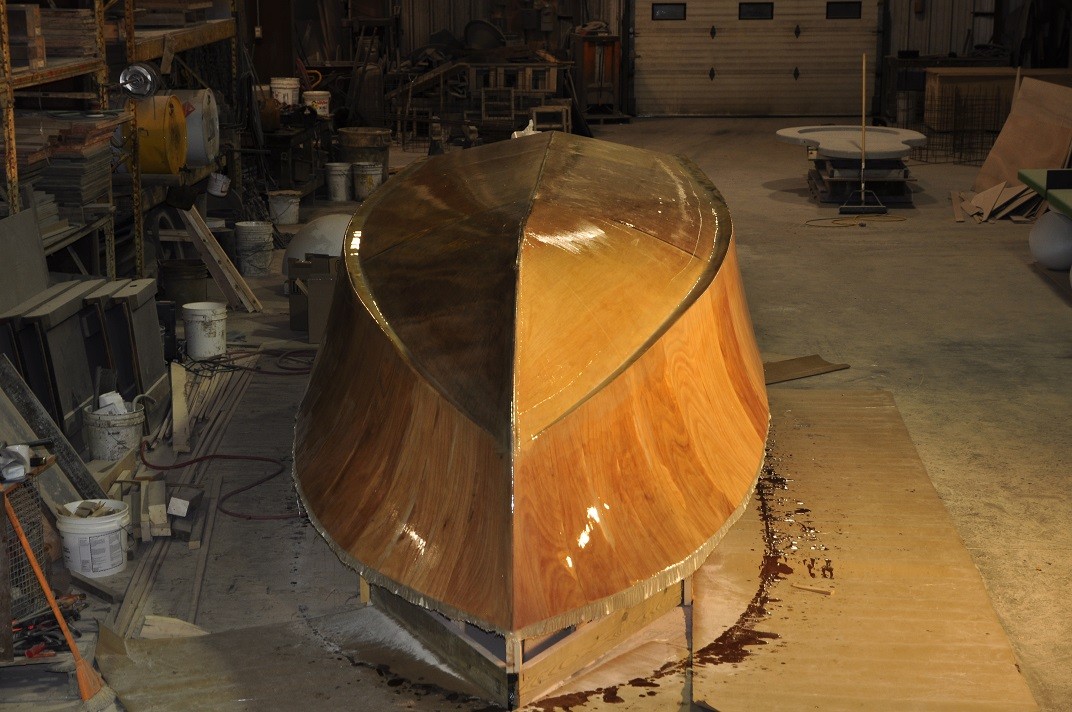
Thanks Miyot, I see that your ship is progressing nicely. That's a big boat! Great job. The OB20 looked similar to a central american panga when it's upside down. Photographs can also be deceiving with limited space and lighting. Now that it is flipped, the shape and scale of the hull is beautiful. Cheers, Ron
-
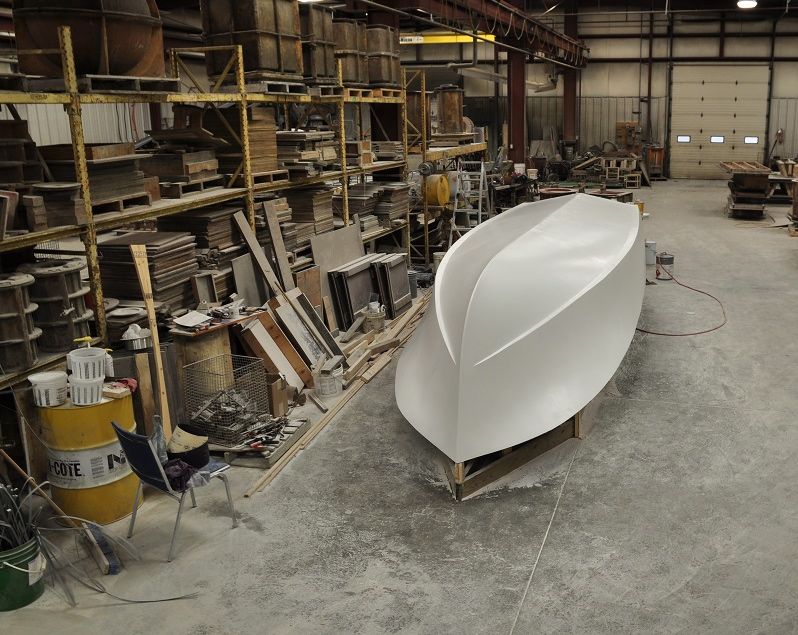
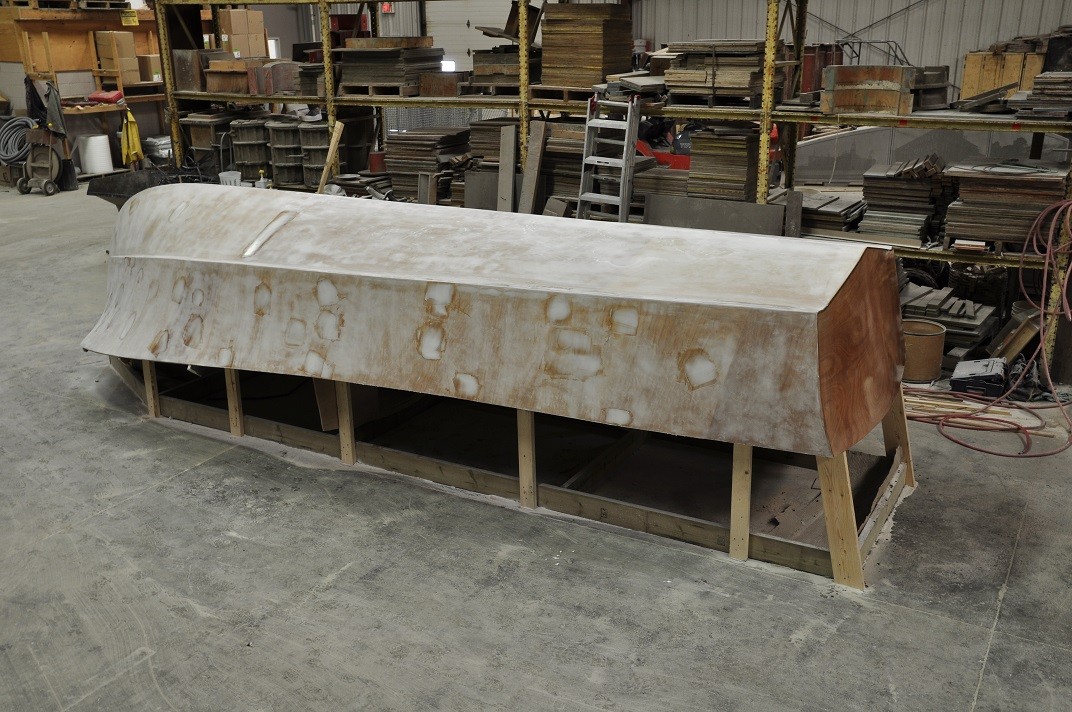
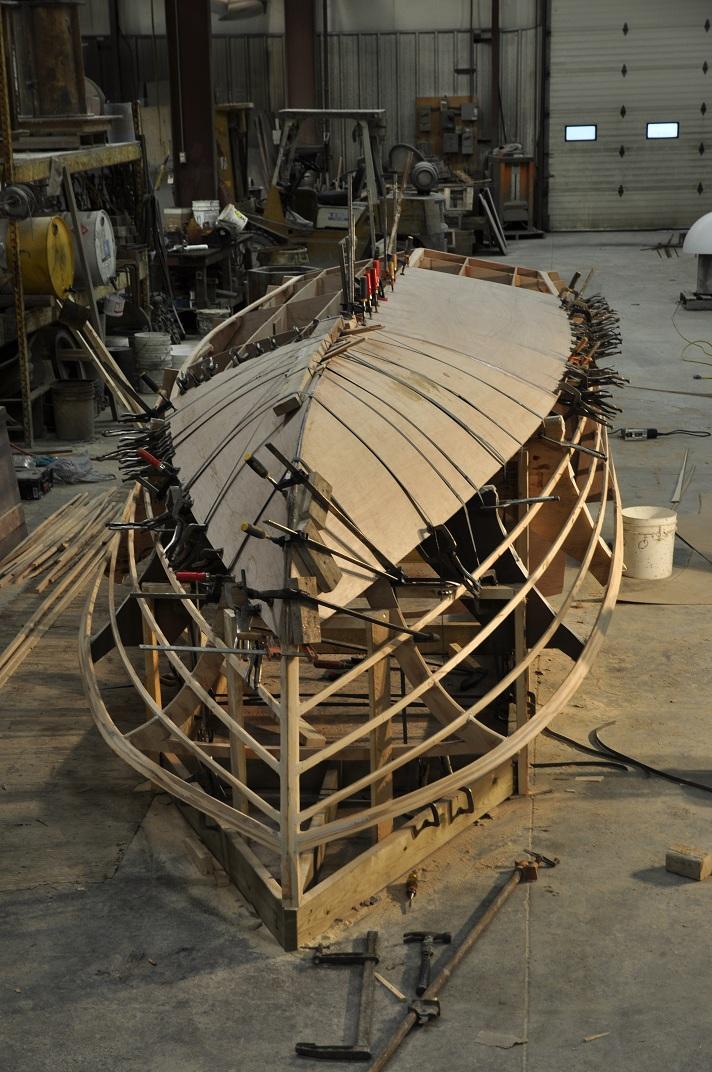
The big flip happened this morning.


-
An update on Ronny's Raft, I managed to get four coats of primer on the OB20, three coats of paint and a stainless steel keel strip installed this week. It has been a balancing act to work on the boat without interfering with work's production schedule. Every 12 hours there was some sanding and painting going on regardless of what time of day it was. The boat needs to be flipped and put on wheels to get it out of the road during work hours. I also need to slow the pace down because I'm not 25 anymore. Happy Easter to all, Ron


-
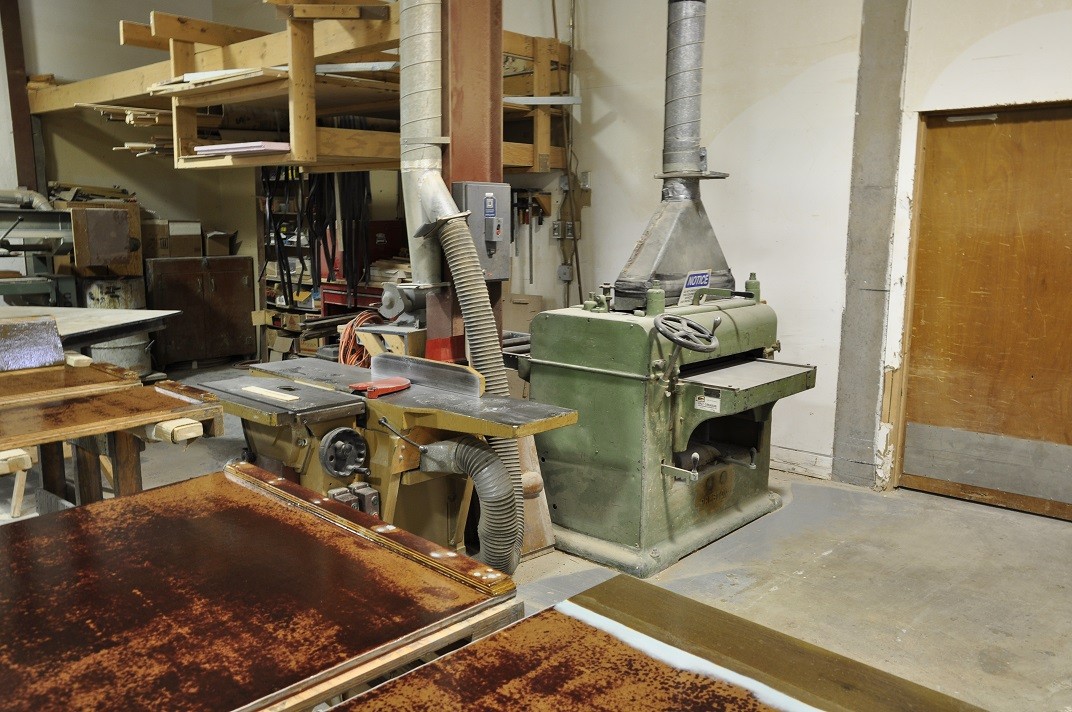
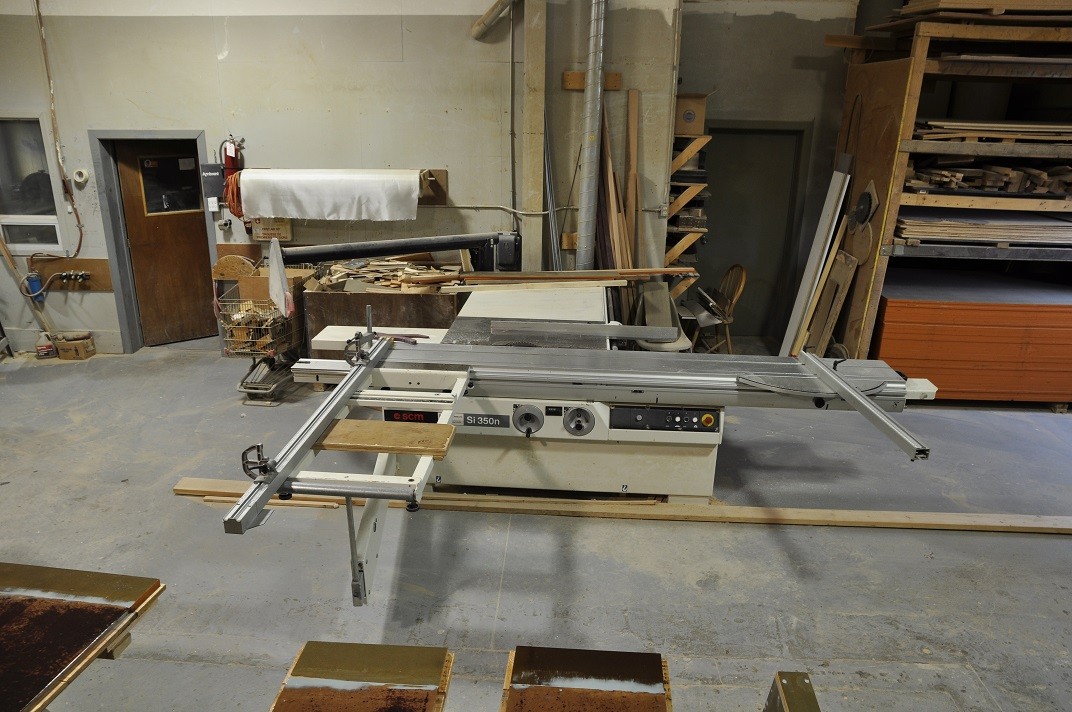
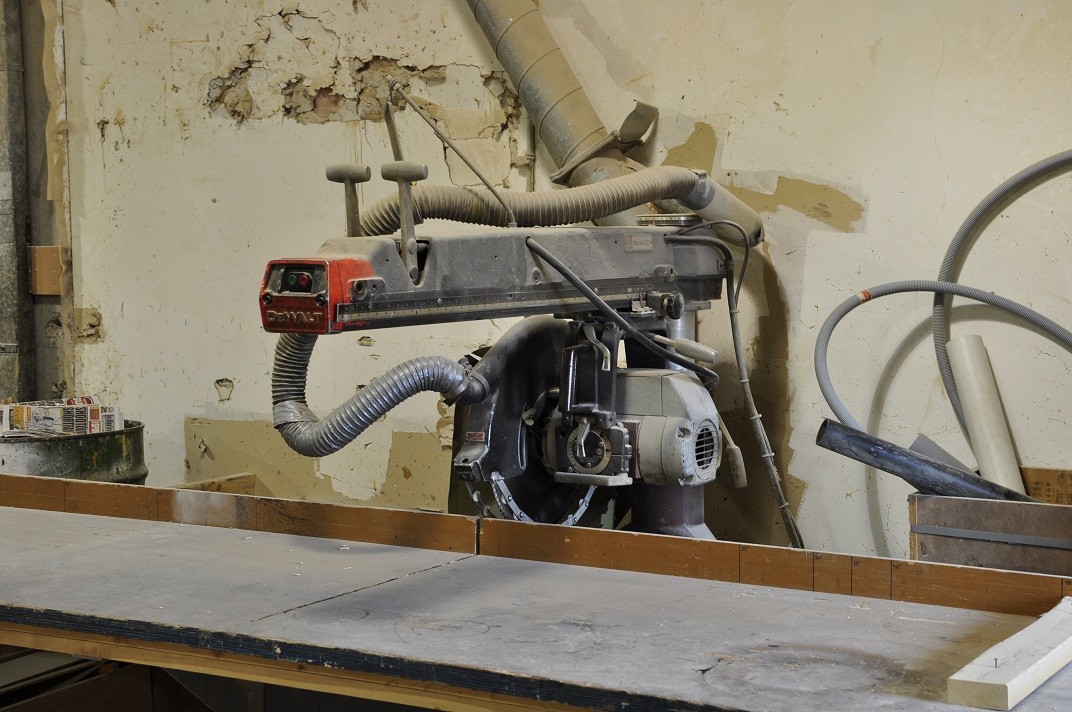
Hi Alan, I have a fully equipped wood shop that we use to make precast concrete moulds and wood accessories for our products. The sliding panel saw was used to cut a lot of the plywood pieces on the OB20. Scarfing was done with the radial arm saw ( at a 70 degree angle, after hours with the guard off), and edger. The most abused tool to this point is the jig saw. The convex panels approaching the bow were scribed, then cut with the jig saw or band saw and sanded flush to the line. Sanding and fairing was done with the orbital sander, in line sander and auto body rasps. The timing with epoxy needed to be perfect to use auto body fairing tools, but worked well. The first round of Pre-Kote was applied this afternoon. Cheers, Ron


-
Thank you Miyot, I attended the Interlux seminar today and ended up with their Pre-Kote primer and Brightside paint prior to reading your post. This anti-fouling paint and two part primers with two part topside paints etc, etc etc...., it's just too complicated. This would be expected from a professional marine painter, but most of us gaze at our builds with a coffee in one hand and a brush in the other. I would like a top quality paint and I don't mind paying a heavy price for it, but keep it simple. Kind Regards, Ron
-
The sanding, filling, fairing process is slowly taking shape. Not very exciting and extremely dusty. The pneumatic orbital and dual piston in-line sander take the stuff off just fine, but they do blow fine epoxy dust all over the place. It's nice to have a big shop to work in, however it is also a big shop to clean. I now have several new wrinkles on my face from dust mask elastics. I am contemplating painting the boat a flat camouflage type patina, or very colourful polka dots. This would shorten the fairing process by about 100 hours and priming could start on Sunday Tomorrow I'll attend a marine painting seminar put on by Interlux paints. Does anyone have an experience with this product that they could share?


-
I am not keeping a log, but I can accurately say that there is about 320 hours to date. I put in a couple of hours before work, a couple hours after work, and 20 hours on the weekend. Keep in mind that I have no idea of what I'm doing, and lots of time is spent looking at NZ Lances build or just generally starring into space. The boat is on the factory floor, and our busy season is coming up. I am on somewhat of a mission to get the thing painted and flipped by Easter. Once it's flipped, (with one of the overhead cranes), I can put it on wheels and move it around or into an unheated building until the boys go home for the night. Tonight I am not going back to the shop because I have had my daily limit of one shower. The sanding has started this week, but it is a dusty,dirty job. My wife is a loving, understanding, reasonable woman, but crawling in to bed with epoxy dust in my hair is just wrong. cheers, Ron
-
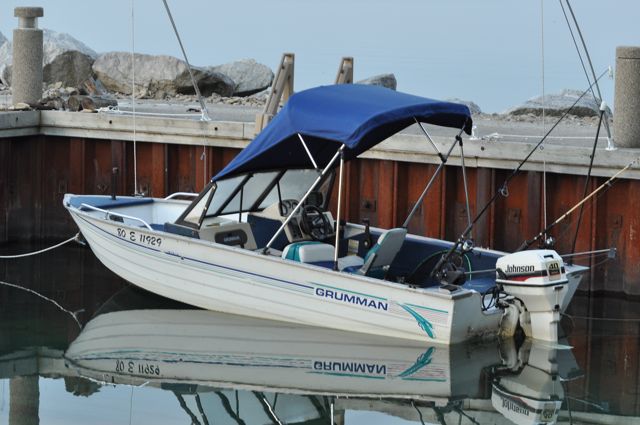
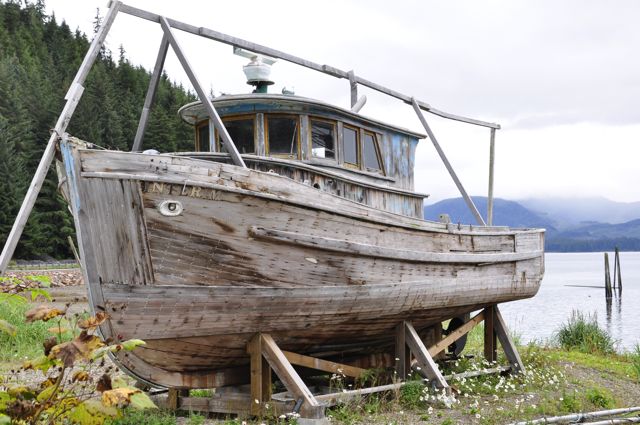
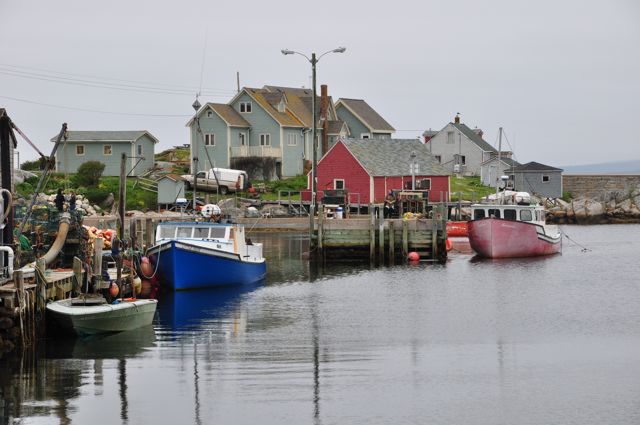
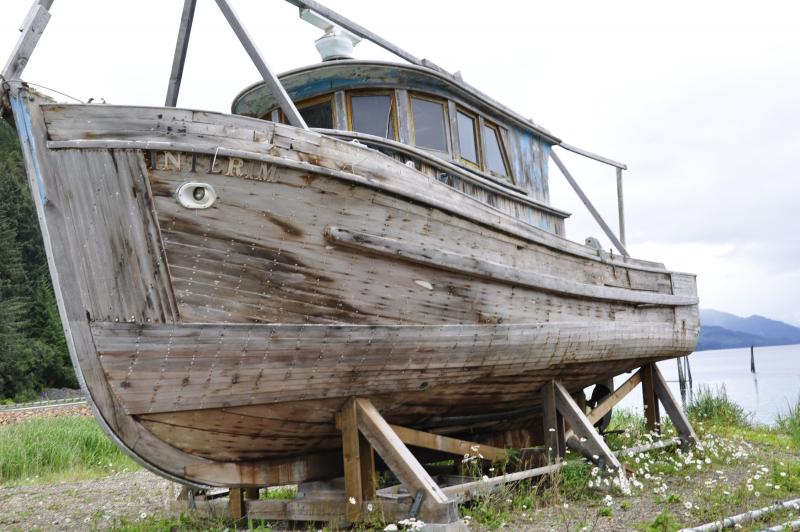
Hi Regan, The marine ply was purchased at Noah's. I was able to buy it at wholesale prices through the business and seconds with broken corners didn't bother me as there is not a full sheet required anywhere on this good ship. We live and work in Brampton, but the boat will be used at our cottage on Colpoy's Bay in Wiarton Ontario. After visiting my daughter in Peggy's cove last summer and photographing a beached boat in Hoohna Alaska in the fall, I decided that the lobster boat style just looked right for me. The ob20 is the right size for Georgian Bay and can easily be trailered. My 16' tin boat frustrates me to no end with all the canvas covers, zippers and snaps for a two hour cottage troll. cheers, Ron


-
Hi Luka, To date I have used about 12 sheets meranti (1200x2400x9mm) for the bulkheads, stations ,stringers and bottom. The transom and sides used up 11 sheets of 4mm okume. The OB 20 hull needs about 32 square metres of 10 oz cloth and 25 litres of epoxy. The plans come with a material list that is accurate and generous. The hull was glassed this weekend and so far I'm pleased with the results. I still have not used any screws,but things would probably be further along if I did. Regards, Ron


-
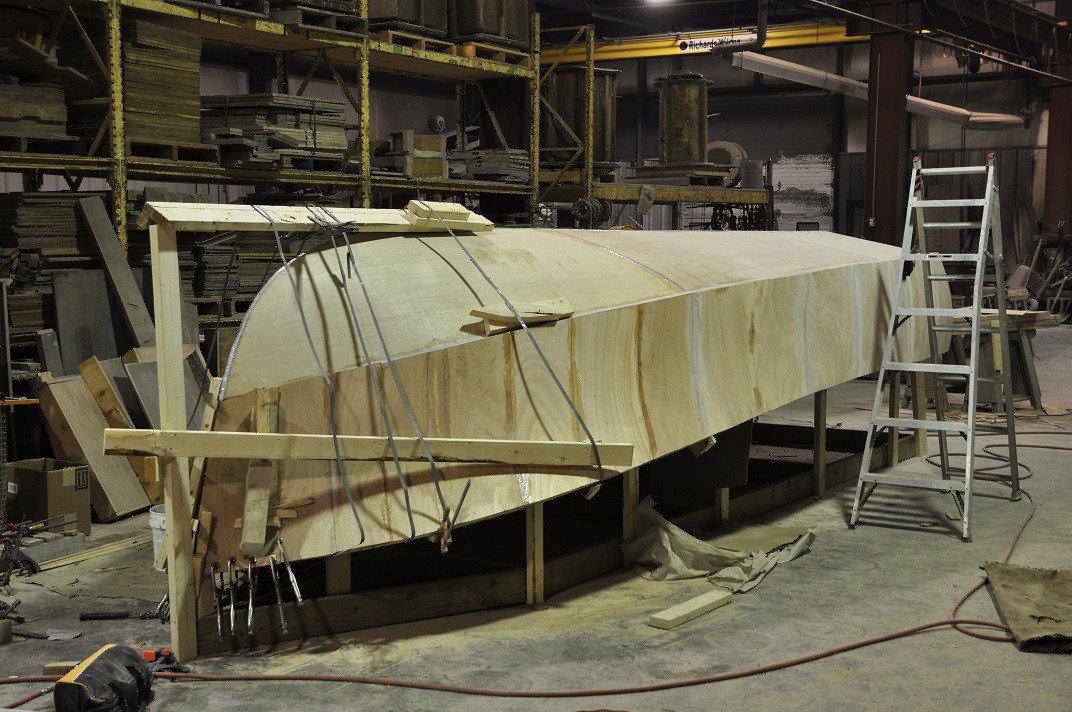
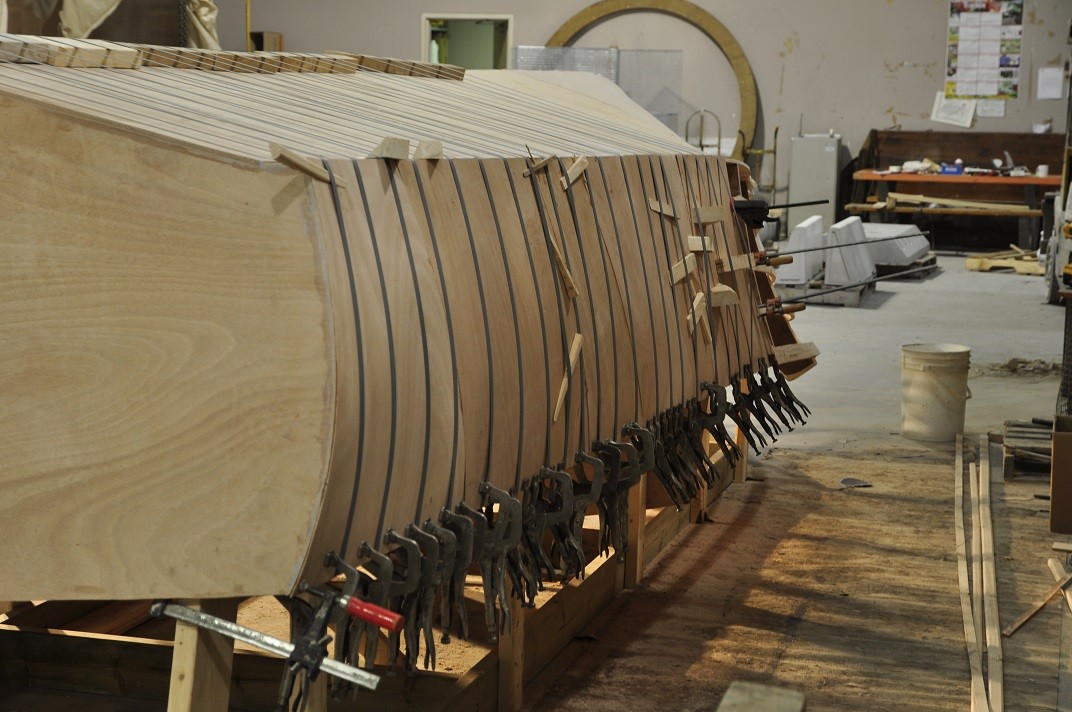
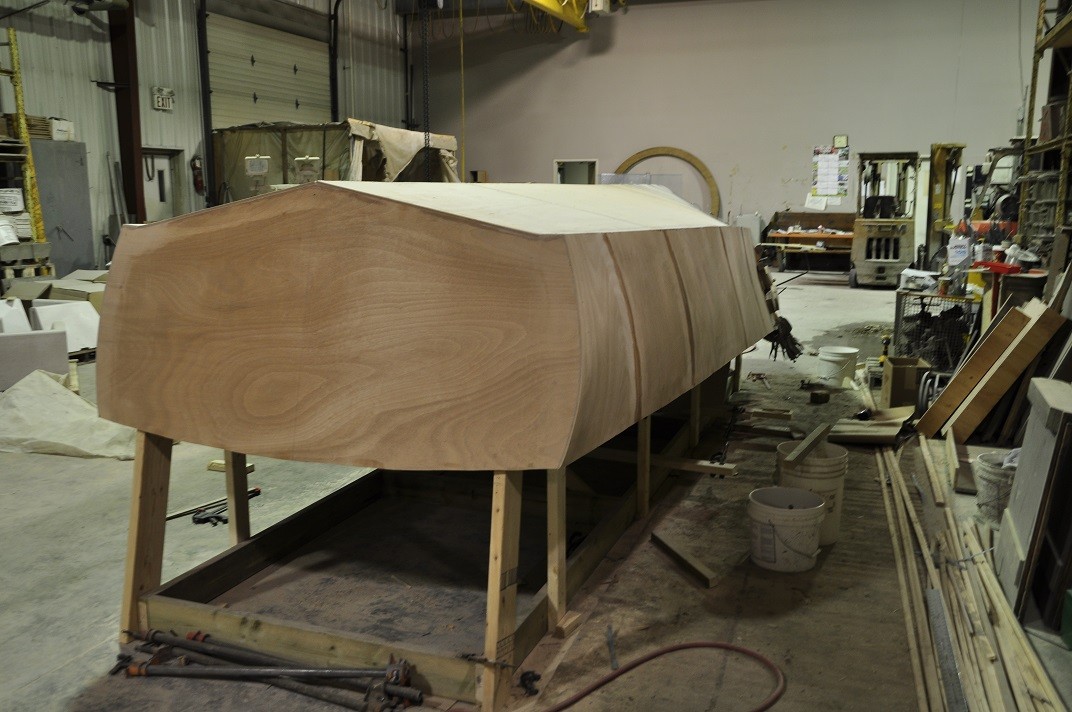
Chine flats have been installed on the OB20 and side planking is underway. The steel banding and wedges are working just fine, but I'm not at the bow yet. I felt that it was necessary to put some supports between the gunwales. The strapping would have the potential to distort the boat if I wasn't careful. I'm sure that one dozen nylon tie downs would do the same thing and possibly even better. Just trying to stay out of the screw/staple/nail discussion. Regards, Ron


-
I used up two 2x12x20' pieces of fir for the keel and side stringers. The problem was that this lumber was all construction grade and it took far to much time to scarf all of the major knots out. I would highly recommend finding clear lumber,(or at least what we call C and better), for any of the side stringers and gunwales. The OB20 has some serious bends at the stem. Soaking about 8' of the fir was the only way to bend it without breaking or cracking it. We have over one thousand clamps in the shop and rarely do we run out, but it has happened Gordy. Regards, Ron
-
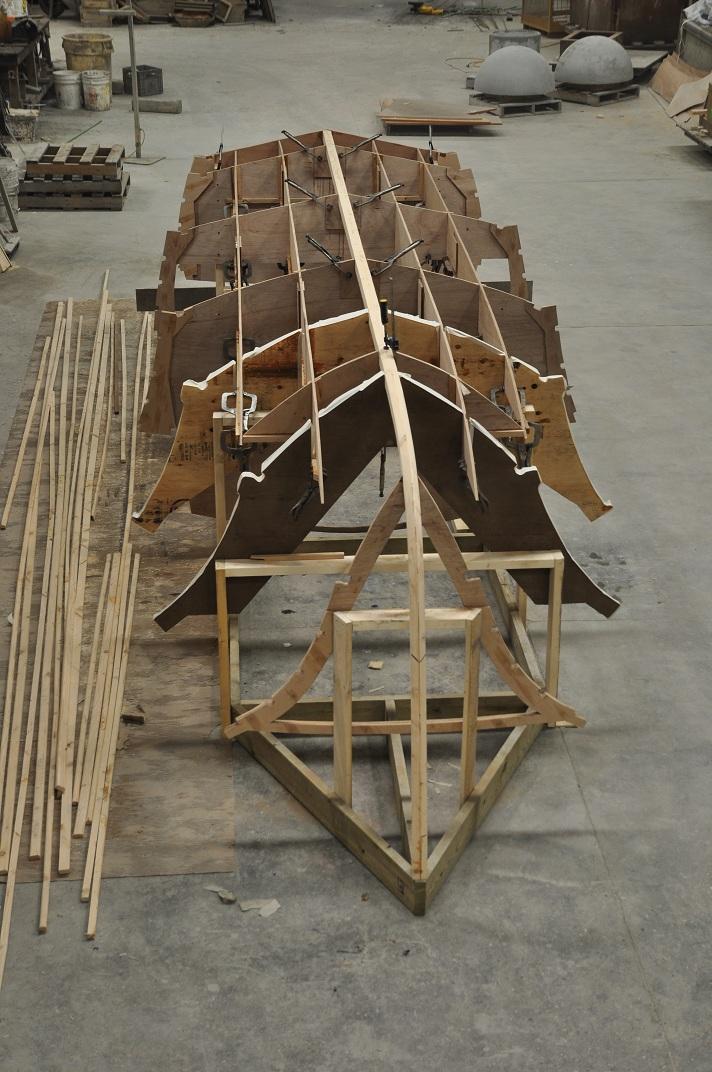
OK folks, Here are some progress pictures of my build here in Toronto. I have not used any screws yet, but it is tempting. To date, it has been an education in clamping. This is my first boat build, (except a cedar strip canoe 20 years ago), and all has gone fairly well. Some issues with twisting and bending at the stem, but this is a result of inferior wood and not a design problem. Steel strapping and wedges seem to work well for the bottom planking, but the true test will be for the side planking. Kind Regards to all, Ron


-
I like that idea Brent. I'll pick up a couple 2x12x20' pieces of fir tomorrow and keep the exotic hardwoods for trimming the boat out. Fir appears to be what most of you are using for your builds. I think it is best not to stray to far from proven materials at this point.
-
I have just started my OB20. It is very easy to transfer drawings with the mylar. Hold it in place on the wood with a few small pieces of tape and slide a few sheets of carbon paper under the lines. Just trace it out with a piece of slightly sharpened wood. I can't remember where I read this but it was on this on this forum somewhere. He used a piece of sharpened deer antler. Mark the centreline and waterline while your at it. Good luck!
-
Last week I started building an OB20 (hull# 18). So far, the jig set-up is going well. Transfering full size patterns with a slightly sharpened piece of 1/4" dowel over a few sheets of carbon paper is pure magic and very fast. I am trying to get my head around the keel and stem. Does anyone have experience laminating purple heart together? That stuff is harder than most of the rocks around here I would have enough of it in the shop, but if there is a problem down the road,(or lake), with the keel, then the whole boat is garbage. Maybe I should just get hold of some maple or fir? The purple heart may also be difficult to shape at the bearding line and will probably cost more in blade sharpening than a few pieces of maple. Cheers, Ron