Larry Q
-
Posts
39 -
Joined
-
Last visited
Never
Content Type
Profiles
Forums
Events
Everything posted by Larry Q
-
Looks like I am in good company in the nuthouse. I guess if you have to be there, it's good to have friends ..
-
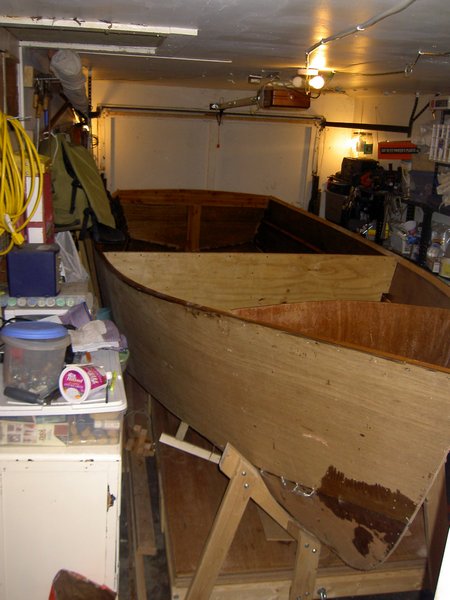
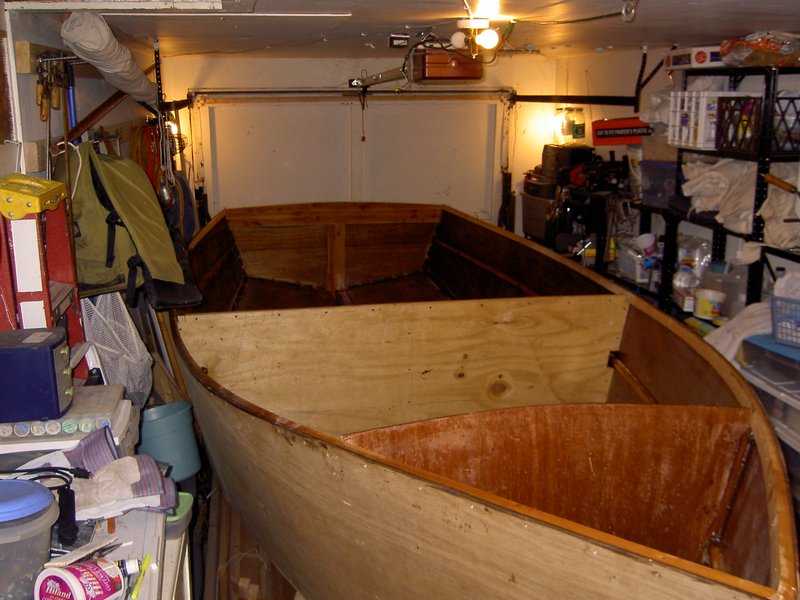
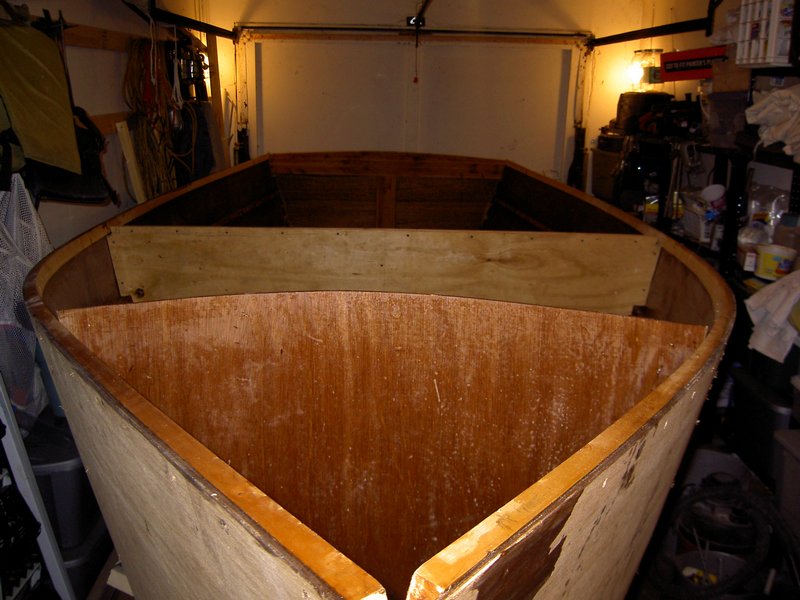
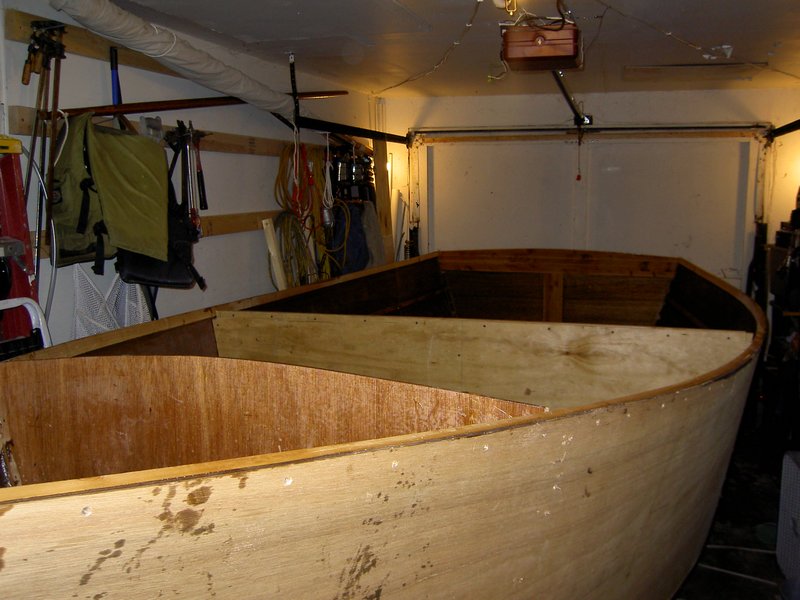
The weather forecast has a chance of rain tomorrow so I had to bring my Belhaven into the garage. Check out the pictures below. It's just a good thing the Belhaven is not any bigger ...


-
I hear you Scott. That's why I made the jig to pull the hollow out of the bottom before I started tabbing the seams. Adding the inwales did wonders for the hull shape too. Thanks for the reminder about the transom. I am still quite a way from closing up the transom, but I need to start thinking about swim ladders and motor mounts.
-
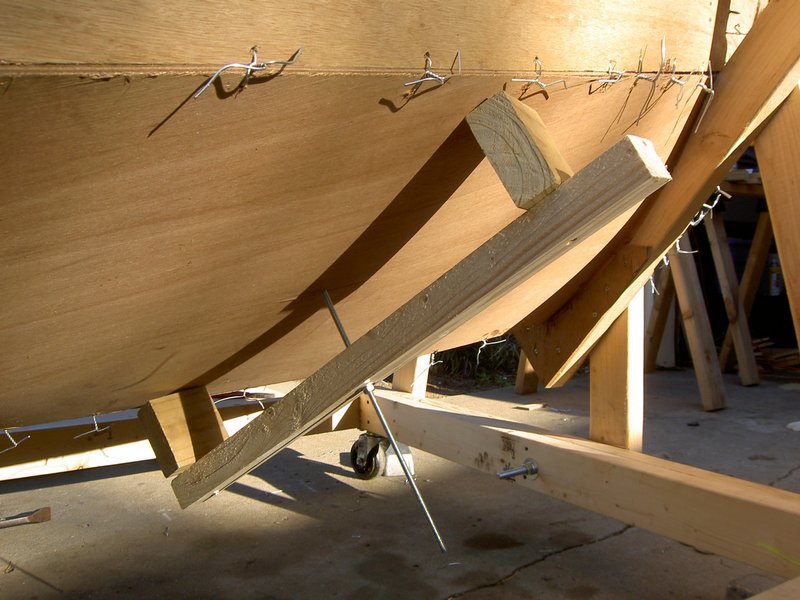
I had a fairly productive day after a rough start. I ended up removing both Bulkhead 1 and the Temp frame and tightening everything up before I put them back in. It was definitely not fun getting bulkhead 1 back in, but it is there now and I have tight seams. I got the inwales installed and most of the seams tabbed before I ran out of daylight. I still had the hollow in the bottom that I mentioned yesterday, but I found a way to work around it. I made a jig to pull the hollow until I get all the seam tabbed and taped. The hollow is on the 1/4" section of the bottom where I will eventually have to put stringers, so everything should work out in the end. Tomorrow I go back to work to get some rest ...


-
Thanks Scott. I just went out this morning and checked again and the hollow is still there. I haven't finished tightening the bottom seam all the way back either, so I'll see how it looks when I get everything tight.
-
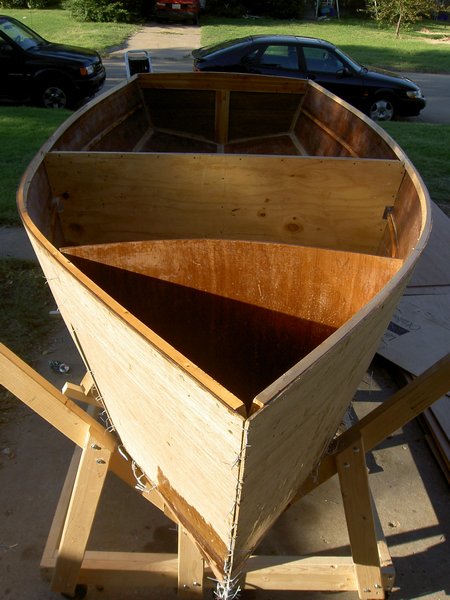
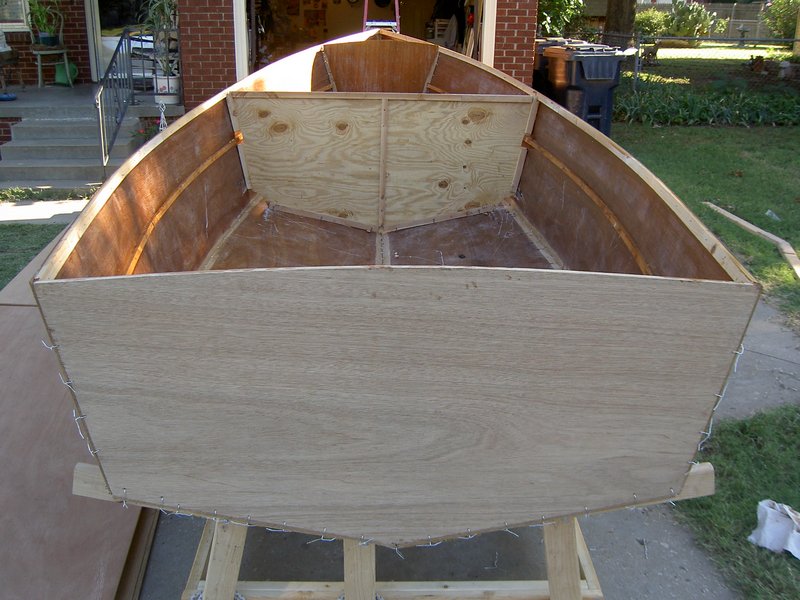
Well, I finally went 3D with my Belhaven today after taking a couple of months off from boat building to take care of my other life. Yes, I know. Boat building should be my only life ... This is a really big boat once it comes together. I had gotten used to seeing a pile of plywood in the garage and now I have a boat. The whole process went pretty well. I am still fighting the foot to bring it together but I ran out of daylight and energy. I hope to get the foot done and move on to the inwales and tabbing tomorrow. I did notice one thing that looks like a problem. I have a definite hollow in the starboard bottom between Bulkhead 1 and the Temporary frame. I can stand on the spot (which is a bulge from the inside) and get it to settle down, but it come right back when I take the weight off. Is this normal with the butterfly method? I am hoping that finishing the foot and installing the inwales will straighten this out. Here are some pictures.


-
Very Cool Norman. I would not have thought to use a Bobcat. Do you want to come help me when it's time to turn my Belhaven? (next summer at the earliest). It's only 1722 miles from Ipswich to Oklahoma City...
-
OK- it's announcment time- 3 new boats starting
Larry Q replied to Charlie Jones's topic in B & B Yachts Forum
Charlie, Just out of curiousity, where in Houston do you get your plywood? I bought mine from Houston Hardwoods who had the best delivered price to Oklahoma City. -
Congratulations Scott! I am very jealous. My Belhaven is still 2D. Waiting for enough time and good weather to go 3D.
-
Feels good to do it yourself, doesn't it? You also have the added benefit now that you know your motor a lot better and can better diagnose any problems that you have. You also know exactly how to get to the impeller to replace it.
-
Fantastic Scott! I am so jealous ...
-
Just to make sure I have this right, the correct order is: 1. Stitch the seams 2. Install the inwales 3. Tab then tape the seams I am preparing to stitch, but the light came on in the middle of the night and I realized I had forgotten the inwales. Thanks.
-
Good for you Scott! I know this day has been a long time in coming. Fair winds to you. On your way back to Indiana, want to swing through Oklahoma City (yes, I know you have to get really lost) and help me with my Belhaven? You are the resident expert after all ...
-
While I have not converted to a long shaft, I have had a couple of outboards apart to the point that I could have. The biggest hint I can give is to get a service manual or copy the pages for your motor out of one of the big books (our library has several). There is usually a specific sequence to get the lower end off and then get the shaft off. Not really hard at all if you do it in the right order. If your motor is older, make sure you use some Liquid Wrench on the bolts and give it a chance to work. If you strip the bolts it gets expense to fix.
-
Jeff, Those are rules to live by, especially the one about quitting when you get tired. That is when I make the most mistakes (and injuries). I do have another boat to sail. I built a 12 footer about 4 years ago that I need to get out from under the cover and get wet again. Too obsessed with the project right now, but I'll hit a wall at some point and that's when I'll need to remember to go sail.
-
You guys are great! Thanks for all the suggestions. I am hoping to get everything else out of the way evenings this week so I can go 3D this weekend. I was planning on a couple of helpers. Sounds like I need more. The bottom panels are relatively stiff, but heavy and the sides are not too heavy but not stiff at all. Guess I would be better off with more hands than less. Thanks again!
-
I knew there was another question rattling around in my brain: Should I bevel the panels at the chine or just at the centerline?
-
Here are a few things I have learned so far: Hand planes are sharp Blood stains do not enhance the look of marine plywood Knuckle bandaids are wonderful Bugs stuck in epoxy sand pretty easily Bugs stuck in epoxy look a lot like those fossils of bugs caught in amber. Hmmm... Prehistoric boat building project? :shock: That's all for now. Feel free to add to my list. I see a book in the future ...
-
My sides and bottoms are scarfed, epoxied on the inside (3 coats) and sanded. I still need to mount the stringers and finish the cradle, but I am now thinking through the stitching process. Of course, I have some questions ... Is there any reason not to drill the stitch holes on the bottom seam before gluing the butterflies? I have to work outside once it is butterflied, so I want to get as much done as possible first. Can I drill the stitch holes for the chine now if I am careful to measure along each of the curves? It seems to me that if I measure carefully it should all line up in the end. I have seen pictures of reinforcing the butterfly with a piece of plywood screwed over it. Is this on the inside or outside? How long do you leave this on (I am thinking about not creating a flat spot there)? Any helpful hints would be gladly accepted.
-
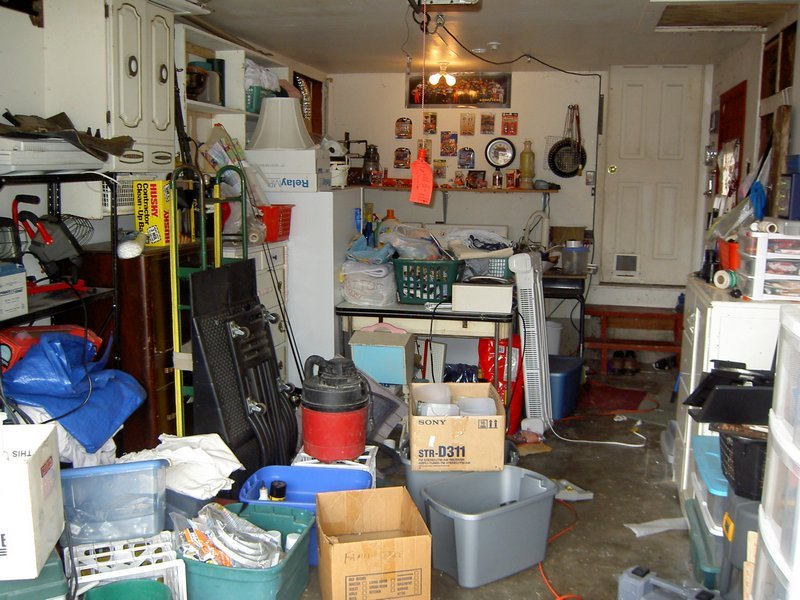
After way too much other stuff getting in the way, I have finally started on Belhaven #21. I took the week off to get a jump start and still didn't really get started until Tuesday. (why do I have to do that other stuff anyway?) I now have the sides and bottoms scarfed, the bottoms cut out and the sides marked for cutting. Up next, cutting out the sides, cleaning up the scarfs and putting 3 coats of epoxy on the insides (thanks for the tip Scott). I have to go back to work on Monday so I am hoping with working evenings, I can be reading to go 3D next weekend. There have been several discussions on the spaces where we build our boats and I wanted to share mine. I am living in a rent house with a one car garage (so no option to do structural mods). The garage is 10 X 21 (and the boat will be 7 X 19) so I have had to be quite creative in making it fit. Originally, the washer and dryer were at the end of the garage and so is the entry door. After some head scratching and measuring, I moved the washer and dryer to the side wall and built a platform for the entry stairs so you can turn sideways as you enter the garage from the house. Going to be tight but it should fit. Before and after pictures below. I also built a 4 X 16 building cradle to hold all the plywood and boat since I don't have any place to store plywood otherwise. With the plywood and cradle, it weighs around 1000 pounds, so I also bought a 12V winch (which will go on the trailer some day) and mounted it under the stair platform to get the cradle back in the garage since the driveway has a slope. I moved it once by hand and that was enough. I have really enjoyed getting started. My wife says that it seems to be a "very consuming" project. I have been doing a fair bit of head scratching and really need to find room for a "moaning chair". I was undecided whether to scarf or use the fiberglass butt joint on the panels since the last time I had a plane in my hands was 9th grade wood shop (and we are not going to talk about how long ago that was). I did scarfs on the 12 foot boat I built 5 years ago with a belt sander and did not enjoy the process or the results. I decided to go ahead and buy a plane and give it a try. WOW! Scarfing is really cool! Those of you who have done it know what I mean. There is really nothing like seeing those long thin shavings come off. If you are trying to decide yourself, go for it. It is a great way to start a project. There is a picture of my gluing jig below. The bolts on the end are more for alignment than pressure. By the time I got to the last scarf, I was considering a career change. Wonder how much I could charge per scarf? Ray? Charlie? Need an apprentice? Sorry for the length of the post, but I have been meaning to get to this for a week, but keep going back to building. And of course I keep forgetting to take pictures. I moved the digital camera to the garage so maybe I can remember more often.


-
Looking sharp Scott! That color really sets off her lines. I'll bet you can't wait to get her wet.
-
-
I would recommend that you use 16 gauge steel wire (this is what Graham recommends, at least for my Belhaven). I also used zip ties for my first boat and had the same problem in areas of high stress. I switched over to wire and had no more problems. Wire also lets you tweak the joint to make it fair. You will find that by adjusting the wires you can get the gap closed and get a fair curve. Good Luck.
-
-