Leaderboard

Popular Content
Showing content with the highest reputation on 09/01/2026 in Posts
-
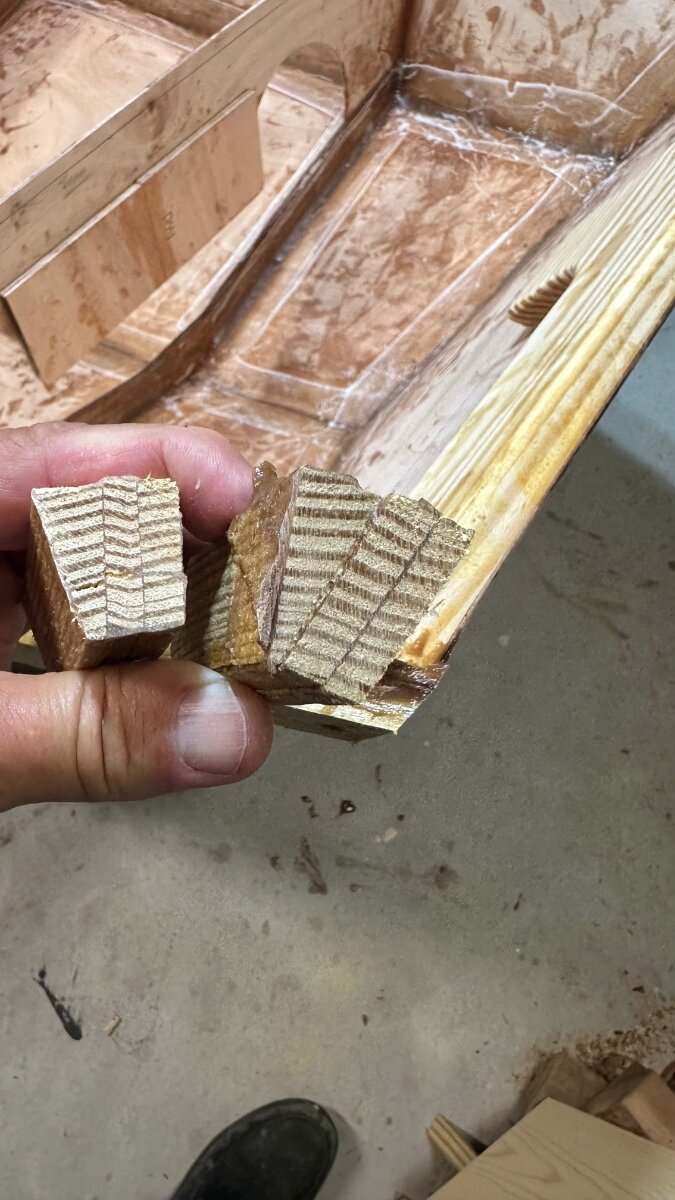
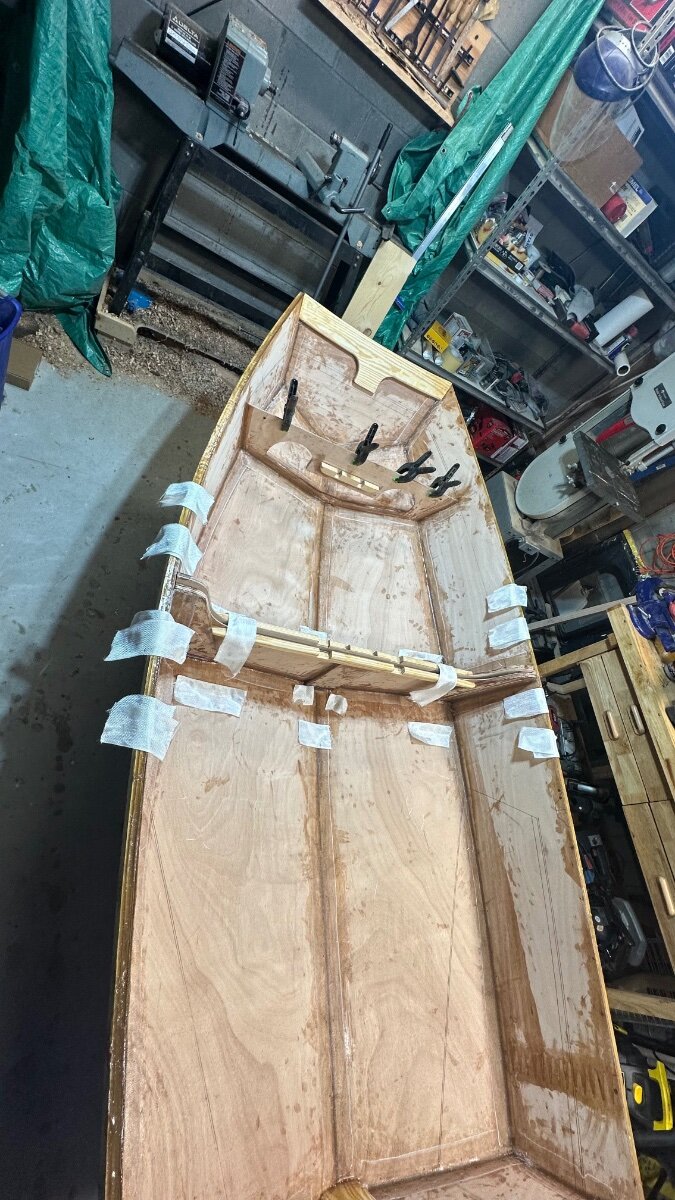
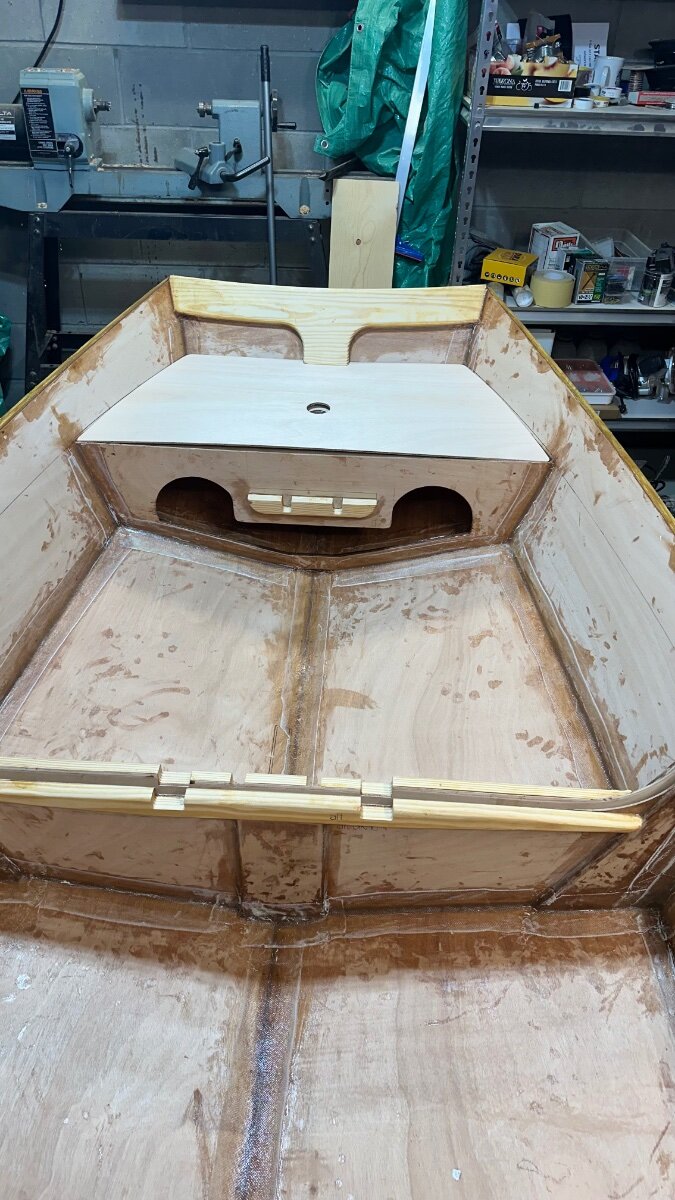
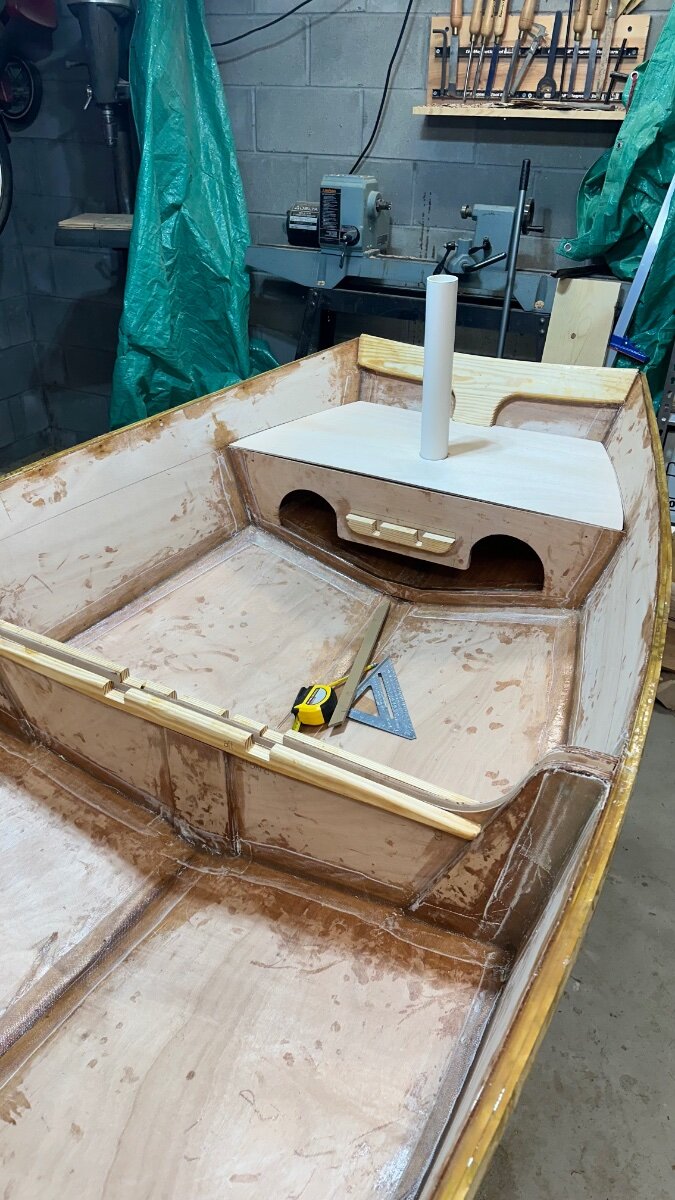
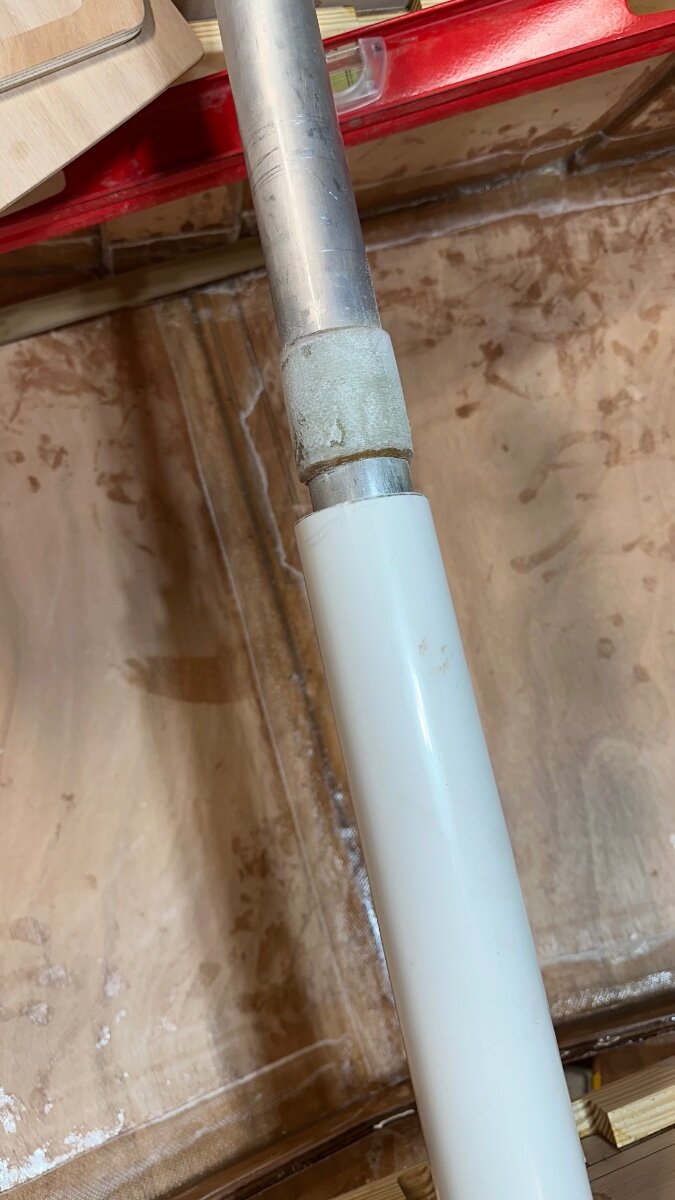
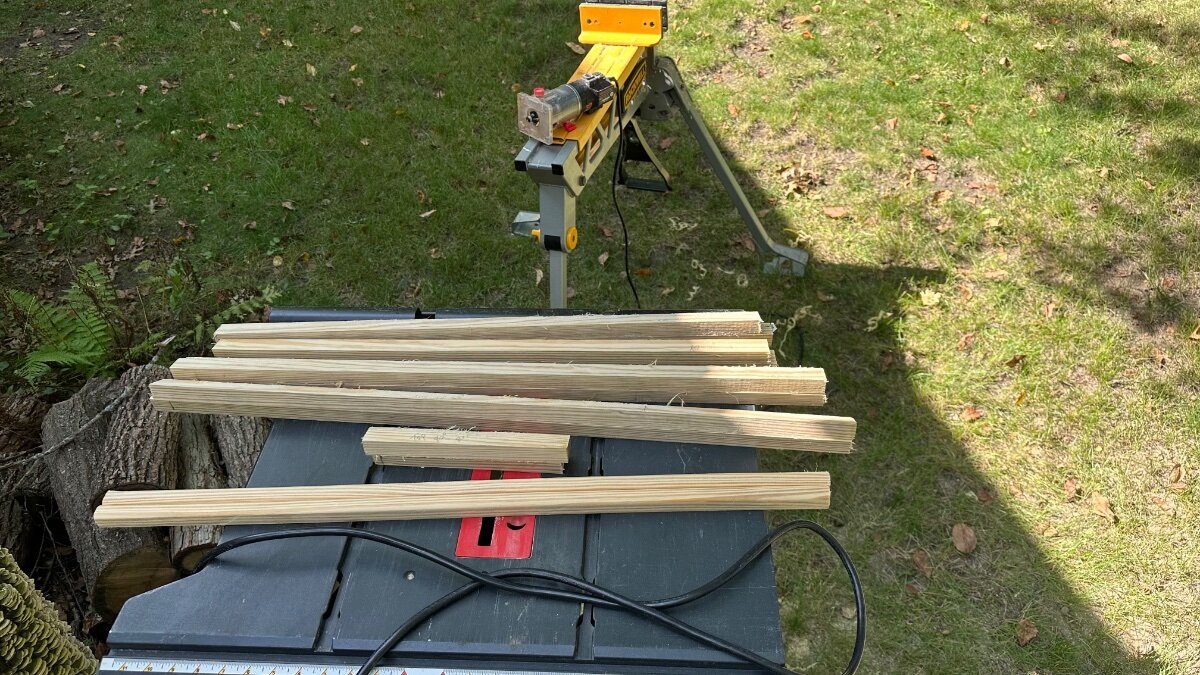
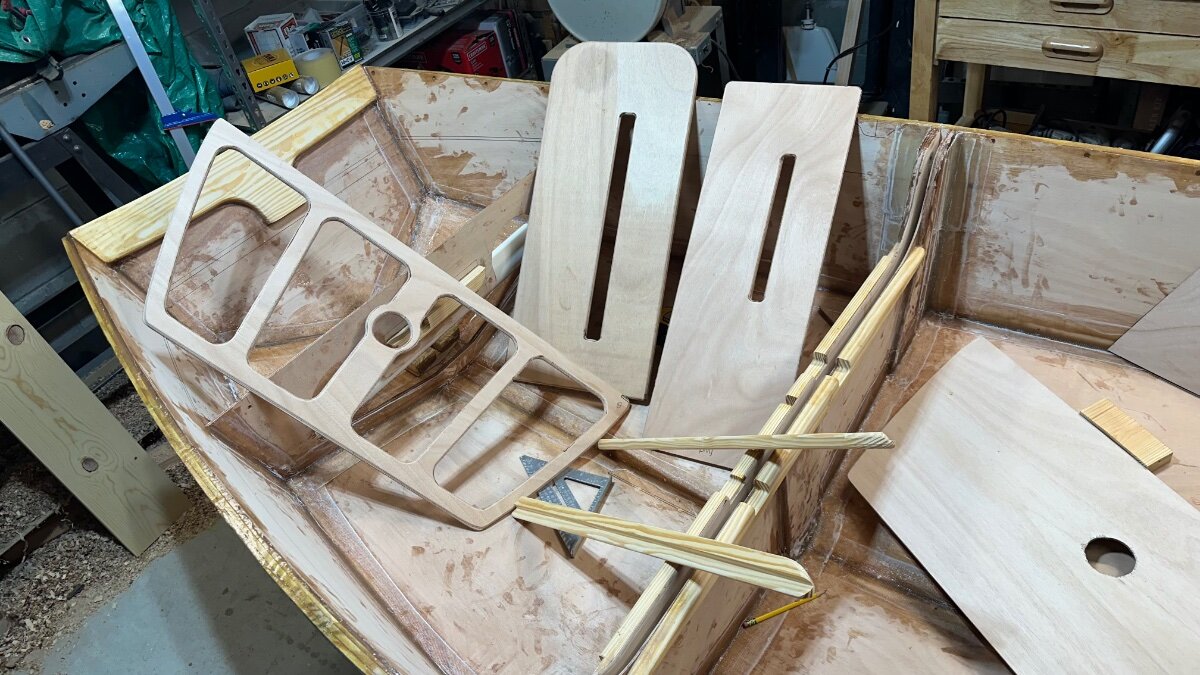
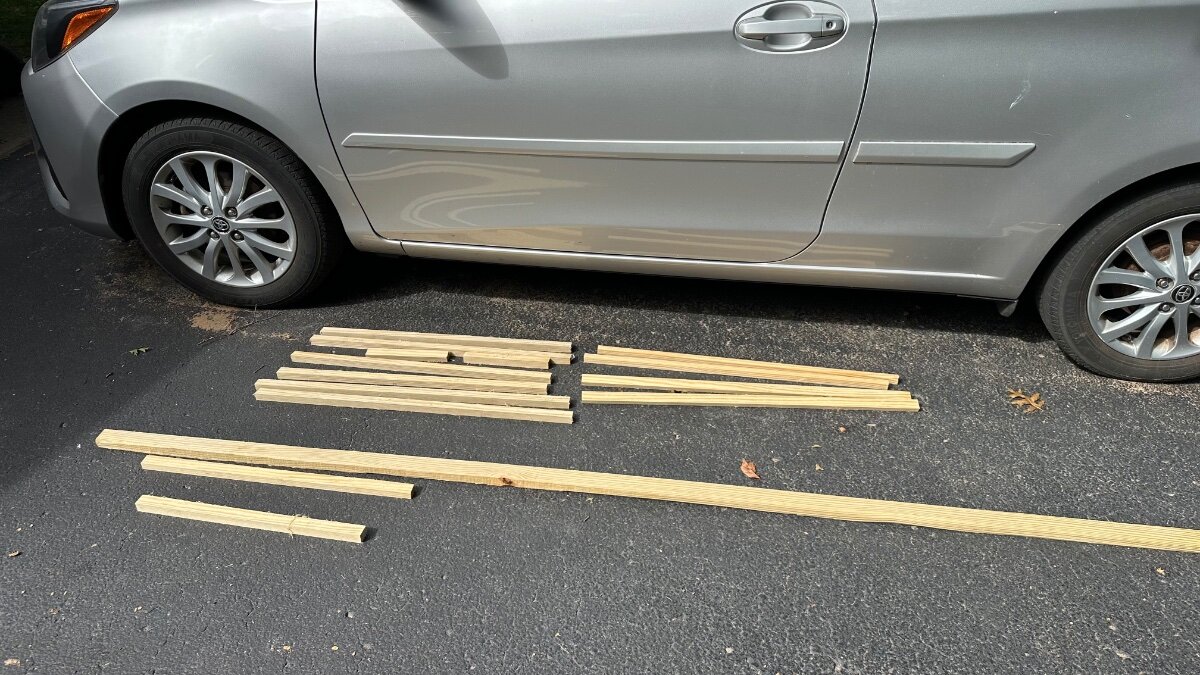
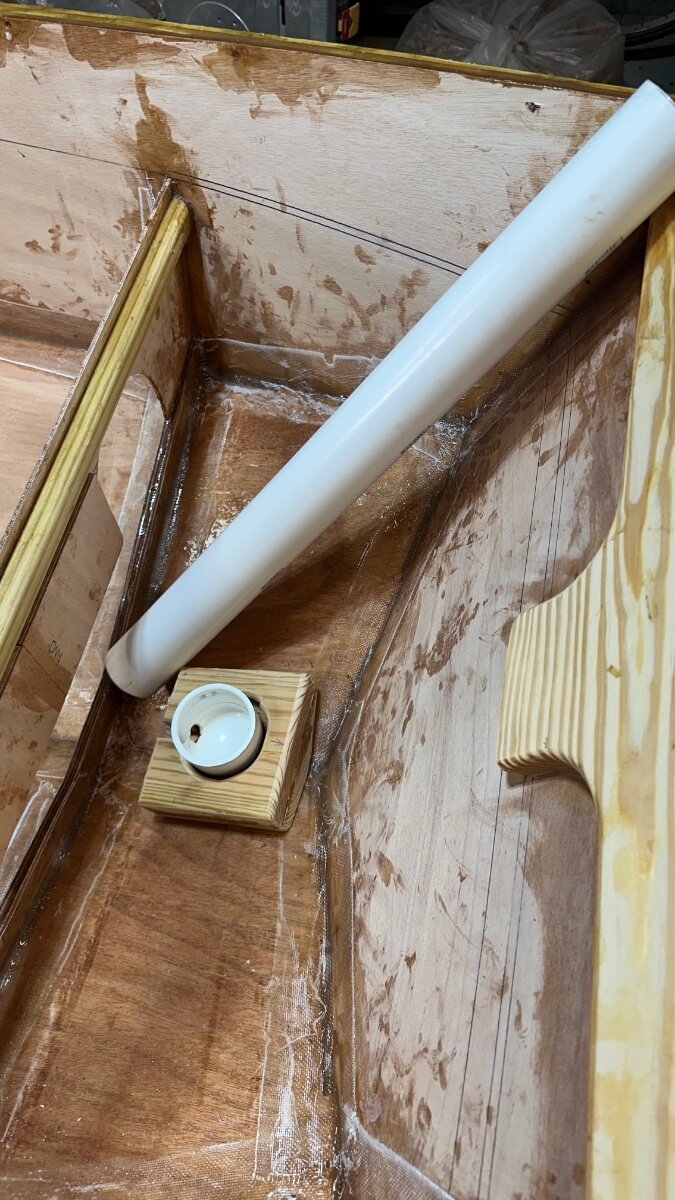
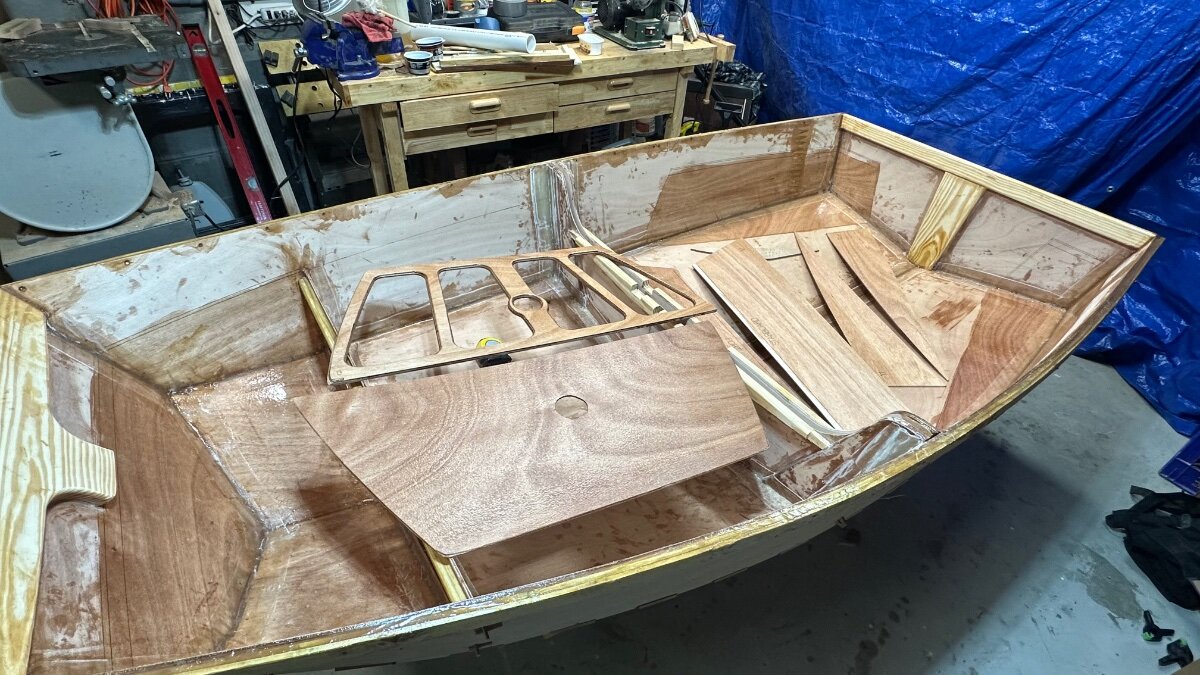
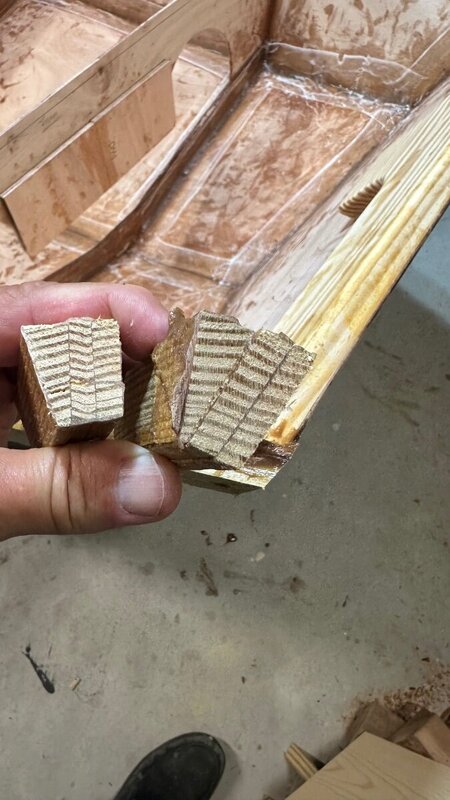
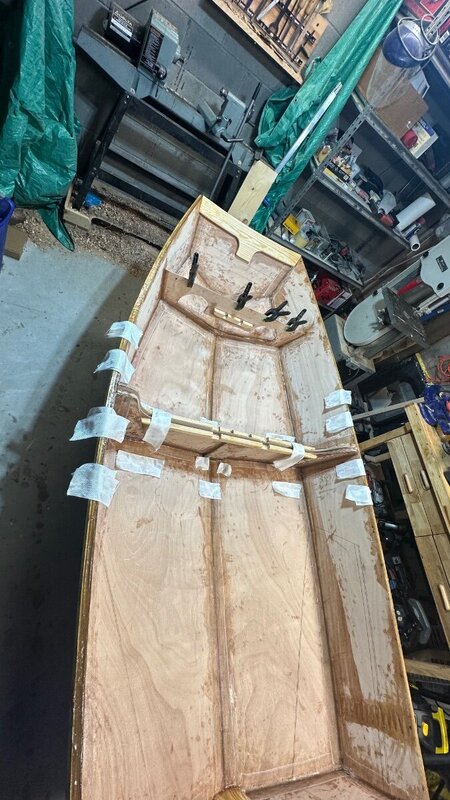
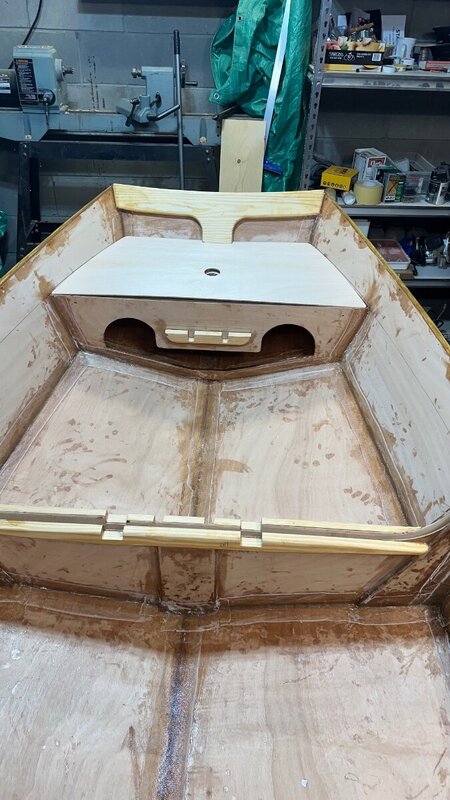
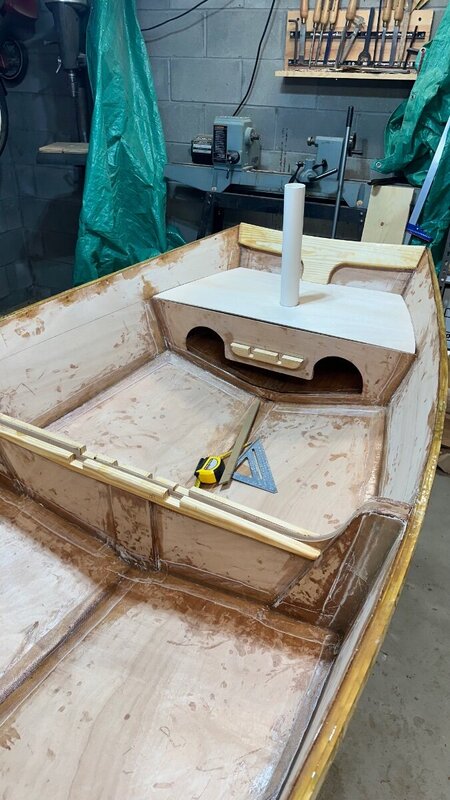
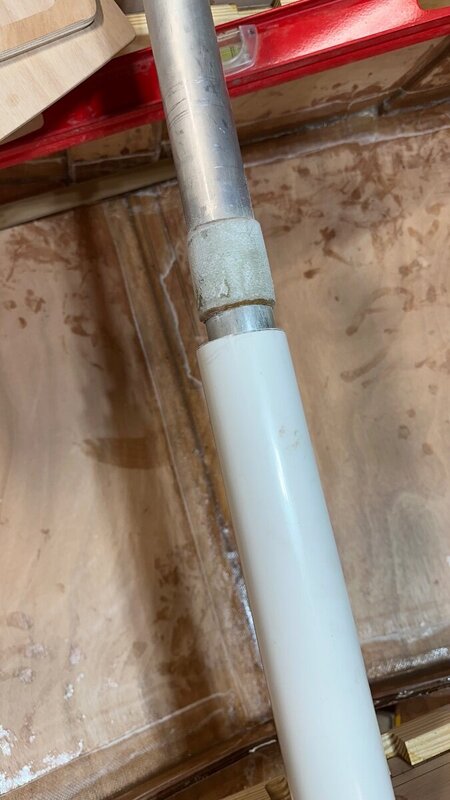
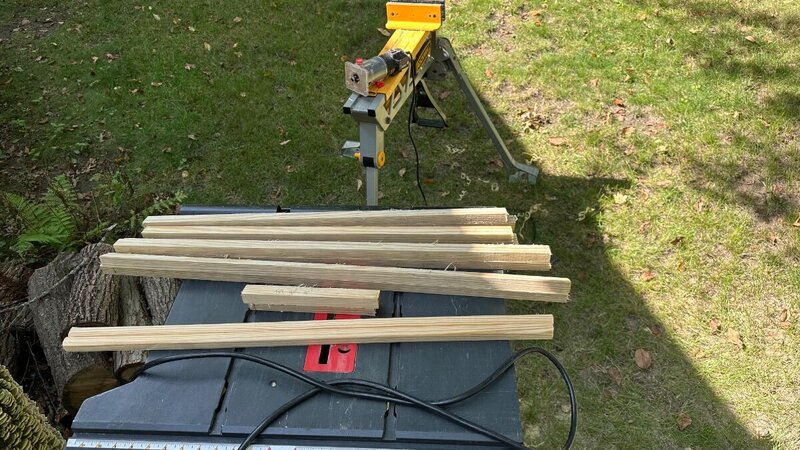
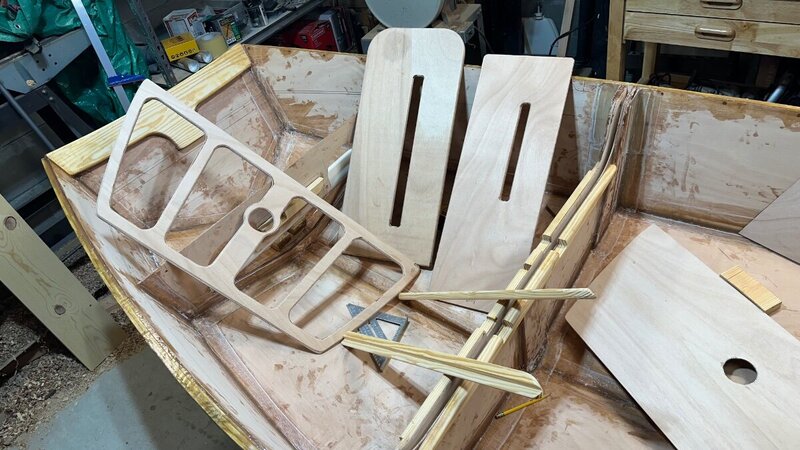
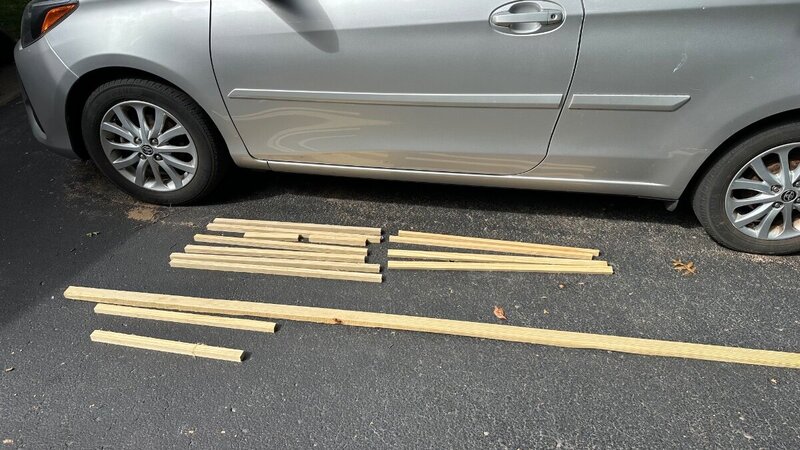
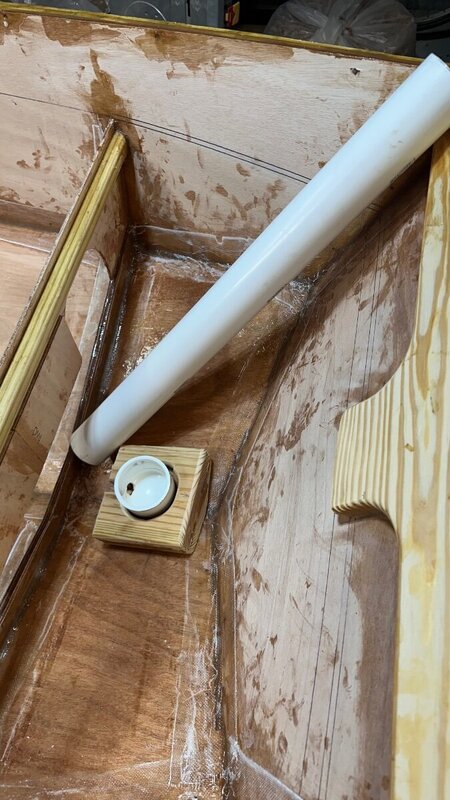
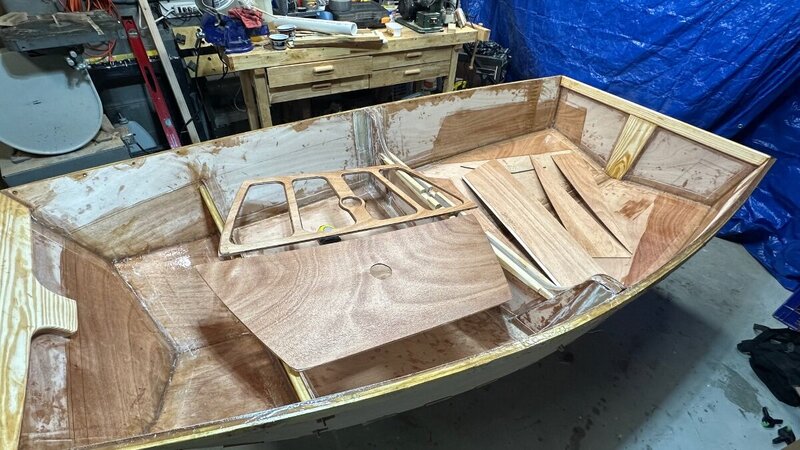
Three days of 3-4 hours each — slow stuff Progress is less “fast” as I get into the fitting of parts and taking care of lots of details. The weekend started with 90 minutes of scraping the hardened tape to be a bit smoother, especially the raised edges of the tape, and cleaning up all the little glass strings, “fuzzies” and little drips that are part of messy fiberglass work… just part of the process. I then finally cut off the ends of the gunwales that I left about 4” long on both ends. Gunwales are made of three thin layers and I decided to bevel the inside layer to make the gunwale vertical rather than recessing to the angle of the hull’s side. I decided that I want to use a belt sander to smooth out the top of the gunwales and my belt sander is over 45 years old. It spits out a lot of dust. Since I am building this in my basement shop and don’t want to send dust into the house, I’m using this task as my reason to order a DeWalt belt sander to use in the basement (it has a dust collection system and I can also connect it to my shop vac… should be much better, since I’m trying to minimize mess in the basement and house.) It should be arriving mid-week. Always good to have jobs that require my getting a new tool. The nesting bulkheads require many layers of fiberglass in the stress points; I took care of these 30 or so tape pieces over the weekend. I worked on the bow deck and mast step over the weekend. I sanded and fit the deck piece and “king plank” piece underneath it. This is by design a flotation tank but I decided to create flotation tanks on both sides of the bow section and opened up the bow tank… maybe for storing water bottles, lunch, or other stuff the kids would want when they start doing their adventurous sailing in this boat. Instead of making a mast tube I bought a two foot piece of PVC pipe. After enlarging the hole in the deck to accommodate the pipe I was able to start figuring out where a mast step should go. (I will have the PVC extend up only a couple inches above the bow deck so that I can run a hitch pin through it and the mast, assuring that the mast will not fall out in a capsize.) The bushings on the mast needed to be sanded down a bit to fit inside the PVC tube. Success. And, I could hook up my shop vac to my table sander to sand all the parts and the bushings… no mess. Today, I cut all the stringers I need (well, not quite ALL the stringers.. I still need a few more for the yet-to-be-designed bow side tanks… later.) I cut bevels into the stringers so that each top edge will be flat to receive the seat tops. It took some time to figure out the angles needed for the bevels, but I think I got them. I rounded all the exposed edges on the parts yet to install. For the stringers I used an 8’ deck board from Lowe’s. Unlike a lot of their wood, deck boards are usually quite straight and made with clear southern yellow pine (pressure treated.) I’ve been happy with using the 5/4 deck boards (1” thick) as a source for lumber. Being treated means the wood is still kinda wet and moist when purchased and I set them in the sun a few hours to start drying them. They will be OK when I am ready to make the installations. The three pieces at the bottom of the photo are still useful leftover pieces. The mast step was made from two deck board scraps from a previous project. I managed to make a good fit to the bottom. I bought a PVC end-cap for the PVC tube that will help when installing it permanently… the end can be rotated and then glued in to support the tube when it is finally installed. A hole was cut in the end-cap and a channel was cut in the top layer of the step for drainage. And, I previously cut an open space in the bottom “point” of the bulkhead for this forward “tank” space to drain into the forward cockpit. It will be a while before I finish everything in the bow area. My last step on my third day was to begin putting coats of epoxy onto surfaces I won’t be able to reach once parts are installed. Over the three days, I worked about 10 hours. Now I need to let the epoxy cure before more coats are added. I also need to fill the fiberglass tape and do a bunch of typical sanding… noticeable progress will be slow for a while.
 1 point