MikeLTour61
-
Posts
100 -
Joined
-
Last visited
-
Days Won
7
Content Type
Profiles
Forums
Events
Everything posted by MikeLTour61
-
Thanks for the info. It sounds like Awlgrip prefers to have the primer cured and sanded prior to topcoat. I'm going to go the route that Dale did. In fact, I'm going with mostly the same colors he used. Anyway, I'll probably prime prior to flipping and then topcoat after all the other work is done and I've scuffed up the primer.
-

Marissa (eco 18) went to Europe !! photos of build
MikeLTour61 replied to Lotus's topic in B & B Yachts Forum
Long time-no hear Lotus. How's the progress? -
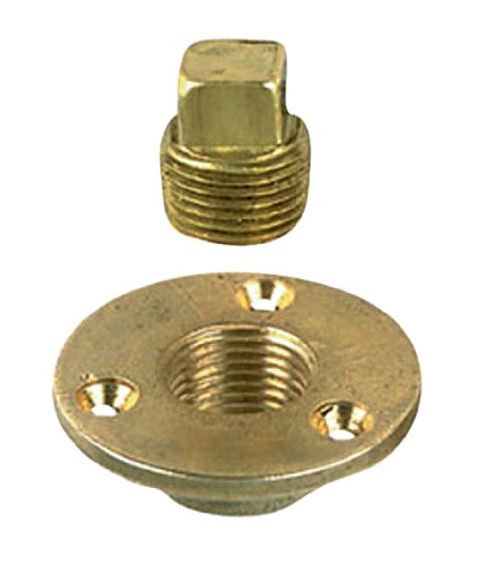
Thanks Chick. This is my first boat and I'm not sure if any damage will occur when flipping. That's one of the reasons I'm hesitant to paint first. I bought the threaded plug below so no need to expand.

-
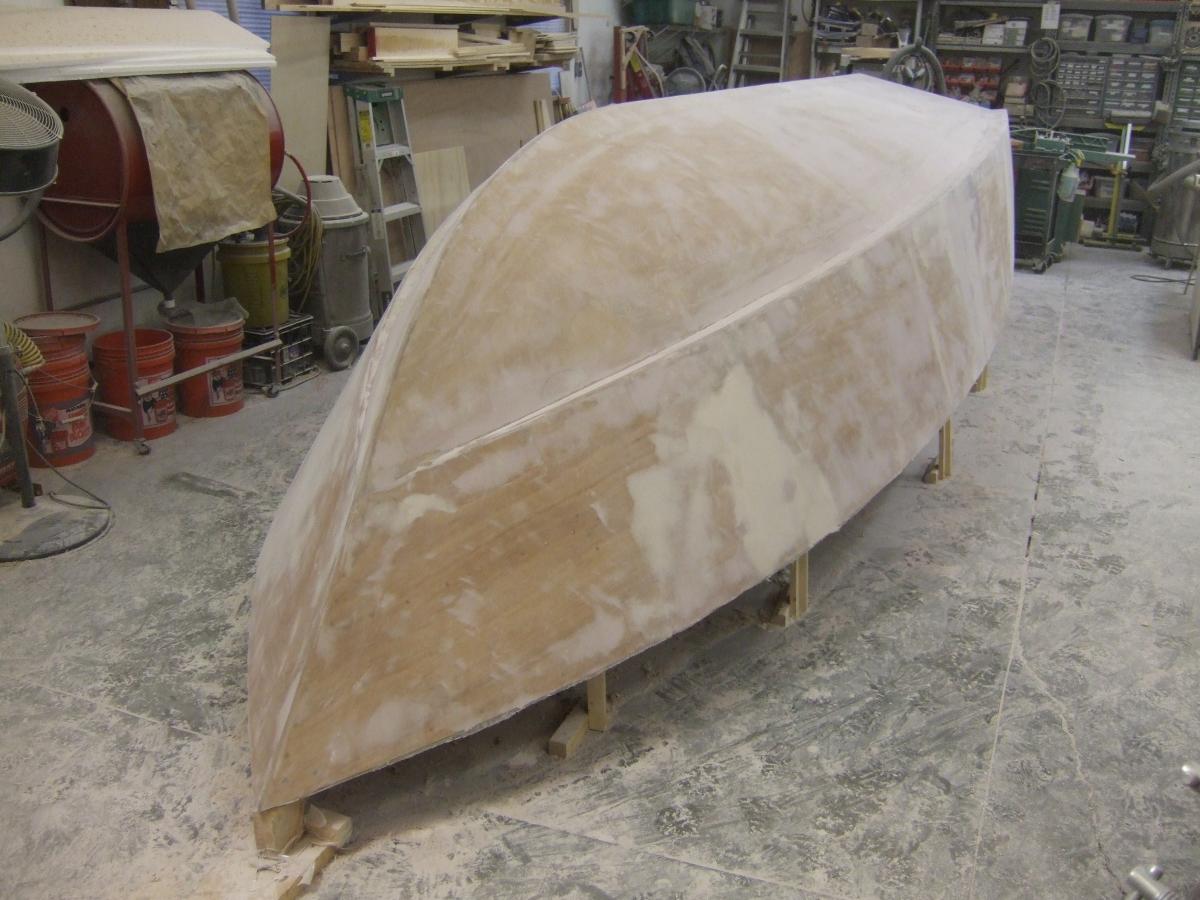
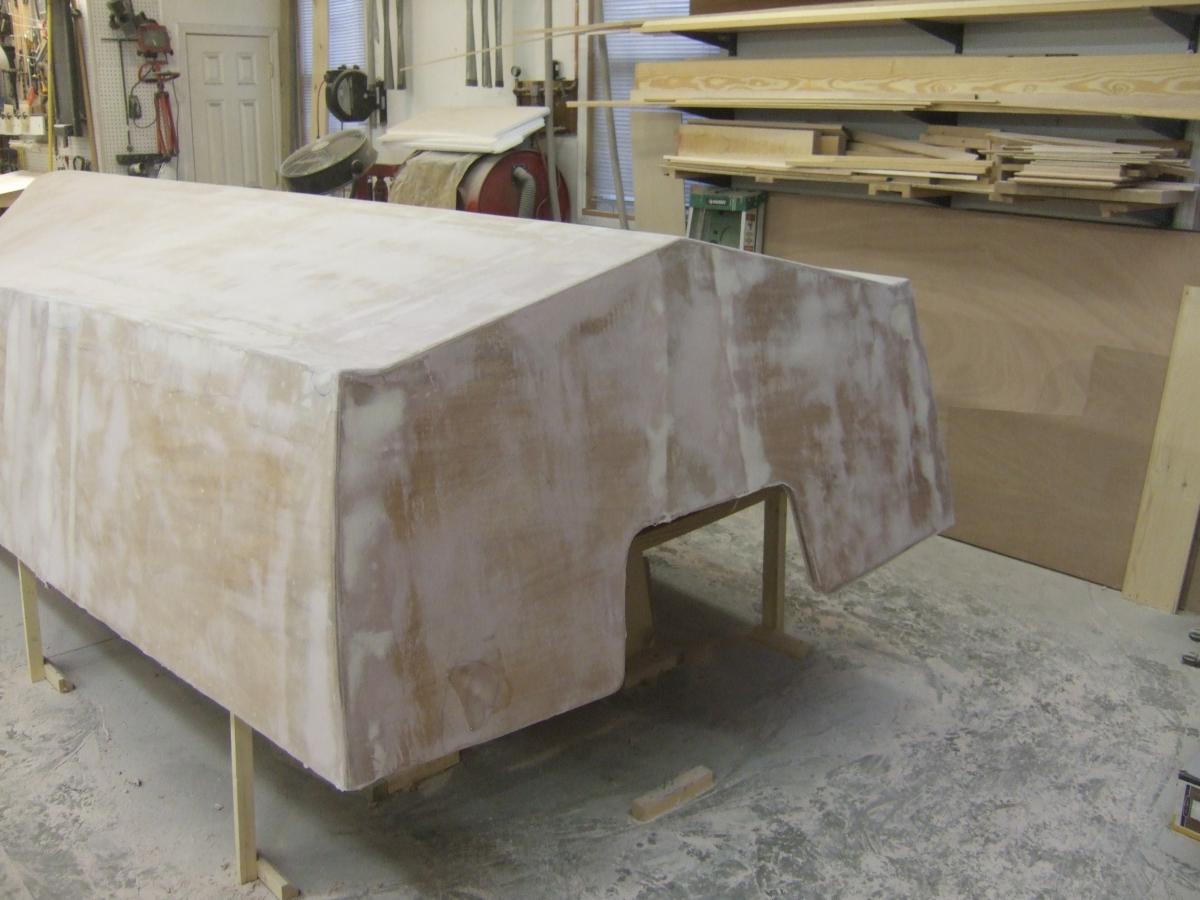
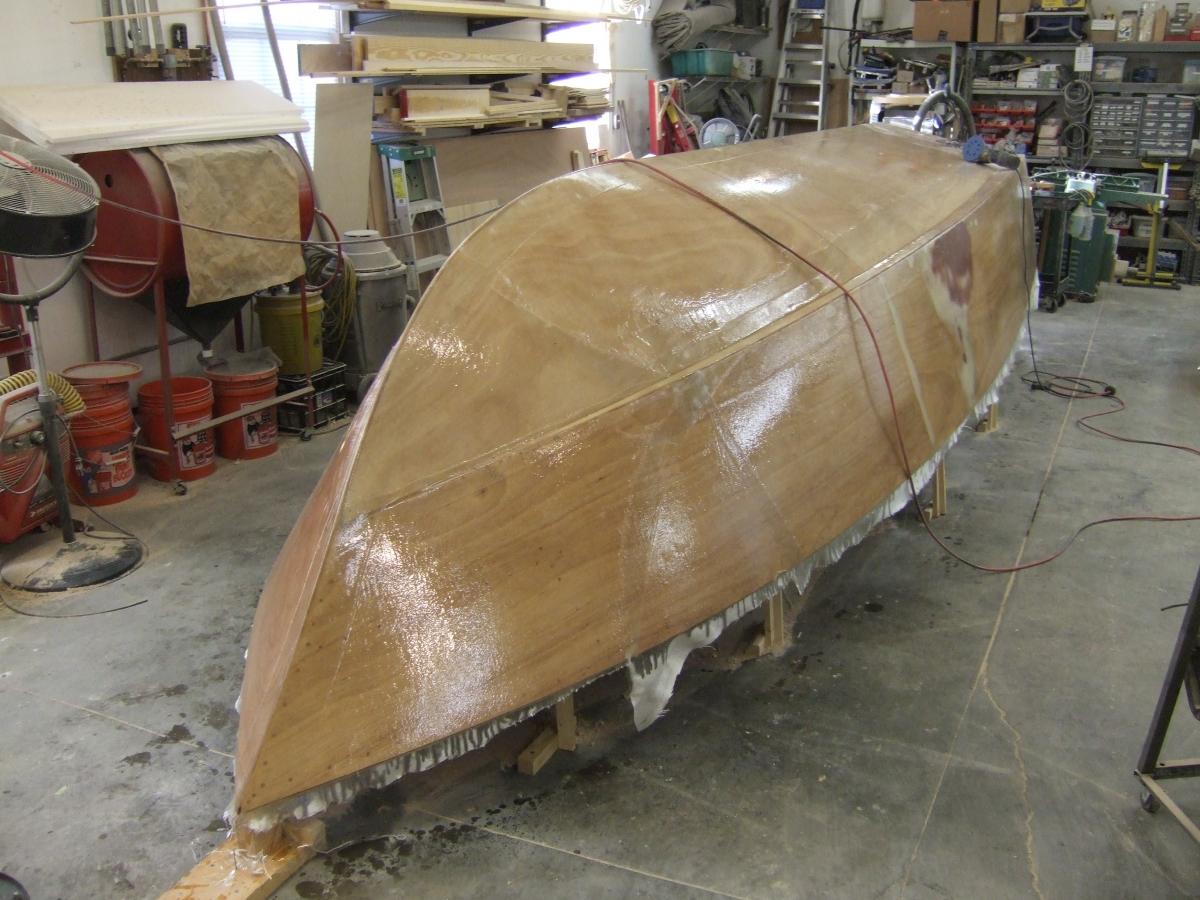
Latest update: Nothing thrilling, just a LOT of sanding. Final fairing is finally done. Will put a coat of epoxy to seal the fairing compound next and then she'll be ready to flip. I have thought about priming prior to flipping and wondered if anyone had any thoughts on that. I don't want to apply the topcoat until all the other work is done and I was wondering if there's some kind of time-critical component to the primer/topcoat application. It might be 6 months between the two steps. I know that in the car painting world, you generally want to prime (bare metal) and then paint prior to the primer curing. Also, I bought two brass garboard drain plugs for the transom and wondered what people used to seal them in. I plan on drilling slightly oversize holes and epoxying them but I'm wondering about how to seal the flange to the transom. 3M 5200 is the first thing that comes to mind but is there some other option that's better?? Thanks!!


-
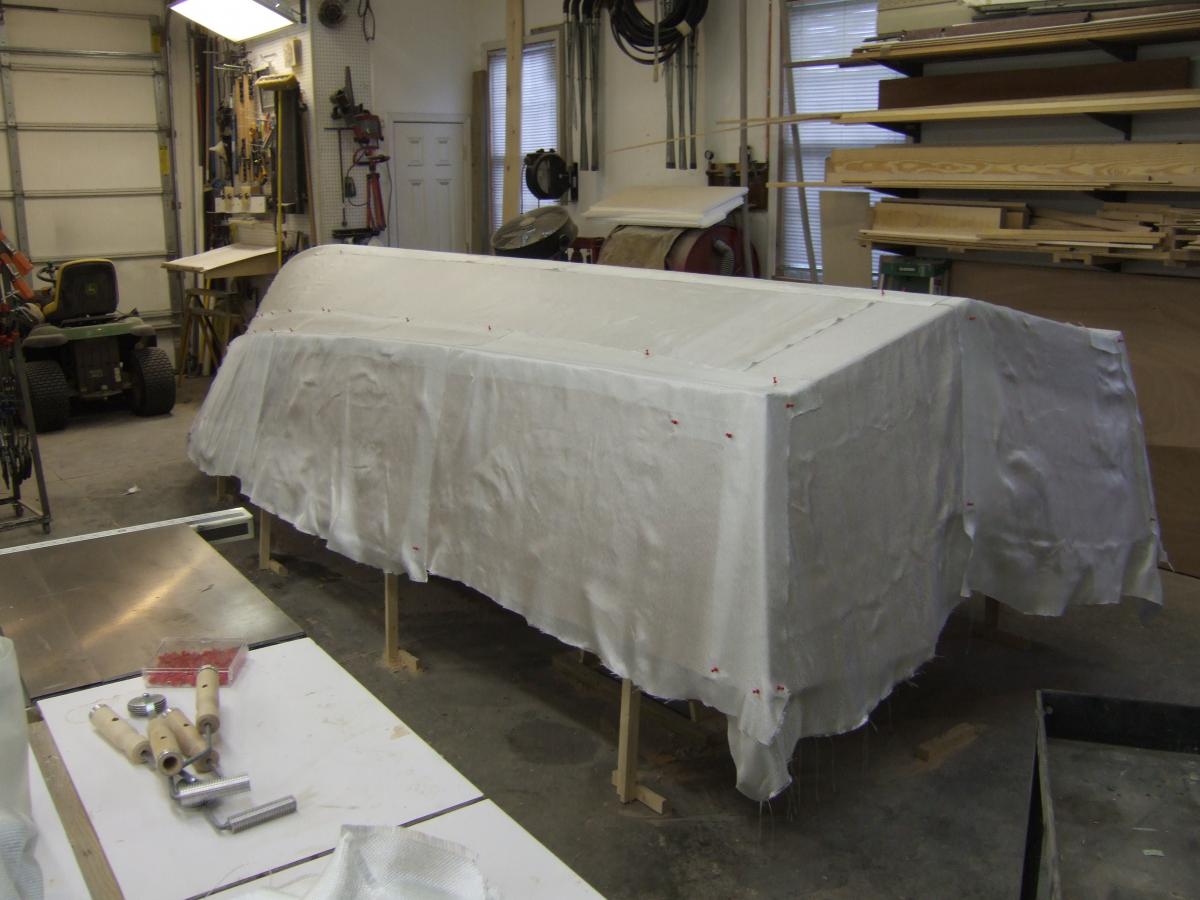
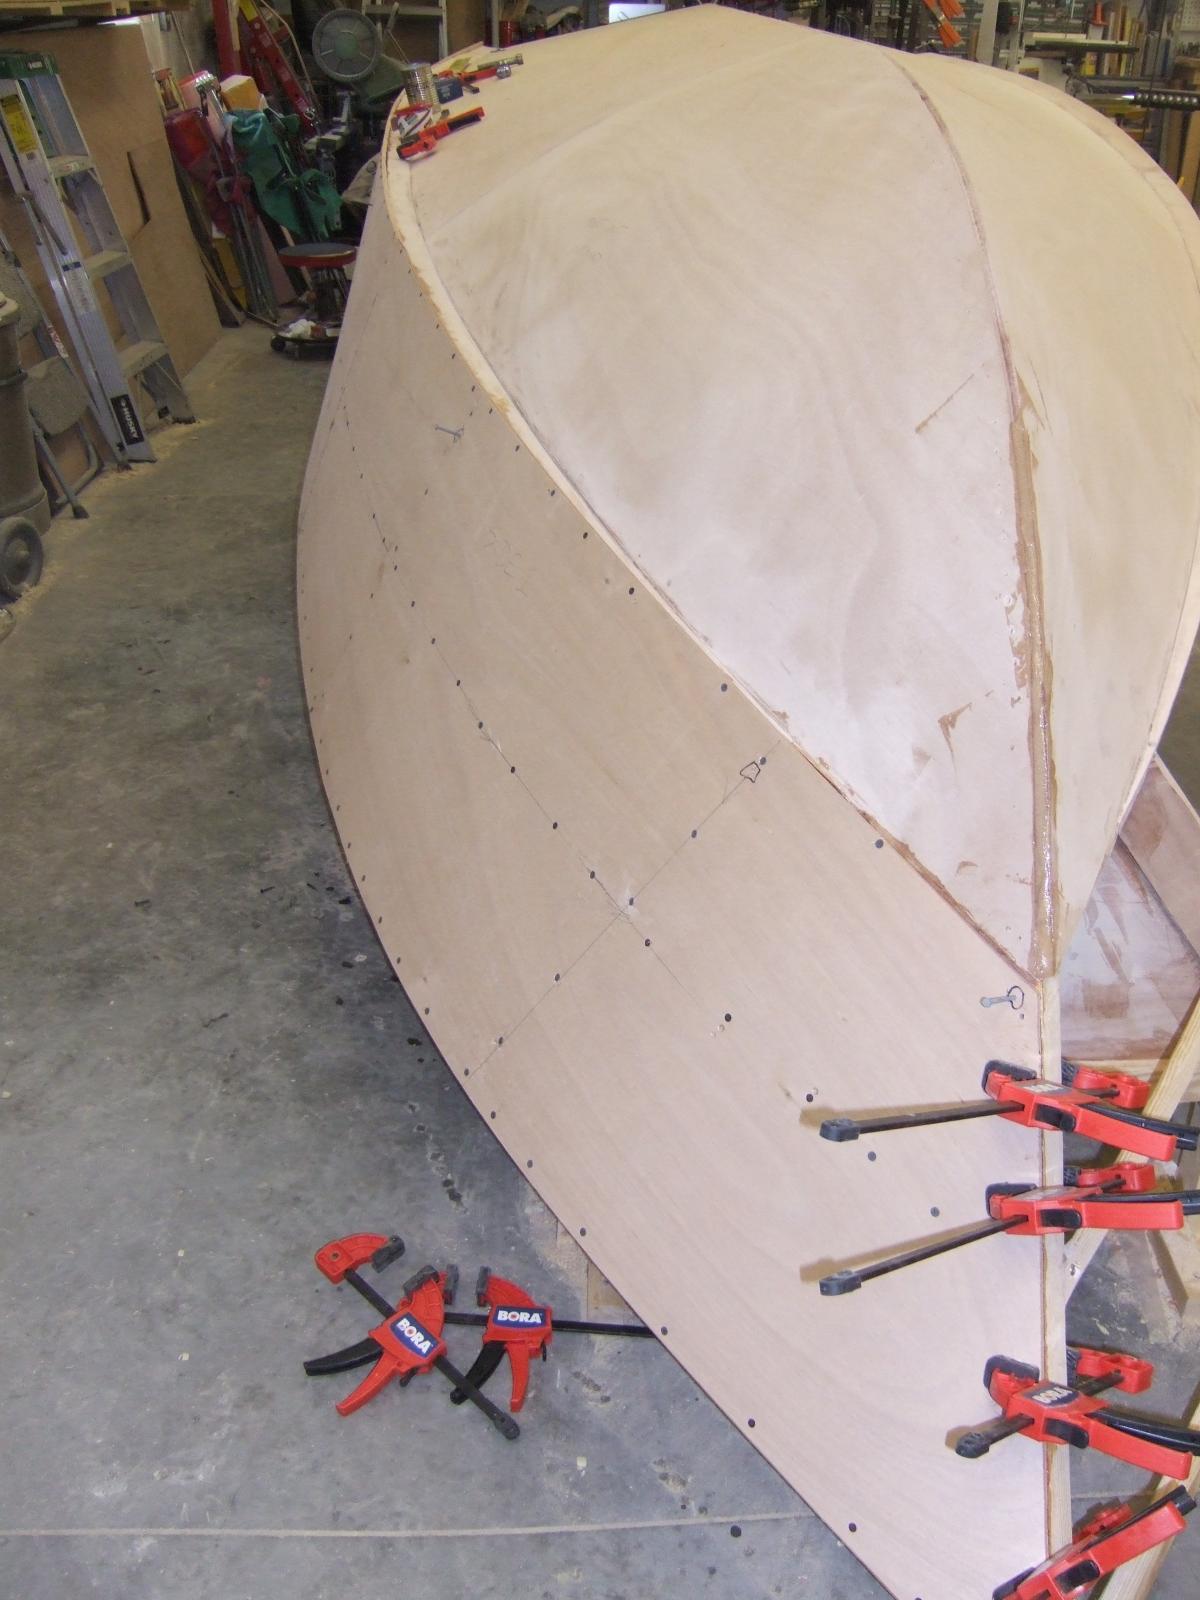
Latest update: Initial fairing and sheathing is complete and final fairing started. It was quite a challenge since I was working alone and wanted to get it done in one shot. I used push pins to hold the glass in place until I reached the area with epoxy. This worked out quite well. Thanks to Miyot's advice, I started using 407 fairing filler which works much better that 410 on vertical surfaces. I tried a 50/50 mix of 410 & 407 and it seems to work well and forms easily.


-
Marissa (eco 18) went to Europe !! photos of build
MikeLTour61 replied to Lotus's topic in B & B Yachts Forum
Console looks great Lotus! I wouldn't want to be sitting on it if the front slammed closed, that's for sure. In addition to your work, I've been admiring the speed at which you're doing it. It's probably my inexperience but I do a lot more pondering than actual work. You know what you want and get it done. This must not be your first build... Please keep the pictures coming. Mike -
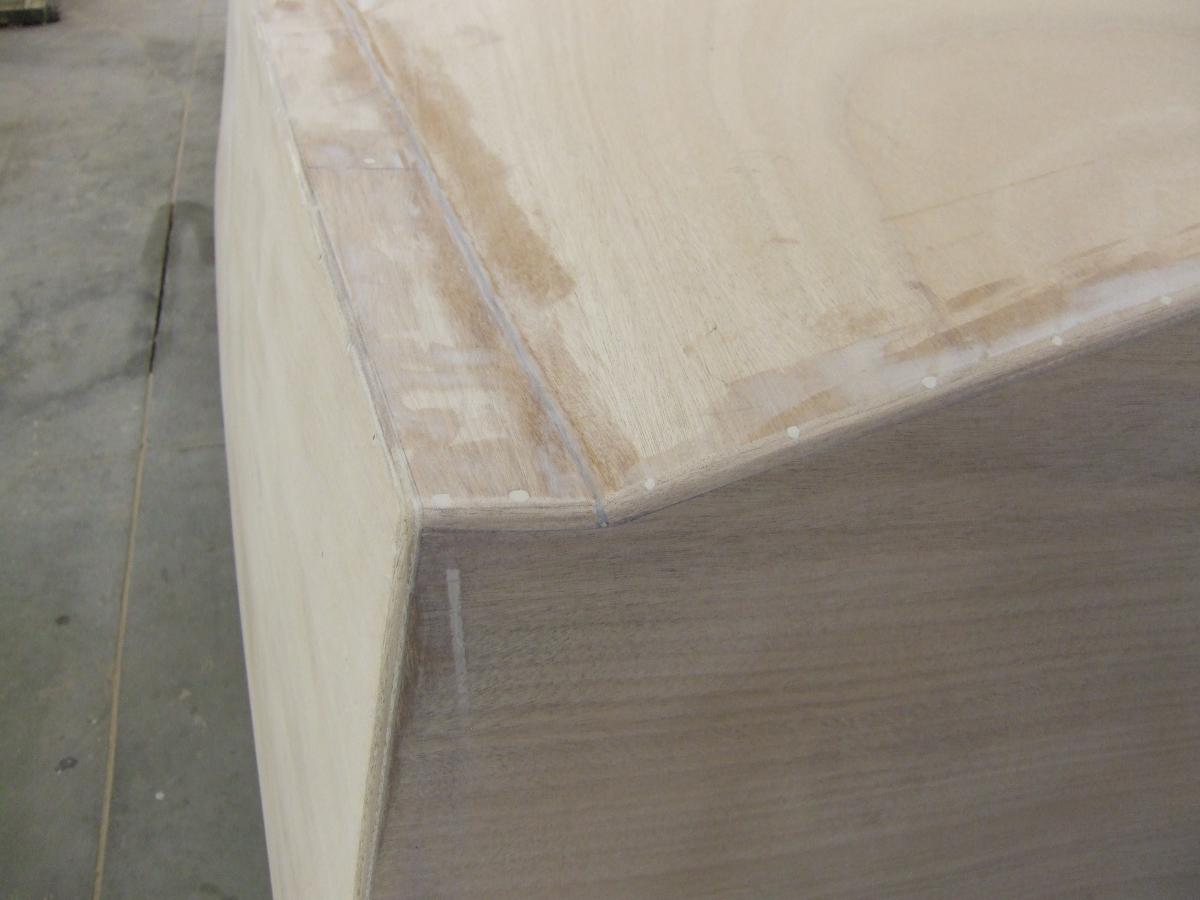
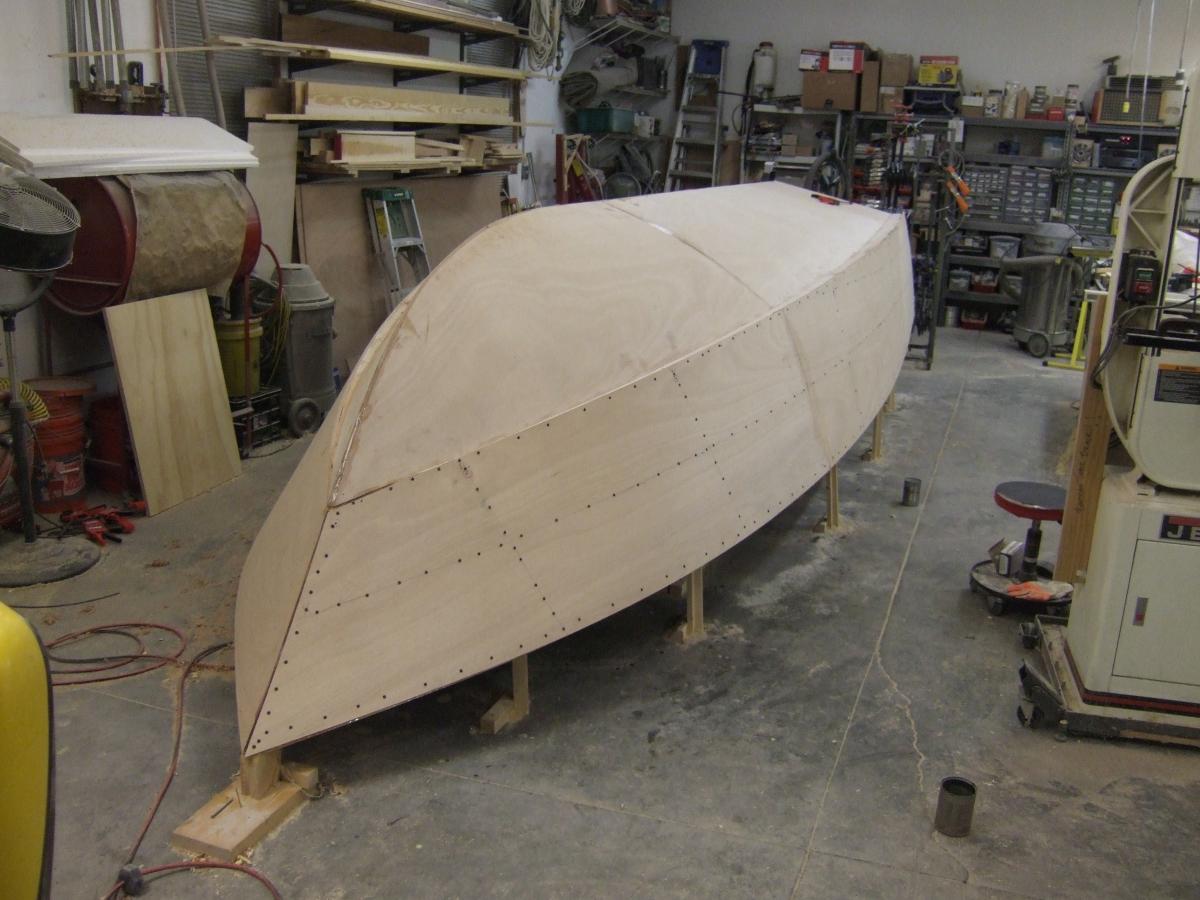
Here's an update of what I got done over the past week: Remaining side panel installed, bow and bottom profile formed (filled gaps where panels meet), fillet where bottom meets the chine, started fairing process. I only found one area that really needs a lot of fairing (+ 1/8") near frame 2 on the starboard side. I guess I shaved off a little too much from the stringers in that area to avoid having a gap between the chine and side that I had on the port side in that spot. Anyway, it's got enough fairing compound on it now... it just needs to be finished. I'm using West 410 fairing filler. I hate that stuff. It sags like crazy. I try making it as thick as possible but it doesn't want to support its own weight. Does anyone have any advice on use of fairing fillers? Also, I'm getting ready to round over the side to chine joint and wonder if anyone has advice on how to get a consistent bead (?) down the side with the varying angles. I have a laminate trimmer with an angle base attachment but maybe someone has a better idea. Some pics:


-
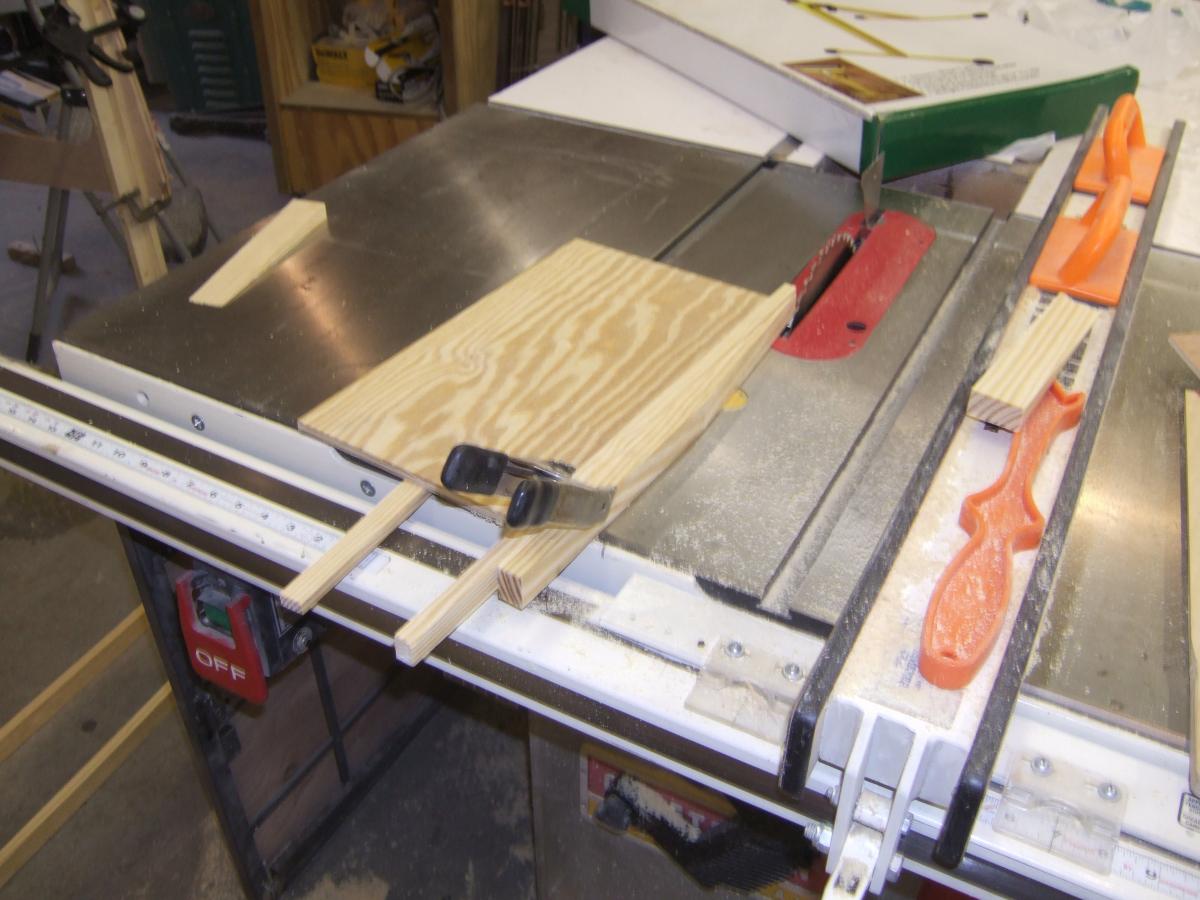
Hi Jim, I bought the kit from Graham so the panels were already scarfed. Then it's just a matter of making sure you have the panels correctly placed (can be screwed up) and aligned. I made a press of sorts to equalize the pressure on the joint while the epoxy dries. Scarfing the plywood is not the only scarfing you'll need to do unless you can find and transport 20' pieces of wood for stringers and such. I made a simple jig (below) that creates a 10:1 scarf on 3/4" lumber up to the max blade height of my table saw. If you're not going to buy the kit, there are plenty of people on this forum who have more experience than me. Good luck!! Mike


-
Marissa (eco 18) went to Europe !! photos of build
MikeLTour61 replied to Lotus's topic in B & B Yachts Forum
I plan to fair and glass the boat prior to flipping. I think I only want to do it once -
Marissa (eco 18) went to Europe !! photos of build
MikeLTour61 replied to Lotus's topic in B & B Yachts Forum
The boat looks great! Thanks for the photos. Please keep them coming, I'll be using them as a reference as my project progresses. Mike -
Marissa (eco 18) went to Europe !! photos of build
MikeLTour61 replied to Lotus's topic in B & B Yachts Forum
Your boat looks great Lotus! I'd like to see a profile when you have one. I've seen a picture (I think it was Russell's boat) that had a port-a-pottie in the port compartment next to the motorwell. It would be kind of roughing it for females but hey, it's a 18' open boat! I noticed that you went through one of the longitudinal stringers with the PVC chase. Are you planning on moving the console more forward? Also, what is the size of your fuel tank? I was thinking I'd go with the one Graham suggests but he said that a 50hp may be better off with a larger tank. Also, what are you planning on sealing the deck to chase joint with? I noticed some grey substance on the chase pipe where it passes through bulkhead 2 on your boat. I tested epoxy on a piece of PVC that I roughed up and it didn't stick very well. I want as water-tight deck as possible. Mike -
Marissa (eco 18) went to Europe !! photos of build
MikeLTour61 replied to Lotus's topic in B & B Yachts Forum
Man! You work FAST! Looks great! -
Thanks Lotus! Yes, they're temporary... just sheetrock screws. I used 1" in the stringers so they wouldn't punch holes though and cause more work on the inside.
-
Marissa (eco 18) went to Europe !! photos of build
MikeLTour61 replied to Lotus's topic in B & B Yachts Forum
Your work looks great. I like the lines. I just have a question about the transom. Aren't the topsides decks over each side of the motorwell structural? I wonder what effect changing that structure will have when you're running a 60 hp outboard in rough seas. Are you planning some additional reinforcement? I've thought about installing a white oak knee on the keel to transom joint on my boat. I don't think it's necessary but all the outboard powered boats I owned when growing up (all wood) had them. -
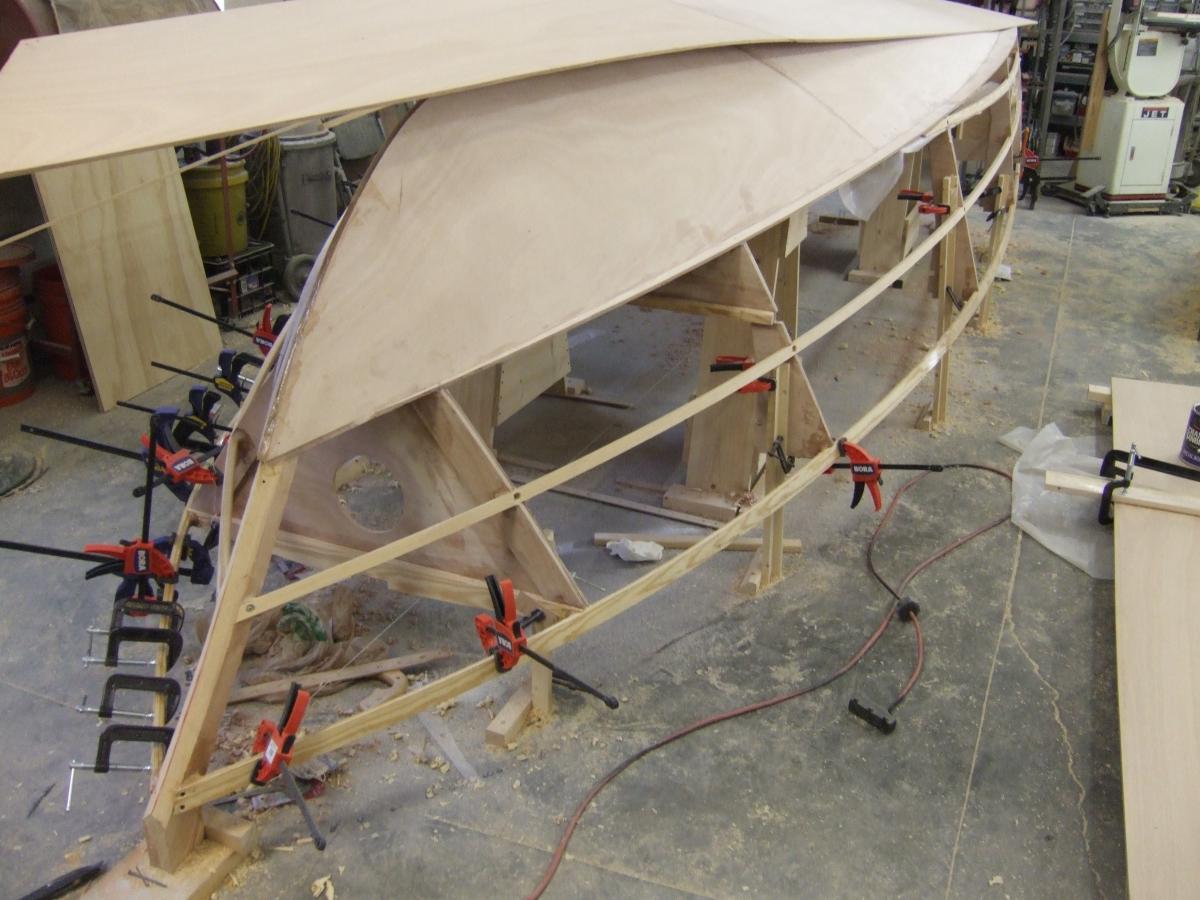
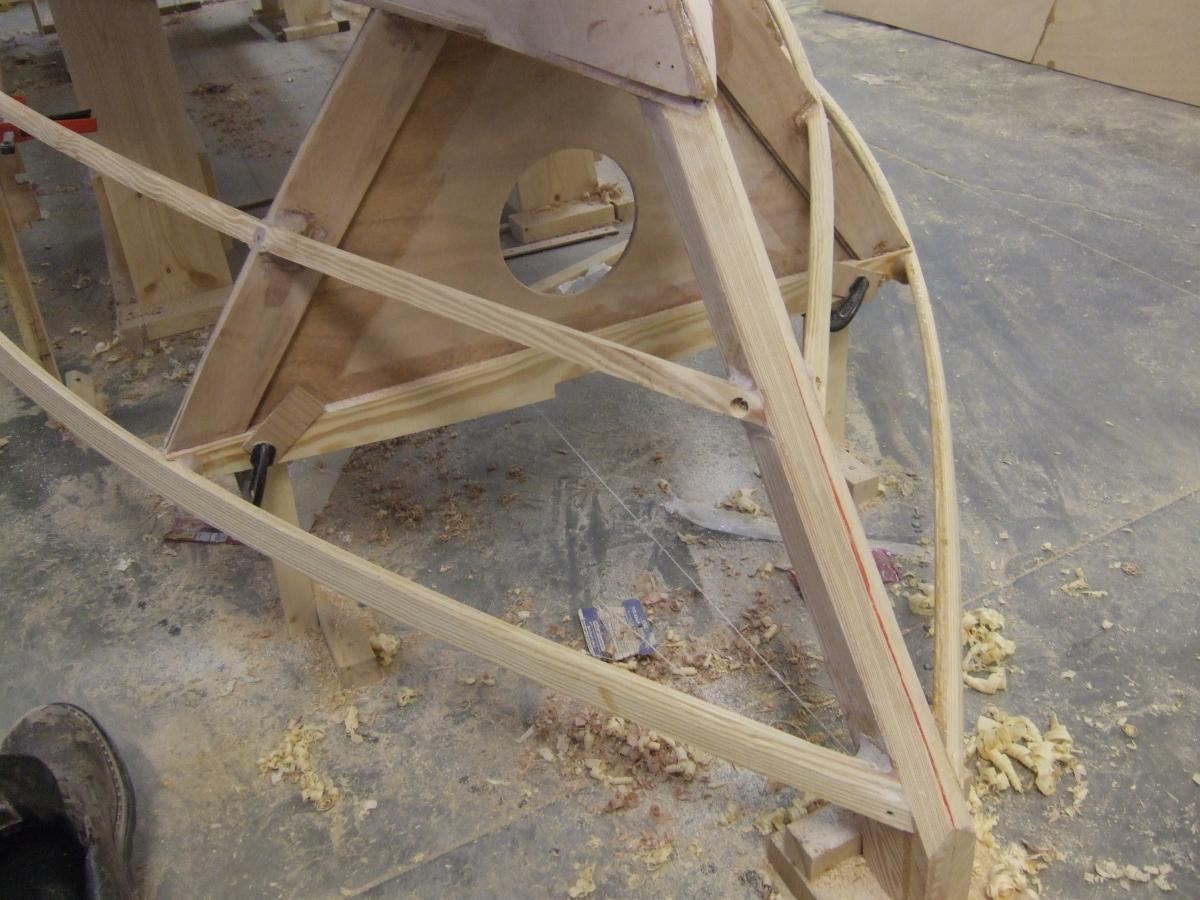
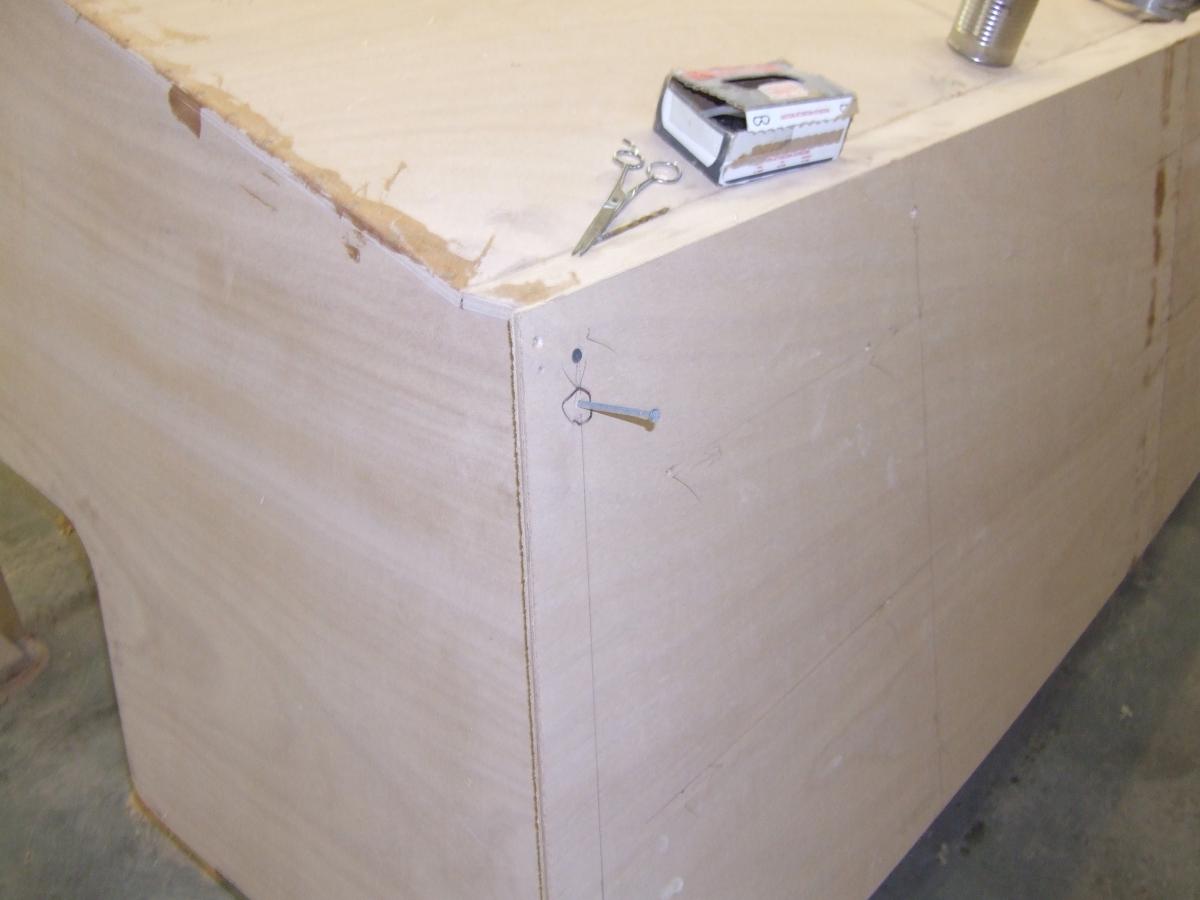
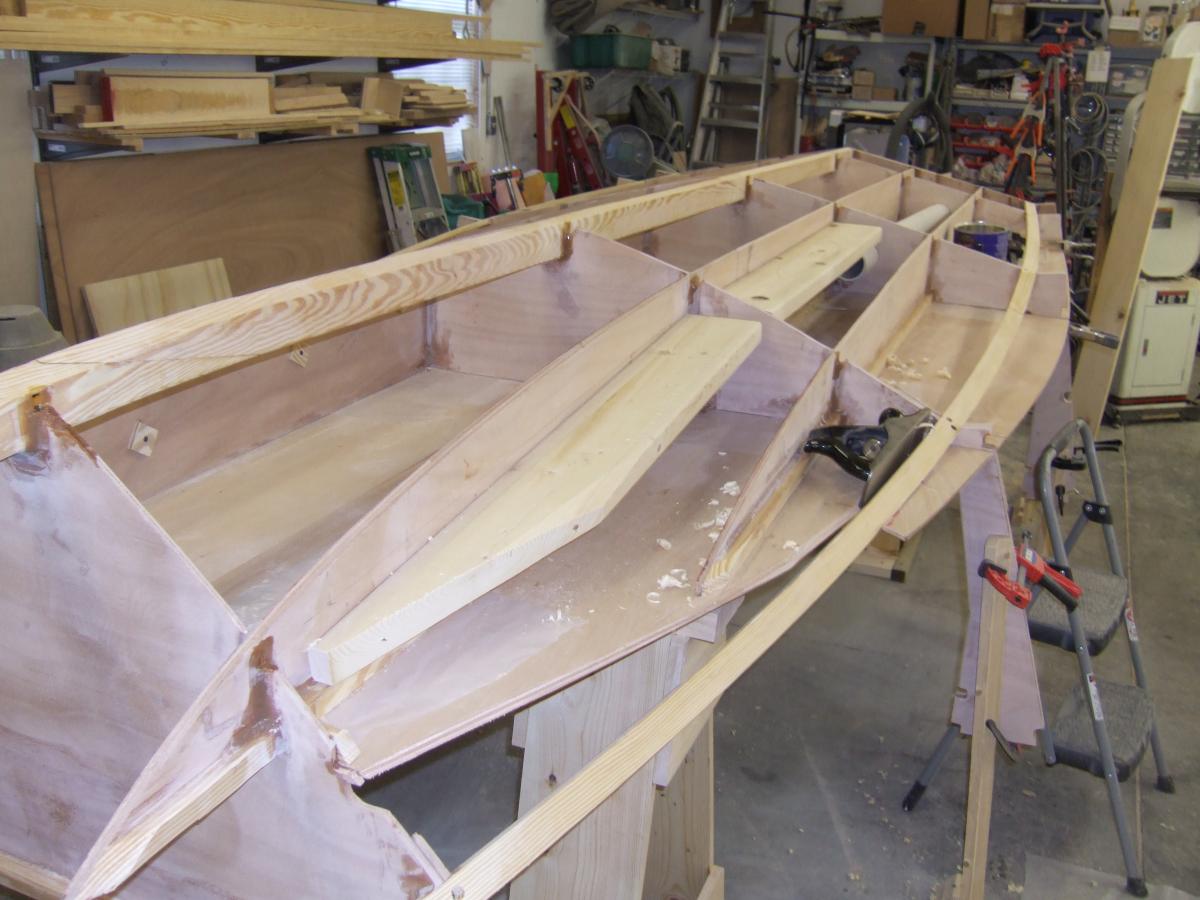
Hi All, A few more photo updates... I finished the inwales which turned out not to be as bad as I thought. As Graham suggested, I didn't put quite as much twist in them where they meet the stem and planed the excess. It's now fair and most of the meat is still there. I also got one of the side panels installed. I'm working alone so I installed guide pins (10d nails) once I got the panel where I wanted it. You just HAVE to remove them after securing with screws or they will be epoxied in place. It made the install a breeze once you know the panel is in the right place.


-
Marissa (eco 18) went to Europe !! photos of build
MikeLTour61 replied to Lotus's topic in B & B Yachts Forum
Lotus, I like the looks of your modifications too. I'd be interested to see how you're going to modify the transom. Thanks for the pics and the advice on my post! Mike -
Thank you Russell. I have been using your pictures as a guide and really admire your boat and skills. In fact, it was the photos of your boat that nudged me over the line on my decision to build the Marrissa. I think 28 mph would be good. I was concerned about getting over the hump with a smaller motor and possibly three adults on board but it sounds like a 40 should do that with no problem. Russell, did you have to make any accommodations for the steering arm on the teleflex system? Graham said something about having to create a cut-out on the port side of the motorwell or else the steering arm would crash into it when turning full right. I may have misunderstood him though. If you have a picture of your motorwell, please post it Thanks, Mike
-
Thanks for your ideas Lotus. Dale, your input would be welcome here to as well as anyone else who might want to chime in. Did you permanently attach the sides while working on the inwales or just use them as a guide until you had the inwales attached? Do you happen to have any pictures of that process? Also, I'm thinking of how I will flip the boat over. I don't have any heavy equipment or dozens of friends I'd be willing to ask for help. I've been thinking of lifting it from the ceiling using lines, pulleys and spreaders and rolling it in mid-air (using lines to keep it under control). I've lifted cast iron V8 engines from the ceiling so I think it would be okay. How did you flip yours? Do you have any photos? Thanks again for your help! Mike
-
Thanks Dale and Lotus! Great job Lotus! Are you planning on flipping the boat over again to fiberglass the bottom? My latest challenge is the inwale members. The bend/twist from bulkhead 1 to the stem should be fun. I'm planning on laminating two 1 1/2" x 3/8" strips as Graham did but it still looks like a bear. Graham gave me some suggestions yesterday but I predict a lot of sweat and swearing before it's done. I have a few more pics to share:


-
Awesome! Thanks Dale! Did you spray or brush?
-
Thanks Dale! You did a great job on Salty. Now I can see what Graham was talking about - that there isn't very much clearance in the motorwell. Thanks for painting it the same color I was thinking of . Your pictures have helped me make two decisions: I will be using hydraulic steering and I will paint it the same color you used. Could you give me some information about the paint you used (brand, type, color, application)? Also, I wanted to mention a tool that I've been using with great results to anyone who doesn't know about them. I read about Shinto saw rasps somewhere - maybe on this forum - so I bought a couple from Woodcraft (the 9" and 10" planer versions). I can now vouch for their awesomeness. Any time I have a misplaced glob of epoxy I go for the rasps. They work better than a regular rasp because they don't get clogged. Thanks again Dale!! Mike
-
Thanks Dale. The main reason I was thinking of hydraulic steering was from what Graham said about the steering rod impinging on the port side of the motorwell. He said I'd need to cut into that side to allow for clearance and I'm trying to avoid that. If you didn't run into problems with that, could you tell me what brand/model of steering system you went with? If you had to cut into the motorwell, could you post a picture of what that would look like? Thanks, Mike
-
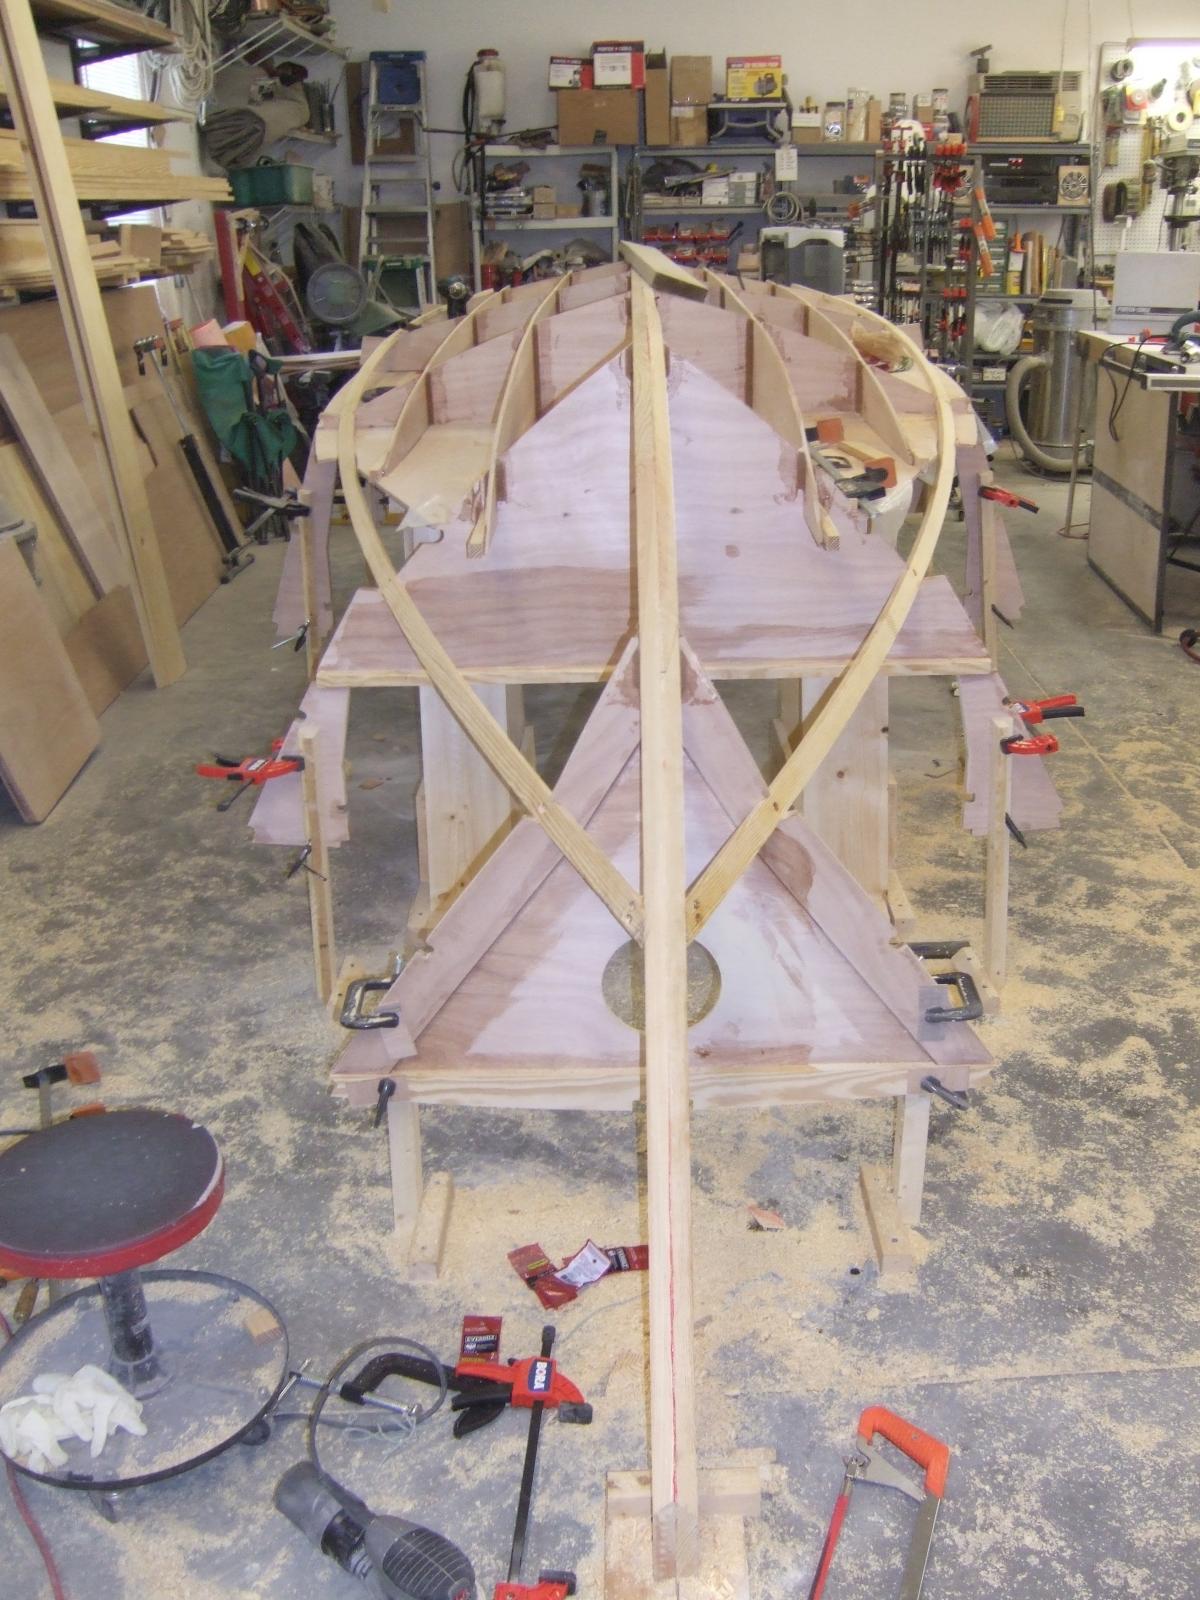
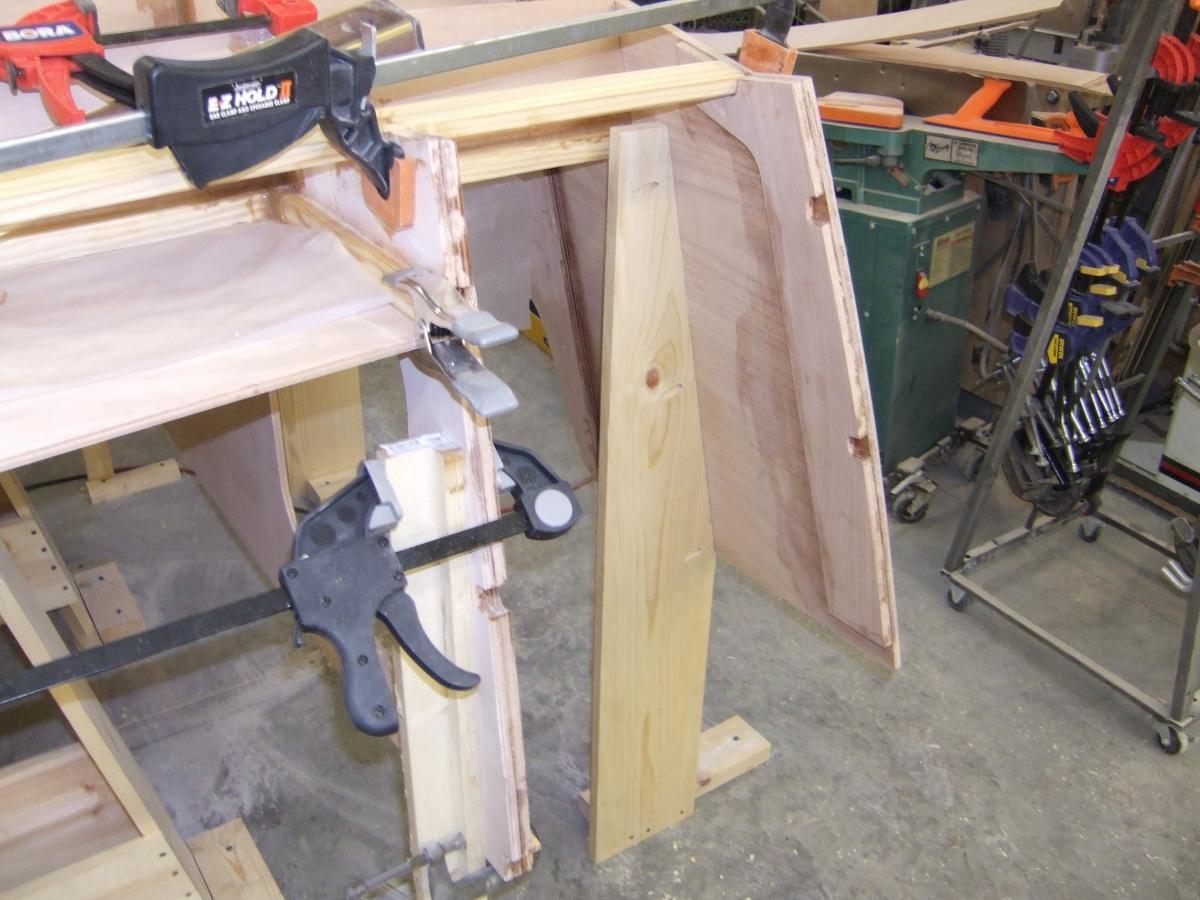
Hi all, I'm in the process of building my Marissa. I went to Graham's shop in July and picked up the kit. His operation is very impressive. He's building a huge power cat and I have no idea how he plans to get it to the water. My 'small' project has been going pretty good, I think. Over the Labor Day weekend, I attached the first of the 2 bottom panels. Graham has been very helpful when I had questions but so far, there hasn't been too much that wasn't made clear by the plans and the photos supplied. At first, I thought I would need a step-by-step instruction book but as I study the photos and plans, I'm starting to think an instruction book would have been less helpful. The photos that are sent when you buy the plans were chosen very carefully and are very helpful. As the B & B website mentions, this is not an introduction to boatbuilding type project. This is the first boat that I have built but I have quite a bit of woodworking experience. As of today, I have about $6000 invested in the project. That includes everything that I have purchased (all the wood, extra sheets of marine ply, all the glass and epoxy, etc.) including a few special tools and some hardware that I want to accommodate during the build. I suspect I'll have $10K into it by the time it's ready for the motor and trailer. By the time I'm on the water, $20k is what I'm thinking (50 hp Honda, galvanized trailer, hydraulic steering, etc.). That's not including electronics and other 'options'. I guess if you don't like making things with your own hands, you could spend another $10K and get a new fiberglass setup. I like the idea that, although there will be other Marissas out there, this one will be unique and I'll know every inch of her. When someone at the boat ramp asks, I can say 'I built her.' I like that. I can tell you this much. I'm very glad that I bought the kit instead of trying to cut the wood myself. It's not a shortage of tools in my shop but just the sheer number of parts (some quite large) that would make the prospect of cutting them seem daunting. The other upside to the kit is that all the parts fit... the first time. There's no scarfing necessary as the CNC machine has already taken care of all that. So, I'll post from time to time with more pictures. I'm not in a rush to complete this project so the pictures may be a little slow coming.


-
Paint and paint finishing on a new wood/epoxy hull
MikeLTour61 replied to MikeLTour61's topic in B & B Yachts Forum
Thanks everyone. So, I think I've got it now. Epoxy primer and poly top-coat. I've read a long post about fiberglass/epoxy and finishing which was very helpful. Various members agree with you regarding gelcoat, Alan. I'll steer clear of that. Regarding the bottom: I'm not really looking for a gloss finish, just something that doesn't dull like anti-fouling paint does. I was looking at Interlux VC Underwater Epoxy which seems like what I'm looking for but it only comes in white. I don't know yet if it's tint-able but if I could get it in grey, that would be great. Gordy, I'll post pictures ASAP... sorry. -
Hi, I'm planning to paint the hull of my new Marrissa made from B&B's materials and fiberglass/epoxy. The boat will not be left in the water for extended periods and used primarily on lakes. My questions are about painting and finishing the paint. Most of my experience comes from painting cars and motorcycles and I usually use a basecoat/clearcoat system so I'm used to wet-sanding and buffing. I have a climate controlled shop but no paint booth. I have plenty of dry, oil-free compressed air and automotive HVLP sprayers. This should probably be divided into several posts but we'll see how it goes. My questions: 1. Will two-part epoxy paints such as Pettit EZ Poxy2 hold up on the bottom of the boat? I don't want to use ablative bottom paint - I want a gloss finish on the bottom. Again, this will be a trailered boat used in fresh water. 2. It may be because I’m kind of a novice painter and don’t have a spray booth but I usually end up with some dust or other contaminants in my paint jobs. If not, then I’ll usually have some orange peel to deal with. I have experience with automotive paint and I’d like to know if anyone has used it on a boat and if so, would you do it again? 3. I’ve tried brushing on Interlux Brightside (maroon color) on my previous boat and the paint looked good except for the brush marks. At one point (paint was a few years old) I tried to sand them out and the color below the surface was much darker. I guess it faded… My question is, with new paint (a two-part epoxy this time) will I be able to sand out imperfections, compound and buff or is marine paint that different from automotive paint? 4. I’ve read of some people using air-dry gel coat instead of paint. From what I understand, this can be problematic if the conditions aren’t just right. I just want to get a better sense of the pros and cons of this method. Thanks in advance! Mike