MikeLTour61
-
Posts
100 -
Joined
-
Last visited
-
Days Won
7
Content Type
Profiles
Forums
Events
Everything posted by MikeLTour61
-
Flotation update: I put a piece of my "super foam" in a can with some gas in it and it floated all night. It was about 10% heavier this morning but I'll weigh it again tonight. I'm guessing it will be back to normal. Just for fun, I had a small piece of blue foam from another project (in the house) and put it in gas with an undesirable result (turned to mush). I don't remember where the blue foam came from or what it was made of, but it was about 3/4" thick in sheet form prior to its demise. I wonder if there's a way to communicate Chick's reminder of the USCG regs. to everyone who's in the process of building a B&B boat. We should know about it, that's for sure.
-
Thanks for making that excellent point Chick. I will test my alleged petroleum-proof foam tonight. I wonder how the home center's foam would hold up to gasoline. I hope it would do well since it sounds like a lot of people use it. One serious fuel leak with some water in the bilge and someone's flotation could be converted to mush and not even know it. Thanks again!!
-
Thanks Russell. I'm going to give the PL premium a shot and if it's not acceptable, I'll go with the HD pink stuff... should have done that to start with!
-
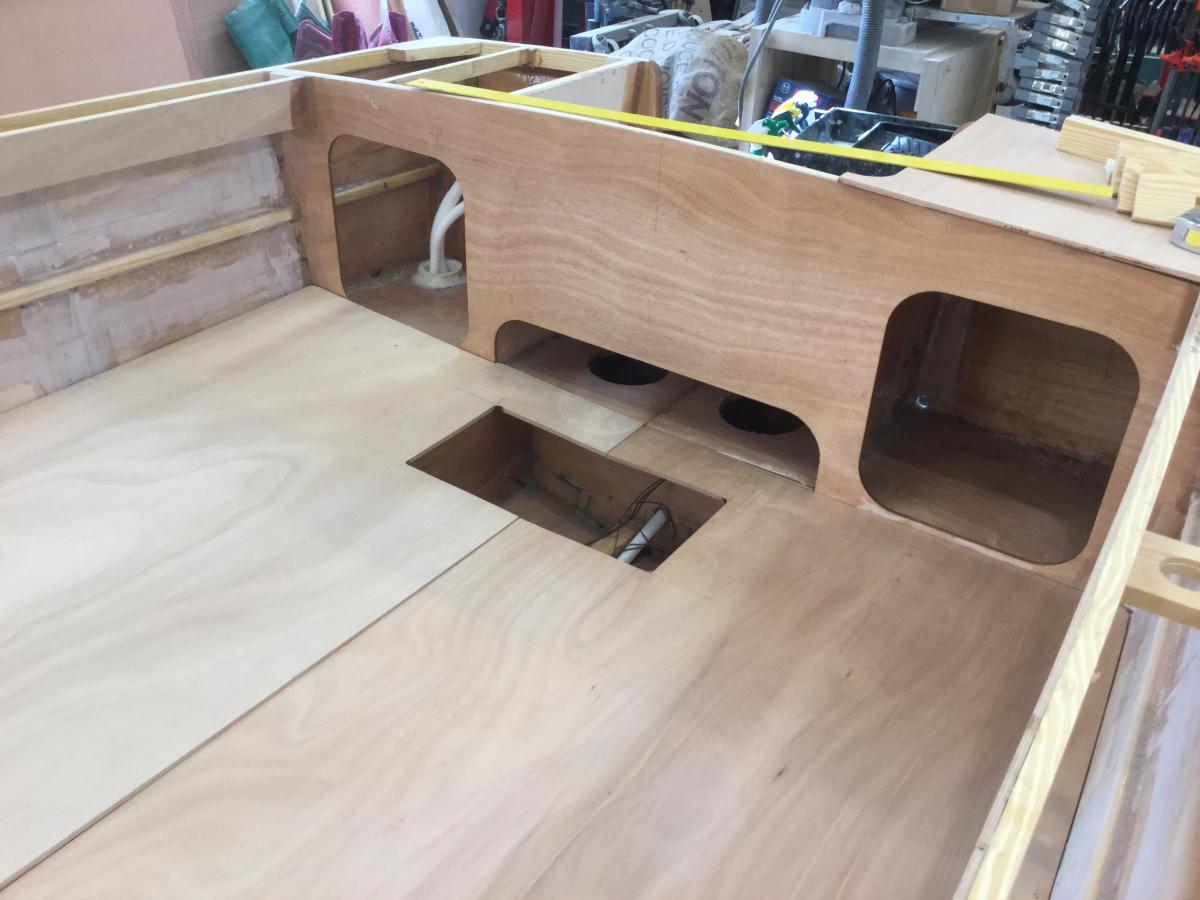
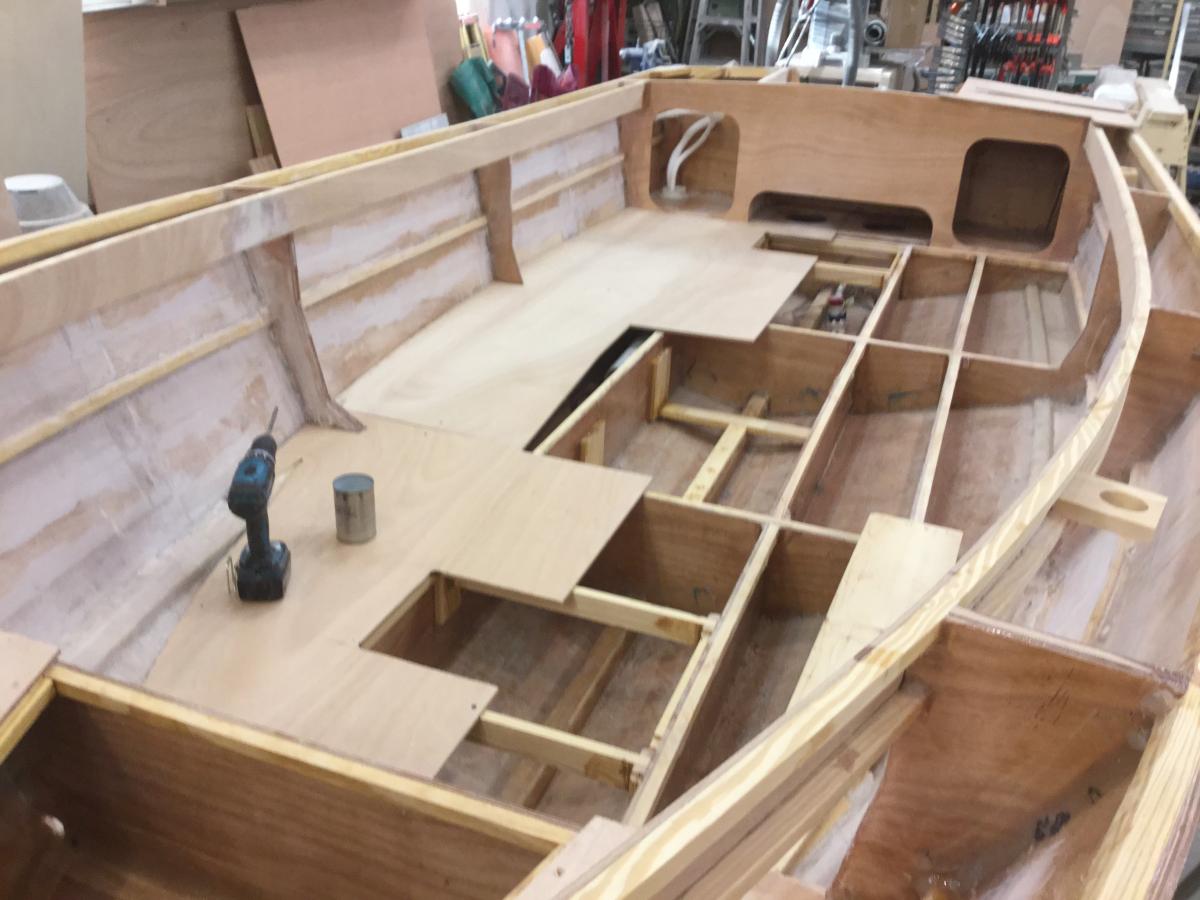
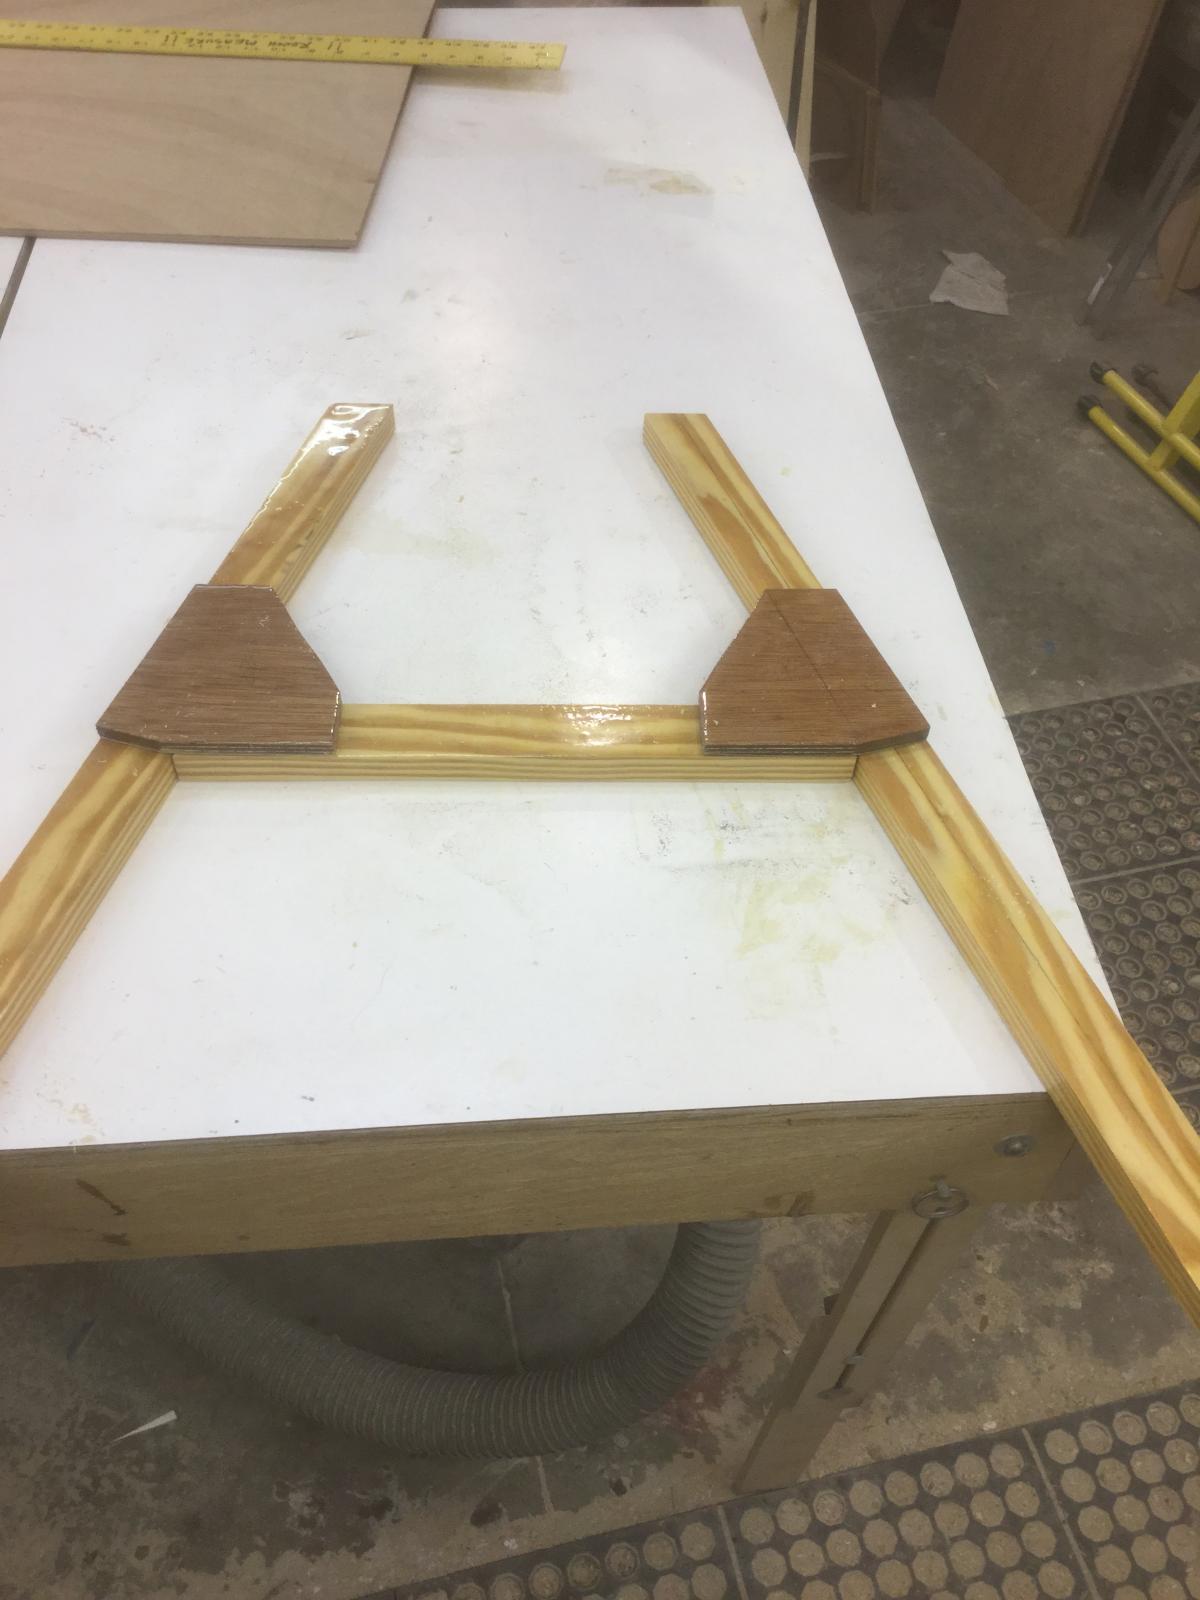
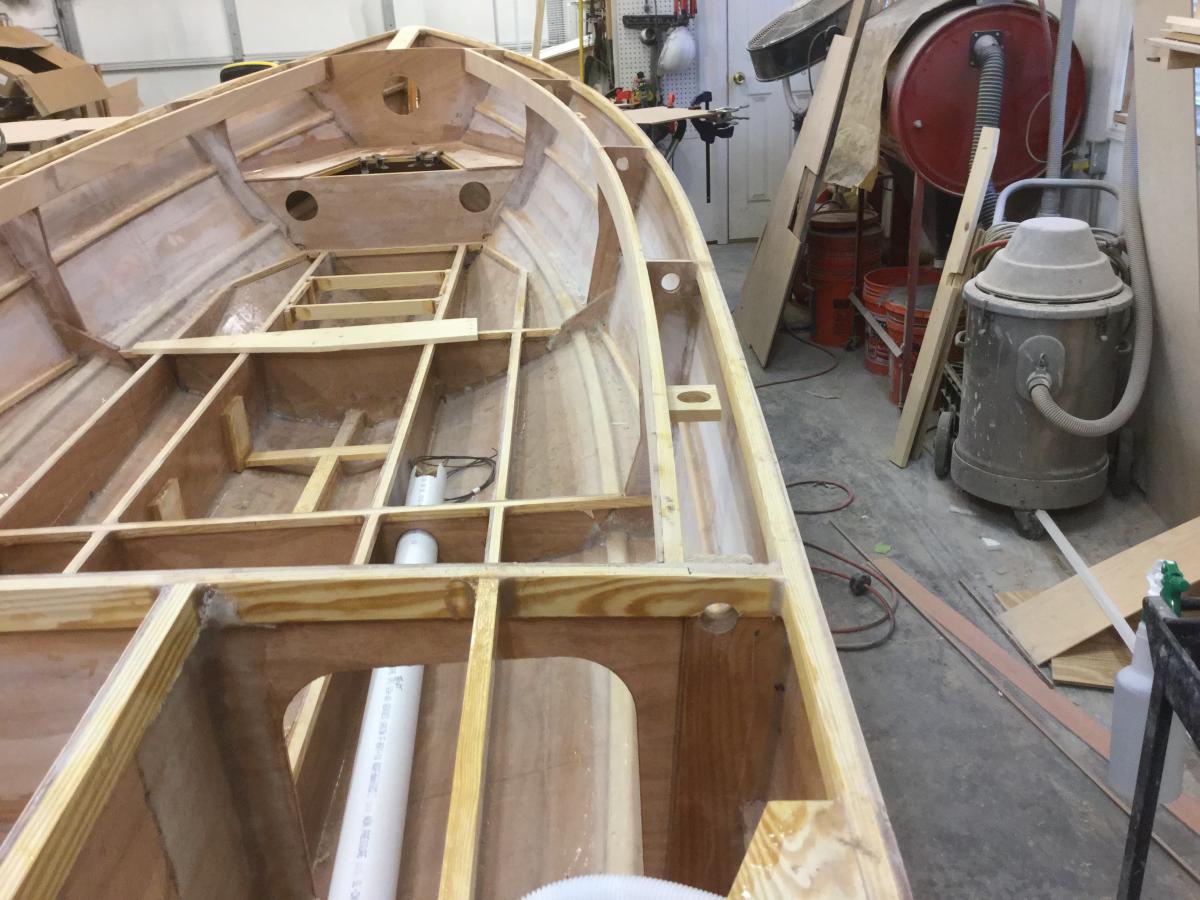
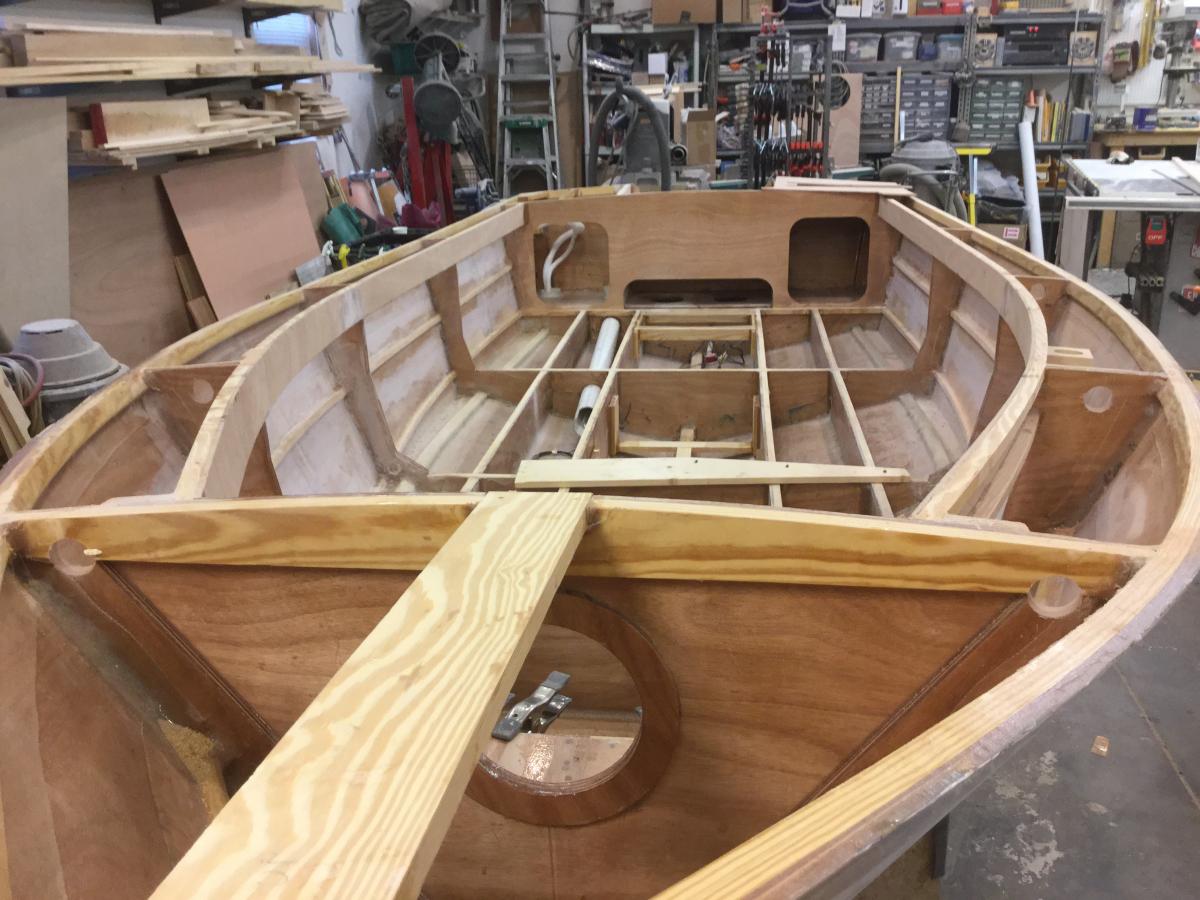
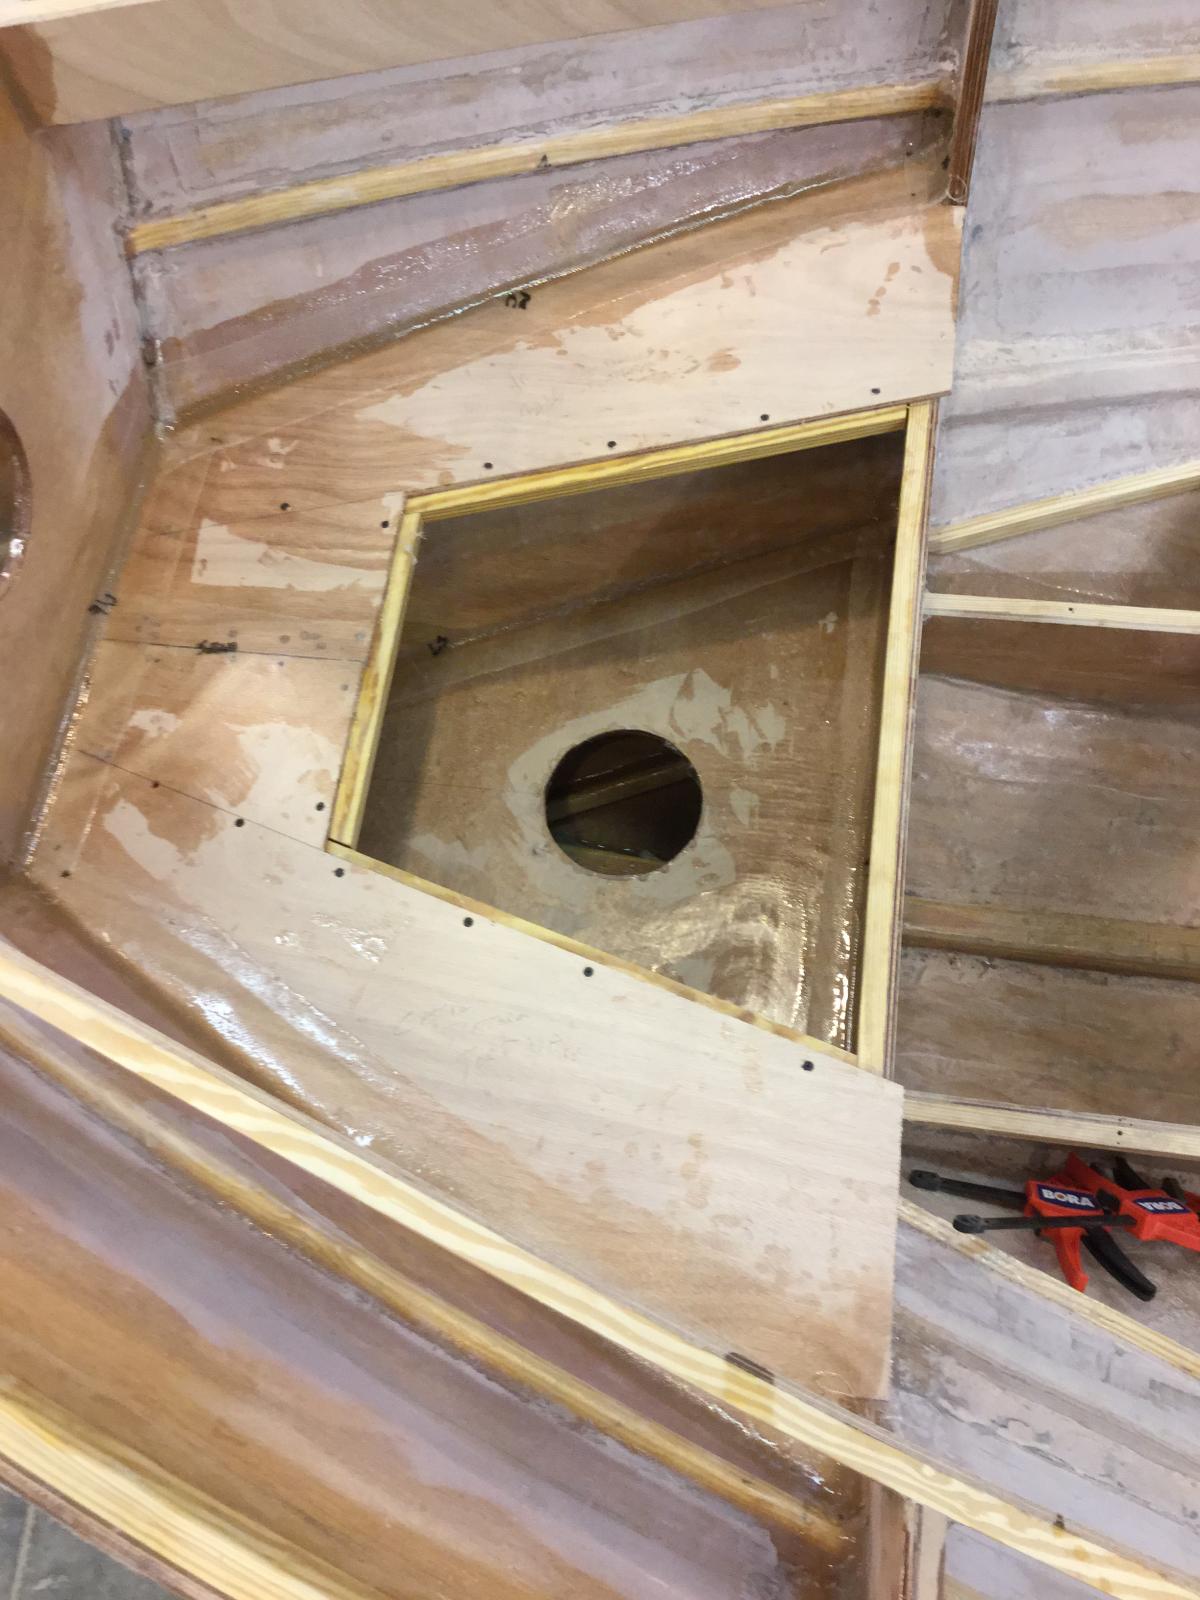
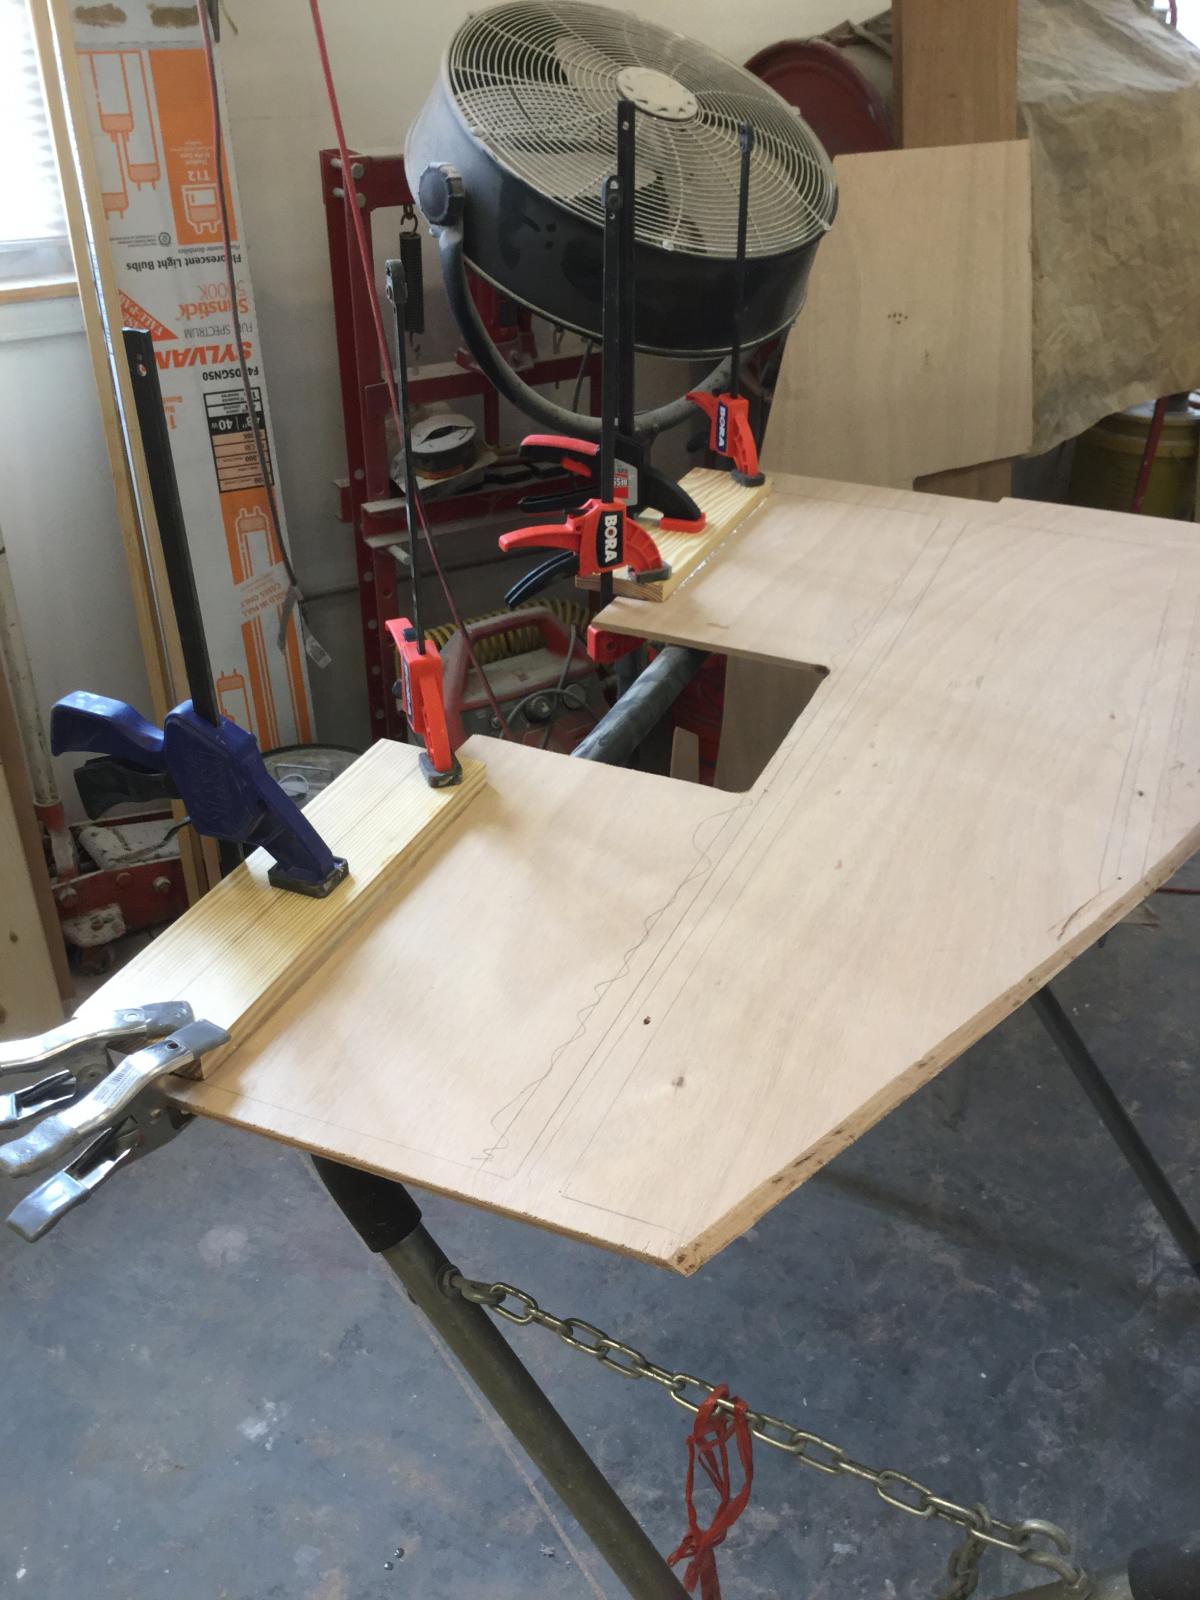
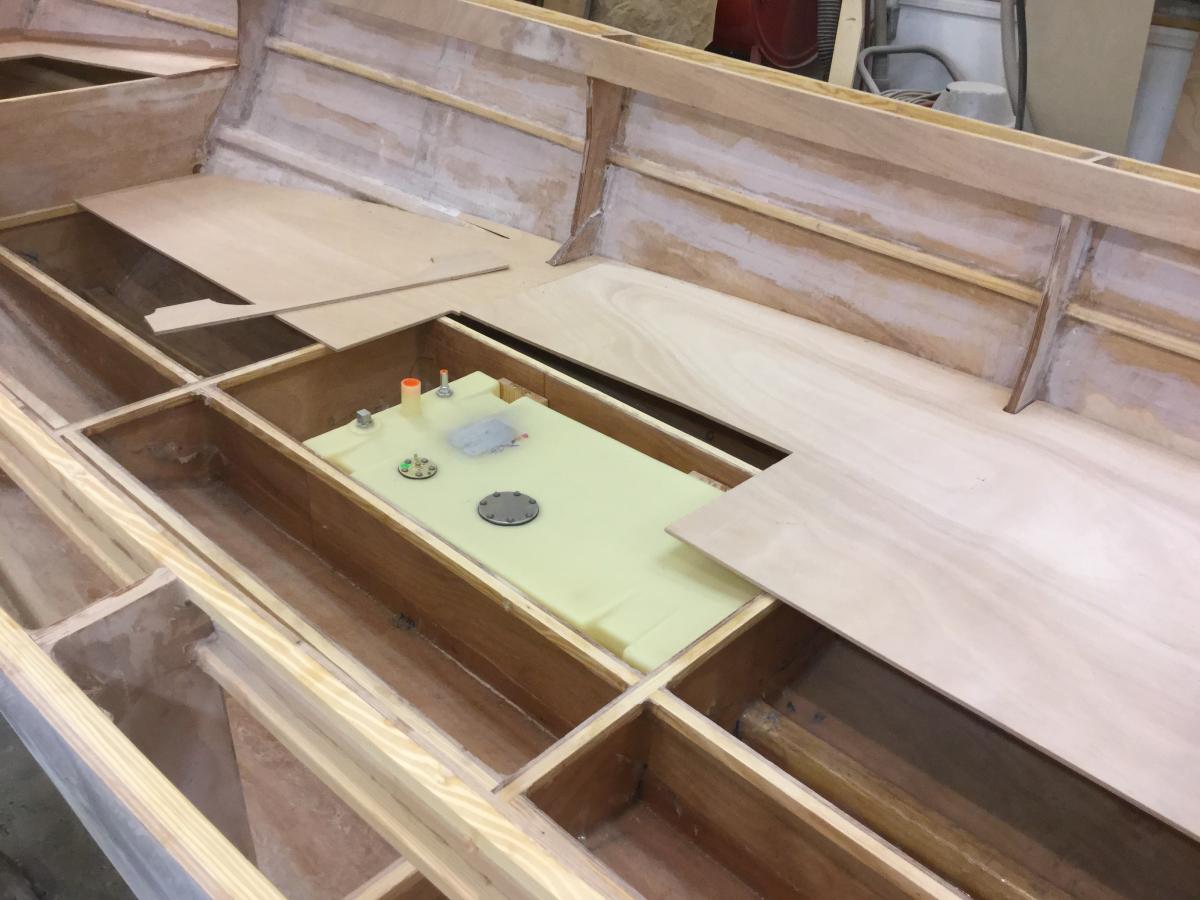
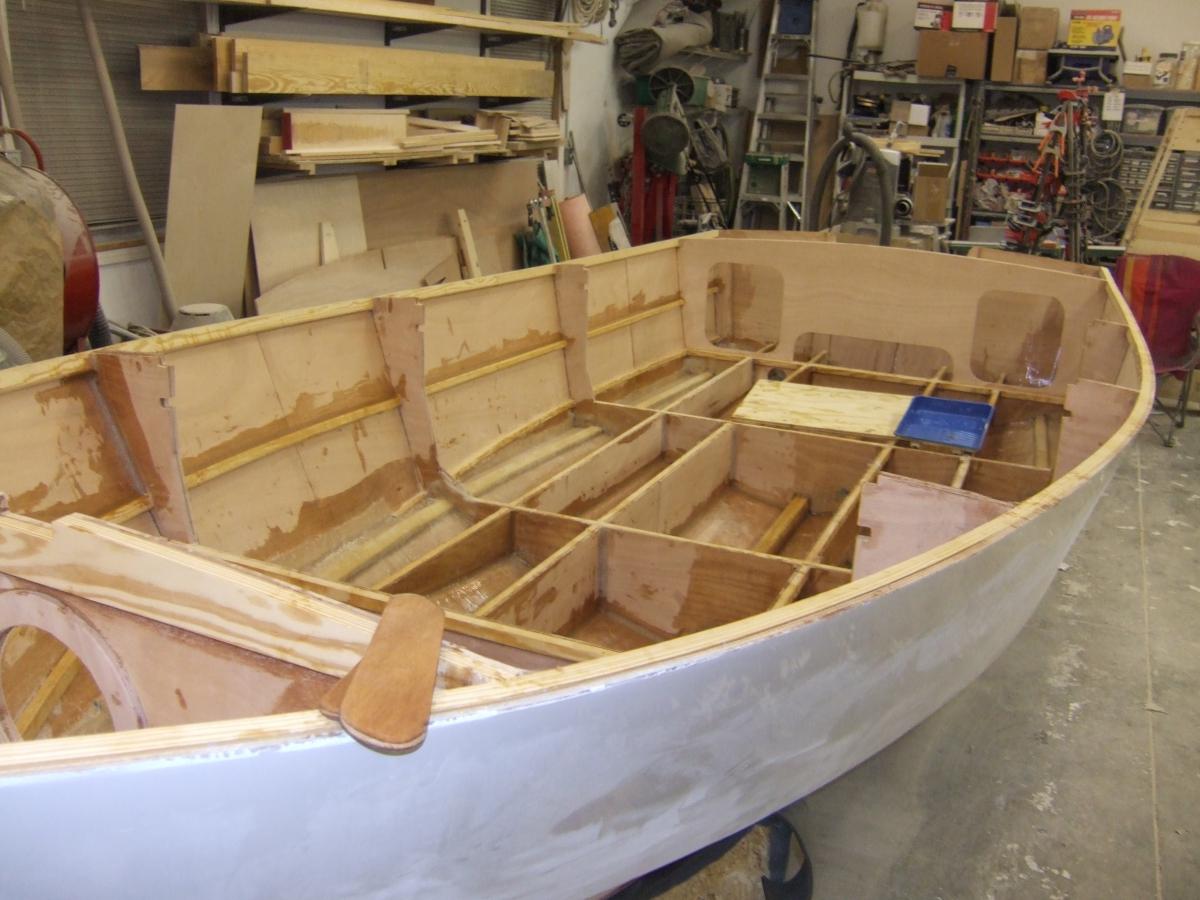
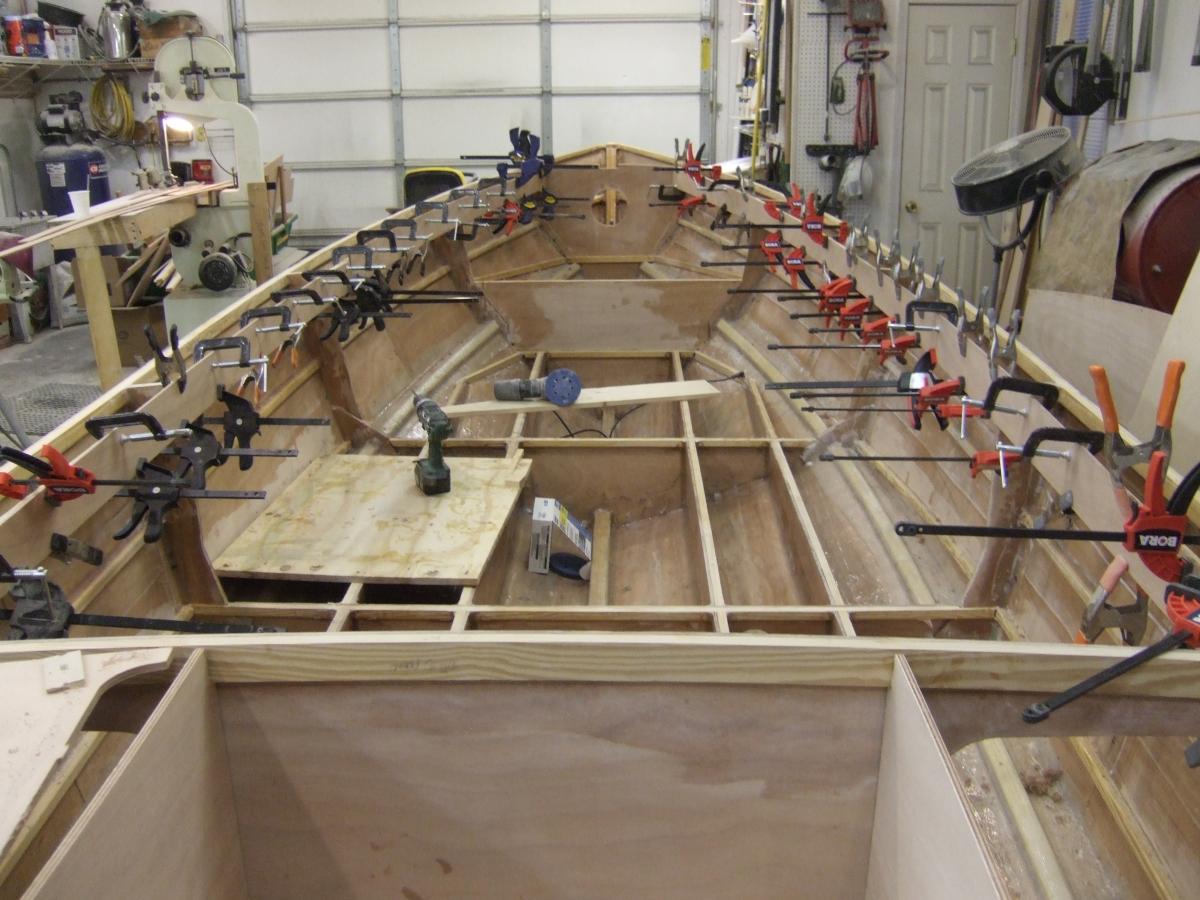
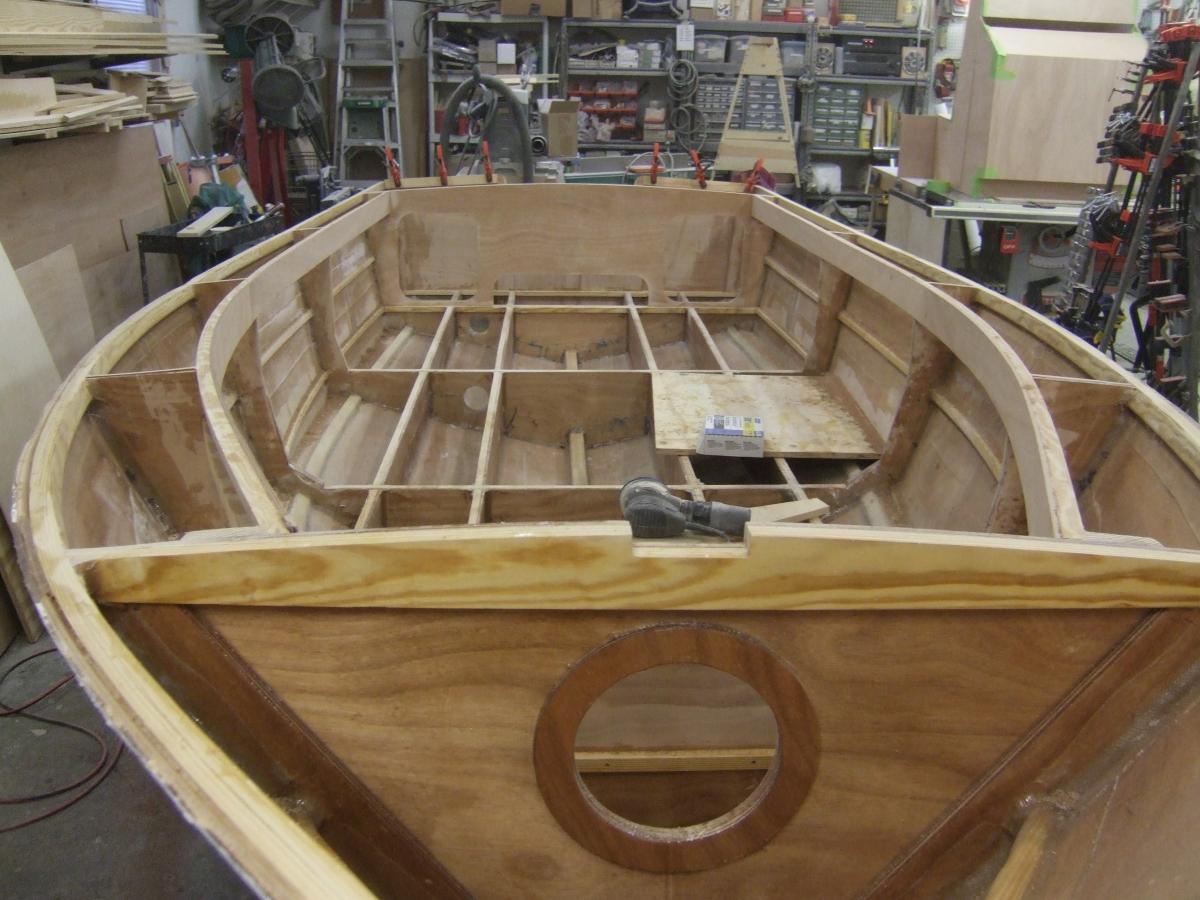
Okay, here's the latest update. I'm making preparations to permanently install the cockpit sole. The casting platform and the deck beneath it are installed but still need to be glassed. I have the fuel tank framing epoxied in place and ready for the neoprene chafing protection. I installed reinforcements to help with deck flexing at the seams but will also add 4" tape and followed by 10 oz. glass over the top. If anyone has any other suggestions, I'm all ears. I also have the framing for the two deckplates completed and epoxied. I'm thinking a thorough cleaning, epoxy the underside of the sole and a few other details and I'll be ready to go. One of those details is flotation: I bought some closed-cell foam that doesn't seem to like to stick with epoxy unless I scuff (80 grit sand) it thoroughly. Then the grip is tenacious. Next I'm going to try PL Premium on the un-scuffed foam and see what happens. I think PL has a solvent in it that may be the ticket. The 'foam guy' at the 'foam store' (that's all they sell is different kinds of foam) said that this is the stuff I should be using because it's not effected by petroleum products. I'm not expecting an oil spill in the bilge so I don't know if that's important to me or not. I'm not sure if I should go to Lowe's and get some of that blue insulation foam and return the other stuff if possible. You may notice two holes in FR-1 that aren't standard issue. This is where I will be mounting speakers. I like some music when I'm goofing off. Here are some pics:


-
TTurtle, I was thinking along the same lines as you with regard to the pickup to the stern of the tank until I saw Dale's pics. I did a 180 on my tank even though it may hurt my range a little. You have a different tank than Dale and I do. You have the one the plans call for where Dale and mine connect at the front/rear instead of near center. Also your fill tube is angled where ours is perpendicular to the tank top. I would ask the advice of Russell (he's made several replies to this post) because I think he has the same tank you do. I think a problem might arise from the angle of the fill tube vs. the location of the fill fitting. Russell or Graham will be able to answer that.
-

Marissa (eco 18) went to Europe !! photos of build
MikeLTour61 replied to Lotus's topic in B & B Yachts Forum
Lotus, your boat is awesome. I'm getting all misty eyed. What you did and the short time it took for you to do it is amazing. How long was it from the time you cut the first piece of wood until now? For my boat (will be "Happy Days"), I was thinking two years. Now I'm thinking 10 months until I can go boating but a few more to actually 'finish'. I'll bet you beat that by several months (although it's not a race) and in the middle of construction, you built a trailer. When is the maiden voyage? Please post pics!! -
Dale, Thank you so much for the pictures and your thoughts. I like your idea. I have room to mount the tank a little further aft so it comes out where yours does. I don't like to go below 1/2 tank so I don't think it will be an issue. I'm so glad you sent these pictures. I am going to finalize the tank location this weekend. You do great work! I hope mine comes out half as good. At least the paint color will ROCK! I'm glad I followed your lead on the Baystar system. I love the clean installation under the dash and also at the engine. In all, the system did end up costing me about double what standard steering would but we all know what B.O.A.T stands for. Thanks again! Mike
-
I spoke with Graham yesterday and he said the tank that I have IS in fact different BUT he said it would work. I actually like the layout of the fill, vent and suction better with the tank I have. The only downside is the fill and vent lines will go straight up through any shelf or deck I might want to install in the console. I'm thinking about making or buying a stainless or aluminum 90 that would change the direction of the fill pipe but we'll see how it all looks with the console mounted. Dale, I have installed the sole in the anchor locker and confirmed that it the anchor rode locker does drain above the sole as you said. All is well This weekend I will install the braces for the casting platform and deck plates for the main sole and fuel tank hold-down arrangement. The deck will be installed soon after.


-
Thanks Steve. I hope it helps. I have a question for people who have built the Marrissa and used the fuel tank recommended (or provided) by Graham. The last picture in my previous post shows where the fuel tank in the position I plan to install it. As you can see, the fill, vent and pickup are located to the aft of the tank. In the Moeller drawing below, these fittings are located on the side of the tank. My question is, has anyone installed a tank like I have or was I sent the wrong tank? Also, if the tank I have is what everyone else is using, do I have its orientation correct? I thought about rotating it 180 deg. but that would cause me to run out of gas earlier:-). Thanks, Mike

-
I just noticed that it has been a LONG time since my last update. I received my trailer which happened to be the wrong one. The 'correct' one is on order. I have ordered my motor and all the rigging: A Yamaha 40 with trim and tilt. It should be in around the first of March. I have ordered my fuel tank and seat/cooler from B&B and already received those. Graham saved me a bunch of money on that stuff and in general, if Graham sells it, you're better off buying from him - you'll save $$$. My new helper (my dog who's name is BB. Not because of the boat but because she has one blue and one brown eye) has been keeping me pretty busy along with that pesky job that I desperately need to finance my project. It seems that I spent a disproportionate amount of time working in the motorwell area. The was a lot of pondering and lots of decisions to be made but now I've moved on. Lately, I've been devising a fuel tank hold-down system and braces under the deck where I will put two 10" x 20" hatches... same as the Marissa. Once I get that all sorted and installed, it's on to getting the floor installed and everything that follows. Originally, I was going to use a thru-hull transducer for depth, speed and water temp. I have reconsidered and will be going with a transom-mount. In my experience, thru-hull is more reliable but, from what I've read, can be problematic with a cored hull. Any input is always welcome. Anyway, progress has been pretty slow but here are some of the latest photos of the build:


-
Dale, if it weren't for people like you, I could/would easily make $200 worth of mistakes in an hour (two pieces of plywood??, one gallon of topcoat??) I have received all my hardware that I know that I'll need - cleats, chocks, lights, anchor roller... all of it. I received my fuel tank and cooler/seat last night!! I have most of my electrical supplies except electronics. I'll be looking for a GPS/depth sounder at the Greenville boat show over the weekend. I'll also be shopping for the motor. I've heard you can get some good deals at boat shows.... I'll report my findings. I have also received a few care packages from Graham and Carla. Some minor parts didn't quite fit right but now, for the most part, all is well. I still think the console front piece isn't quite right but I have enough spare ply to make what I need. I got some extra epoxy and other supplies. The great people at B&B are very responsive and big on quality. The only thing holding be back is this crazy job that I have. They want me here FIVE days a week.... 8 hours per day! They don't seem to realize that I have important things to do. Mike
-
Know what Dale? Now that I'm thinking about it, you are right. I don't have the sole under the casting platform installed yet but I remember seeing the holes in BHD 1 just above it. I believe this to be true but I will verify prior to permanent installation. Thank you so much for pointing that out so I don't forget to verify. I'm using the scuppers that Graham used on Marrissa. They're not the most attractive contraptions but if they work, I'll be happy. I'm a pretty big guy and when I climb in from swimming I suspect the scupper will be WAY under water:-) Dale and others, I know I asked this before but what did you use for non-skid. Paint additive or something in the epoxy or ??? I've heard a lot of things but I'd like to hear from someone who's done it on this type (wood/epoxy) of construction. The deck will be Matterhorn White and I don't want dark colored texture wearing through the paint. Also, I'm getting ready to install flotation. What did "ya'll" use for foam and adhesive? I'm planning on attaching the foam to the underside of the sole as Graham suggests. Great things, these forums. I learn all the time but nobody makes you feel 'less than'. Everyone who chimes in has useful information, kind words and valid questions. It's kind of like going to a shrink except it's not $200/hour and you gain useful information.
-
Marissa (eco 18) went to Europe !! photos of build
MikeLTour61 replied to Lotus's topic in B & B Yachts Forum
Looks awesome! Got it wet yet? -
Marissa (eco 18) went to Europe !! photos of build
MikeLTour61 replied to Lotus's topic in B & B Yachts Forum
Hi Lotus! Just wondering the status of your motor. I think you were waiting for it the last I heard. I wish I could send you one! I was at the dealer yesterday and he was trying to get me to take a 60 home that night. I've decided to go with the 40 hp because most of my boating is on lakes. They go by too quickly if my boat is too fast:-) -
Dale, I must have phrased things wrong. If my hull leaks water, I really screwed up, that's for sure. My hope and intention is that the boat will not leak from the bottom up (or at all for that matter) but their are several ways for water to get into the bilge that doesn't involve leaks. I anchor a lot... go from one spot to the next and go swimming and fishing. The anchor rode locker drains to the bilge. Also, I will have a total of five deck plates that, although the manufacturer claims they are, I doubt are watertight. We do a lot of swimming and climbing into a boat wet brings a lot of water. That said, I'll bet my investment in bilge pumps, switches, wire, hose, SS thru-hulls, etc, never even get one use. It's just my Navy training kicking in telling me there's never too many ways to get water out of a boat (unless all the dewatering equipment sinks the boat). Marius, the second piece of PVC that appears to go through the hull is actually the collar for the bilge pump hoses as shown in picture 5. It was just laying in the bilge when I took the shot. Oh, and Marius, you should check out Dale's Salty. It's beautiful.... and the color scheme, forgettaboudit! There are some pictures of it earlier in this thread. I wish there were more though (hint, hint). As far as the hull numbering goes, I think it goes by when Carla writes your name in the book. She was out for quite a while when I was getting my plans. wood, fiberglass and resin from Graham. I think I actually was assigned the number yesterday... it's not really chronologically dependent.
-
Hi everyone and thank you for the kind words. If there was such a thing as instant-dry epoxy (that actually worked) I would be even further along. The thing that amazed me was how fast Lotus built his. I think he must be bionic... "The Six-Million-Dollar-Boatbuilder". (he may not get that reference, being from Malta) Dale, Tautog is another beautiful boat. Is it a round-bottom boat? Come to find out, I have been missing my Hull Number. I didn't even know I needed one but I had wondered how many came before me. My number is 53 which sounds like a lot until Carla listed the hull numbers of some of the other boats they offer. Some were over 1000! The older I get the more I think about my legacy.. my kids & what I will be remembered for. I think that making it possible for thousands of empowered, fulfilled boatbuilders to enjoy thousands of hours of boating with their families all over the world is a pretty damn good legacy. Carla and Graham have done great things! Enough mushy stuff except my new assistant (see the first photo) has slowed my progress. Somehow, she knows when I'm about to do something important and suddenly shows up with a tennis ball and a wagging tail. Over the weekend, I got my bilge pump scheme ironed out. I refuse to go out in a boat that does not have at least one bilge pump (a bucket will do). Personally, I like to have two electric and one people-powered pumps. I'm aware that a large hole (log or stump through the hull) will swamp any electric bilge pump I could install but leaks are usually small. Following the friendly advice people posted, I found a long sweeping 90 deg. PVC fitting. It fit fine so no further modifications were necessary. I installed a 500 gph pump on a trusty level switch and a 1000 gph on a trusty on/off switch. I will install a buzzer on the level switch to let me know I'm taking on water. I'm an electrical engineer so the electrical system in this boat will be suitable for interstellar transport.


-
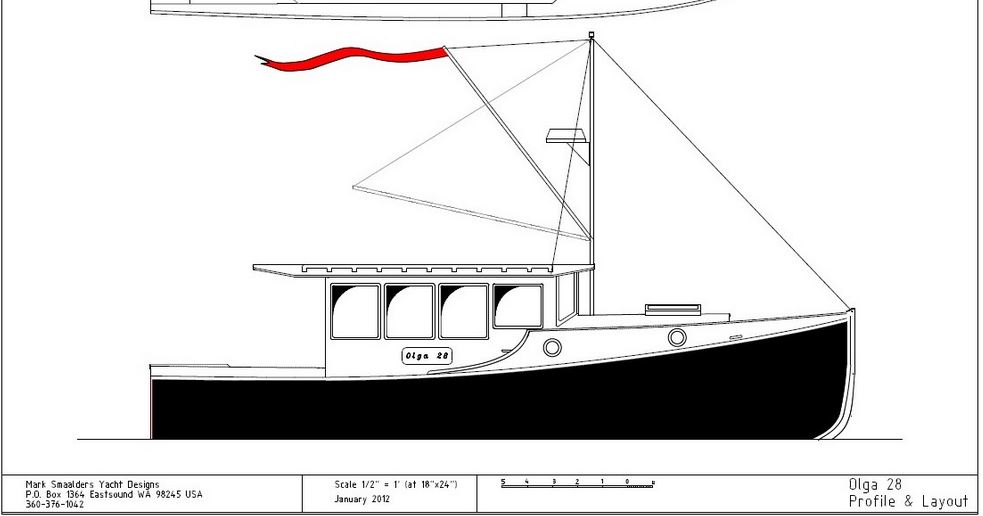
Thanks guys. I guess I won't be able to return the 90 but I will go get two 45s for the turn. Don't want to run into problems someone has already solved! I have no pictures so far this week except one. My new helper has been keeping me quite busy retrieving things and going for walks. I have had a chance to order all the wire and electrical components with the exception of GPS and VHF. I also ordered the Baystar hydraulic steering ($339!) and all the other deck hardware. Oh, and I have a EZ-Loader trailer on order as of yesterday. I priced out the 40hp Yamaha motor with all the rigging, harnesses, gauges, controls and prop at $8400. A little steep but hey, you can't take it with you. When I started this project I figured it would be two years to complete. Now, I'm thinking I'll be boating by spring or early summer! Less than a year. Next boat will need to be a bigger project. I always need a project in the shop. Has anyone ever heard of the Olga 28 design by Mark Smaalders. I know this is a B&B forum but I really like the classic lines of the Olga: http://www.smaalders.net/yacht_design/OLGA%2028.html. If it was a 25 or 26 footer, I'd be even more interested.


-
Thanks again all for your input. Lotus, I noticed your smaller chase in previous pictures and wondered what it was for. I thought maybe for the depth finder wire as they can act up when placed close to other wiring. It makes sense to separate the fuel from the electrical. Don't want any stray fuel meeting any stray electrons! It doesn't look like we can get Sikaflex-11FC+ in the US. We can get Sikaflex-11FC. I don't know what the '+' is but I'm sure it's the thing I need I think I'll end up doing a large cabosil fillet around the penetrations. A couple people have done it that way and have had success. I drilled dimples into the pipe where the fillett will be which should help hold things in place. I may feel more comfortable making modifications to my next build but I think I'll default to Graham's console design for this one. I'm having some problems with ill-fitting parts from the kit and Graham is working to fix. I like the idea of the extra brace for the motor well. I thought of installing a knee but that line of thinking was carried over from my wooden rowboat days when growing up. I don't know if it's necessary for a 40 or 50 hp engine. The other thing is I'm putting a 6" round Armstrong deck plate cover in the center of the well. The reason for that is one of my bilge pumps will be located in the aft void. The other pump is between frame 3 and bhd 2. I'm ex-Navy and unless I have two methods to de-water I get nervous. I am planning on using the remaining biaxial tape to reinforce all the connections on the transom and motorwell. I think that should do it. Thanks again everyone!! Mike


-
Thanks guys! One less thing to worry about!
-
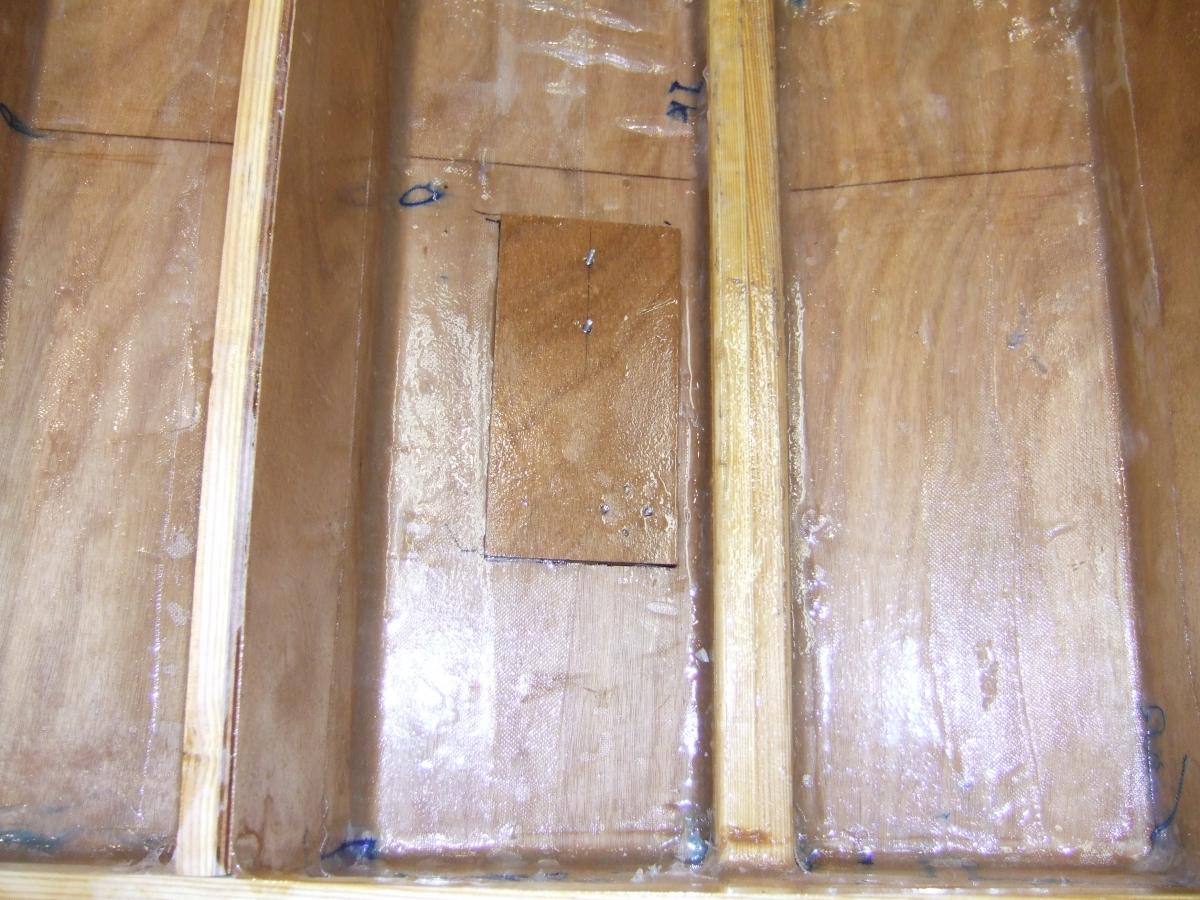
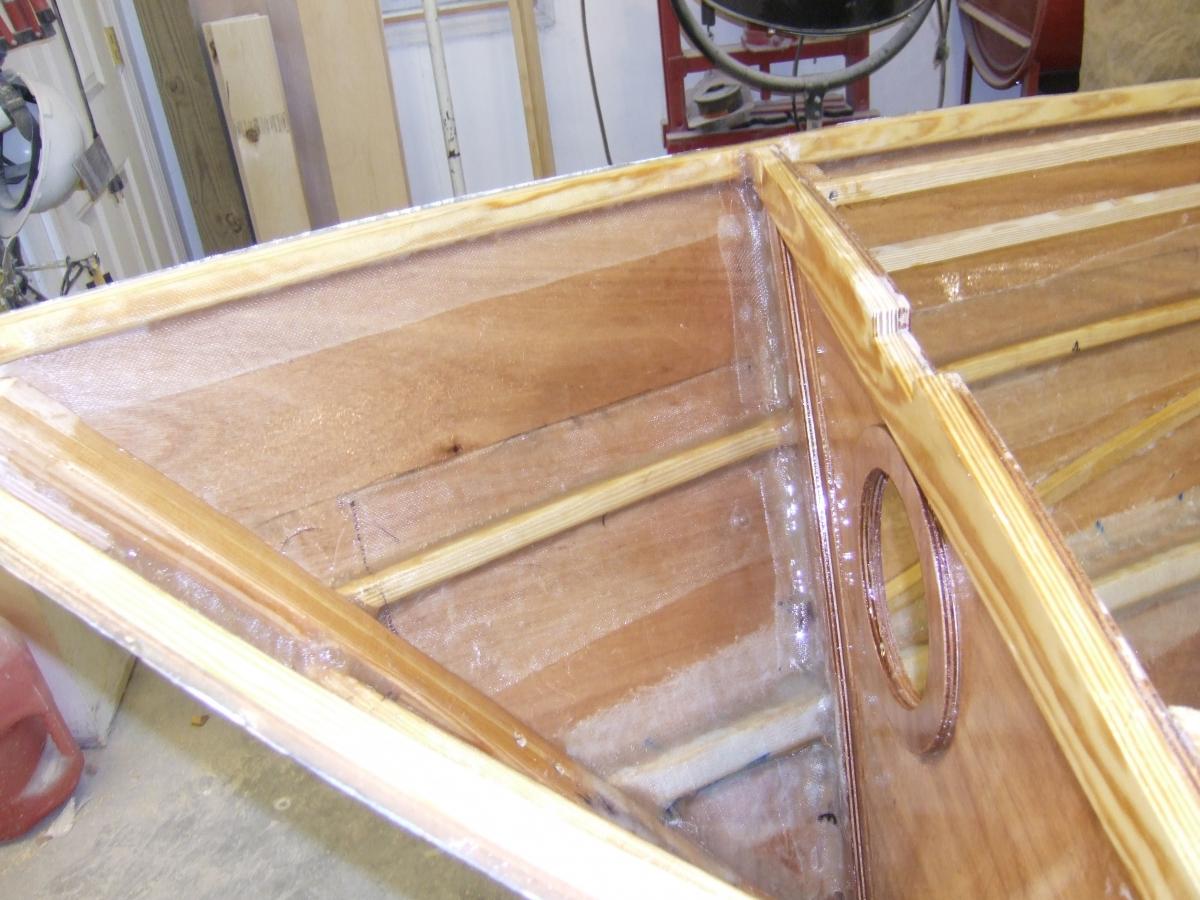
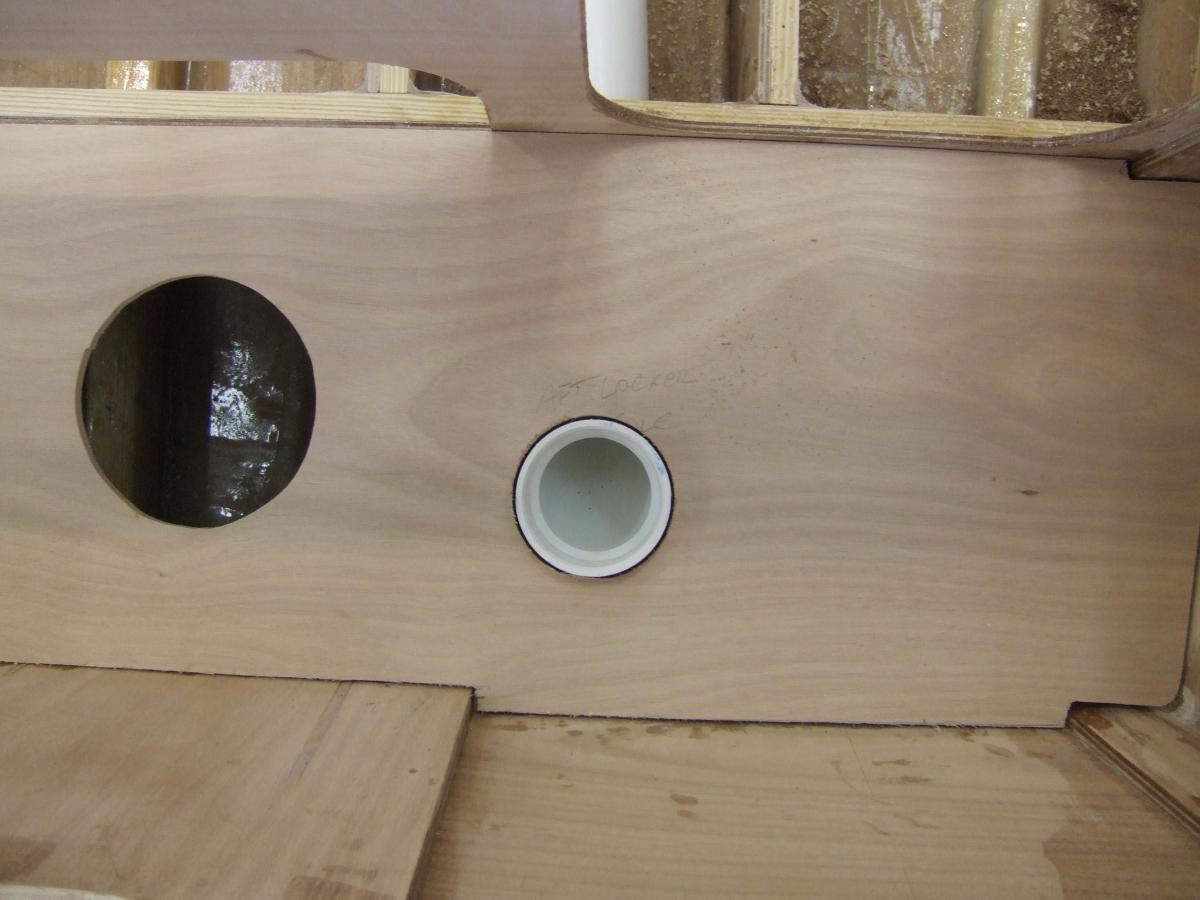
Hi all. It's been a couple of weeks since my last update but I have been hard at work and I think I made some pretty good progress. I'm done glassing the bilge (tabbing and bottom). Graham suggested I glass the bottom if I decided to go with a 50 hp engine so I went ahead and did it. Actually, I just bought some 8" 10 oz. tape and used two pieces per bay in the bilge. That gave me three inches up the stringers and 2 inches overlap in most cases. Where it didn't, I just added cloth as necessary. As you can see, the coaming is done. I'm presently working on getting the transom and motor well finished. While I'm writing (and you're reading) I wondered what should be used to seal the chase pipe (PVC) to the aft locker sole as shown in the last picture. I've experimented with thickened epoxy & 3M 5200 after roughing up the PVC with 80-grit. Neither of these methods worked very well although the 5200 seemed better than the epoxy. Lotus said he used something from Sikkens but couldn't recall what product it actually was. I think it needs to be solvent-based to bond with the PVC. I'll also use it where the chase goes through the frames. I hate rattles!!! Thanks!! Mike


-
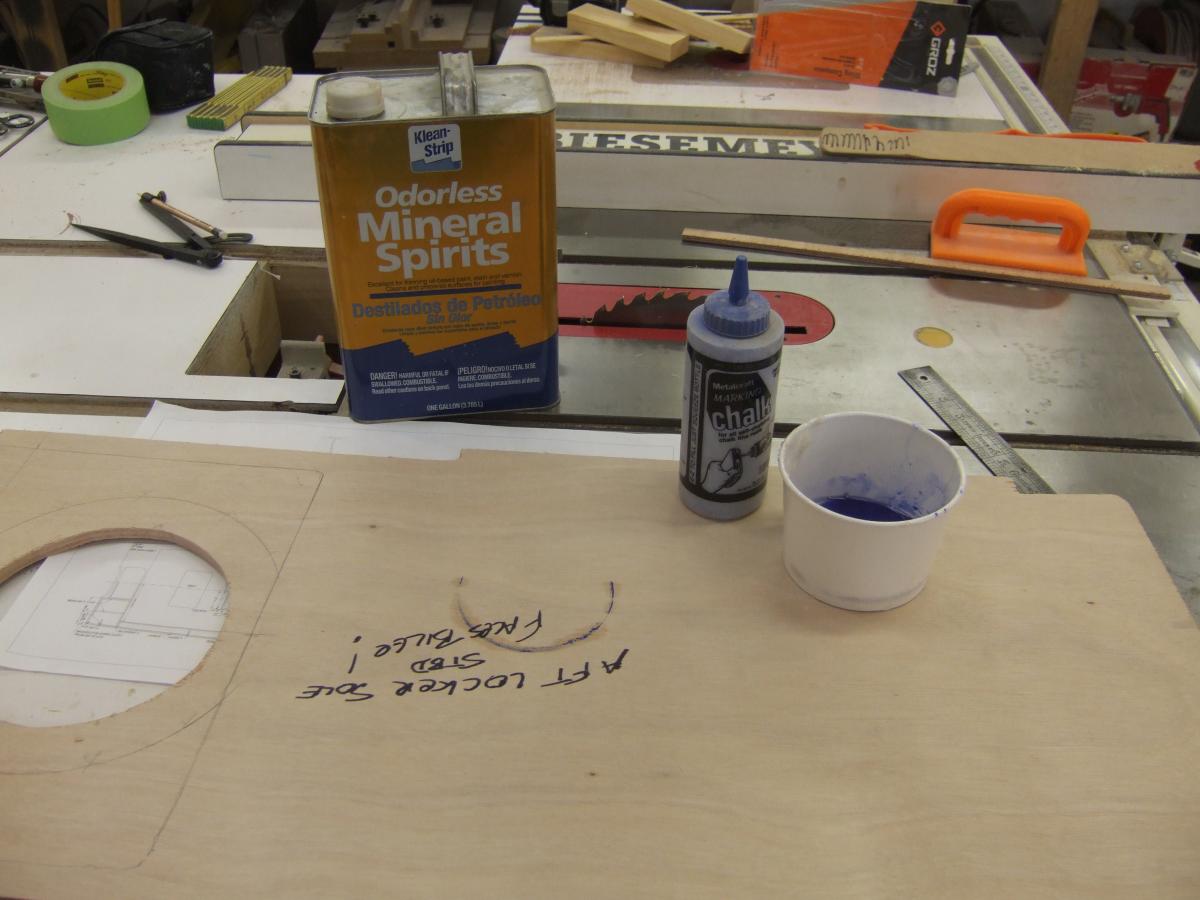
Great work Russell! The OB 24 will be my next project after my Marissa is finished and I get the fever. I really like the lines of the OB and the 24 in particular. The combination of a more plumb bow and the flare really work well and give her classic lines. While I'm writing (and you're reading) I wondered what you used to seal the chase pipe to the aft locker sole of your Marrissa. I've experimented with thickened epoxy & 3M 52000 after roughing up the PVC with 80-grit. Neither of these methods worked very well although the 5200 seemed better than the epoxy. Lotus said he used something from Sikkens but couldn't recall what product it actually was. Below are the pictures of the penetration I'm talking about plus the method by which I located the exact spot for the hole. Thanks, Mike


-
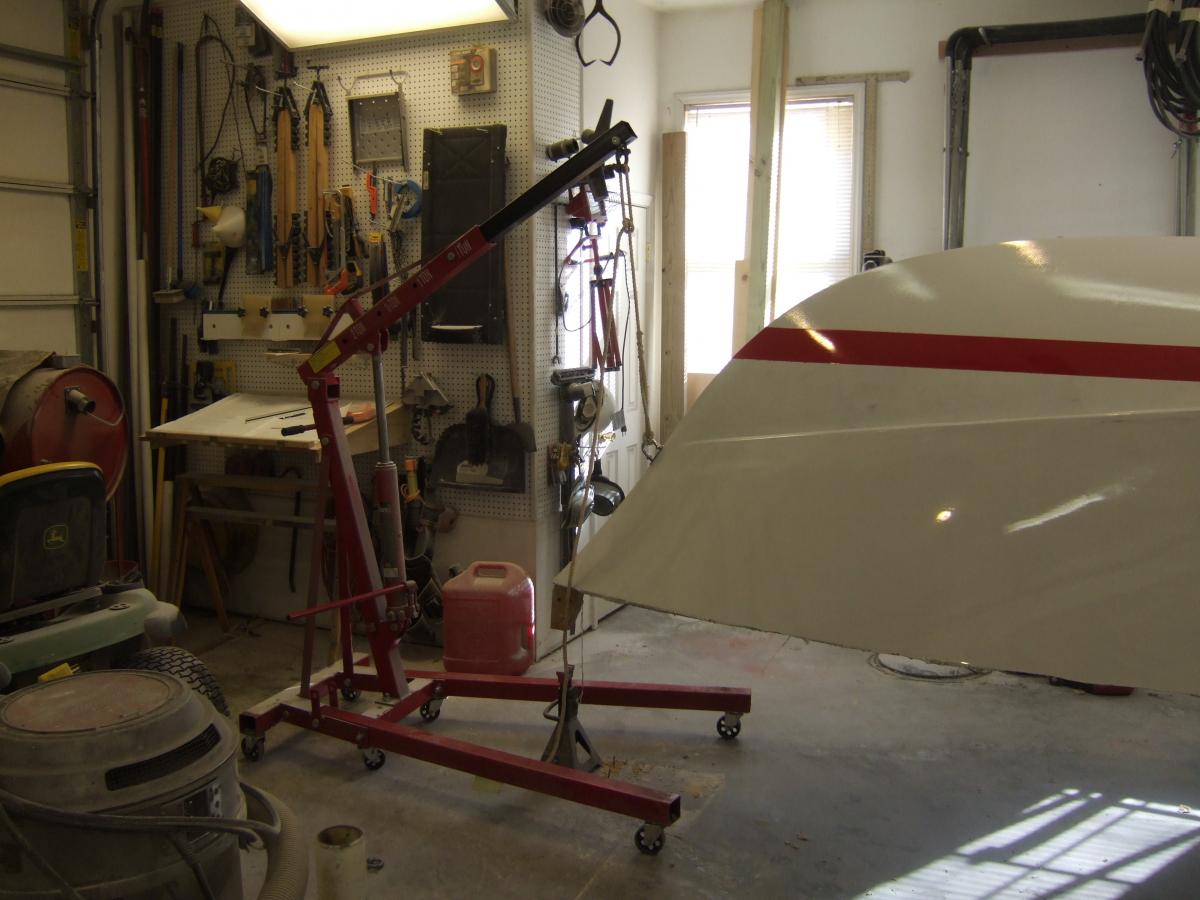
Hi Russell, I wanted to offer my help when you go to flip your OB. I recently flipped my Marissa alone but it was quite easy due to its light weight plus the fact that I don't know enough to be afraid. I have an extra 2 ton chain fall, a couple of come-alongs and an engine hoist which worked very well as a pivot point at the bow. My ulterior motive is that I would like to see the hull in person to see if it's something I think I could handle building in the space that I have available. I'm off work as of 12/18 and will be available until 1/4 and I live near Greenville - SC; about 2 hours from you. My Marissa isn't even close to getting wet but my eyes are wandering already. Graham designs some gorgeous boats, that's for sure.
-
Looks like you're doing a good job so far. The OB 20 is a beautiful boat. I might build one after I'm done with my Marissa.
-
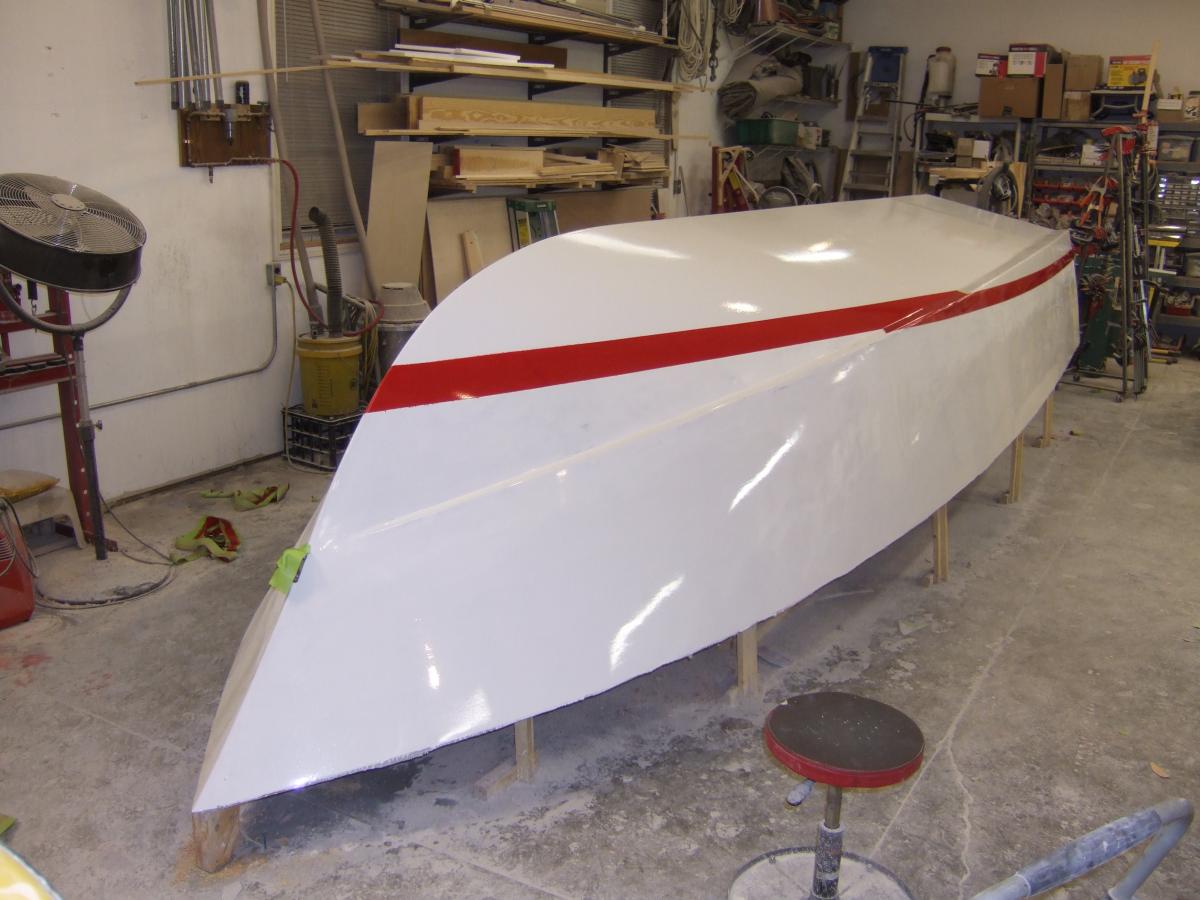
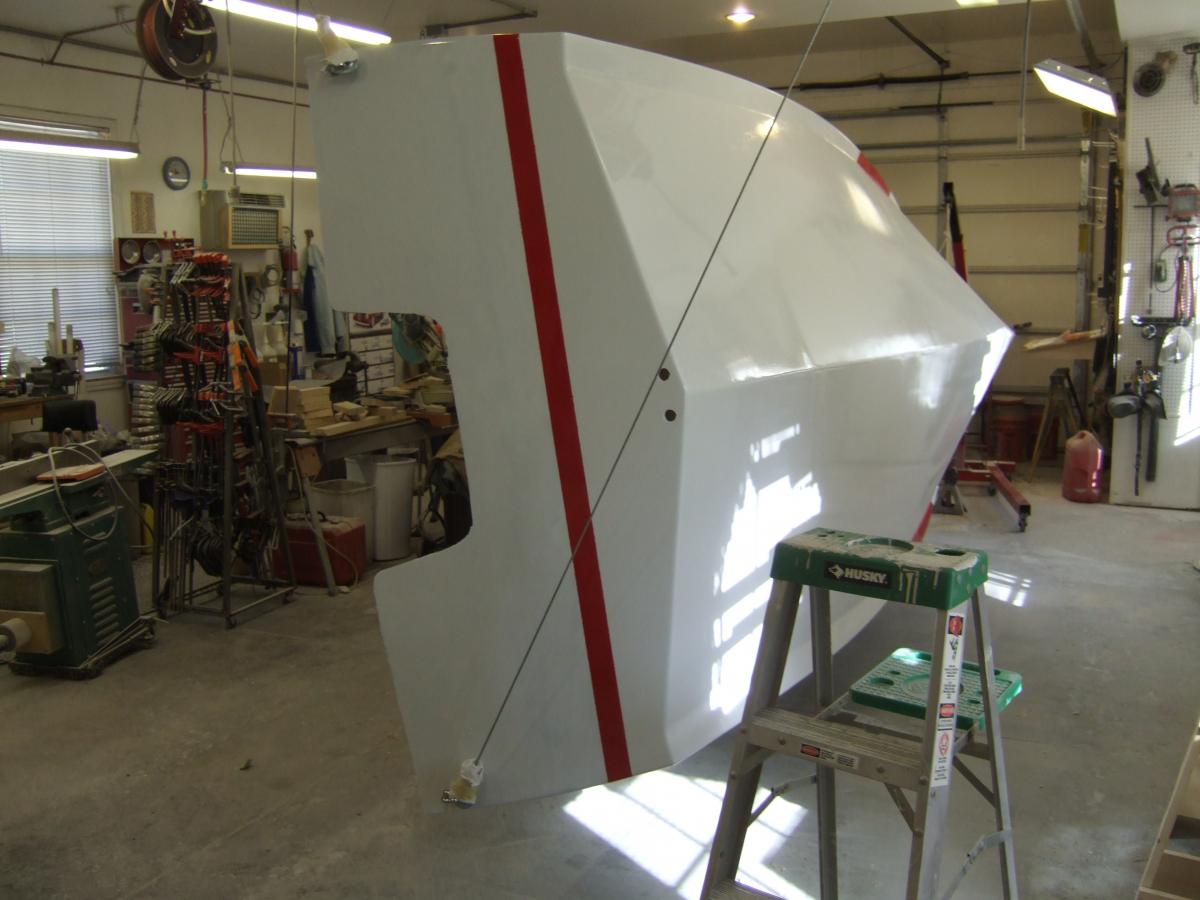
FLIPPED! I flipped it this morning. I didn't set out to do it today... just wanted to get it off the horses I built it on. One thing led to another and next thing you know, it was right side up!


-
Marissa (eco 18) went to Europe !! photos of build
MikeLTour61 replied to Lotus's topic in B & B Yachts Forum
I really like the light colored wood! I'm not used to seeing maple used on boats but I really like the way it looks on your boat. I wonder why maple is not typically used.. at least in the U.S.. Is it just a traditional thing or something more? Maybe someone can provide some insight. Maple (especially hard maple) is very dense and tough. I use soft maple exclusively when making drawers and hard maple for making drawer slides. For marine applications, I typically see teak, mahogany, cypress and white oak. I think those woods are less prone to rot than maple, which may be a factor. How did you attach your rub rail? I've read about a method where a large hole is drilled and then filled with thickened epoxy. That epoxy 'plug' is then drilled and tapped for a machine screw which can also be epoxied in place or not (depending on if you'll ever want to replace the rub rail). It sounds like a lot of work but from what I understand, it's much stronger than wood screws alone.