GreggS
-
Posts
14 -
Joined
-
Last visited
GreggS's Achievements


-
Finally got a chance to load up some pictures. My link http://i701.photobucket.com/albums/ww19/squad3lt/0c3ca742.jpg http://i701.photobucket.com/albums/ww19/squad3lt/218cdedd.jpg
-
Thanks Randy, I assumed the same thing. I will call them today to make sure I understand properly. Well I got up this morning to another day of monsoon rains, a great day to spend in the shop and found fully cured joints. I folded the first one up and viola! it looks like a boat! I'll get some pictures up in a bit, thanks to everybody for their advise and for listening to me whine about sticky epoxy.
-
Thanks Randy I assumed the same thing. When they say 2 to 1 it certainly leads you to believe two pumps on A to 1 pump on B. But I don't understand why the first couple of batches worked ok mixing that way?
-
Thanks guys, I'm in central Florida and the weather until day before yesterday was dry and warm. It rained all day on Monday and stayed cool. Since then it's warm and steamy. I re-taped last night, this morning the left over resin in the cup was hard as a brick bat and the joints were dry to the touch but still a little soft that's after 12 hours. I think it's a good sign that the cup hardened, I know the joint will take a bit longer. Maybe my pumps are off since I used the measured cups with what seems (fingers crossed) to be a better outcome. I bought the epoxy and pumps from B&B so I don't know the brand. The batches two batches that did cure when I started were crystal clear and looked really nice. By the way hokey I used two 3/4" battens screwed together through the seem between the bottom and side, worked like a champ. Thanks for the suggestion.
-
OK, I'm very frustrated with the epoxy. All of the sudden it doesn't want to set up. I have stripped and re-tapped twice now wasting a lot of epoxy and tape. The first time I figured I hadn't mixed well enough, the second time someone told me the pumps become less accurate as vacuum builds up in the bottle so I opened the caps and let the vacuum out, still no good. I just stripped and re-tapped the third time. What I tried this time is to mark the mixing cup with a 2:1 ratio by using a measuring cup. We'll see how it goes this time. Any ideas, I'm running out of patience and material before the butterfly is even tapped together.
-
I didn't see the stack up method on the flyfisher plans but a batten across the butterfly is easy enough. Thanks for the idea.
-
I think I may have broken a joint on the butterfly when I flipped it over to tape the other side. Will I have to sand the joint all the way out or just smooth it and re-tape it?
-
Has anyone tried this method for strain relief at the end of the chine line? I know it will help prevent cracking in glass and metal. I'll try it this way when I fold it but if I start hearing a lot of cracking the 2x2 blocks are cut and ready to go.

-
Hey Gordy, I'm going to at least build the petengill at first and then maybe later on something different. I would really like to laminate several different types of wood together to make a paddle, I like the way those look.
-
Thanks Bill, I have cut out the blades for the petengill paddle. I am interested in the idea of a paddle press idea. I'll send my e-mail address along in a few minutes. I would like to use the canoes during spring break in a couple off weeks so I may need to make a couple of quickies at first.
-
Bill, Thanks for the links to your builds they very well documented and will help a lot. You do good work. Did you build the paddle that came with your moccasin plan? I'm trying to figure out a good way to get the profile for the handle marked out on the material.
-
Thanks for the tips Bill. I figured out what I did, it was slight measurement problem with the bottom that put the angle off a bit. I'm thinking I may need to adjust the line at the gunnel when I fold it. I'm just killing time waiting on epoxy to dry now. Shoulda bought that fast epoxy. At least the shop will be clean... I've got nothing else to do, well that I want to do anyway.
-
Let's see if I can get those pictures to show up. That's better


-
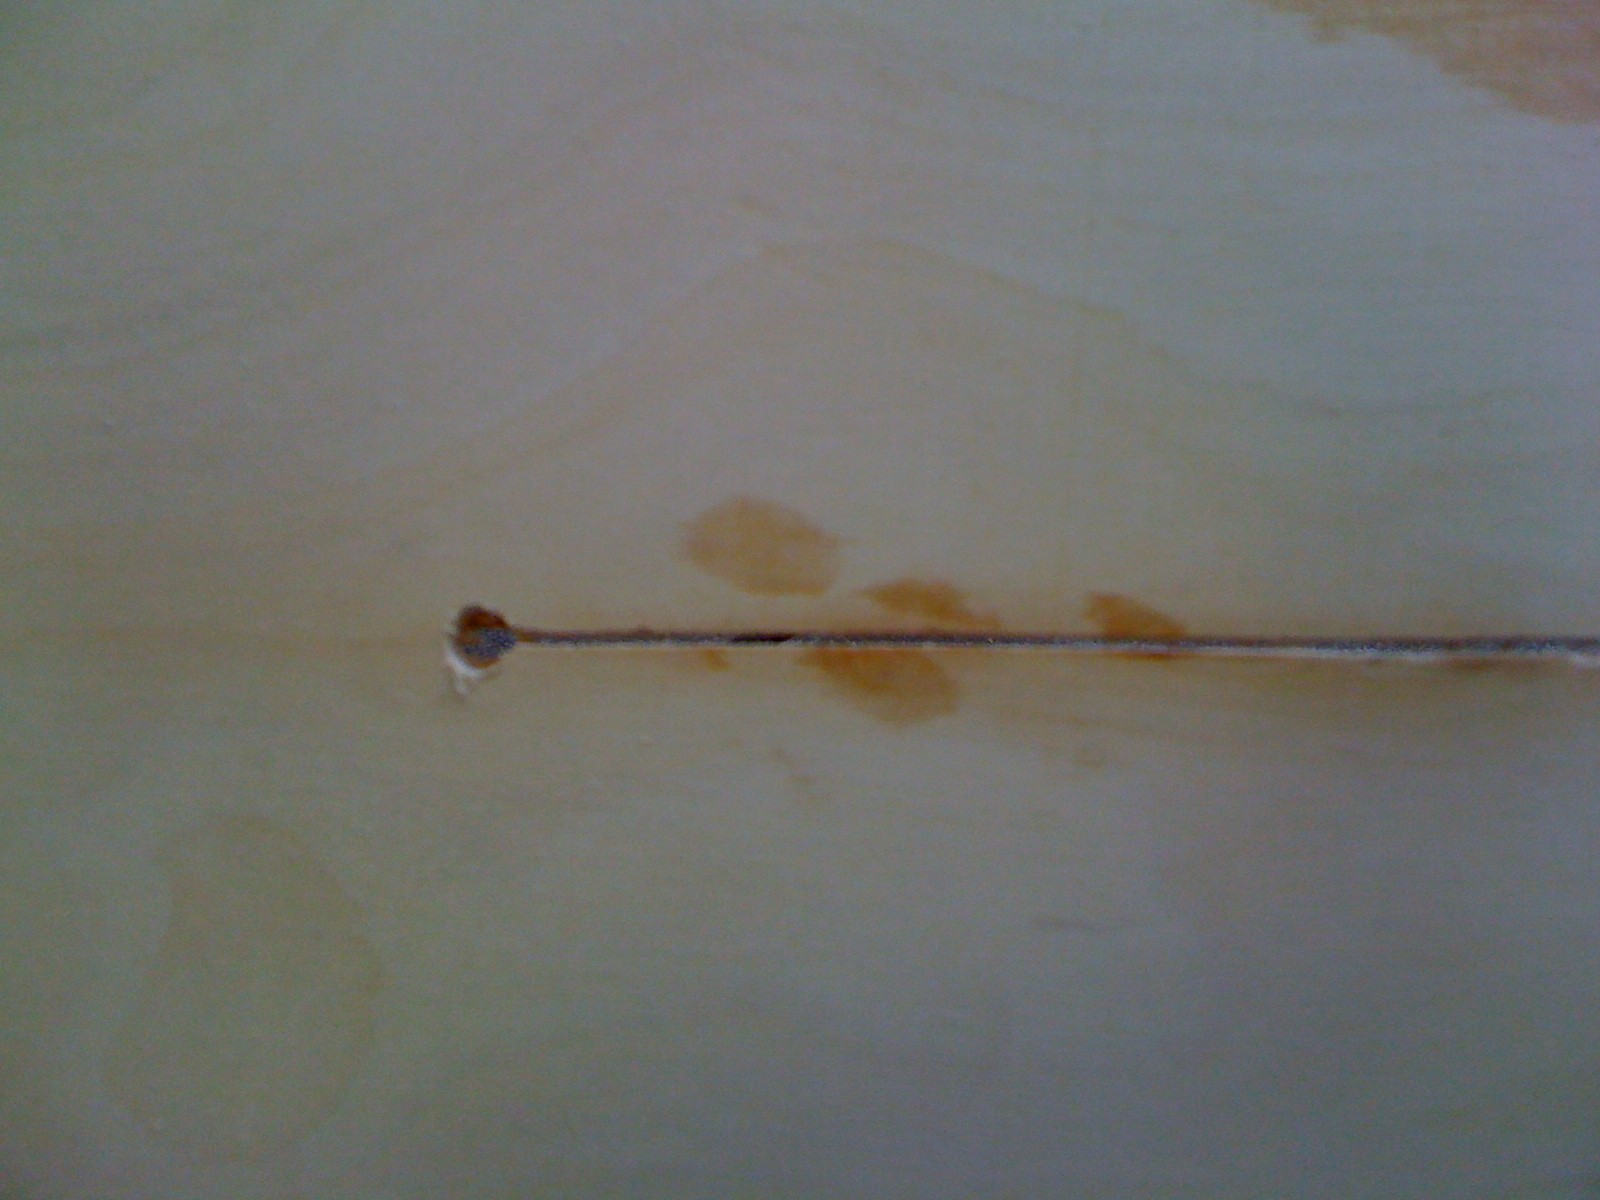
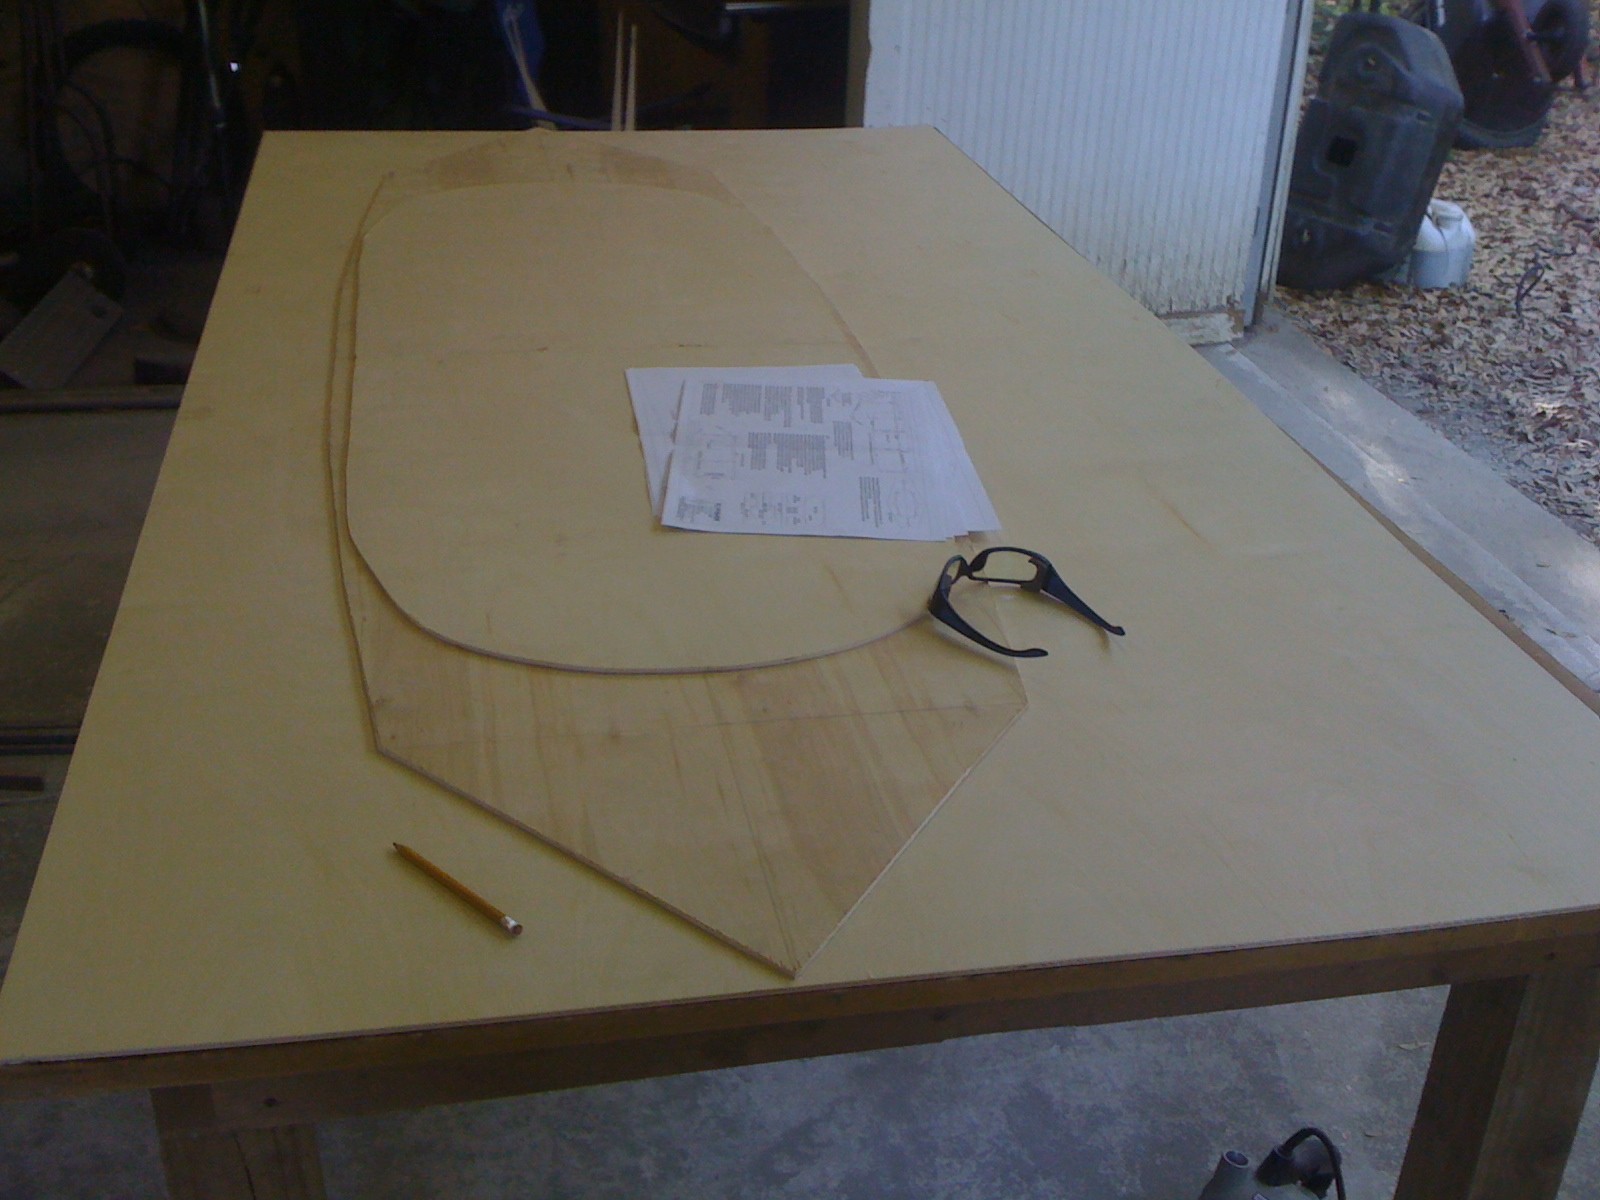
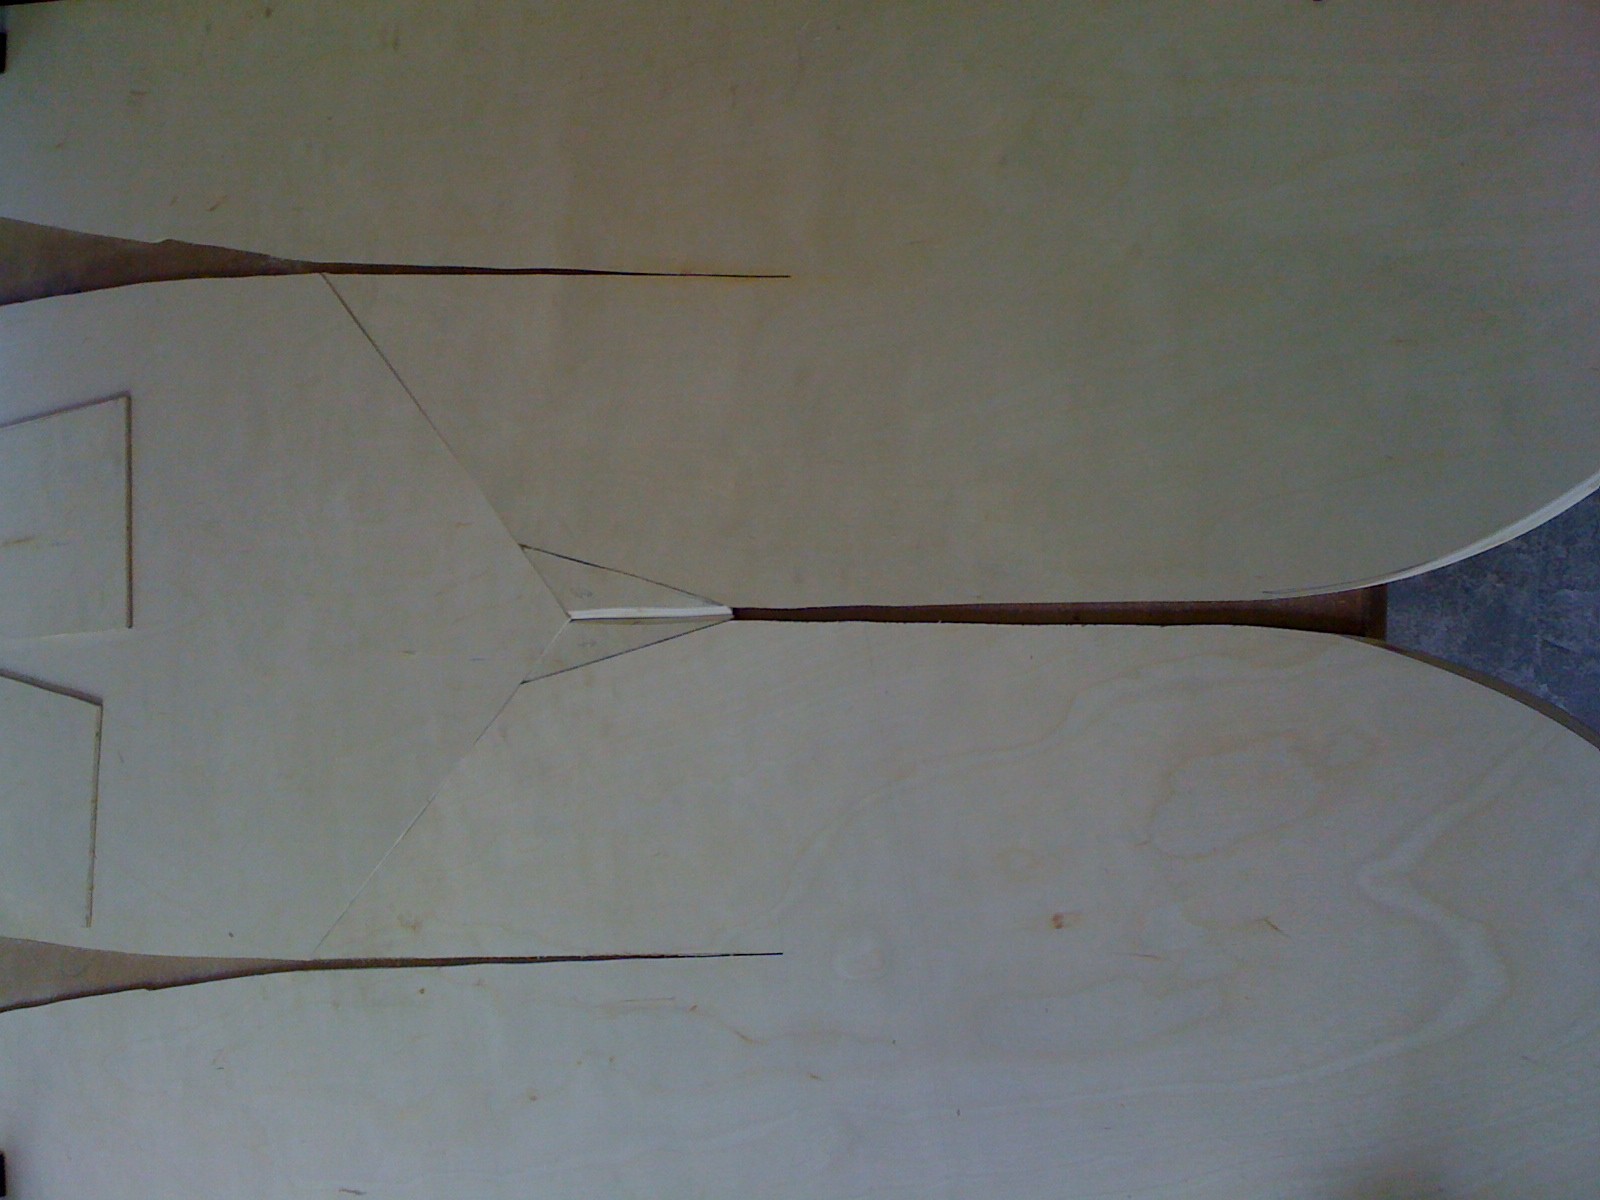
Just started a flyfisher and found my first mess up, nothing too serious I think I can fix it without too much trouble. The trick now is to figure out what I screwed up so I don't do it again on the next one. I started to cut out all the parts for both before I started putting it all together but knowing myself I figured it would be good to only screw up one at a time . http://i701.photobucket.com/albums/ww19/squad3lt/8da6e8c0.jpg Here's where I messed up. The stem line doesn't come together tight, so not sure if its the stem angle or the bottom angle but I'll figure it out before I cut another one out. http://i701.photobucket.com/albums/ww19/squad3lt/3aaeca9c.jpg I'm using plywood that is standard 4x8 so I had to clip the small section off of the side panel where the stem and chine meet. I glued patches in with polyurethane glue. In the pictures from the CD it looks like they used thickened epoxy. Is the polyurethane glue ok? Thanks for any advise. Gregg
-
I've wanted a solo canoe or kayak for some some time but couldn't afford one now that I've found the flyfisher I think I'll give it a try. I'll be ordering plans soon.