Alan Stewart
-
Posts
701 -
Joined
-
Last visited
-
Days Won
115
Content Type
Profiles
Forums
Events
Gallery
Everything posted by Alan Stewart
-
Jessy 15’ build log - Philadelphia, PA
Alan Stewart replied to Justin C's topic in B & B Yachts Forum
I guess the thing to remember is that you're going to put the same amount of time and work into the console regardless of the ply you're using. For the hull of a boat then, It's easy to argue that you should use the best material possible. For an add-on console though I could see both sides. You might hate it or want to change it in a year or 2 and you might be more inclined to change it if you use a cheaper material. I don't know how much of a tinkerer you are or how nice you want it to look but depending on that I think there is nothing wrong with using regular 1/4" 3-ply for a console like you're describing. Epoxy coated well and sealed up it will probably look great. However sometimes these ply have large voids and big surface defects that make them harder to use can mess up paint jobs. If you wanted to buy from B&B I could quote you for the ply and shipping OR if you know the size of your largest parts you think you'll need we could rip a sheet in halves or quarters as needed to make shipping cheaper. -
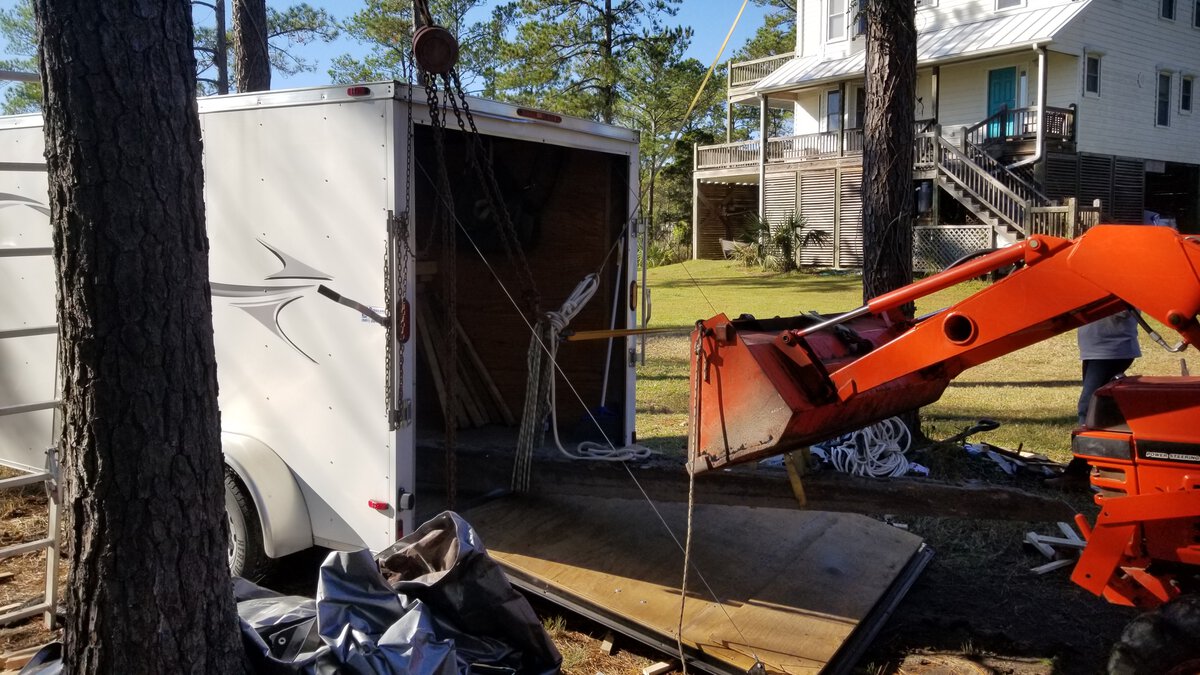
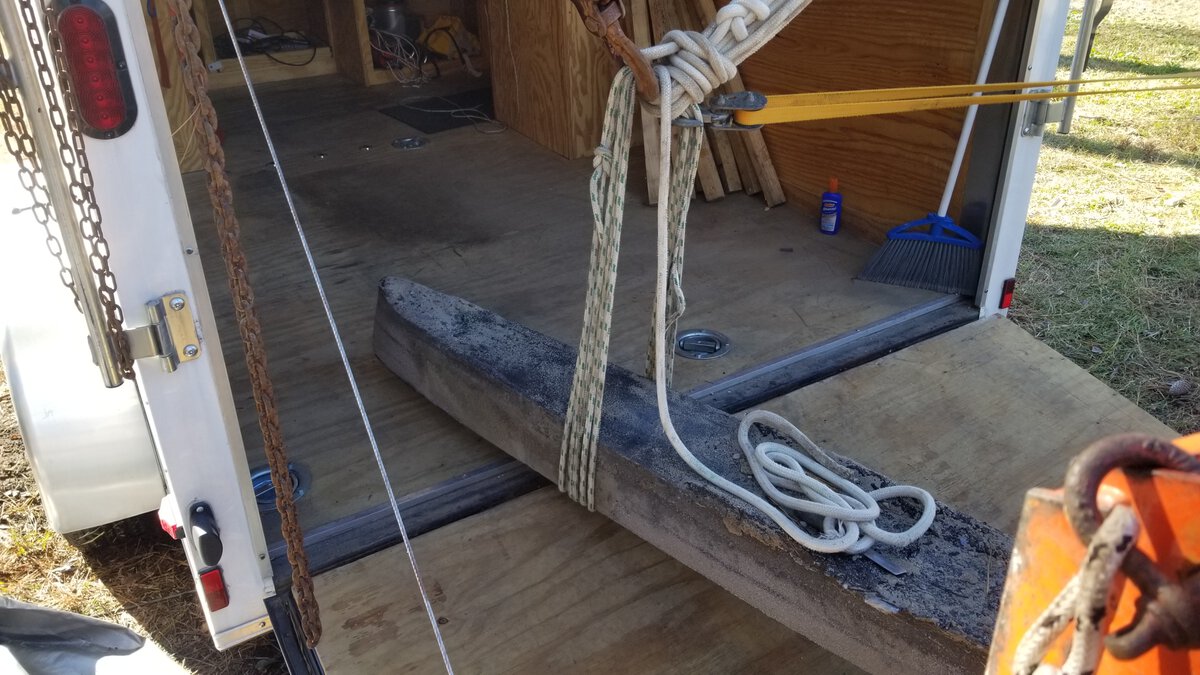
It wasnt "easy" but it was pretty simple. We poured the keel between two trees for lifting purposes.


-
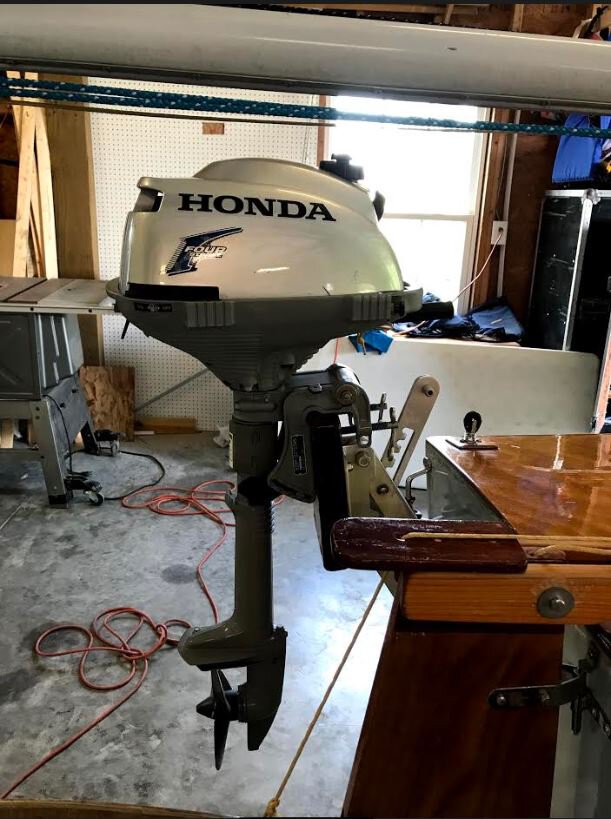
Pete, id say you look to be missing the lower batten on the mainsail and perhaps a bit more downhaul. The 20mk3 did very well with the outboard in the well but im going to do some more playing and videoing soon and will share.
-
Jessy 15’ build log - Philadelphia, PA
Alan Stewart replied to Justin C's topic in B & B Yachts Forum
That is looking reallly nice there. -
Thought I would start a new thread on this. Here is where im putting all my pictures, feel free to add to this album! There is also some sailing video on facebook. https://photos.app.goo.gl/orS7YxLEPGa3Wkd2A


-
If you were at the messabout last year then you saw the boat. Very nicely built and comes with everything you'd need. Sadly Jeremy passed away and the boat needs to be sold. It would be a great opportunity to pick up at our messabout and get a day or 2 of sailing experience with other CS-17s on the water. Please contact the number provided in the listing. http://bandbyachtdesigns.com/awpcp-main-page/details/?id=36&fbclid=IwAR3b19kPbjkzRvsJPCwQsH-U8l3B_aFnDp1v6NifMMYHsUDZgnm5z22Cy60


-
Jessy 15’ build log - Philadelphia, PA
Alan Stewart replied to Justin C's topic in B & B Yachts Forum
Justin, you definitely will need to take some material off the bottom of the bulkhead to allow for the keel glass thickness. I would scribe it with a pencil held flat against the hull and then grab a block plane to trim it or just a sanding block with some 60 or 80 grit paper. Likewise it looks like a gap on the sides just below the side stringers. The cutout (notch) in the top corners of the bulkhead for the side stringers should be widened/opened up if needed to allow the sides of the bulkhead to meed the side of the hull. Take material off the bottom of the bulkhead until the top edge of the bulkhead is flush with the tops of the side stringers. This goes for the forward lower bulkhead as well. Take material off the bottom of it as needed so that the top edge is flush with the tops of the side stringers. You can also round over the chine corners of the bulkheads to allow for the chine glassing/radius. Gaps are no problem if you take off too much material they will just be filled in with thickened epoxy when you glass the bulkheads in but again you want the top edges of the bulkheads flush with the tops of the side stringers and the sides of the bulkheads (ideally) sitting against the inside of the hull sides. That will set the width of the hull there as designed. You shouldn't need to take any material off the sides of the bulkheads. The transverse drainage channel piece (#28) is cut to the width of the inside faces of the stringers so technically the designed hull shape would have you push the hull out to let it drop down between them. However every piece of wood bends differently so what i would recommend is that once you get the forward lower BH and BH2 in place Just trim the ends of that piece to fit between the side stringers. The hull shape will be set by the bulkheads (1, 2, and the center frame) and the side stringer will keep the hull side fair so in this case pushing the hull out at to make the piece fit I think might make the hull less fair. You could always bend a batten (like a 3/4" x 3/4" square piece of clear wood) around the outside of the hull to see how fair it is. If there is a low spot between BH1 and BH2 then you could try pushing it out there to let piece 28 in but I don't think there will be. Piece #8A is a little square of plywood that is designed to go underneath the butt joint where the drain channel turns 90 degrees. It is shown in the side view of the interior construction plan. That piece strengthens the butt joint by sandwiching it between plywood. You could also put a piece of glass tape under (or all around for that matter) the joint. I would be sure to round-over all of the lower edges of the drainage channel pieces at least a 1/4". Piece #22 and #23 are supports for the center of the casting platform. Even if you're not planning to install a seat on the casting deck I would still recommend installing them to help support the casting deck. Hope that helps! It's looking good. -
We have been using some packing tape under the track and clamping it down into a bed of thickened epoxy and cleanout the squeeze out which forms a nice even wedge. Some choped up glass mixed in would add some strength (less britttleness).
-
Jessy 15’ build log - Philadelphia, PA
Alan Stewart replied to Justin C's topic in B & B Yachts Forum
Justin, It looks like the hull squeezed in a bit without all the bulkheads in place while you glassed the chine. It looks close. I would keep pushing the hull out. You could drop in the upper forward bulkhead (the one that goes on top of the platform) just to help push it out. Clamp some 1x2 across the top and bottom of it to keep it from buckling or just use some 2x4 cut to the same length as a place holder. I saw you had it in place when you glued on the gunwales with is good. I would cut a piece of 2x4 about an inch wider than the fwd bulkhead and fit it between the side stringers just behind the bulkhead then you can tap it forward gradually which will push the sides out and take the pressure off your forward bulkhead so it can be glassed. I would also get that beam on the fwd bulkhead at the same time to stiffen it up. -
Looking good Mark! I found the interference you mentioned in the bottom-side joint and made a correction in the kit file. When we adjusted the hull panels to account for the neutral axis bending of the side panels the shape changed slightly. This won't effect anything going together. It's always nice to see measurements come on right. I saw it over and over with my kit but it remains a happy surprise that doesn't get old.
-
Another option would be to have the tubes anodized before applying the fiberglass collars and installing the track. Graham has been collecting sulfuric battery acid thinking he might try some diy anodizing in his "extra" spare time. We probably all know about that mythical concept (spare time).
-
-
No worries. Info and links area also at the top of the B&B website as well. www.bandbyachtdesigns.com
-
Thanks Chick, i've never used an air sander like that but would like to try one. This question was asked on the youtube comments so I thought i'd repost it here re the fairing filler mix we used.
-
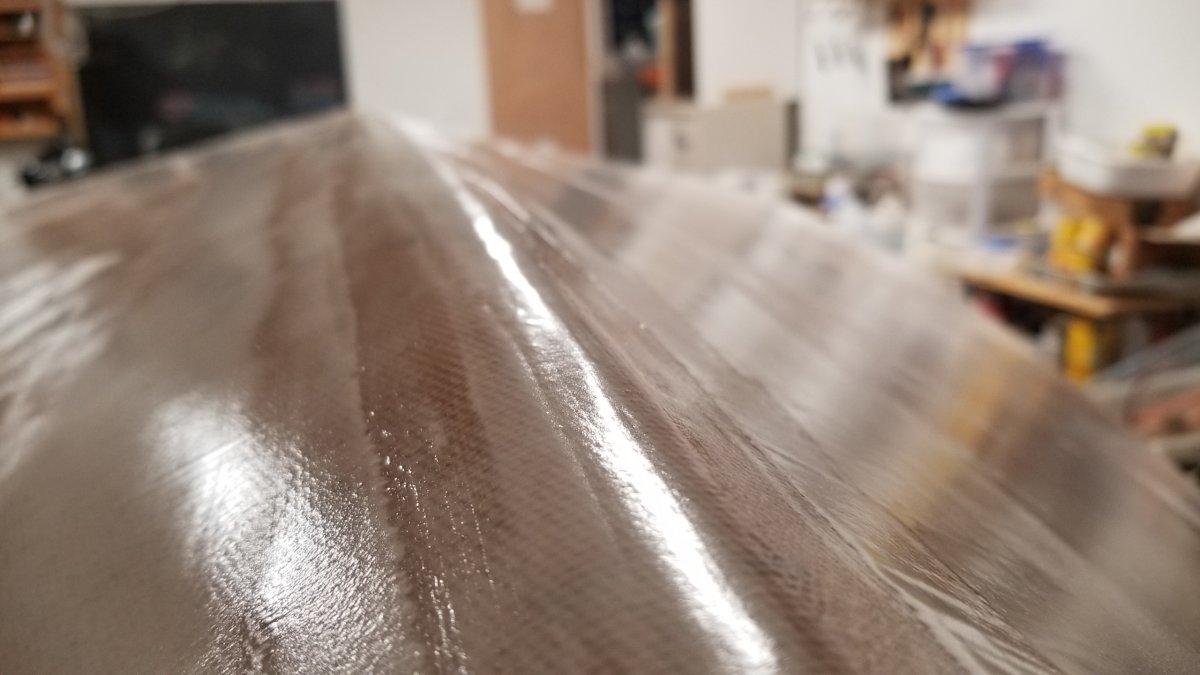
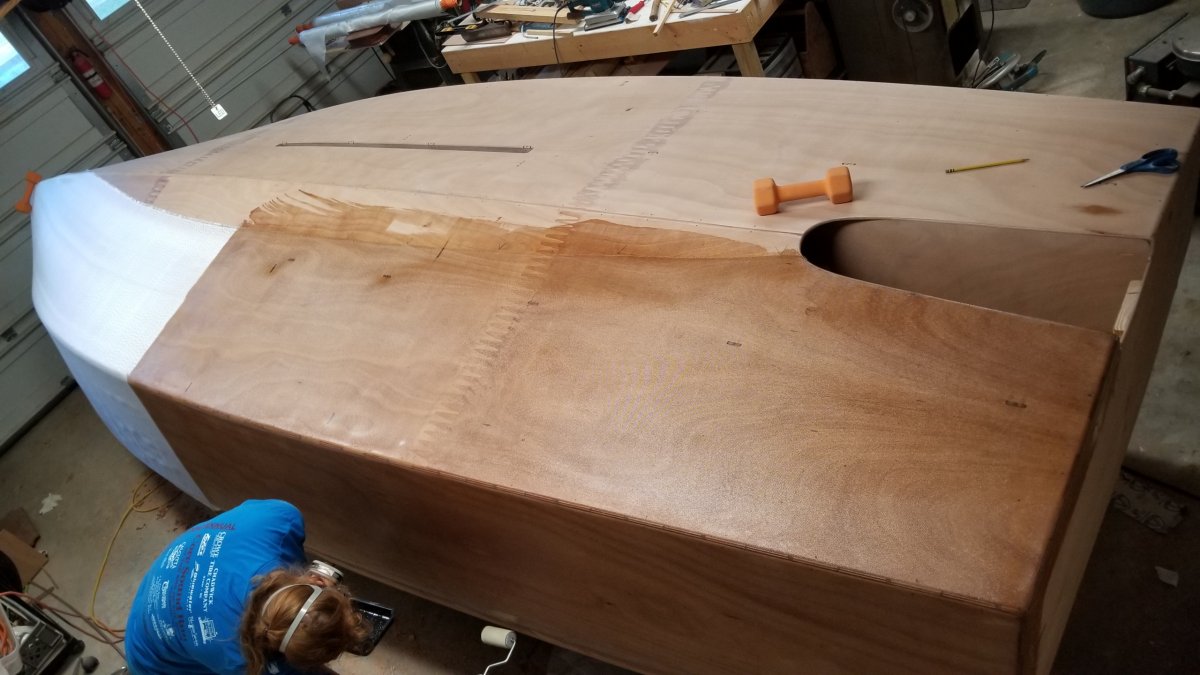
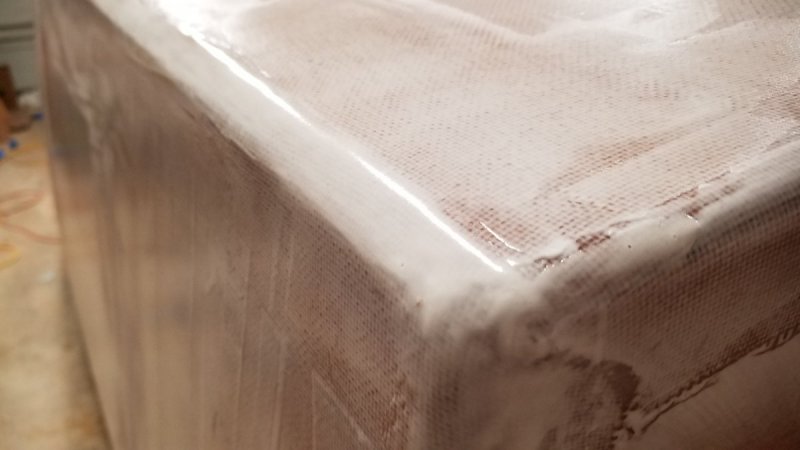
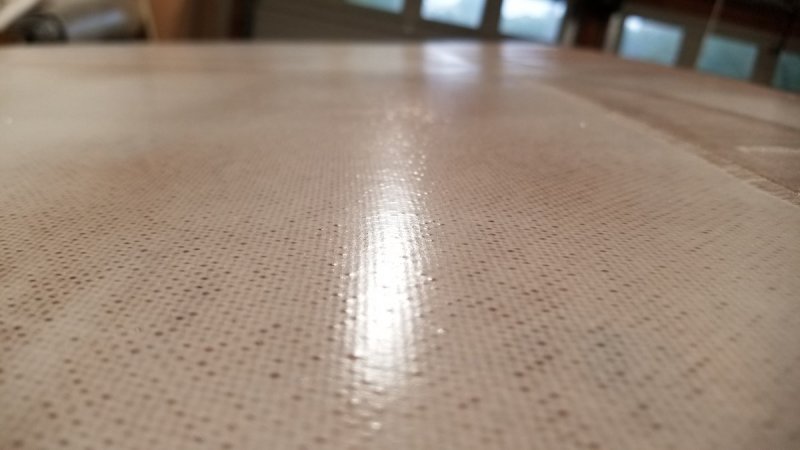
Well, it IS easy if you do the prep. Also, we are impatient so i was determined to get it done this weekend but it would have been easier to break it into 3 days like doing the center section last after the sides. That was a bit tricky. I didnt video much of the 3 hours of sanding the hull with a 24" long sanding board to make sure it was as fair as it could be before starting also rounding the chines which is covered in the CS15 videos. I put as big a radius as i could on the chines. I planed down the side panel tabs then used the flush trim router to remove the botttom panel tabs but be careful as the angle changes along the length so you have to adjust the router tilt base angle for each tab. Then I used a power plane to put the chamfer (about 5/8" wide) on the chines then knocked the chamfer edges off with a plane and finally rounded smooth with the board sander (torture board) by hand with 80 grit. Stem was rounded to about a 5/8" diameter for 1/2" ss hollowback. Ill video the fairing process a bit better. Last night i went back and brushed a coat of my fairing filler mix on the corners (chines, stem, transom edges) and i added some more filler in some of the spots that got a bit of a light coat. Here is what the chines look like. Ill probably start sanding on it tuesday. The chines with an extra coat of the runny microspheres filler brushed on. I estimate that i added a full gallon of epoxy mixed with microspheres to fill the glass weave. and the keel And most of the surface I've also decided (well almost decided) to do the wood keel strip. I was thinking i wouldnt just to be different and maybe gain a bit of performance both in weight savings and drag but i think i want the stainless strip on the keel and an external strip is the easiest way to do that. Only other way i can think of would be to use t-nuts and glass over them on the inside because of the ballast tank. Oh, and ill probably throw a piece of glass on the transom afterall. My sanding board. 2 pieces of half sheet 3m spray adhesive to 6mm plywood with two blocks hot glued for handles.


-
-
FOUR. One to flip and three for moral support. Video to come.
-
The glassing has begun.

-
Build of CS20MK3 HULL # 24 by Mark Rendelman
Alan Stewart replied to Mark Rendelman hull 24's topic in B & B Yachts Forum
Looking forward to following your build Mark. Looks good. -
Randy, I've seen some in great condition painted and I think the secret is not letting ANY salt water get to the aluminum after painting. Joe's EC-22 mast for example hasn't a flaw on it. He has the ss track. I plan to prime and paint my mast prior to attaching the track. I too want to try etching primer. In the past we've just cleaned the surface really well and went straight on with awlgrip 545 followed by topcoat without sanding between. a good spray job and the result is still pretty smooth and it beats sanding the primer by hand. The track itself is anodized clear so no need to paint it. I think you have a sound plan. If you wanted to you could put on all your hardware (or at least drill and deburr holes for it) then prime and paint in hopes of getting that last bit of primer needed to protect the aluminum. Bedding compound everything going down. I like butyl rubber for that.
-
This weekend... some painting, seat tops installed, started on cockpit coamings.
-
-
Jessy 15’ build log - Philadelphia, PA
Alan Stewart replied to Justin C's topic in B & B Yachts Forum
I second that. I think it's great to have all the parts pre coated and will make less work later. I don't usually prime or paint "inside" anything like cockpit lockers but you certainly can. I think your next step is to sand inside the boat and glass all that structure in there. Then you can decide what needs painting etc. I talk about paint in my latest update video for our 20mk3. I don't bother with primer with 2 part poly paints over epoxy as long as it's just white and I'm not worried about a "yacht" finish for example in a locker i would just sand smooth the epoxy coats and check for crevices/pinholes then coat with 2 part poly if a painted surface is desired. I'll have the video uploaded tonight or tomorrow. -
Update: I have ordered some new aramid tape which is heavier weight and also bias woven to have another attempt at making a kevlar hinge. I found bias kevlar (aramid) tapes sold by a nice outfit in maryland. https://sweetcomposites.com/Seamtape.html I will report back how it works out. Below is a picture of Graham's cockpit hatch piano hinge. They are 1 1/16" wide. No signs of crevice corrosion. I am sure Graham would have polished his hinges before installation.

-
Jessy 15’ build log - Philadelphia, PA
Alan Stewart replied to Justin C's topic in B & B Yachts Forum
I usually just measure it into a cup carefully the ratio has a window of about 5-10 percent in my experience (I've never had any issues with paint mix ratio). I don't usually thin the 545 at all but it does start to thicken up in the cup after about an hour so I would mix a small batch, roll it on and then mix some more. It flashes off quickly and you can add another coat in about 30 min. You'll just about be able to start at one end and when you get to the other end you can go back to the beginning for the next coat. If you DO put in some reducer I would give it a couple of hours to come out of the primer before the next coat. 545 is a high build primer so it's good at this (building up a decent thickness). I don't usually bother priming anywhere i'm going to nonskid. This is nice on a bigger boat that you have to stand in while painting the cockpit because you can keep the sole unpainted (primed) while you work everywhere else then carefully jump out. Or better yet, paint the boat while on it's side for better access and also you won't have to worry about dripping condensation from your respirator into the paint or sweat if it's hot or dust/dirt. Unless you want a very high level finish I probably wouldn't even bother using 545 in the cockpit at all just so you don't have to sand it all smooth which takes a long time but priming is necessary if you're not ok with seeing a pinhole here or there. The primer will reveal a lot of imperfections you just can't see in the epoxied surface. I find the best tools for the 545 are a brush for corners and an 1/8" foam roller for surfaces. Here are some links for what we use http://bandbyachtdesigns.com/store/ For topcoat i would go with either the "hot dog" rollers or the same 1/8" foam rollers. The best advise I can give would be to sand the primer until you're happy with leaving it looking like that because the only thing that's going to change when you paint it is the color and gloss, any imperfections will still show as the topcoat is very thin. I've found that thinning topcoat too much for rolling and tipping is frustrating because I want to be done with 2 coats. If you thin too much you'll be putting 4 or 5 coats and no one has time for that plus you don't want to be sitting there with it for that long. I like to thin it minimally when rolling and tipping. Just enough that it will still level out after I roll it on and tip it with a foam brush. I would do some test pieces. Less thinner means it will flash off faster though so you have to do it like you would varnish. Do an area with roller, tip it then move on with your wet edge. DONT GO BACK. If you thin it more then you can go back to it over and over but you might have to do 3 or even 4 coats. If you thin it like almost water as some do be sure to put it on ULTRA thin for no runs and plan to do at least 3 coats It will usually flash off pretty fast though as long as you put it on thin. For the best finish (like on the topsides) you want to start at one end and finish at the other. You can't go back and add a bit to just one spot without creating a "patch" with edges etc that only you will be able to see. When I painted the inside of the Core sound 17 I did it mostly with just a brush because i put it on heavy and could just about get away with one coat. It flashed off fast and you couldn't go back but it was quick and I was happy with the finish. I didn't care about a few brush strokes here and there. It is a home made boat after all and I no longer aspire to a gel-coat production boat finish in the cockpit. Topsides are easier to be picky, cockpits i've become much more tolerant of imperfections after having done a few. When I say imperfections I mean glass tape edges, low and high spots and the occasional brush stroke or run not pinholes, cracks, crevices or anything that would collect dirt or prevent it from being wiped clean those I care about.