
lenm
-
Posts
173 -
Joined
-
Last visited
-
Days Won
10
Content Type
Profiles
Forums
Events
Gallery
Posts posted by lenm
-
-
Looking good Steve!
Are those pre-drilled holes in the engine bracket photo?
-
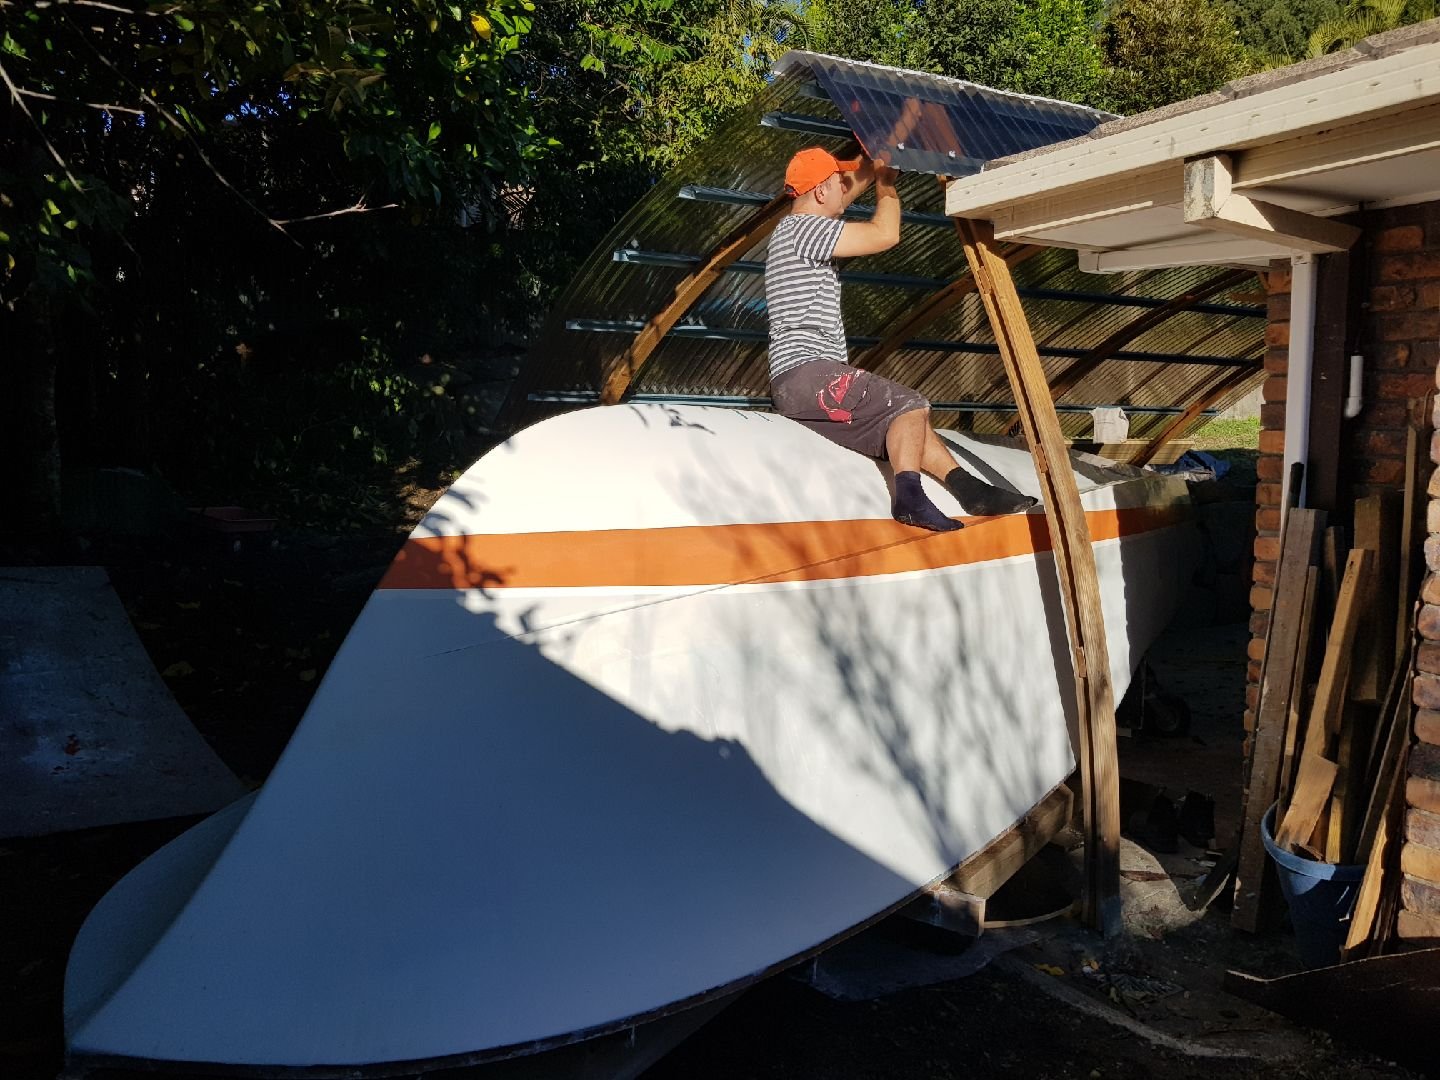
Had some fun flipping the boat today..
After an attempt to rollover her over under the shelter I decided to abort (too confined).
The backup plan was to put her on castors and roll her out of the shelter, perform a 90 degree turn then traverse down a narrow sloping section of my yard to reach a point where a crane could collect and flip.
What a tight squeeze - I got stuck coming out of the shed and also sheared two castors off the jig when we got bogged, however the remainder went relatively smoothly.
I'm glad I didn't end up building an OC 24 or 256 as these would have been a ship in a bottle literally due to their size.
My neighbour (school teacher) told me one of her students told her that they saw a boat 'flying' over her house on the way in to school this morning.


-
Riggs I hear you re pondering, I think I have spent more time doing this than hands on work.
Were you planning a self draining deck? Is there enough deck height on the OC's for a gravity type arrangement or will have to be pumped out via bilge?
-
You don't mess around Riggs - great progress and looking good!
-
Your removeable tanks are a great idea in my opinion. You would go a long way with 60l alone.
My current boat (5m cat) had an issue with one if its tanks and had to cut the whole floor up, remove fuel soaked foam etc. Replaced the other tank too in case a similar issue developed.
What a mess and cost!
I've been bitten by stale fuel issues too.
Do you happen to have a photo of your tank?
-
Great to see this finished, congrats. I'm sure you will get plenty of compliments at the ramp.
Is the open chamber under the deck for fuel/removable tank?
-
A very familiar site to me..
I see you opted for the chine rails- looks good.
-
12 hours ago, PAR said:
Using neat, pigmented epoxy as a primer is as costly as a good primer, plus it's a lot harder to fair and smooth. When you put pigments in epoxy, you don't get a paint like finish, as it's generally translucent, not the solid color paint produces. Of course, multiple coats can get you a solid color, but this is even more work and materials. Naturally, it can't be done as a top coat, as the epoxy will still burn with UV exposure, just more slowly then a straight neat coat. Lastly, the thing with primer is it makes a uniform "tie coat" for the top coat and can change the look of the top coat as well. For example if you paint a red over grey primer, it'll look warmer then if it was painted over a white or black primer. I'd much prefer to work primer than a neat epoxy coat, FWIW.
Thanks Paul and Steve for your thoughts.
I probably haven't been so wise/cost efficient with my finishing.
I had a very mottled surface after sanding through the blue trowel able fairing compound - exposing the fibreglass/timber colour in several spots.
Maybe I should have gone over these bare spots again with some more blue before sealing it with the neat epoxy.
It would have created a more even base colour to start with.
Not sure how many coats you would expect required to cover the mottled base.
I am up to 4 coats and only at about 80% opacity so far.
It is a white coloured water based epoxy primer.
If the pigmented epoxy option is as translucent as you say it is - I'm now glad I didn't go there !
-
20 hours ago, Riggs said:
It does look rather good sir
") I bet it was hard attaching it to the deckhead like that though but it made the painting easier i am sure
I bet it was hard attaching it to the deckhead like that though but it made the painting easier i am sure
Thanks Riggs, probably not long before you overtake me :-)
If you do, please take some pics of your flip/turnover, I've been stressing over this step given confined space.
-
I've decided not to spray anything at my premises due to young kids and pets in close proximity.
Probably leave final topcoat to a professional marine spray painter with a booth, however I will try below water line to minimise costs.
Actually, the whole project has been wet sanded to eliminate dust.
The wet sanding residue being collected in a sump with filter media for disposal.
Epoxy primer was rolled on today.
After rolling on couple of gallons of this stuff (expensive) - I don't see any advantages over using plain 'neat' epoxy tinted with West System 501 white pigment?

-
looks fabulous!
-
 1
1
-
-
Have you Started the console Steve?
Looking great
-
Looking good Riggs
-
Thanks Oyster and Graham for the reply!
PAR - thats a really interesting read..
thanks for the lesson in boot stripe painting! I'll definitely take that advise onboard
Riggs
yes plenty of longboard action happening - three full days so far.
Are your arms feeling it too?
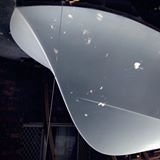
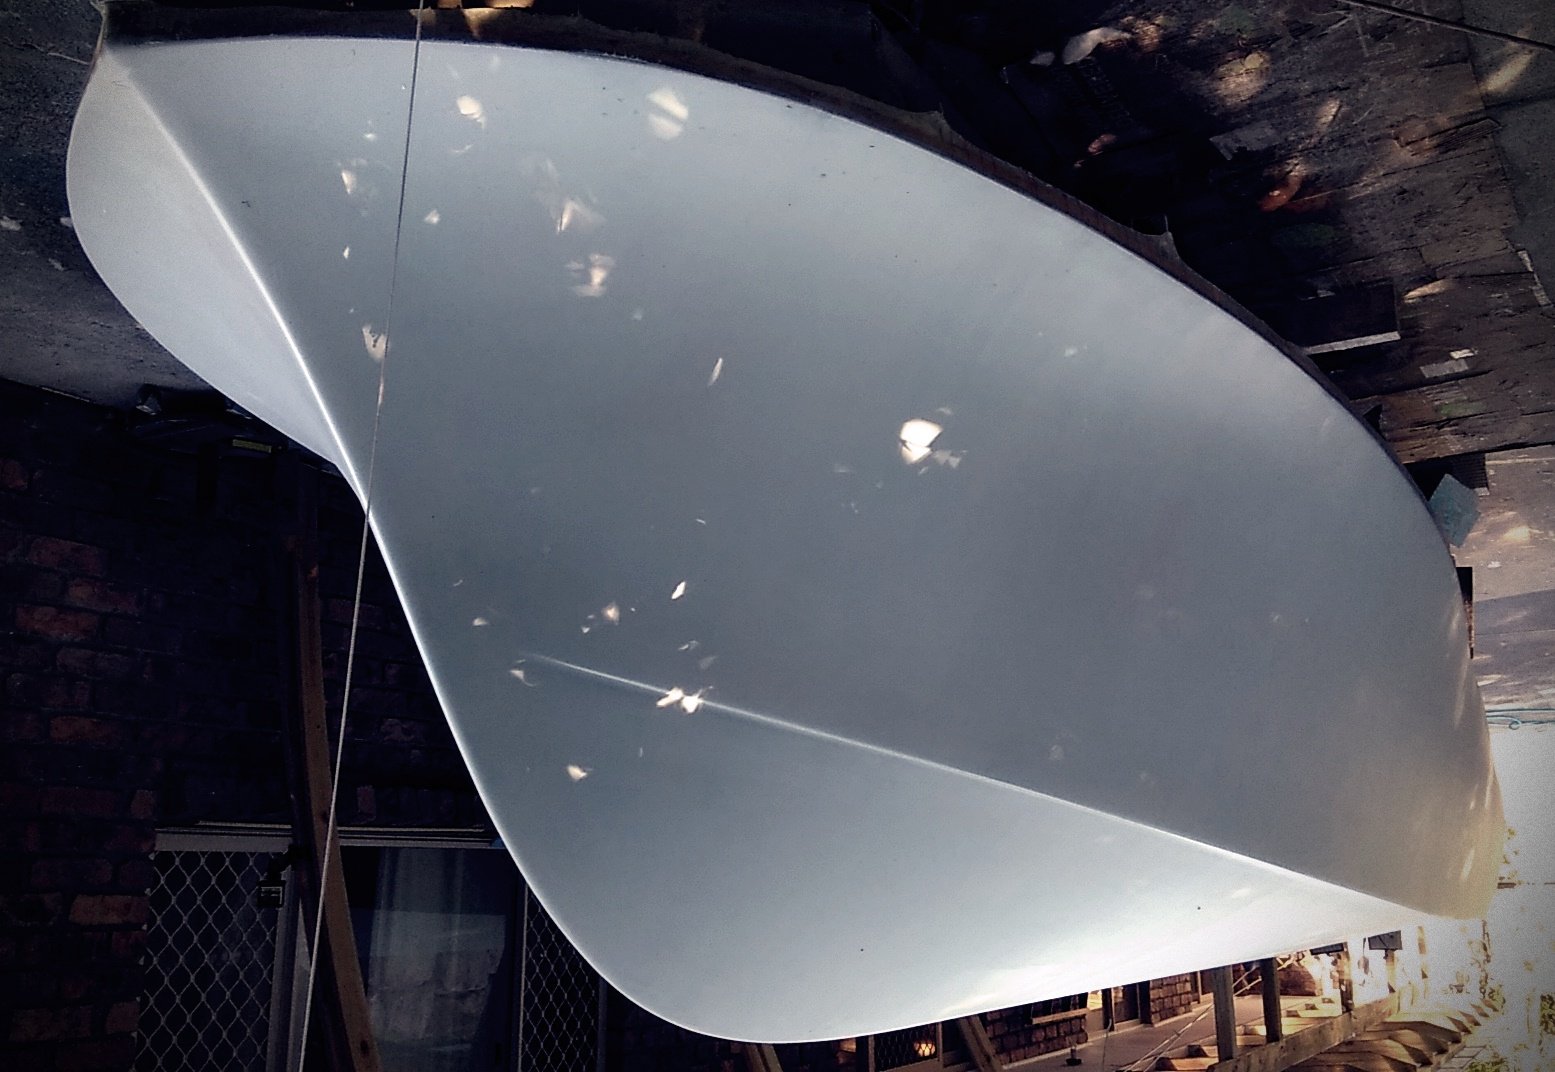
I washed down the hull tonight (pre sealer coat)
The reflections look nice - I think I got this one!

-
Weird things happen when you try and project the DWL by laser..
makes a 'Z' over the reverse chine
Please does anyone have any ideas or pics on how to paint DWL over the chine?

-
Yea, I'm liking the colour - Im thinking mid 60's Ford GT40 colours - Awlgrip sky blue topsides, burnt orange antifoul and teak trimming/deck.

-
Trowelable fairing compound today. Checkout the colour!

-
Thanks
Due to availability reasons (local supplier) went with 1700 and 2100 variants (no mat).
Need to be careful when rolling out though as the mat has an advantage of 'holding' the fabric together (as some people suggested earlier).
Make sure you meet the 30oz glass recommended for the chine joints.
-
Thanks again to those who offered advise re glassing - great help.
The final layer went down today and it all turned out superb!
I've glassed heaps of surfboards, windsurfers etc in my time but nothing ever this big!
Solo that is.
If anyone is proposing to undertake a 20 foot + boat, solo (and is inexperienced in glassing) I'd like to offer a few observations/reiterate earlier advise by others..
- Get the slowest harder you can. E.g 2hr pot life with an 8hr open time.
- Use a roller for the bottom. One with a long handle. Makes it easy to lap glass over keel line.
- 17oz glass or lighter was easy to apply. 22oz is a lot of work to wet out unless you have help/someone working ahead of you.
- Mixing up batches of epoxy around 1kg quantity at a time was nice and manageable.

-
I've been hanging out for an update - looking really good!
I like the clean interior edges.
Is that teak on the comings?
re the 302, are you also using 'awlfair' for the deeper depressions?
can the awlfair go straight onto raw FRP or require epoxy primer underneath?
-
Onto the next project already! - your rate of progress is certainly making some of us look slow :-)
Good luck with it and look forward to any updates.
-
On 22 January 2018 at 12:42 AM, PAR said:
Do you have an approximate amount of force need to fully break each sample? Though the plywood was the thinnest, I suspect it took the most to bring to failure, with the H-80 a distant second?
Hi PAR,
My gut feeling is that it was around 30% stronger than the others samples to shear.
It's shear seemed a bit more dramatic than the other two samples. Once the fibres 'roll' it really lets go suddenly.
I think a piece of ply in a double diagonal configuration would be a further improvement.
The balsa was interesting. In particular the way the underside side skin looked 'punched' outwards, and delaminated after the initial impact.
This was 'end grain' balsa, perhaps the grain orientation was transferring more impact/load to the underside skin? i.e less energy absorption?
-
Many thanks smccormick for the diagram - that is most helpful to me!
Your method looks very well though out - some great ideas there.
Re 'overbuilding' - I agree with your comments.
I think it is human nature to want to beef things up a bit, however, in reality all the r&d has already been done by a good designer.
'Just follow the plans' has been my ethos for this project.
My impact tests confirm (for me personally) that a layer of 12oz fabric over the ply is ample and comparable to other composites/sandwiches which I am more familiar with
However (like you) I'd like a little more abrasion resistance on the bottom, and personally, something a little more subtle than a keel strip/guard.
Murphy's law - if there is a wife or buddy involved at the boat ramp (launching) they are bound to scrape the bottom of the boat on the rocks in an attempt to avoid getting their feet wet.
Over here in Australia, we have some rough 'corrugated' dirt roads that run for miles out to remote fishing spots. They test trailers and tyres and rattle suspension to death. I have seen a boat 'rubbing' on its trailer, the bottom of it wearing right through its polyester gel coat where the support pads are.
I'll swallow the weight penalty and gain it back somewhere else on the boat.
-
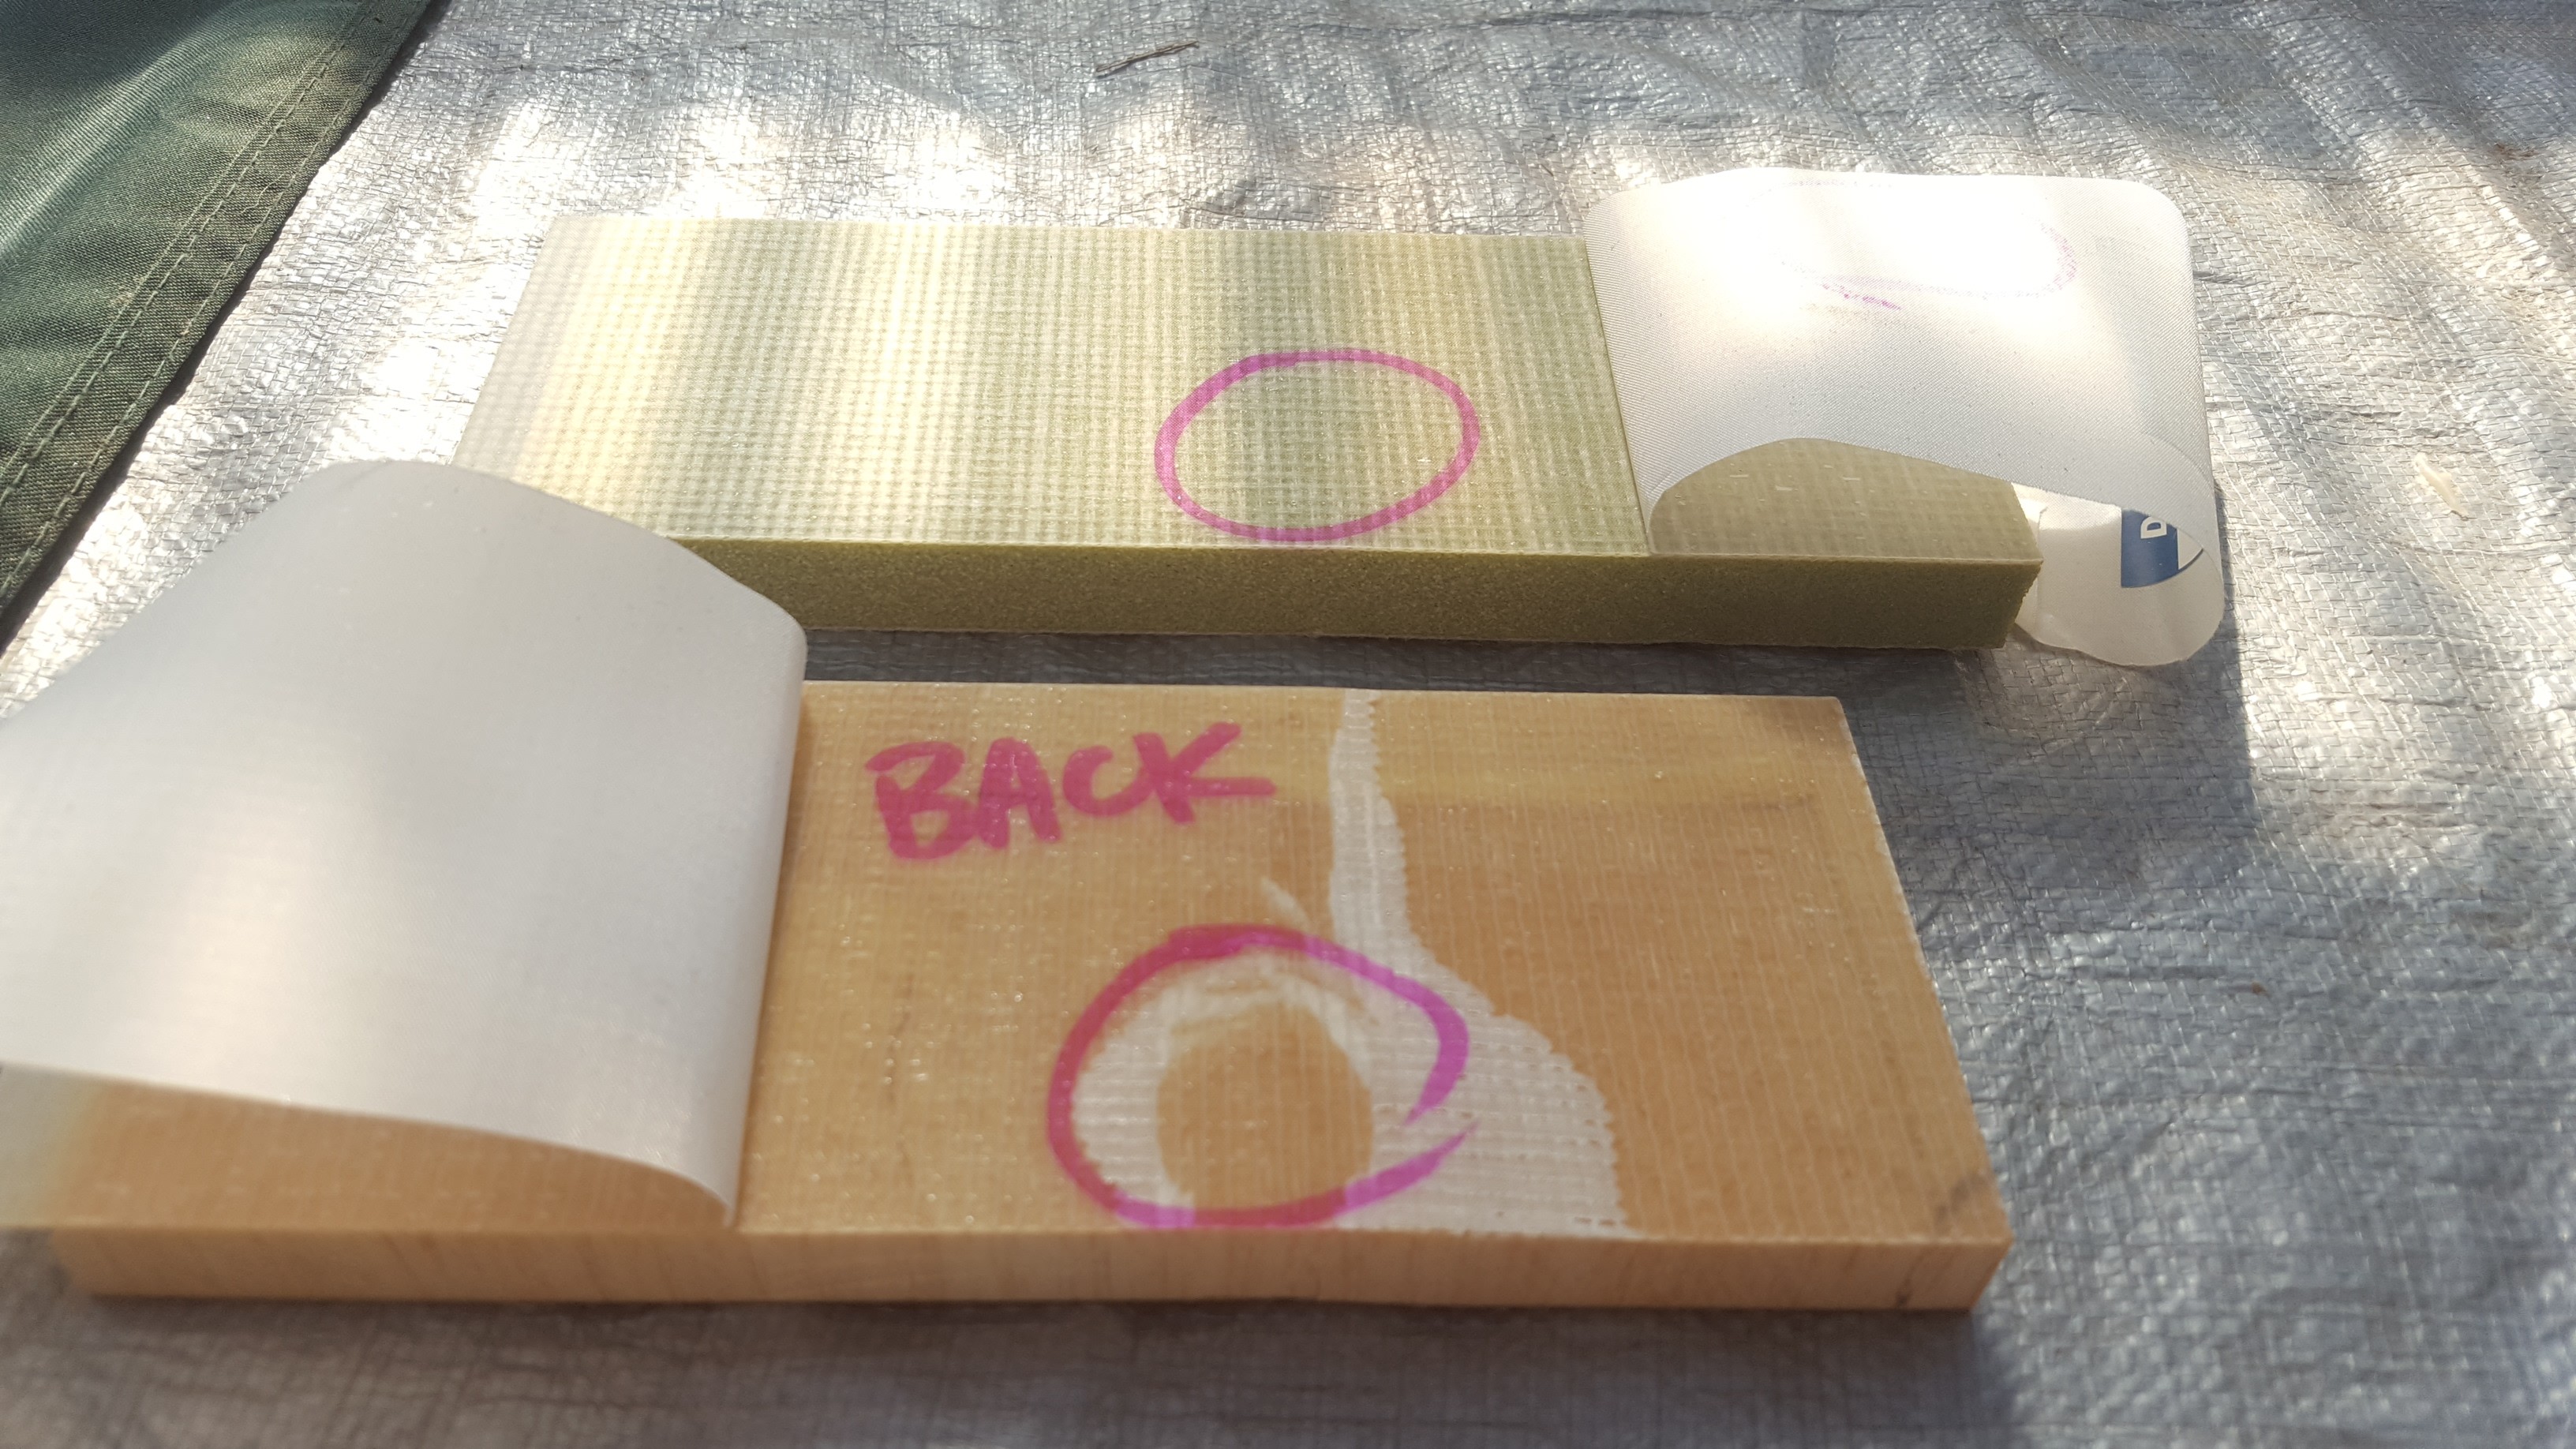
'Tested' a few samples today in order to get an observation of how ply compares to other typical sandwich panels in an impact.
Under 'uncontrolled' conditions, I dropped a 20mm, 1.5kg metal rod from a height of 2 metres onto 3 different configurations.
75mm wide panels were span 150mm (not clamped).
1) 13mm end grain balsa core with 18oz double bias each side 0/90 (vacuum bagged.
2) 15mm H80 foam with 18oz double bias each side 0/90 (vacuum bagged).
3) 9mm marine ply (meranti) with 12oz double bias each side 45/45 (hand laminated).
Results
1) Balsa - large dent at impact site. Front/outside skin sheared. core fractured and sheared. large de-lamination of back/inside skin.
2) Foam - large dent at impact site. Front/outside skin sheared. core squashed and bent only. inside skin intact.
3) plywood - very minor dent at impact site. no damage to core. inside skin intact.
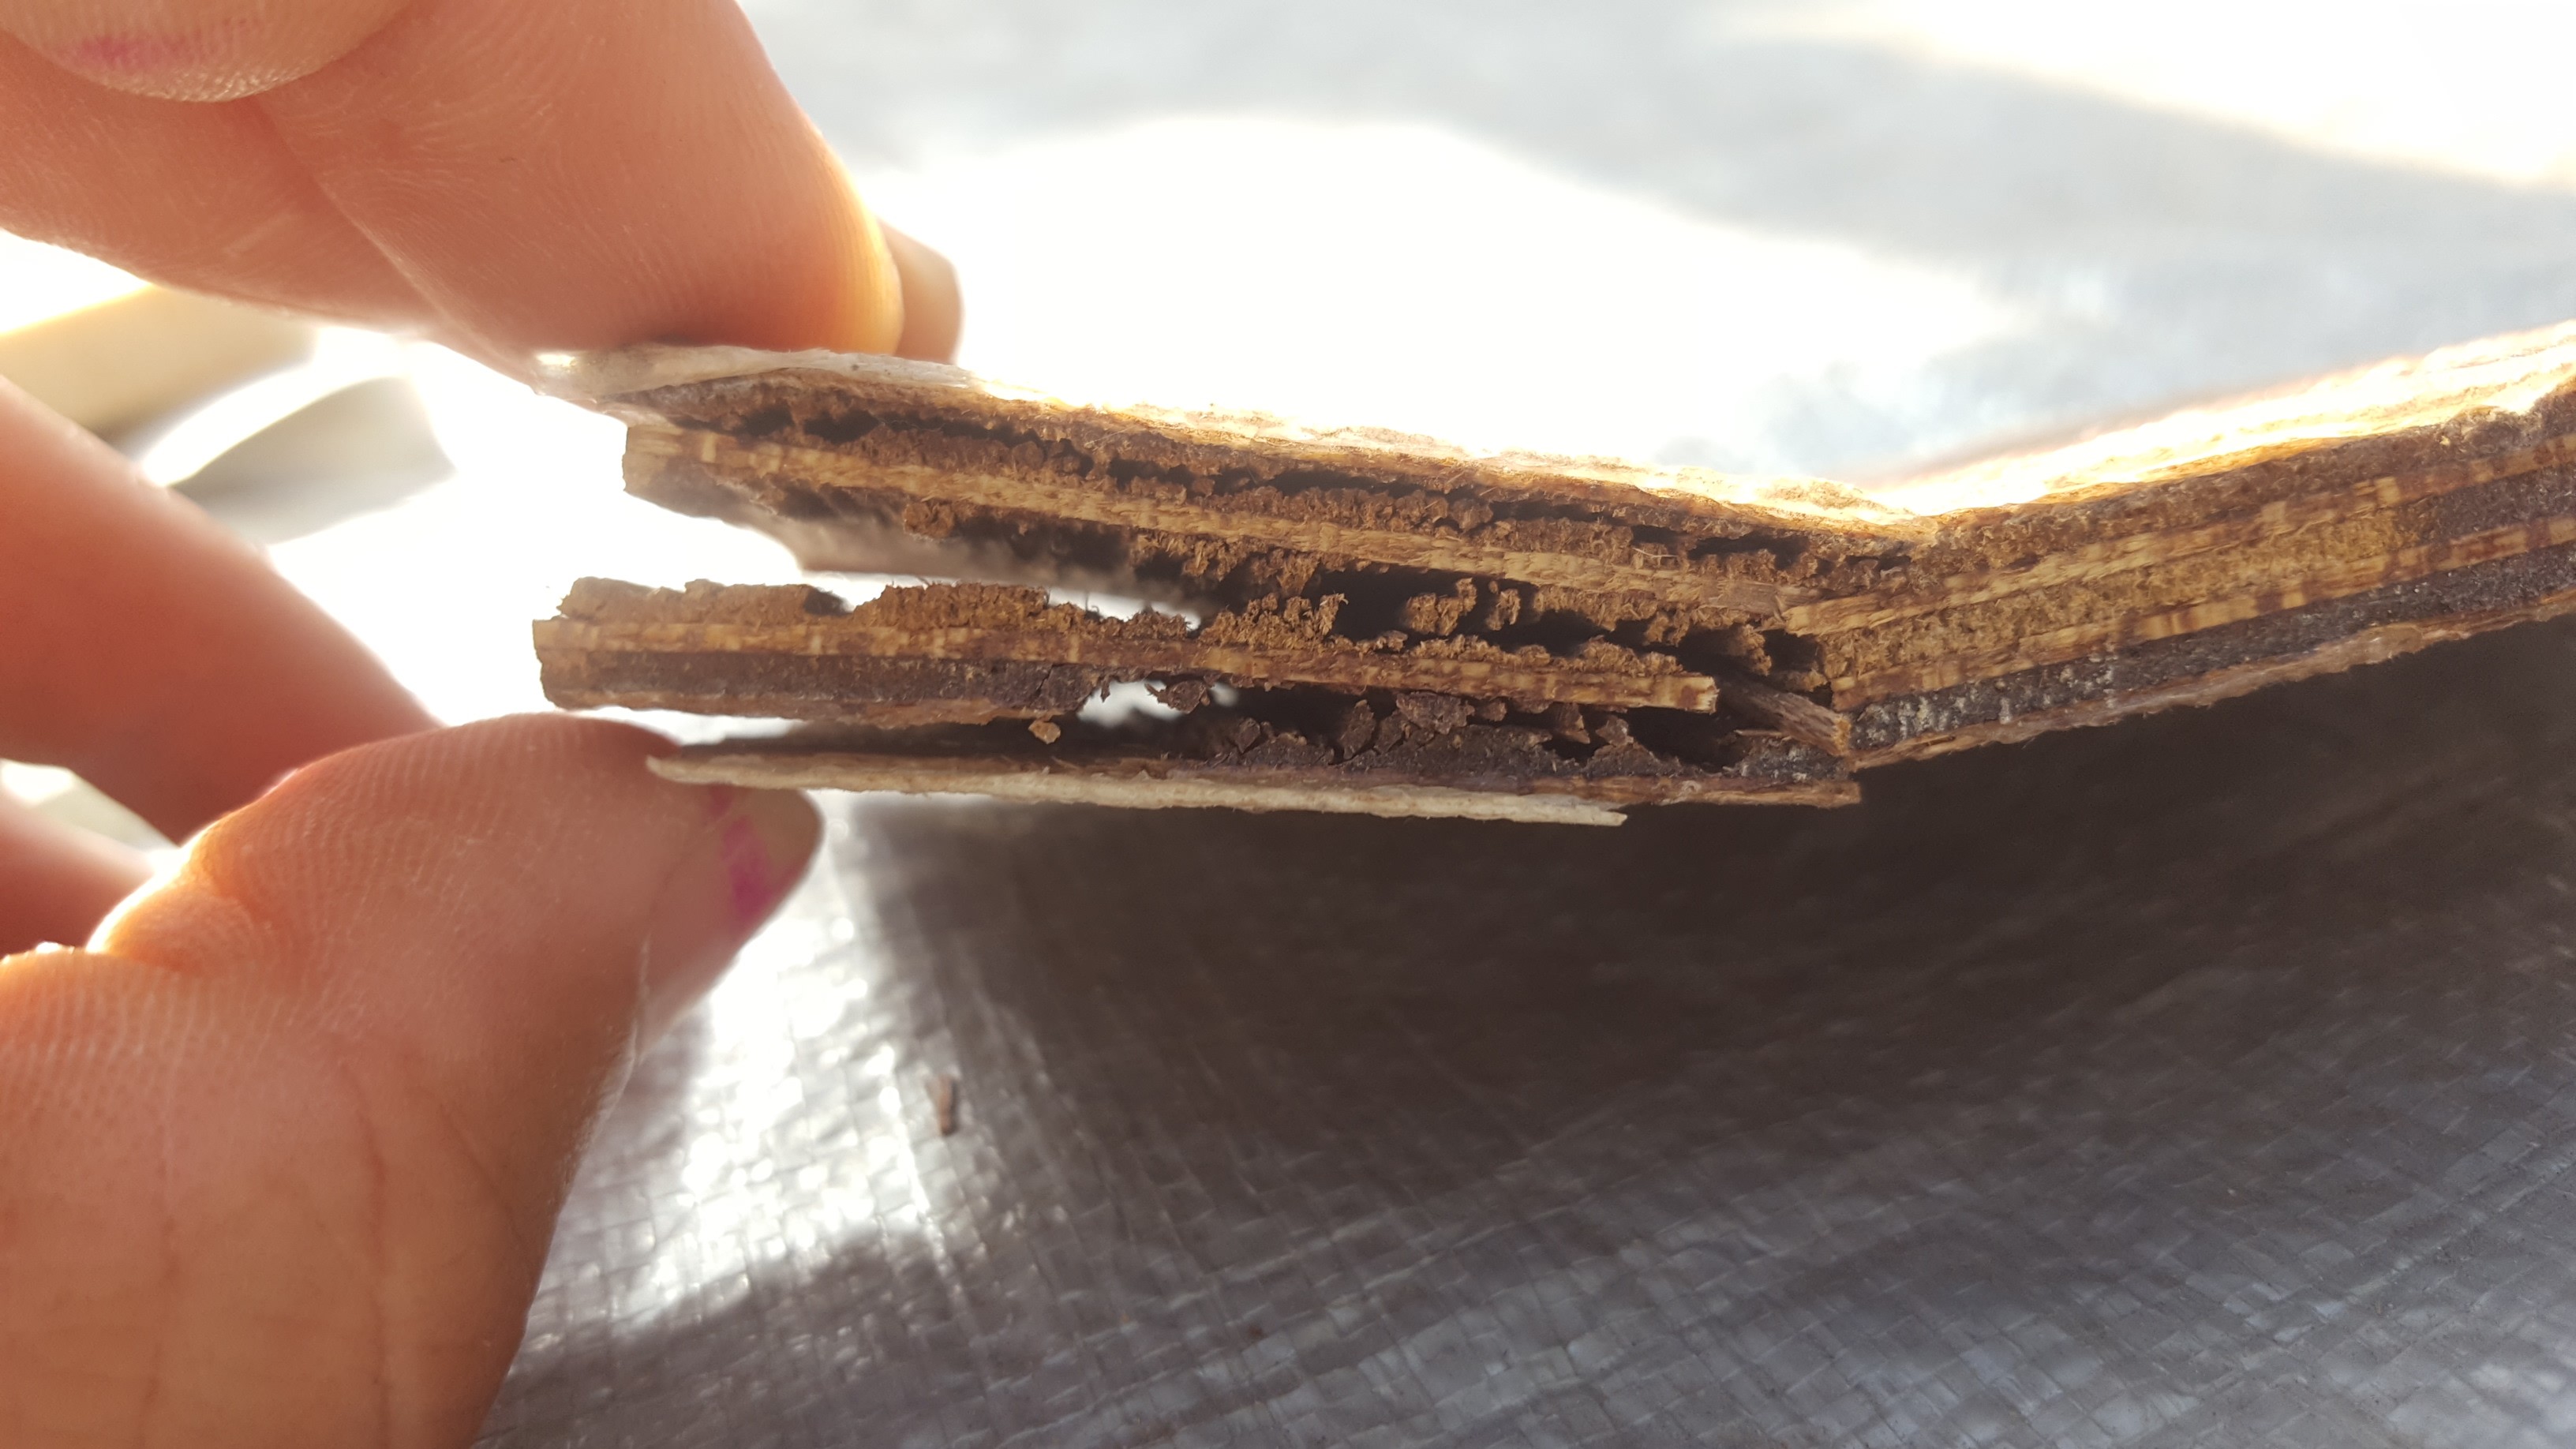
Then took the panels up to complete failure (unmeasured)
Comments
1) Balsa - inside skin holds structure from a complete shear. Core severely fractured in multiple places.
2) foam - inside skin holds structure from a complete shear. core severely squashed and bent.
3) plywood - Core layers separate completely. Wood fibres parallel to the shear direction 'roll' causing failure. fibreglass skins stay bonded to ply.


Ocracoke 20 in OZ
in B & B Yachts Forum
Posted
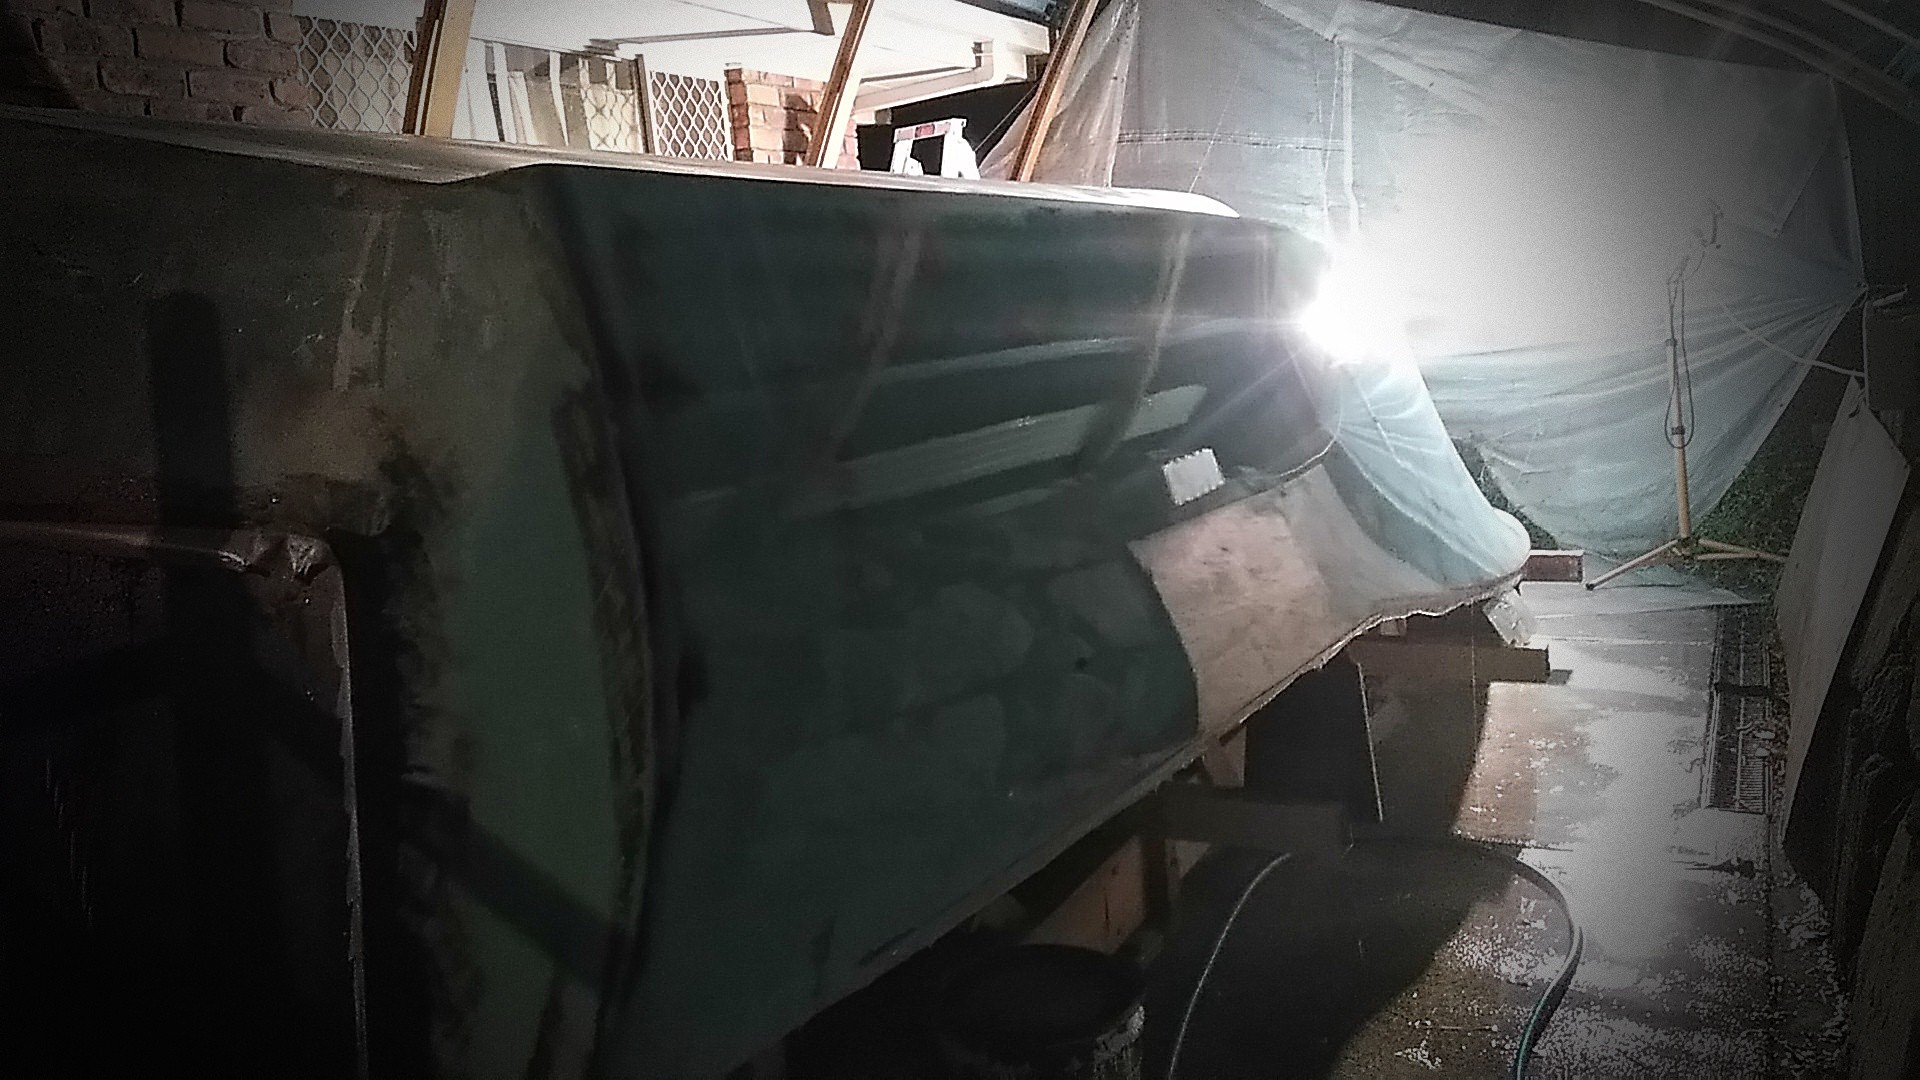
Been a while since an update
The last couple of months have been filleting and laminating the inside of hull.