Leaderboard


Popular Content
Showing content with the highest reputation on 01/30/2019 in all areas
-
And here is the solutions! She's out!1 point
-
Your family must own a clamp factory! Family VonClamp?1 point
-
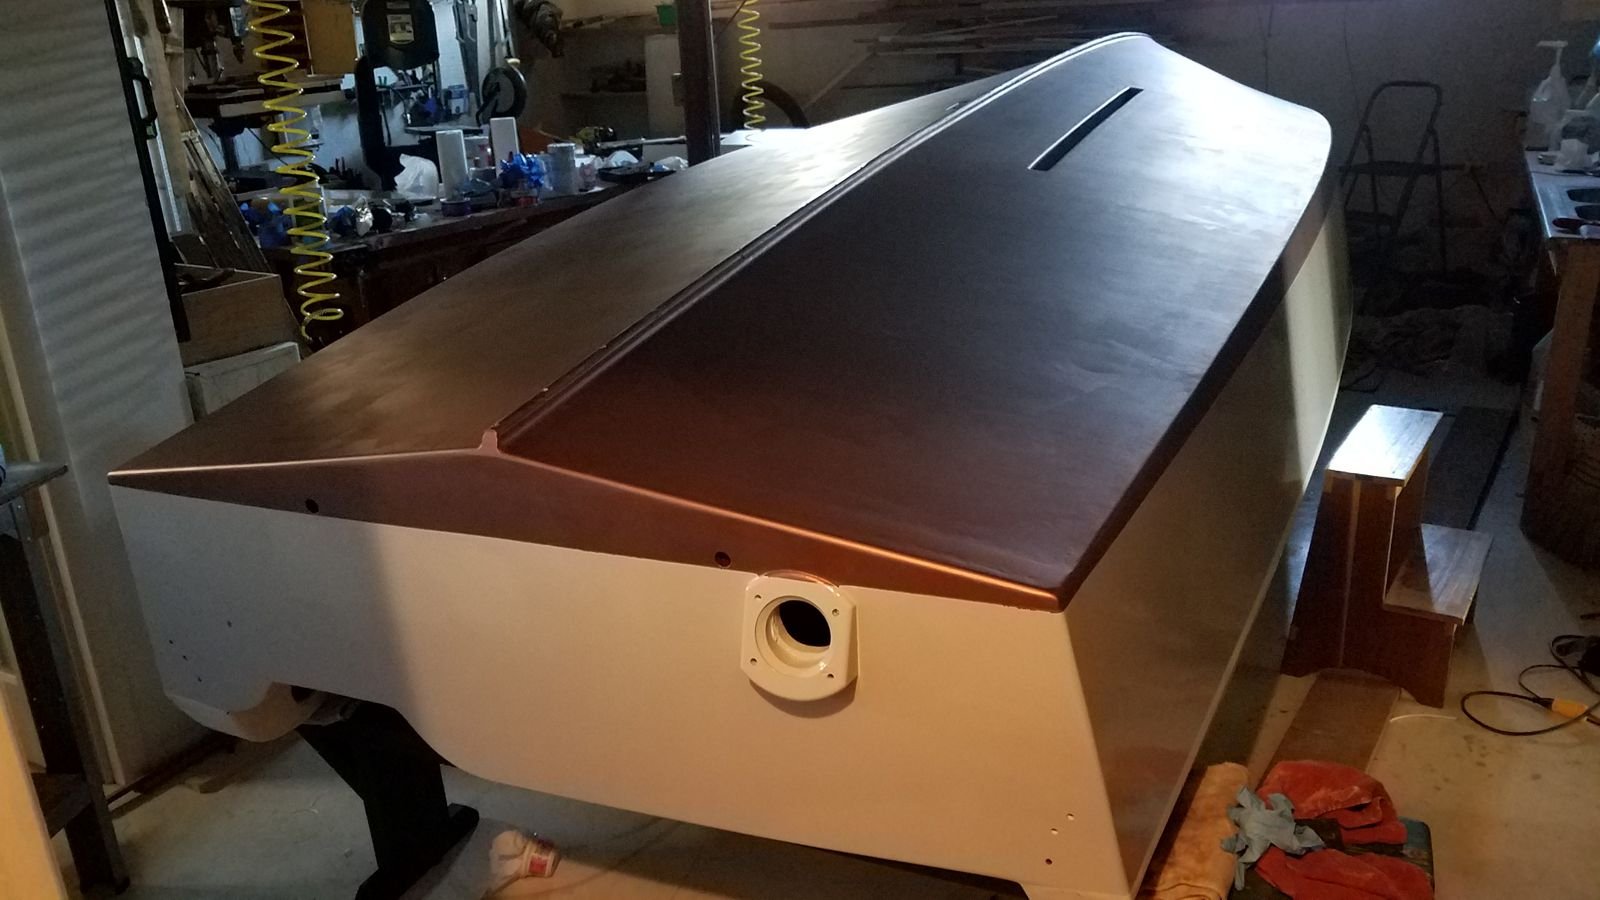
OK, I took the easy way out and taped a line at the waterline using a laser level. The big reason is I didn't have enough room to extend the V shaped pieces wide enough in my shop. We'll get that step done when she's on the trailer. I flipped the hull (getting easy now!) and painted the sides and then below the waterline. The hull is a nice grey. Super happy with the color. FWIW, I wanted to use a 2 part poly due to it's fuel resistance. I wound up using Interlux Perfection. On the bottom I used VC-17 (freshwater paint) over a 2000E epoxy coating. Tonight I start putting fittings on permanently. Yay!
 1 point
 -
Ken, sounds like exactly what I was cutting. The guys came up yesterday and got the Breeze flipped for me. Thanks to Don, David, Terry, And the other Don. All went smoothly and she's back in her shop/garage waiting on me to be able to get back to work on her. Nothing really new on this picture. Just proof that she's on her own bottom. You'll note all of the runs and paint on the sheer strake. Word to those wiser than me. As soon as the waterborne paint hit the PAPER masking tape, the tape started to release and sucked the paint right under. Fortunately, I used plastic auto painter's tape on the transom, so it's ok.
 1 point
 -
Dave, I'll definitely learn about featherboards and such. With the proper safeguards this would never happened. God never promised that bad things wouldn't happen to any of us. But He does promise to hear our prayers and answer according to his will. I'm thankful to Him that it is not as bad as it could have been, and for the chain of "minor miracles" that occurred to get me through this "adventure". There is not room, nor is this the place to launch into a lengthy discussion on Theology. But I do trust Jesus as my Savior and Lord and am not ashamed to say so. It is not up to us to understand why things happen the way that they do. But one Bible verse that we think of is this: Romans 8:28 "And we know that God causes everything to work together for the good of those who love God and are called according to his purpose for them." There is a whole study that goes into this verse to understand it. I'd be glad to talk with you by phone or private message about this or anything else you would like to discus concerning why and what I believe.1 point
-
Steve, yes. The transom will be varnished and the topsides will be primed and painted after she is flipped and the work completed on the deck, tabernacles, etc. The bottom will be painted forest green, and the stainless keel strip will be installed before the flip. This morning I misted on a "trace coat" or "guide coat" to show where to sand more. Then it's a fun day of sanding. Hopefully, tomorrow to paint! I took a picture to show how it's misted on. I just use grey (or other contrasting color) primer in a "rattle can". Buy something cheap---it all gets sanded off. In the picture, only the bottom is coated. You can see how light it is dusted on.
 1 point
 -
Whew y'all, I'm one pooped puppy. I've sanded all the filler applied yesterday and glassed the bottom to the chines. I like to feather sand the bottom edges before glassing the sides, then feather the bottom and sides at the back at the transom to do it last. This breaks the job down into easier steps. The bottom of the hull is 10 oz. cloth, and the sides and transom are 6 oz. All glassed. I pour it on, then squeegee to control the amount of resin. a closer look at the centerboard trunk slot. Glass wrapped around the edge. The white looking spots are from the Cabosil / Q-cell filler.

 1 point
 -
In case you are wondering, here is how the "Breeze" is supported upside down on the cradle. (She says that being turned over is making her dizzy...) Here she is with her centerboard slot cut and all of her corners rounded off. Next step is to fill all of her cracks and holes in preparation for glassing. I like to use a mix of 2-parts Q-cell to 1-part Cabosil for filling. It's easier to sand. I'll also pre-lay a layer of 3 inch fiberglass tape over the edges and down into the c/b trunk. The bottom glass will also roll over the edge. This greatly strengthens this joint and keeps water from getting into the bottom ply where the hole is cut out. If you go back earlier in this "thread", you'll see where I tapered the bottom of the trunk before installation to allow room for these glass layers. Here is where I notched to give a flat landing for the bow eye to be installed later. Hope you can see it.


 1 point
 -
Until someone shows me something better, I am planning on this. Unorthodox, but I think pretty effective. Quick to flip open/closed. Should allow opening even with mast layed down, but I can't prove that yet. Worst case you lift the mast a bit. Lightweight. Secure (lockable). Regular hatch boards (2 or 3) with a screen replacement for at least one . Hinged with plastic hinges along the side to be watertight, with a overhang front and rear to prevent water egress. Flipped open shouldn't interfere with lines led to cockpit along cabin top. Plan on having handrails like Doug's boat and carefully make it so hatches are supported evenly along the length by handrail so you could stand on them even when open. Joint in the middle will have the right side overlap the left side. I will sort all this out in a prototype when I get that far, but this illustration should give you the idea. In a cross wind you could prop one side up and catch a nice breeze into the cabin. Any thoughts?
 1 point
 -
Just wanted to let y'all know that we're still around. Lot's of "life" goin' on to hold up the boat building. The cockpit seats are all fitted. I gotta epoxy coat the back side (The seats---not mine.) and glue em in. I thought you might get all excited about the ice box hatch opening. It will be set back a little into the coaming / seat back. You'll just have to wait 'til later to see what I mean.
 1 point
 -
Here's an update for y'all. The motor splash well is done except for the drain and a wedge on the outside of the transom to get the angle right for Mr. Zuki. I've tried to show how the transom on the inside of the well is angled also. And here is the latest on the ice box. All that is left to do is the insulated lid and the box drain. That will be done as "fill in" jobs as I'm working on the main part of the build. You'll see the drain for the lid draining into the cockpit. The box is all 2 inch foam with 2 3/4 inch in the top and yet-to-be-built lid. Outa do the job for my short 3 or 4 day cruises. I use a one gallon milk jug that I freeze to cool the box. That also gives me cold water to drink as it melts. Hey, works for me. This is an overall view of the cockpit area. Hmmm, with the weight of the motor and the filled ice box this far aft, I'll have to find ways to move some other weights forward. One thing that will help will be the anchor hanging on the bow sprit. I know that you performance guys want the weights concentrated in the center of the boat, but a cruiser's gotta do what a cruiser's gotta do.


 1 point
 -
Been gone a few days, but now we're back at 'em. More sanding on the interior taping and a good start on the ice box. Still have to make the top of the box and the lid and cover it all with a layer of glass prior to final installation. This is the box made up of 2 inch blue foam insulation from Lowes. I stuck it together with a thick mixture of epoxy and Q-cell (micro balloons). I figured that the Q-cell putty would sand better along with the foam. This is where it will go when finished. It will have a top opening hatch. Hey Don, betcha don't have one of these in your boat... Hurry home from vacation. Lookin' forward to hearing more about your adventures. Did you get to see my family residence of my great, great,great,etc. uncle Baron von Ludwig---better known as the "Mad Baron".


 1 point
 -
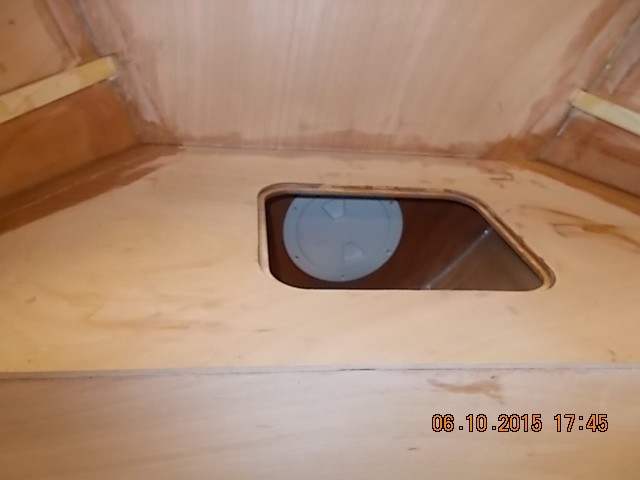
Here we are again, folks. Sorry it's been so long. Sick a few days, "life" a few days, you know how it is. Anyway, here's the latest. Interior and cockpit are finally all filleted and glassed. Cockpit drains are installed. Just got some sanding to do on today's glass taping. Tomorrow I'll get a start on installing the cockpit hatch gutters and seat framing. Today I built the hatch gutters, so, with the addition of the 1/8 inch spacer, they're ready to go. And here are the gutters. Oh, yeah, I almost forgot. This is the access hatch to under the anchor well.


 1 point
 -
Time to "check-in" with y'all. Progress has actually been happening a little at a time. The stringers have been glued on now and the sides are attached to the bottoms. Hey, with all of the bending over the last couple of days, MY poor old side-to-bottom joint is a bit sore. Anyway, it's done. I'll be heading off camping for the weekend with Miss Debbie and grandson Carter. Gotta do some kayaking and turtlin' over on Cascade lake, in the campground at the Cascade Lake Recreation Area. It's a really cool (figuratively AND literally) mountain lake that was formed back in 1909 to provide power to the Little River Community near Brevard. The old power house is still there and feeding power into the Duke power grid. Until recently, the power plant was privately owned, but now it's owned by Duke. Little River flows into the lake after cascading over Triple Falls. If you saw the movie, Hunger Games, that was partially filmed in the area, you saw this series of falls. Check-out the pictures below of the side/bottom panels joined. It's a sad use that my noble drafting spline weights (Also known as "whales" or "ducks.) have been put to as weights to hold things while the epoxy goop cures. Oh well. At least Graham (The Master) does the same thing with his. It all will be left as is while we're out doin' our campin' thing. Monday is the "big day" when the hull halves get joined and folded into something that hopefully---scratch that---WILL resemble a real boat. Hope to see you then. Have a great weekend, y'all. If you're interested, here's some more info about the lake. The dam: http://www.examiner.com/article/cascade-lake-dam Triple Falls: http://ncforestservice.gov/images/contacts/dsf/04.jpg Info of the lake and campground: http://www.cascadelakerecreationarea.com/ A U-tube video of the lake and campground. (I don't know who the folks in the video are.):

 1 point